Theater of Pain M+ dungeon walkthrough: Strategies and rewards
This Theater of Pain M+ guide in 11.1.7 patch shows you how to find the dungeon, its layout, boss mechanics, the best strategies against them, and all the loot you can get!
Table of Contents
Key takeaways:
- Dungeon overview: Theater of Pain is a Mythic+ dungeon from Shadowlands returning in The War Within (TWW) Season 2 patch 11.1.7. It features a non-linear layout with five bosses.
- Multiple boss routes: Xav the Unfallen, Kul’tharok, and Gorechop can be defeated in any order.
- Loot & Achievements: The dungeon offers valuable gear and several Mythic+ achievements, including Keystone Hero: Theater of Pain for a timed +10 completion.
We have prepared a complete Theater of Pain M+ guide to share with you all important aspects of the dungeon, boss tactics and mechanics, rewards and achievements. Here, you can find all Theater of Pain bosses guides and tips to complete your Mythic Plus runs successfully.
Related posts:

What is Theater of Pain
Theater of Pain Mythic Plus dungeon is a memorable place for many players since its release in the Shadowlands expansion. However, for the last few years, Blizzard was adding instances from previous expansions to the Mythic Plus rotations of the current season. In TWW Season 2, Theater of Pain Mythic Plus walkthroughs will become a part of your daily activities. This Maldraxxus dungeon has an outstanding layout and creative mechanics, both during boss fights and on your way to them.
Theater of Pain Mythic dungeon has five bosses:
- Affront of Challengers
- Xav the Unfallen
- Kul’tharok
- Gorechop
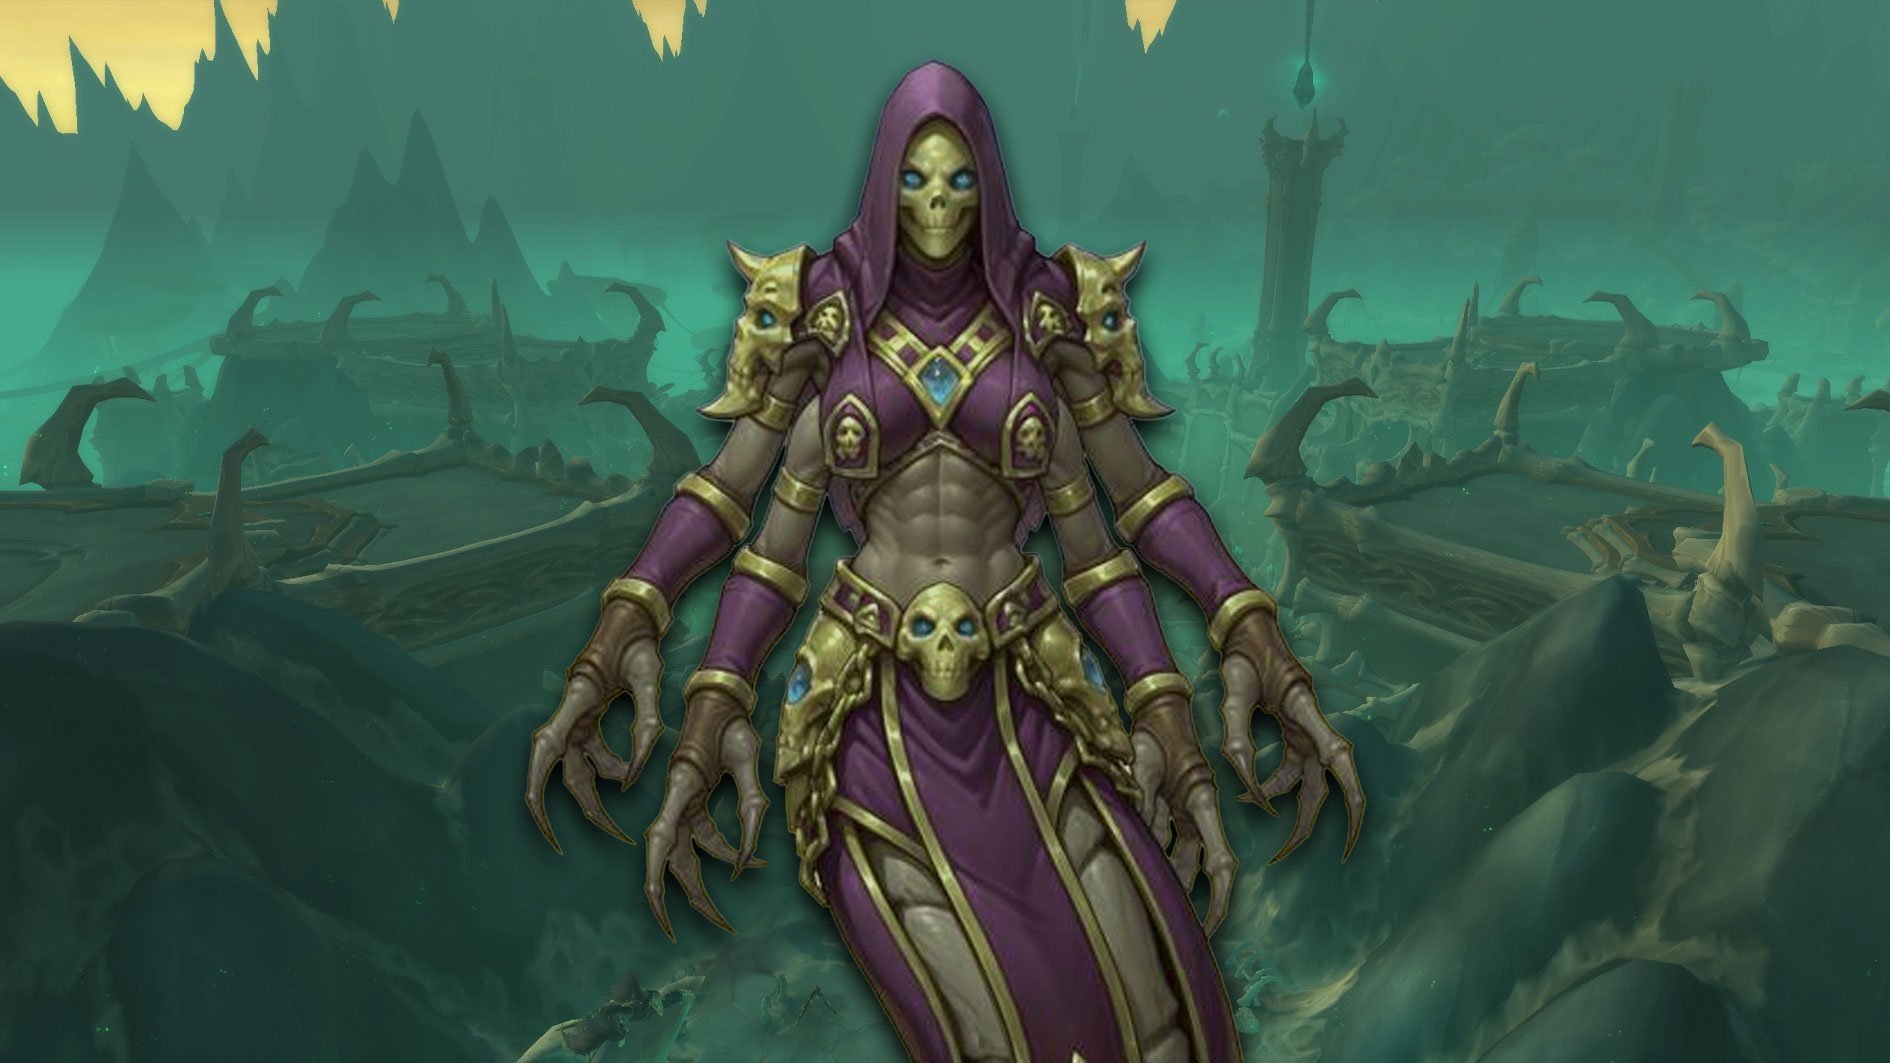
- Mordretha, the Endless Empress
Theater of Pain entrance
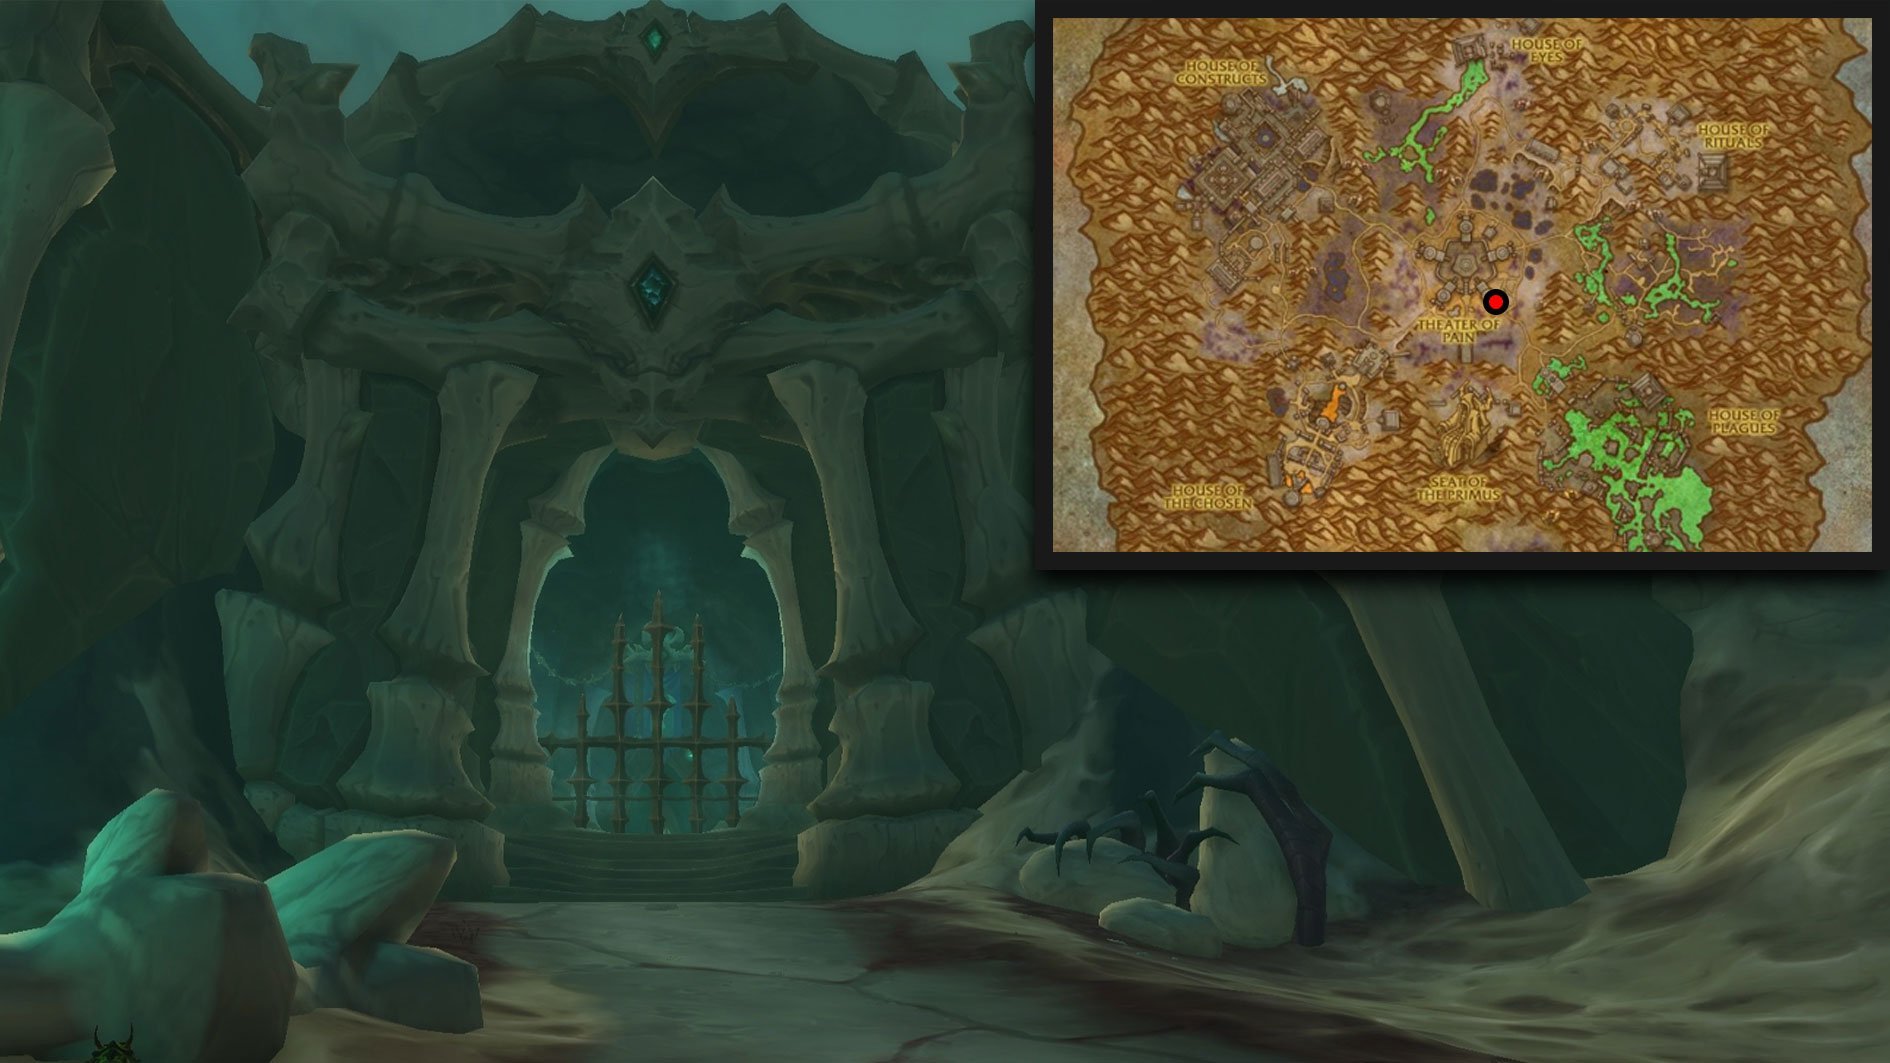
Theater of Pain entrance is located in Shadowlands, Maldraxxus [53.4, 53.4]. In TWW Season 2, you can find a portal to the entrance of this instance in Khaz Algar, Dornogal [53.7, 38.7].
Theater of Pain walkthrough
Let’s dive deeper into a Theater of Pain M+ walkthrough. Here we will mention the overall dungeon layout and tactics for every boss.
Theater of Pain dungeon layout
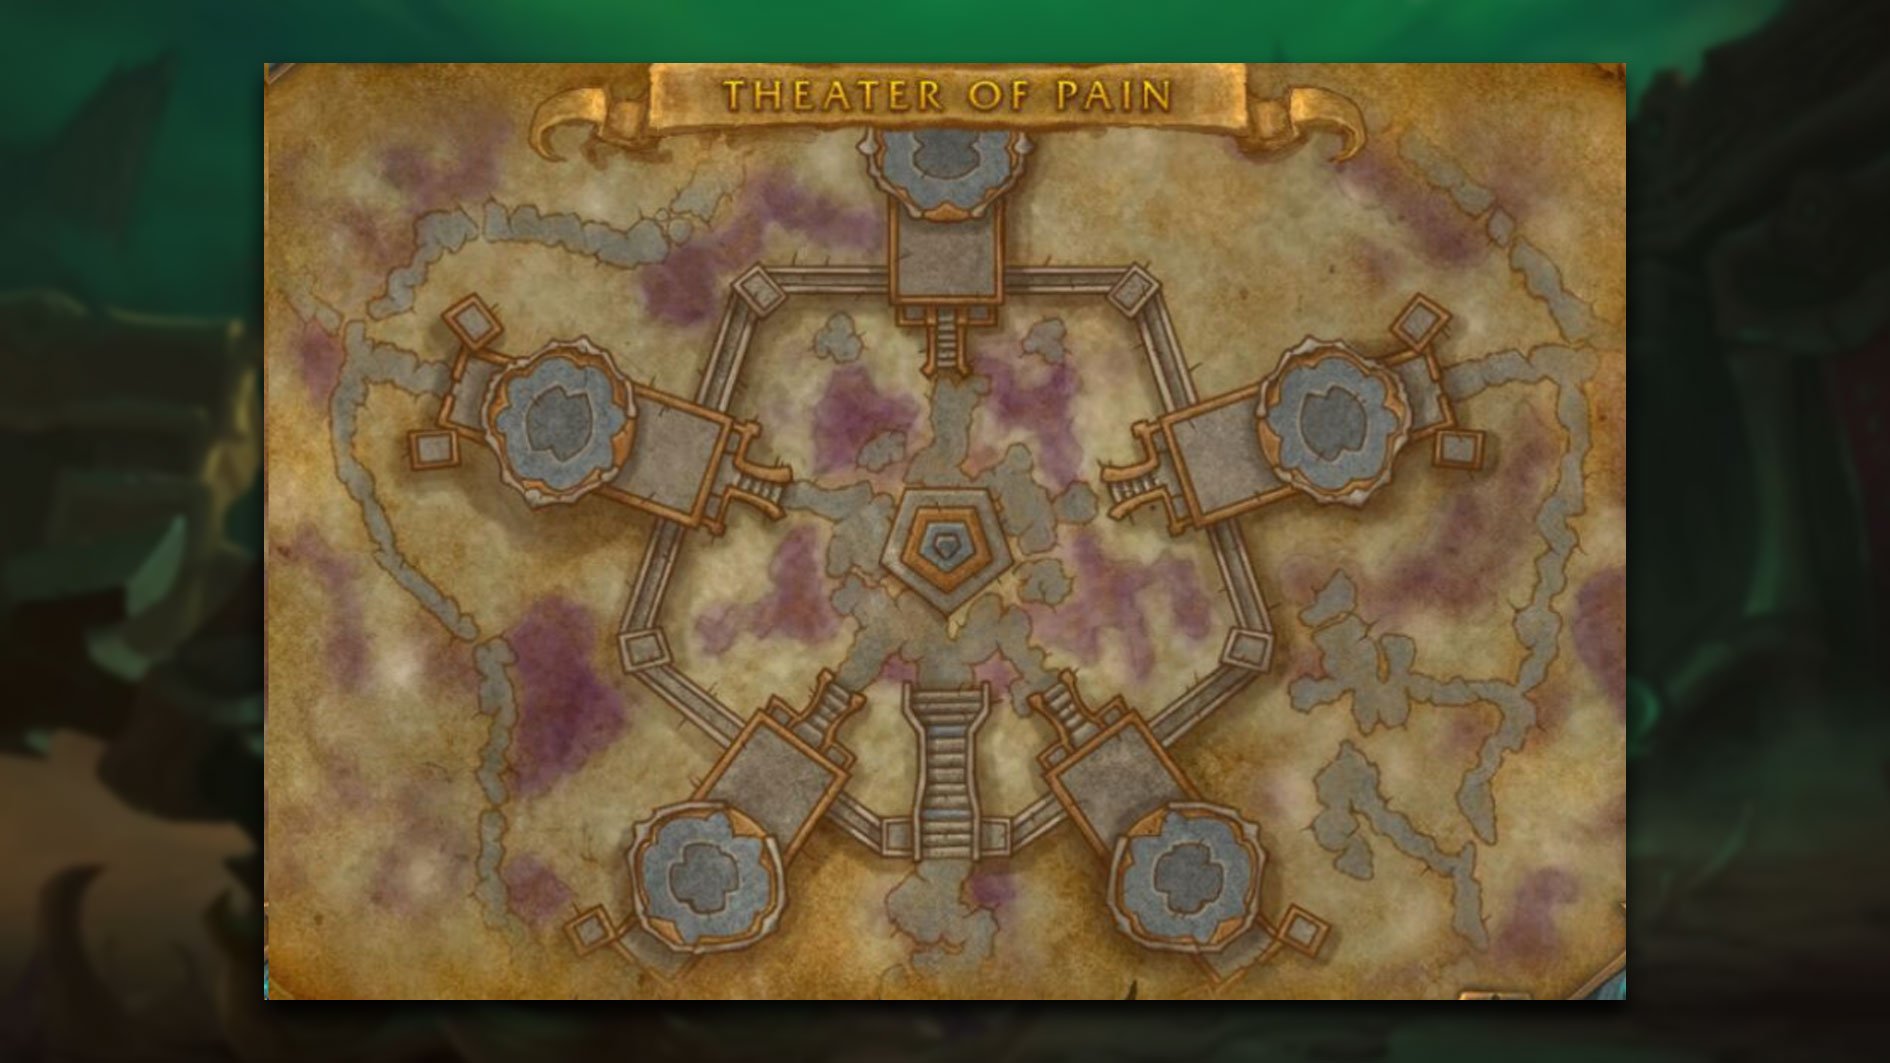
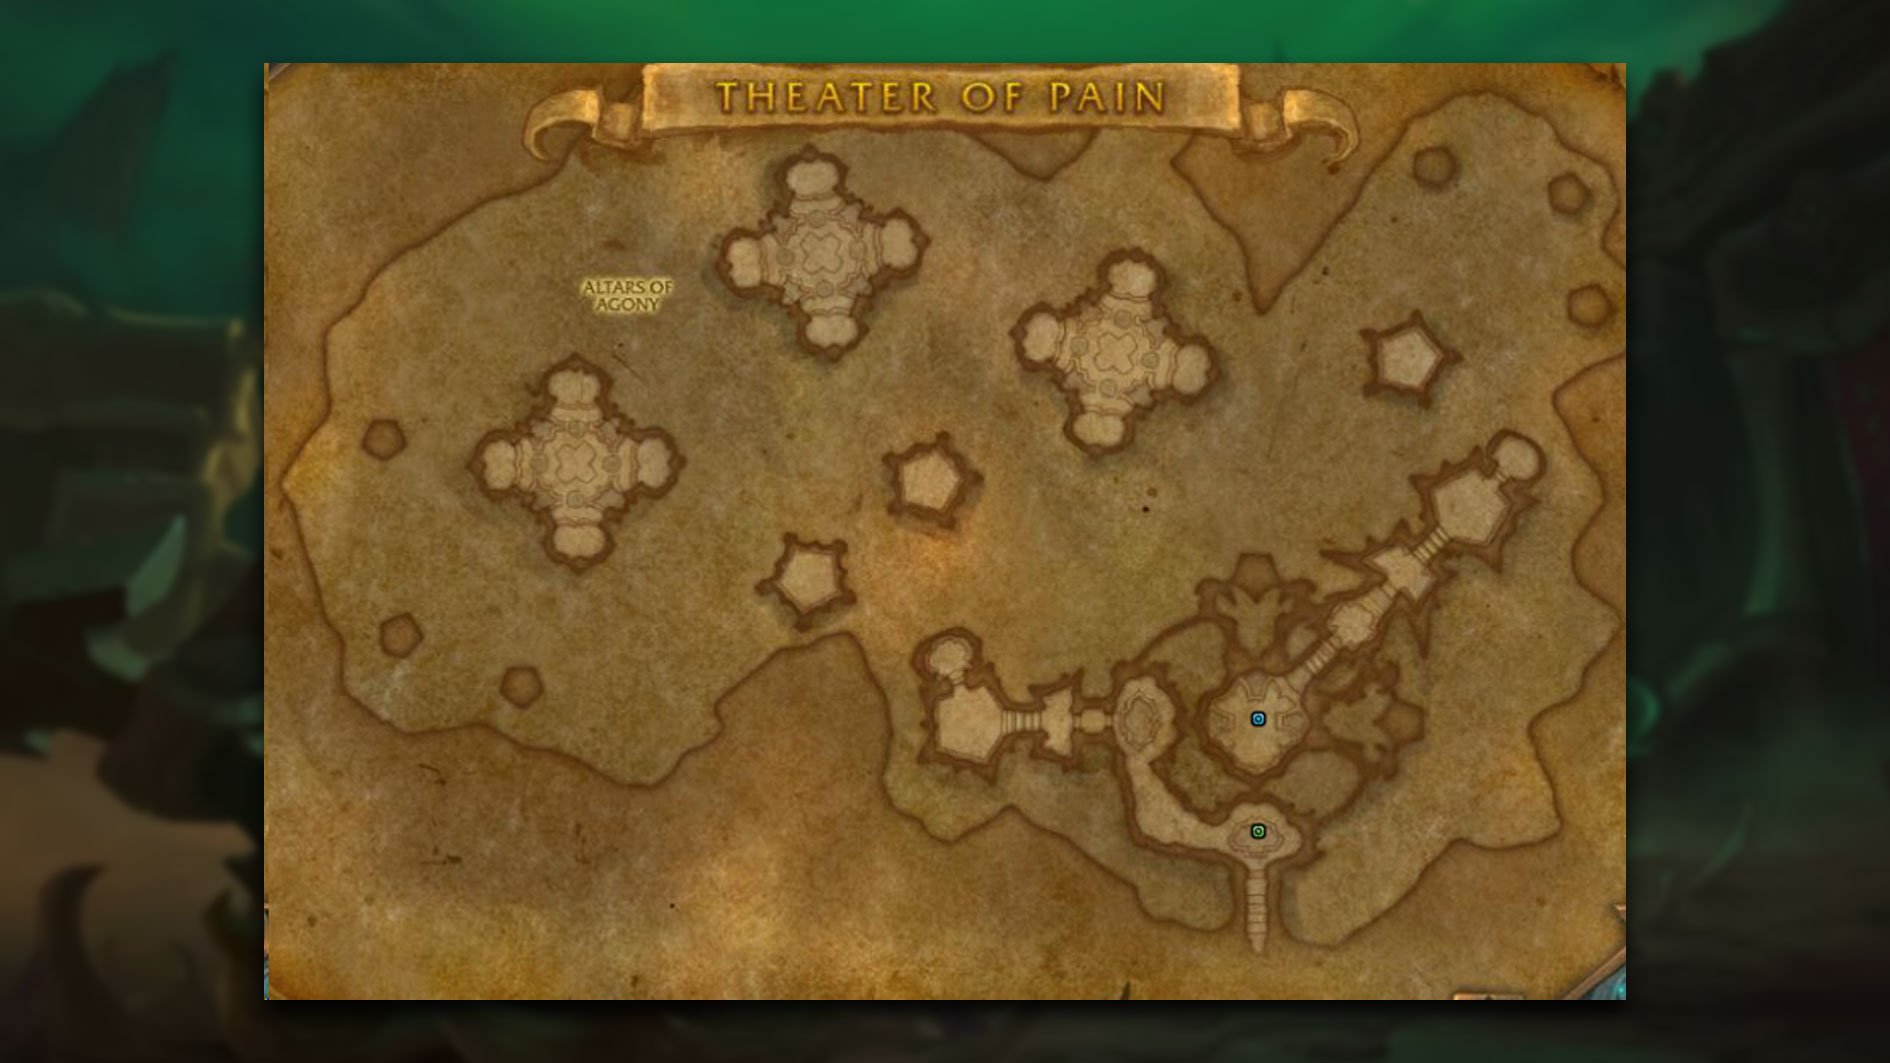
Theater of Pain dungeon layout consists of five areas:
- Scene of Pain: The entrance to the dungeon. Affront of Challengers and Mordretha, the Endless Empress boss fights both happen in this zone.
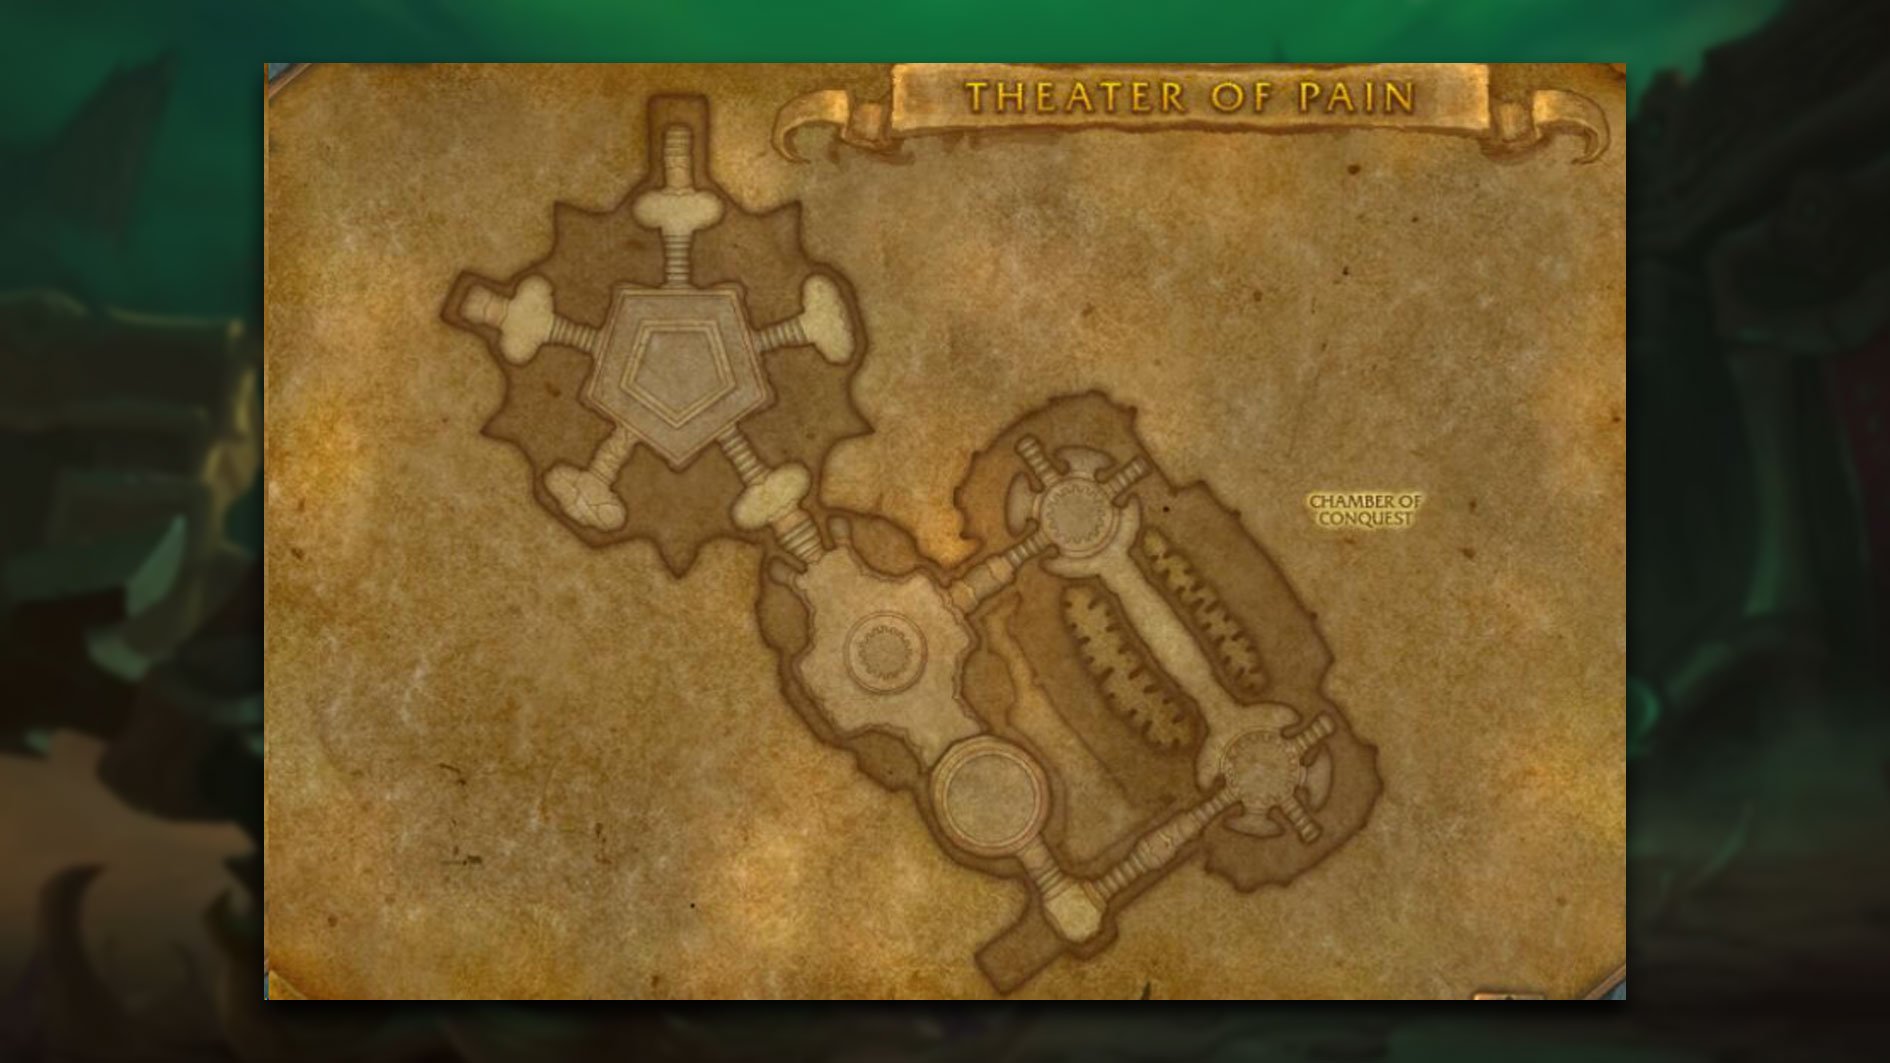
- Chamber of Conquest: You will be sent here after you defeat the first boss. Here you can take three routes to the following bosses. Xav the Unfallen arena is also located here.
- Altars of Agony: A path to Kul’tharok and his arena.
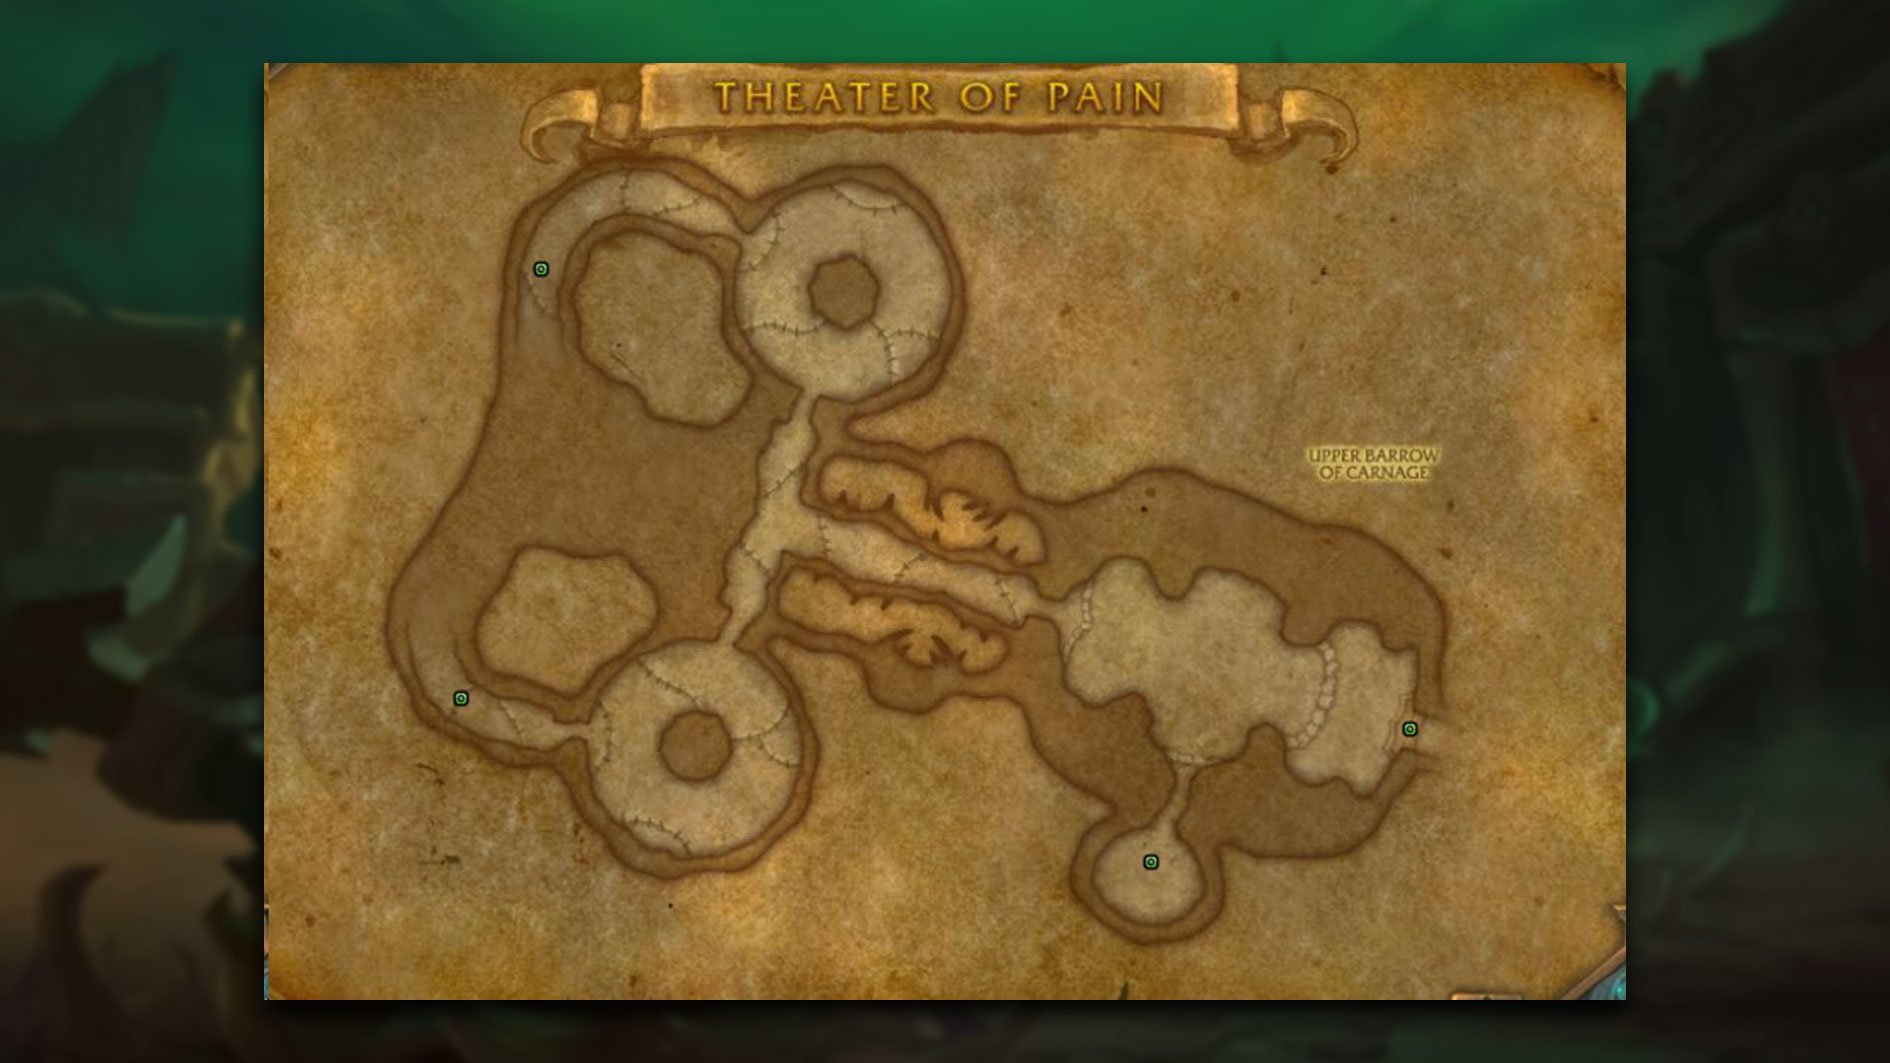
- Upper Barrow of Carnage: A path to Gorechop boss.
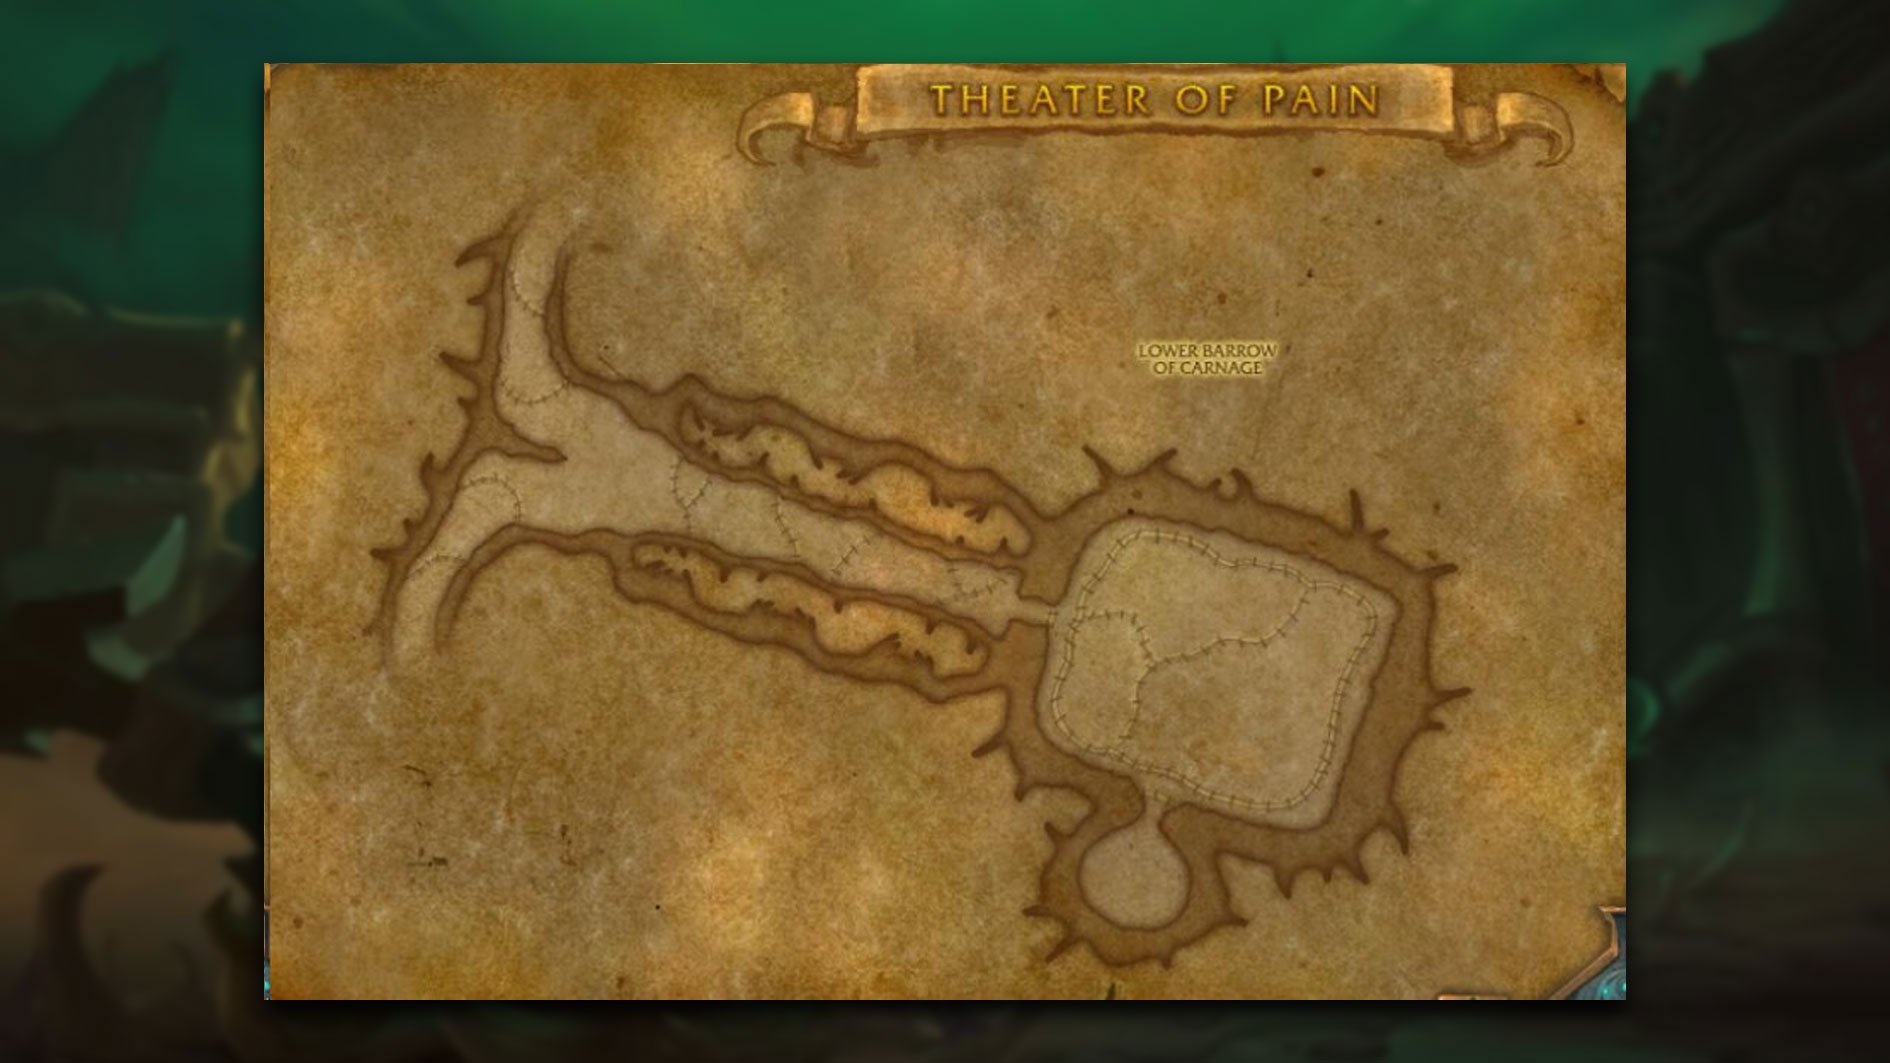
- Lower Barrow of Carnage: Gorechop boss arena is located in this zone.
First Part: Scene of Pain

The first boss of the dungeon is located close to the dungeon entrance and has only one trash pack prior. There are just three types of enemies you can face here:
- Unyielding Contender
- Soothe Death Wish enrage from the mob. This is a hazardous ability that can deal enormous damage. If you can’t remove it, focus the mob and make sure the Tank uses its defensives.
- Be careful when moving the mob away, as it will Charge into its target.
- Battlefield Ritualist
- Interrupt Unholy Fervor or dispel the debuff it applies.
- Interrupt Necrotic Bolt if possible to avoid extra damage and heal absorb on party members.
- Raging Bloodhorn
- Soothe Raging Tantrum or use defensives for the party to avoid high party damage.
- This mob is immune to CC.
Affront of Challengers boss guide
As the first Theater of Pain boss guide, here is a full breakdown of Affront of Challengers’ abilities and how to handle them.
During the boss encounter, you will have to fight against three challengers. Keep in mind that due to Final Will, the remaining challengers become stronger when each of them dies. So, try defeating all three approximately the same time. Also, make sure to stay inside the arena. Coming too close to the guarding NPCs that form a circle will result in damage and knockbacking back to the arena.
Dessia the Decapitator abilities:
| Ability | Description | Tip |
|---|---|---|
| Mighty Smash | At 100 Energy, deals damage to all players and slows them. | Using defensives and strong healing cooldowns might be a good choice if this ability overlaps with other bosses’ ones. |
| Mortal Strike | Deals high damage to the Tank and reduces healing received for 5 seconds. | The Tank has to use defensives. Healer has to be extra attentive. |
Paceran the Virulent abilities:
| Ability | Description | Tip |
|---|---|---|
| Noxious Spores | At 100 Energy, deals damage to all players in AoE zones and applies a slowing debuff. | Dodge the hazardous zones. Healer might need to use strong healing cooldowns. |
| Decaying Breath | Frontal cone attack that deals deadly damage. | Dodge the frontal. |
Sathel the Accursed abilities:
| Ability | Description | Tip |
|---|---|---|
| Searing Death | At 100 Energy, deals damage to all players and creates damaging circles around them. | Stay away from your allies to avoid receiving extra damage. |
| Withering Touch | Debuffs a random player with a DoT. | Dispel the debuff. |
| Necromantic Bolt | Deals high damage to a random player. | Stay away from your allies, not to receive extra damage. |
After defeating the first Theater of Pain boss, you will be sent into the dungeon under the arena and will have three possible ways to go to meet the next three bosses. In our Theater of Pain Mythic Plus guide, we will be explaining Xav the Unfallen -> Kul’tharok -> Gorechop route. However, you can complete these bosses in any order.
Second part: Chamber of Conquest

On your way to Xav the Unfallen boss battle, you will face various enemies. However, there are only two important pack-mobs you have to know how to fight against:
- Shambling Arbalest
- Jagged Quarrel targets a random player and deals high bleed damage. Try removing it with abilities like Stoneform or Cauterizing Flame.
- Ancient Captain
- Focus this mob to get rid of Commanding Presence buff it provides to other enemies. While this mob is alive, cleaving and AoEing the pack is a challenging quest.
- Interrupt Demoralizing Shout.
- This mob is immune to CC.
You will also have to face a few mini-bosses:
- Dokigg the Brutalizer
- Move away from Whirlwind AoE.
- Dodge Brutal Leap and the zones it creates.
- Tank must use defensives against Savage Flurry.
- This mob is immune to CC.
- Nekthara the Mangler
- Move away from Whirlwind AoE.
- Dodge Whirling Blade trajectory.
- Stop your casts before Interrupting Roar is cast.
- This mob is immune to CC.
- Heavin the Breaker
- Stop your casts before Interrupting Roar is cast.
- Tank must use defensives against Colossus Smash.
- Move away from Ground Smash frontal the mob casts on a random player.
- This mob is immune to CC.
- Harugia the Bloodthirsty
- Take Ricocheting Blade away from the group, use defensives or line-of-sight this ability.
- Dodge Bloodthirsty Charge zone.
- This mob is immune to CC.
- Rek the Hardened
- Move away from Whirlwind AoE.
- Use defensives or healing cooldowns against Swift Strikes.
- Tank must use defensives against Unbalancing Blow.
- This mob is immune to CC.
- Advent Nevermore
- Take Ricocheting Blade away from the group, use defensives or line-of-sight this ability.
- Use defensives or healing cooldowns against Seismic Stomp.
Xav the Unfallen boss fight
As the second Theater of Pain boss guide, here is a full breakdown of Xav the Fallen abilities and how to handle them.
| Ability | Description | Tip |
|---|---|---|
| Blood and Glory | At 100 Energy, two random players are sent into the fighting pit. Winner gains a damage buff. Loser gains a damage debuff. | Make sure one of the players is defeated ASAP to return to the arena and continue the fight. If you have clear communication with your group, you can maximize the winner’s damage buff by surrendering and letting the party member with available strong damaging cooldowns win the duel. |
| Might of Maldraxxus | After Oppressive Banner casts, Xav performs a random combination of three deadly abilities: Deafening Crash: Attack in a circle around. Massive Cleave: Cone attack. Crushing Slam: Deals damage in a straight line. | Dodge the performed attacks and move out of the hazardous zones before the attack is fully charged. |
| Oppressive Banner | The banner is placed in the arena, slowing players in range. This ability is always followed by Might of Maldraxxus cast. | Focus the banner while fighting the boss to avoid mechanics layering in the future. |
| Brutal Combo | Deals a series of attacks to the Tank. | Tank has to use defensives to mitigate damage. |
Third part: Altars of Agony

To reach Kul’tharok boss encounter, you will have to travel through some platforms using Necrotic Gates. To move from platform to platform, you have to defeat packs of mobs and bring the Strange Orb to the next Necrotic Gate. Two platforms give you a choice of which platform you will head to next. We recommend using the rightmost paths.
Here are mobs you will have to fight on platforms:
- Shackled Soul
- Interrupt, CC or line-of-sight Bind Soul.
- AoE these mobs when in a safe area after the bridge with hazardous zones.
- Portal Guardian
- Use defensives or healing cooldowns to survive Soulstorm.
- Curse dispel Shadow Vulnerability or use defensives if Soulstorm starts while debuffed.
- This mob is immune to CC.
- Bring Strange Orb to Necrotic Gates to the next platform and place it on the chosen side.
- Bone Magus
- Purge Bone Shield.
- Always interrupt Bone Spear.
- Maniacal Soulbinder
- Always interrupt Necrotic Bolt Volley.
- Interrupt Necrotic Bolt if possible.
- Dispel Soul Corruption.
- Soulforged Bonereaver
- Move away from Bonestorm.
- Stutter-step to dodge Bone Spikes.
- This mob is immune to CC.
- Nefarious Darkspeaker
- Move away from Death Winds not to get knocked off the platform.
- Curse dispel Curse of Desolation or stutter-step to avoid appearing zones.
- Interrupt Spirit Frost if possible.
Kul’tharok boss guide
As the third Theater of Pain boss guide, here is a full breakdown of Kul’tharok’s abilities and how to handle them. Keep in mind that there is a damaging puddle under the boss. Keep distance!
| Ability | Description | Tip |
|---|---|---|
| Draw Soul | Deals damage to the group, marks all players and creates adds on their positions after a few seconds. If adds reach the boss, all players receive heavy damage. | Use defensives and strong healing cooldowns. Get together on the edge of the arena and AoE adds ASAP and CC them to make sure you have enough time. |
| Death Spiral | Creates rotating orbs that deal damage on contact. | Dodge orbs. |
| Well of Darkness | Marks two random players with a DoT, creating a damaging area around them. | Stay away from allies if targeted. Healer has to dispel one debuff and keep an eye on the remaining player. A player who doesn’t get dispelled has to use defensives. |
| Necrotic Eruption | Frontal attack aiming at the Tank. | Move away from the frontal zone to avoid damage. |
| Necrotic Bolt | Deals heavy damage to the Tank. | Interrupt if possible. |
Fourth part: Barrow of Carnage

On your way to the Gorechop boss battle, you will face various enemies. Here are the most important aspects of these trash packs:
- Blighted Sludge-Spewer
- Make all players stay in one spot to avoid mobs from using Leaping Thrash and jump away from the AoE and cleave.
- Always interrupt Withering Discharge or use Desiese dispel to remove Decaying Blight stacking debuff.
- Interrupt Decaying Filth if possible or use Desiese dispel to remove Decaying Blight stacking debuff.
- Diseased Horror
- Interrupt or CC Meat Shield casts.
- Tanks must use defensives against Decaying Strike. Use Desiese dispel to remove Decaying Blight stacking debuff from this ability if possible.
- Putrid Butcher
- Tank must use damage mitigation against Devour Flesh to let the mob heal as little as possible.
- Disgusting Refuse
- Make all players stay in one spot to avoid mobs from using Leaping Thrash and jump away from the AoE and cleave.
- Move away from Disgusting Burst these mobs leave upon death. Use Desiese dispel to remove Decaying Blight stacking debuff if hit.
- Rancid Gasbag
- Use defensives or healing cooldowns against Disease Cloud until the mob is dead.
- Dodge Vile Eruption cones in front and at the back of the mob.
- Stutter-step to avoid Rancid Bile zones.
- This mob is immune to CC.
Gorechop boss guide
As the fourth Theater of Pain boss guide, here is a full breakdown of Gorechop’s abilities and how to handle them.
During the boss fight, Meat Hooks will be moving from one side of the arena to another from time to time. If the player doesn’t avoid them by going through the openings, hooks drag it to the edge of the room, applying DoT debuff. There are always two ”waves” of Hooks.
| Ability | Description | Tip |
|---|---|---|
| Oozing Leftovers | After each Meat Hooks phase, adds are summoned to the arena. They slowly lose health and leave Coagulating Ooze zones upon death. | CC and cleave adds and stay close to allies to avoid Leaping Thrash from spreading mobs. Move away from hazardous zones after adds’ deaths. |
| Hateful Strike | Deals heavy damage to the Tank. | Tank has to use defensives. |
| Tenderizing Smash | Starts pulling all players to the boss and creates an AoE zone that deals damage at the end of the cast. | Use mobility spells to avoid being pulled too close to the boss. |
After defeating the boss, a shortcut to the upper floor is opened. Use hooks at the edge of the room to return to entrance of the dungeon faster.
Final part: Back to the top

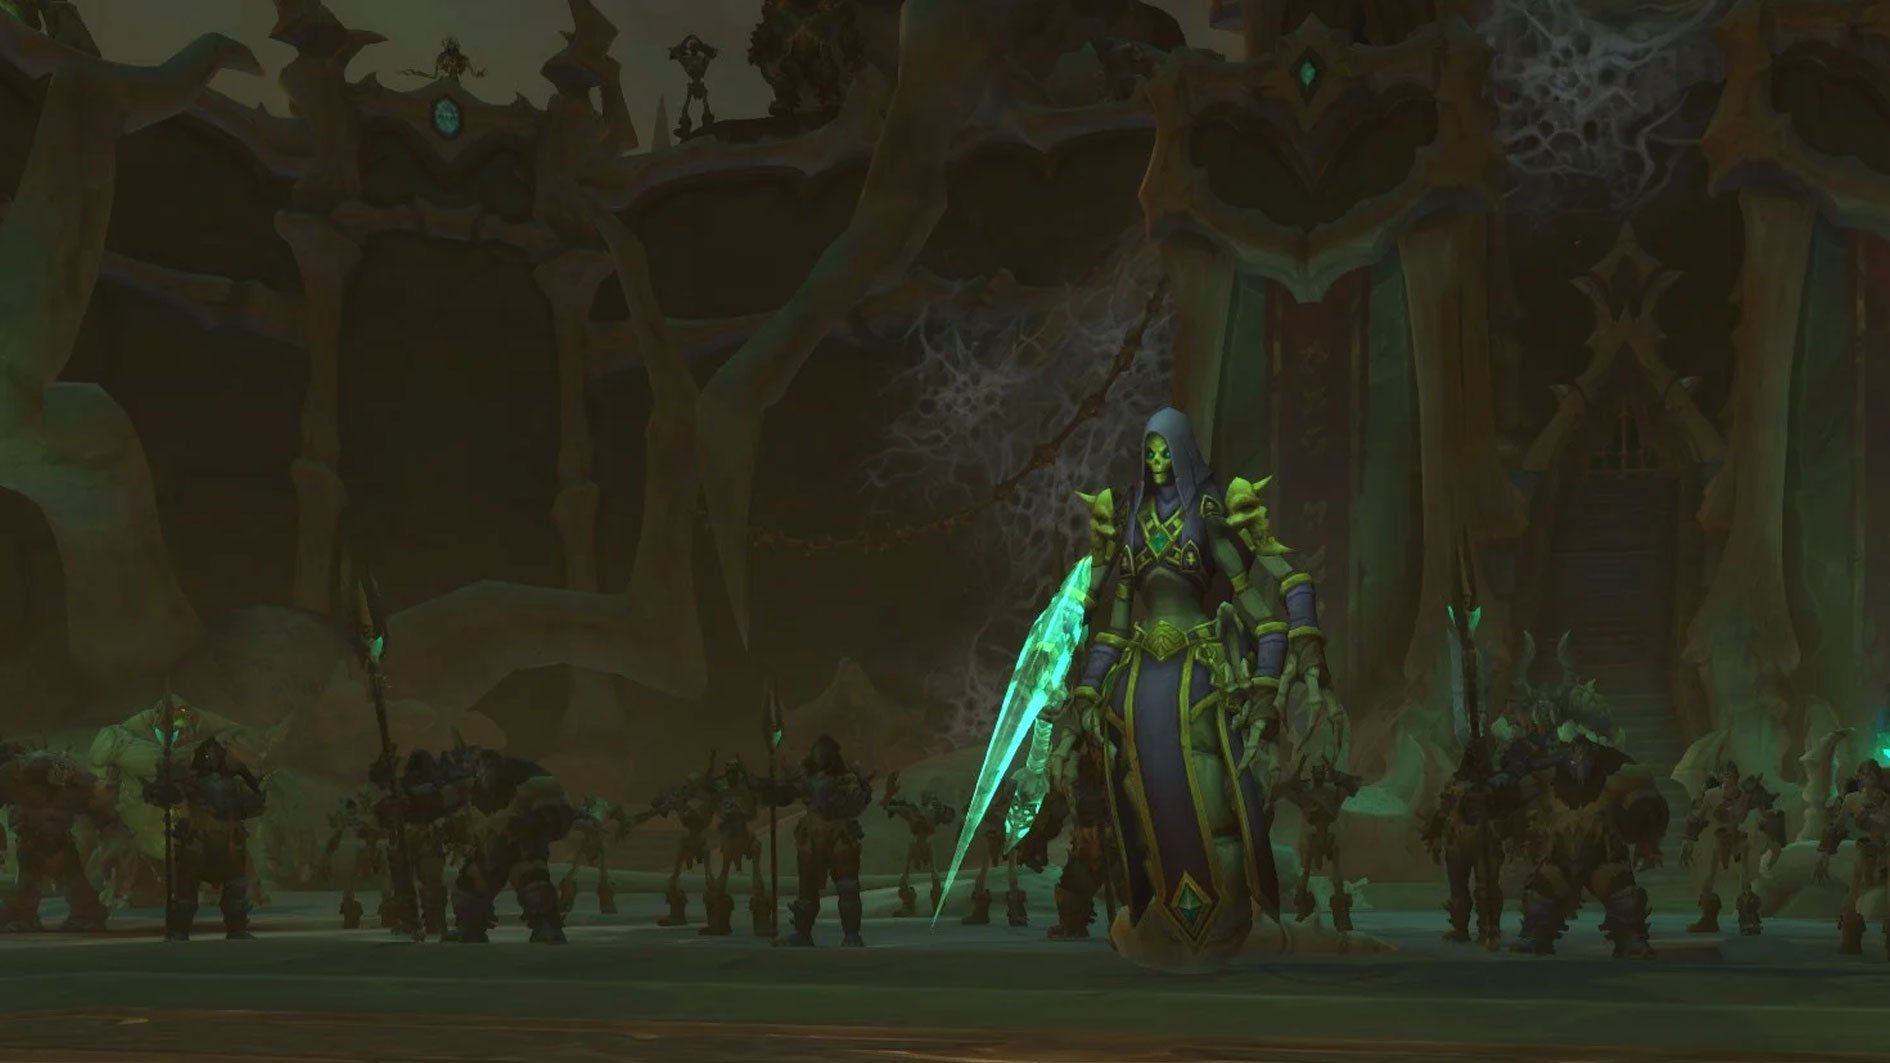
After defeating all previous Theater of Pain bosses, head back to the first room under the entrance arena. Use the portal to return to the outside of the theater catacombs. Here is where you will have a Mordretha boss fight.
Just like during the Affront of Challengers boss fight, don’t get too close to the arena edges to avoid being backlashed by the guardians.
Phase 1
During Phase 1, players will face the following abilities:
| Ability | Description | Tip |
|---|---|---|
| Dark Devastation | Random frontal beam attack that starts rotating. | Dodge the beam and follow the rotation to avoid getting hit. |
| Grasping Rift | Creates a rift at a random place in the arena that starts pulling players inside. Players who get too close to the rift get stunned and receive a DoT debuff. | Use mobility spells to avoid getting pulled into the rift. |
| Manifest Death | Deals damage to all players and marks them with a damaging circle that explodes and summons casting adds afterwards. | Move away from your allies. Use defensives. Healer has to use its strong healing cooldowns. Interrupt adds’ casts and AoE them ASAP. |
| Reaping Scythe | Deals heavy damage to the Tank. | Tank must use defensives to mitigate damage. |
Phase 2
The boss enters Phase 2 after reaching the 50% health mark. Now, she will add Echoes of Carnage ability to her rotation.
| Ability | Description | Tip |
|---|---|---|
| Echoes of Carnage | Deals heavy damage to all players at the beginning and every few seconds afterwards. Ghosty Combatants start appearing on the arena from time to time. Some of them run from one side of the arena to another. Others create damaging circle zones. | Use defensives and strong healing cooldowns to survive the damage. Keep performing all previous mechanics. However, be more careful and dodge hazardous areas around appearing Combatants. |
Theater of Pain loot table
Here are all Theater of Pain rewards you can get in this dungeon:
Theater of Pain achievements
Let’s take a look at all Theater of Pain dungeon achievements:
- Theater of Pain – defeat the final boss of the dungeon.
- Heroic: Theater of Pain – defeat the final boss of the dungeon on Heroic difficulty or higher.
- Mythic: Theater of Pain – defeat the final boss of Theater of Pain dungeon on Mythic or Mythic Keystone difficulty.
- Mythic: Theater of Pain Guild Run – defeat the final boss of Theater of Pain Mythic Plus dungeon in a group of guildmembers.
- Keystone Hero: Theater of Pain – complete Theater of Pain Mythic Keystone run at +10 or higher within the timer limit.
Last parting words
We hope this Mythic Theater of Pain guide will help you during your adventures in Season 2. We tried to mention the most important aspects of this instance and add useful tips for them. Let the knowledge guide you, and remember that if you face any significant difficulties, you can always rely on Mythic Plus boost as an alternative!
What do you think about the Theater of Pain Mythic Plus dungeon? Which are your most and least favorite parts of this instance? Let us know your opinion in the comments!


Comments