The Rookery M+ dungeon walkthrough: Strategies and rewards
This Rookery M+ guide shows you how to find the dungeon, its layout, boss mechanics, the best strategies against them, and all the loot you can get!
Table of Contents
Key takeaways:
- Dungeon overview: The Rookery is a Mythic+ dungeon added to the rotation in TWW Season 2.
- Dungeon bosses: The Rookery M+ dungeon has three bosses: Kyrioss, Stormguard Gorren, and Voidstone Monstrosity.
- Loot & Achievements: The dungeon offers valuable gear and several Mythic+ achievements, including Keystone Hero: The Rookery for a timed +10 completion.
We have prepared a complete The Rookery M+ guide to share with you all the important aspects of the dungeon, boss tactics and mechanics, rewards, and achievements for patch 11.1.7. Here, you can find all Rookery bosses guides and tips to complete your Mythic Plus runs successfully. We also recommend you read our Mythic Plus guide for more information on this topic.
Related posts:


What is The Rookery dungeon

The Rookery instance was added in The War Within expansion and joined the Mythic Plus rotation in Season 2. This dungeon is home to Stormrooks and their riders. Here, players have to defeat various trash packs on their way to three Rookery bosses:
- Kyrioss
- Stormguard Gorren
- Voidstone Monstrosity
The Rookery entrance

The Rookery dungeon entrance is located in Dornogal, Isle of Dorn [31.5, 35.5].
The Rookery walkthrough
Let’s dive deeper into The Rookery M+ walkthrough. Here we will mention the overall dungeon layout and tactics for every boss.
The Rookery dungeon layout
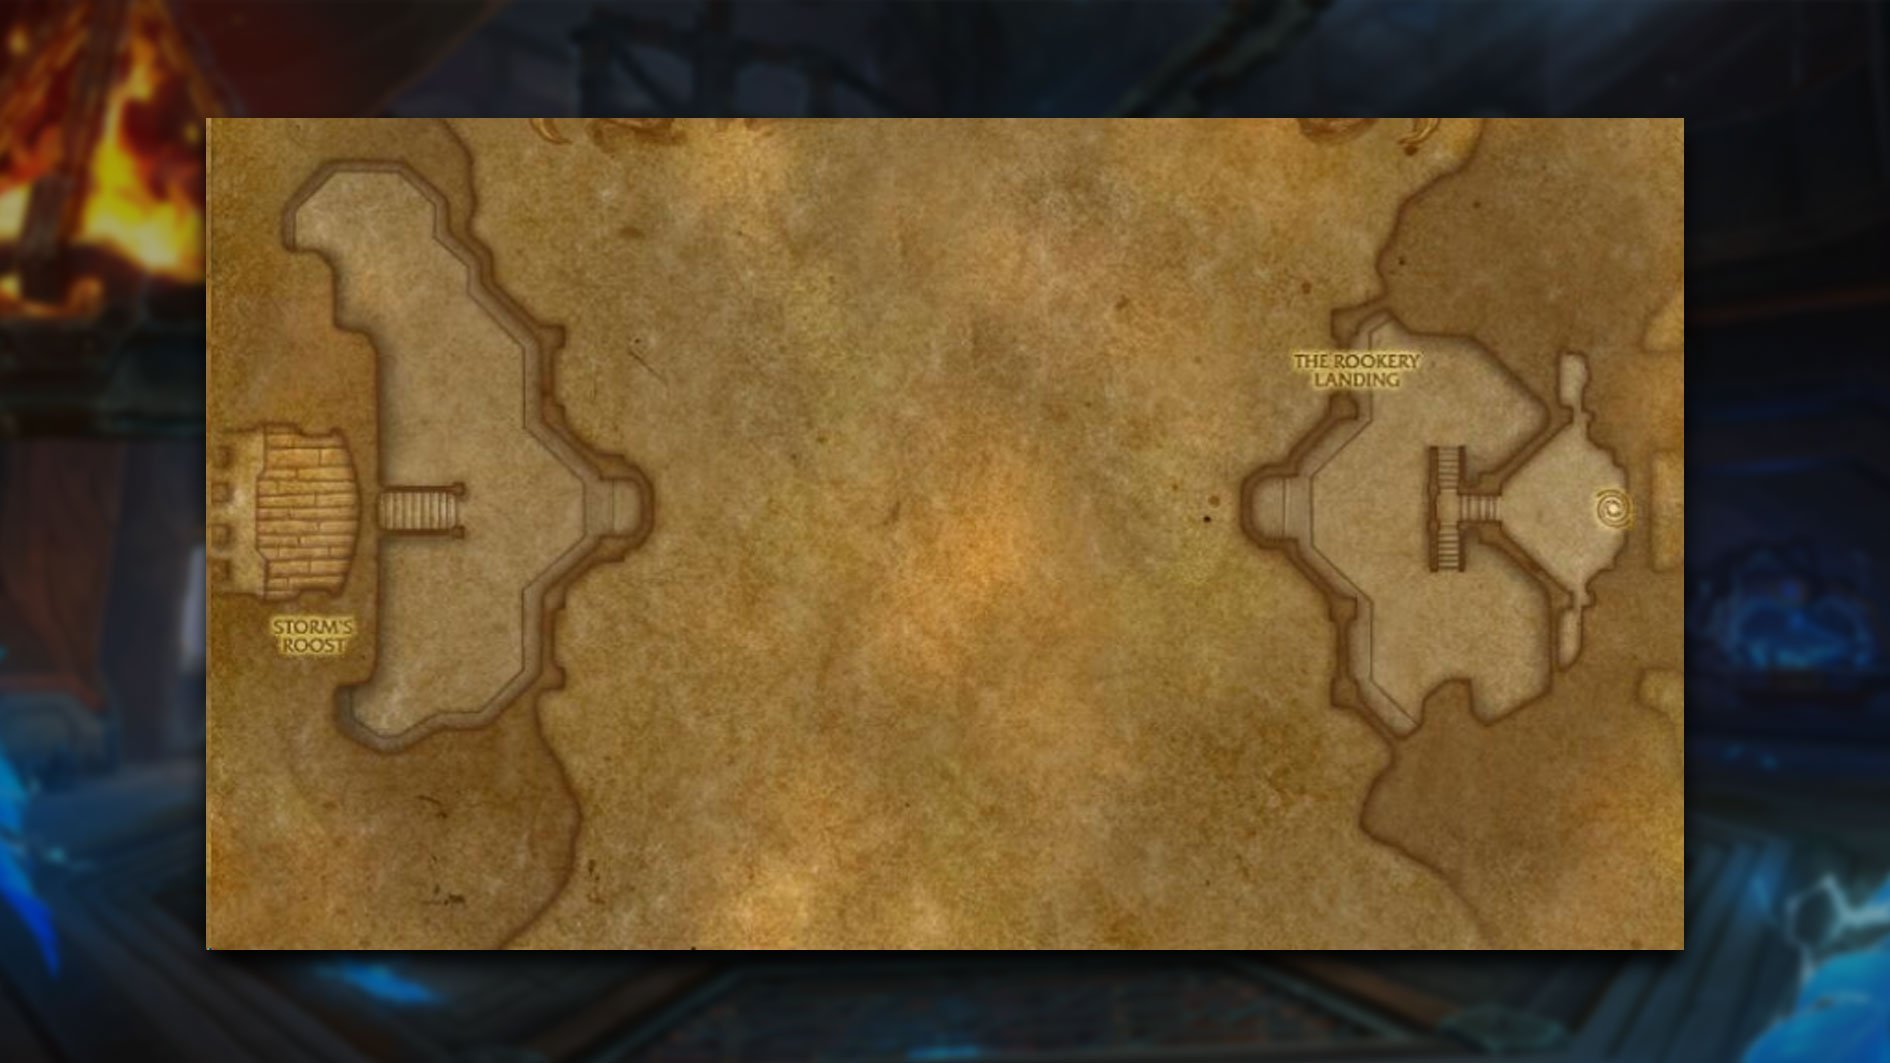

The Rookery dungeon layout consists of five areas:
- The Rookery Landing
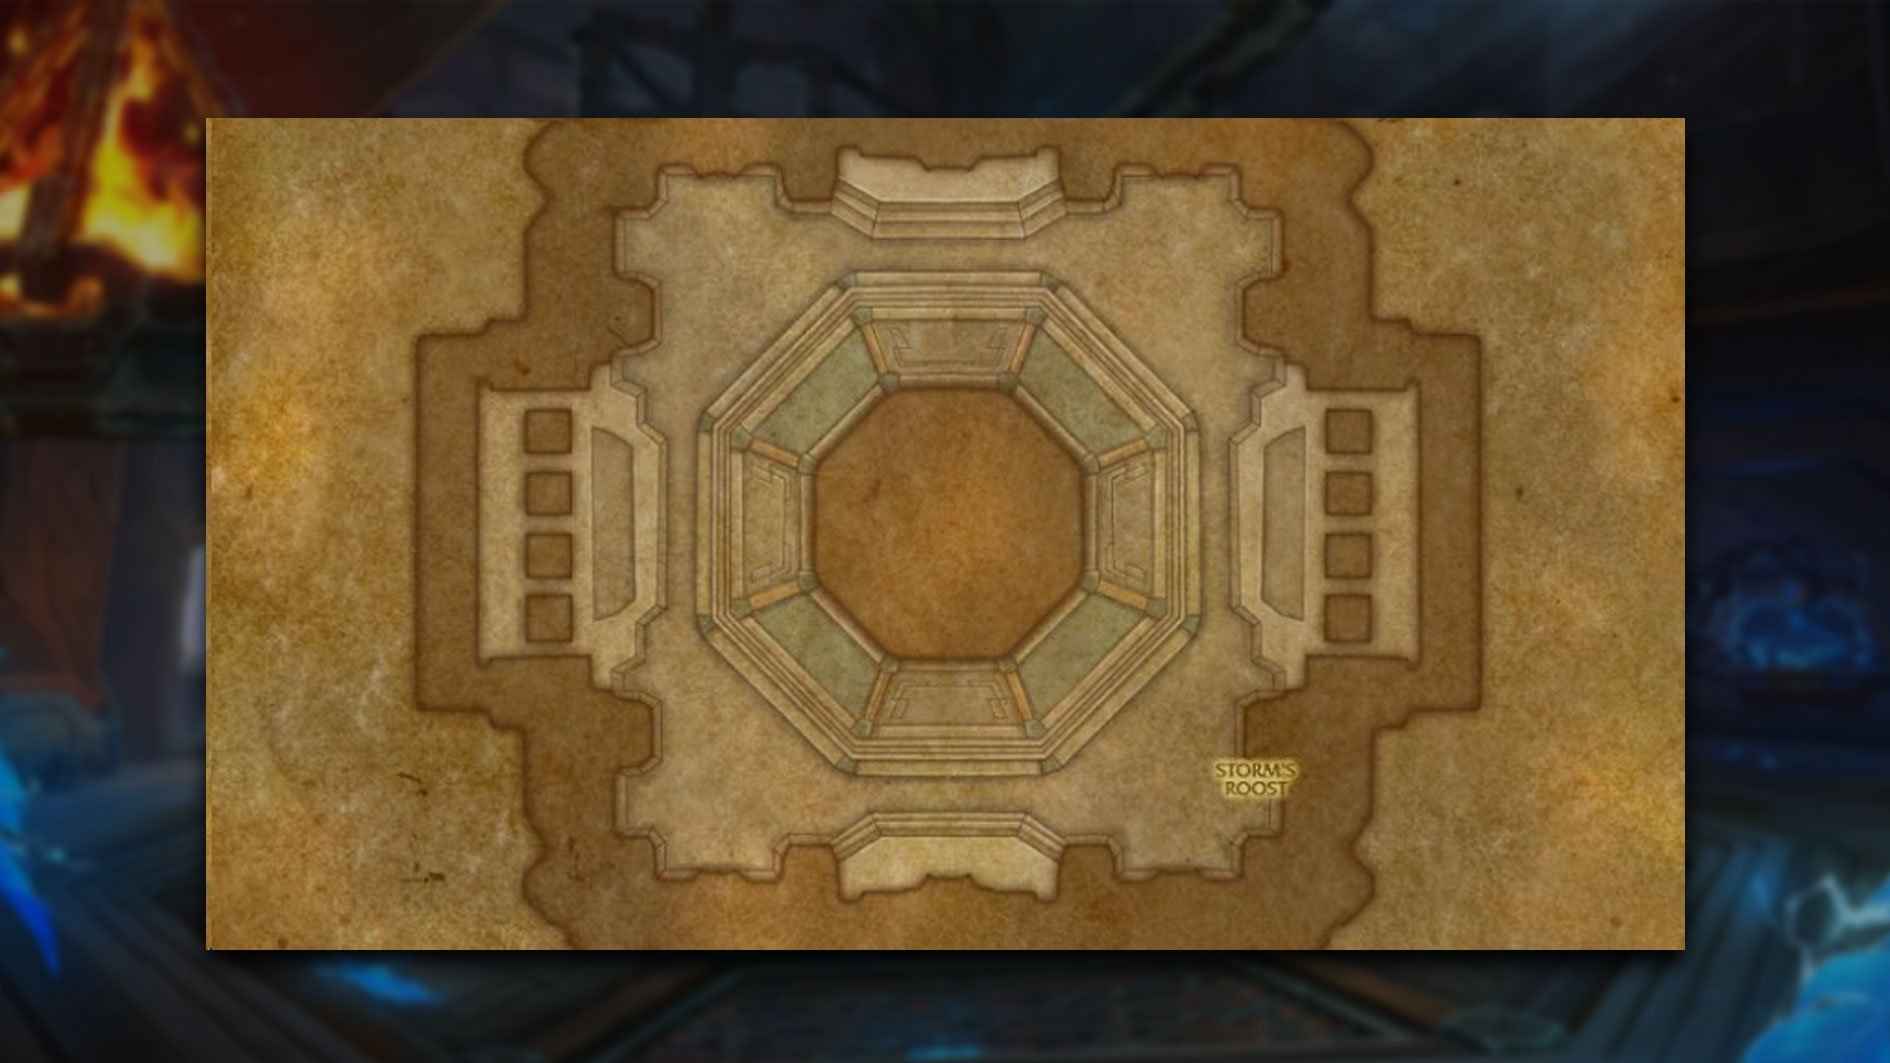
- Storm’s Roost
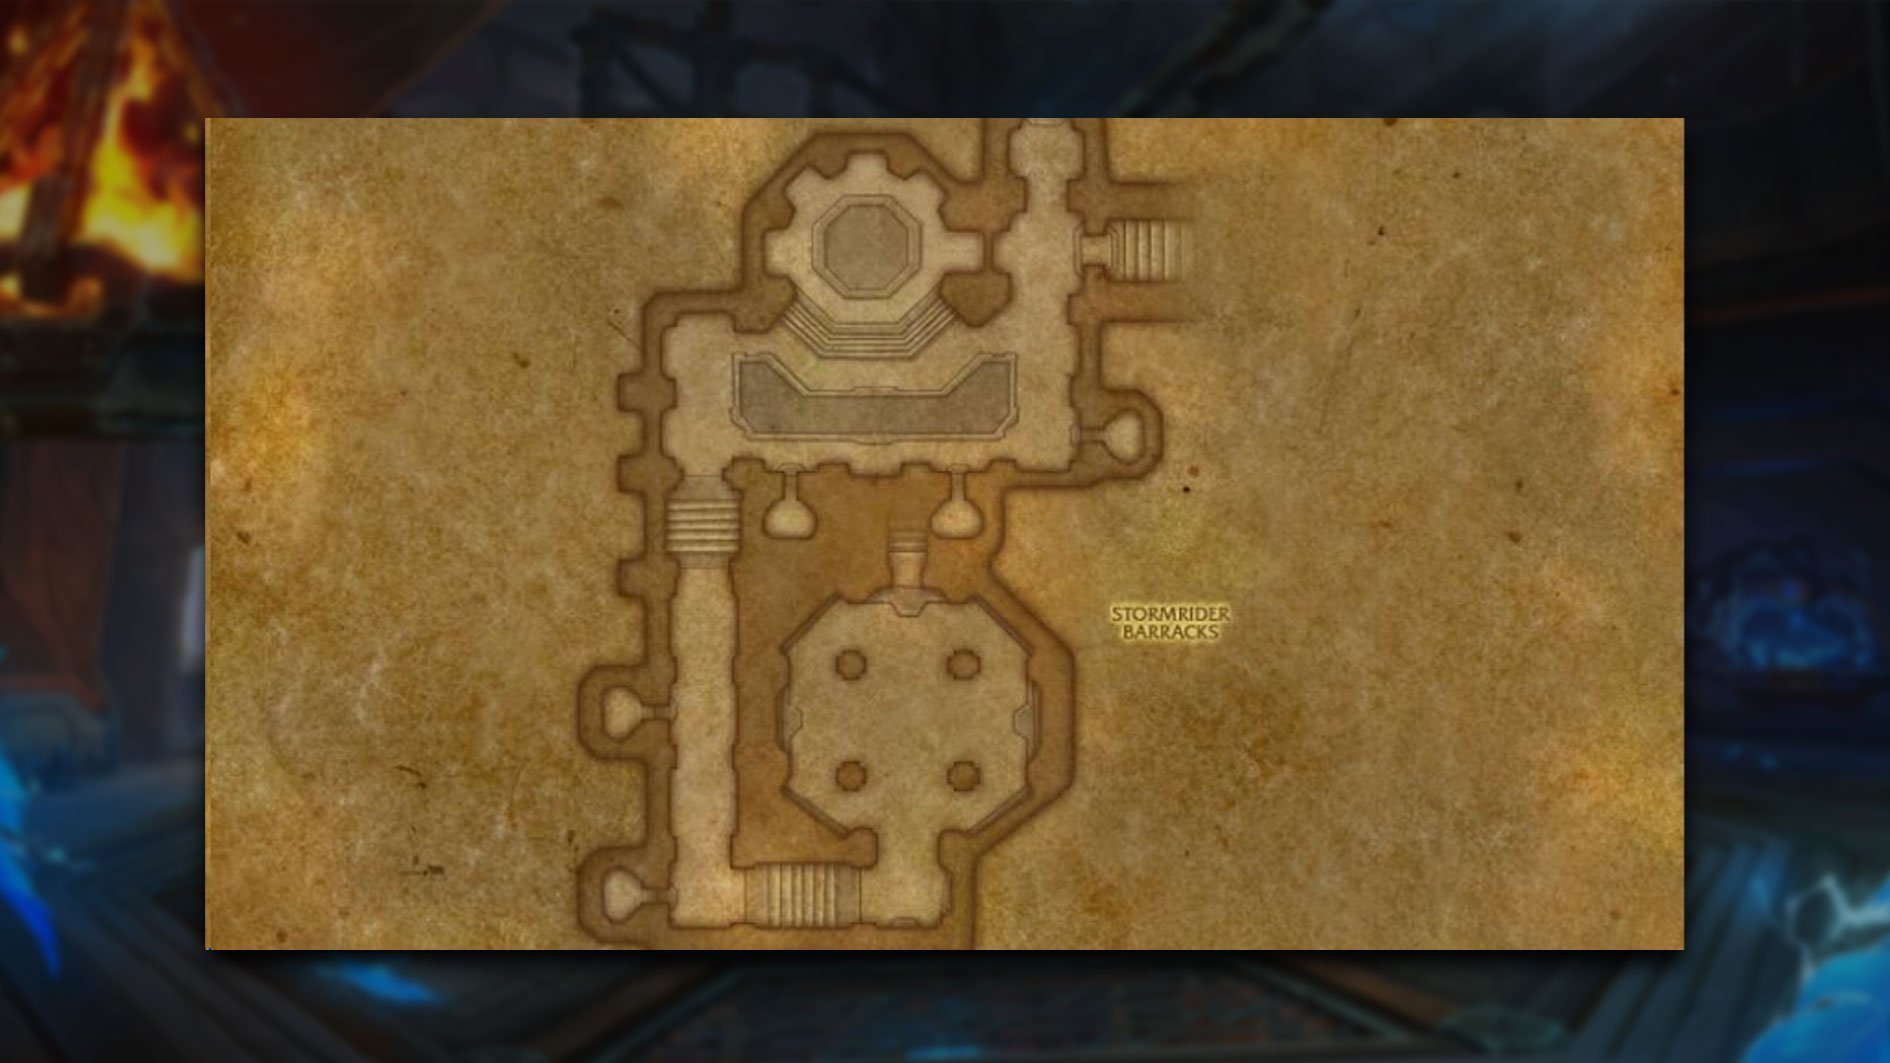
- Stormrider Barracks
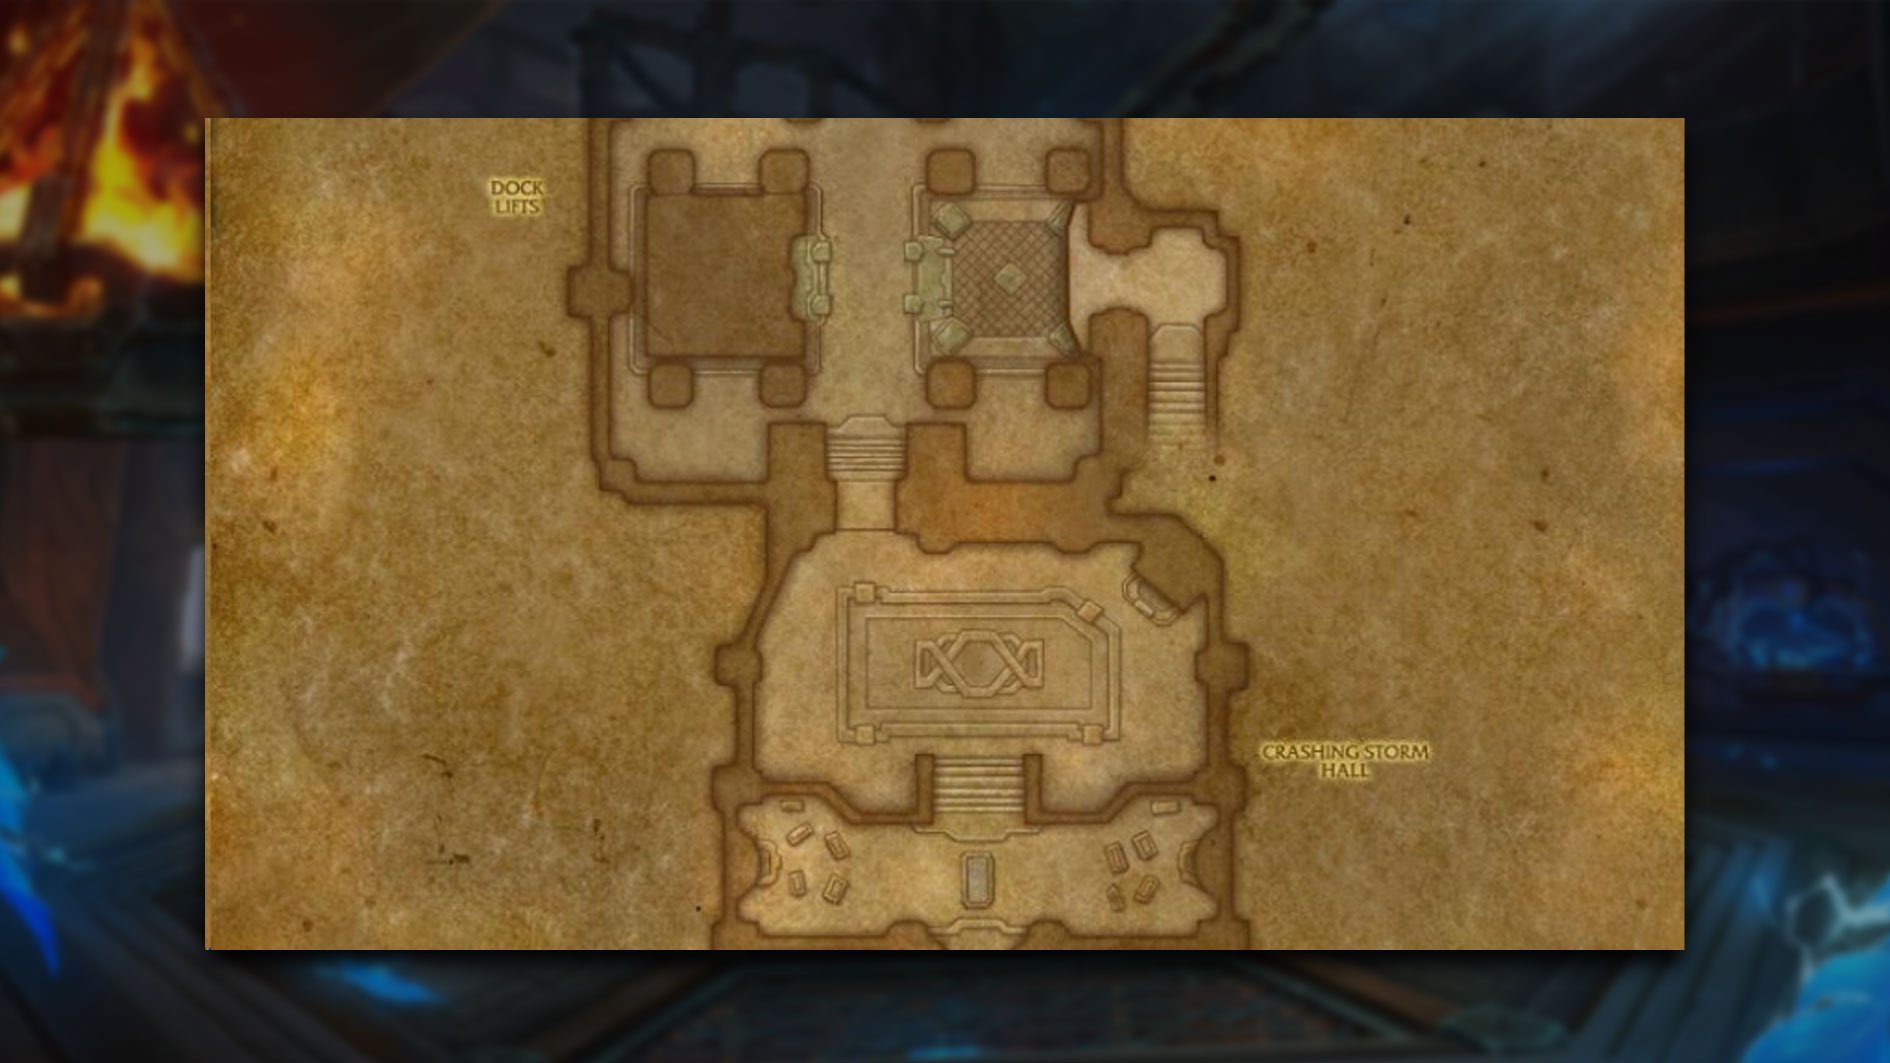
- Crashing Storm Hall
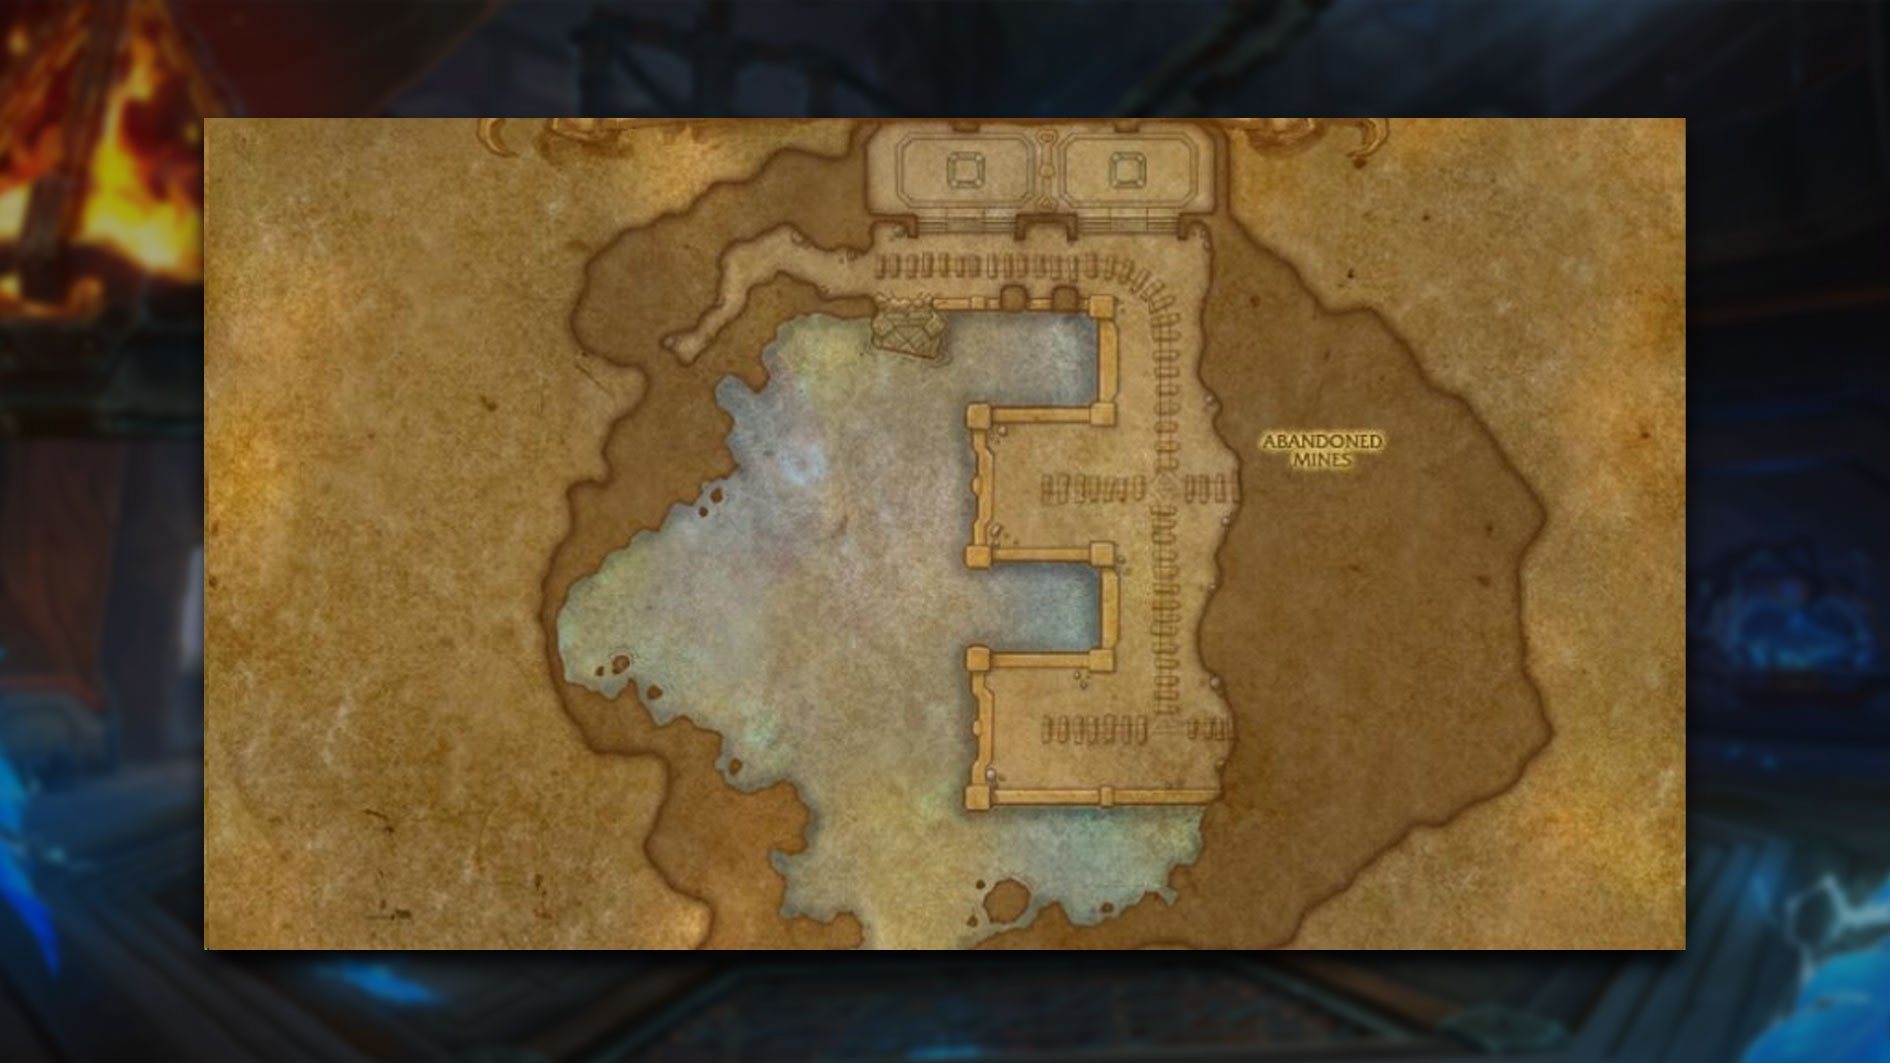
- Abandoned Mines
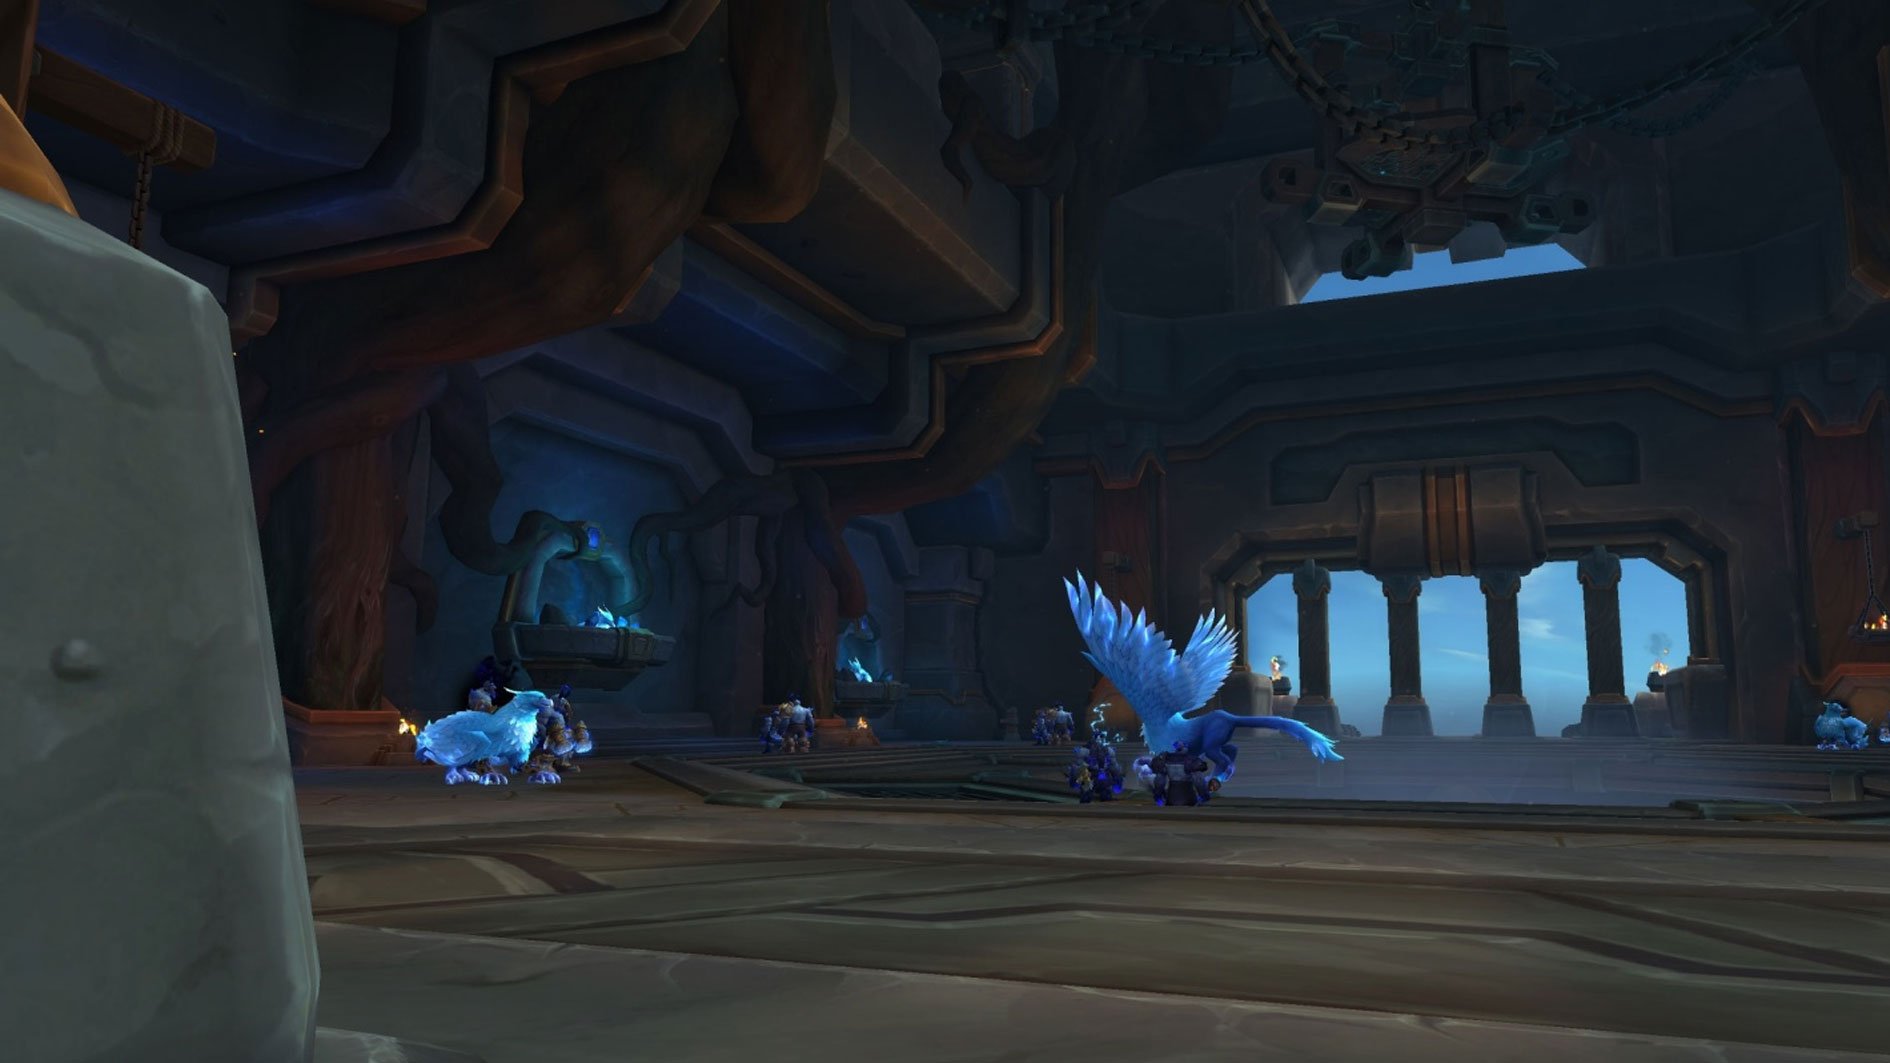
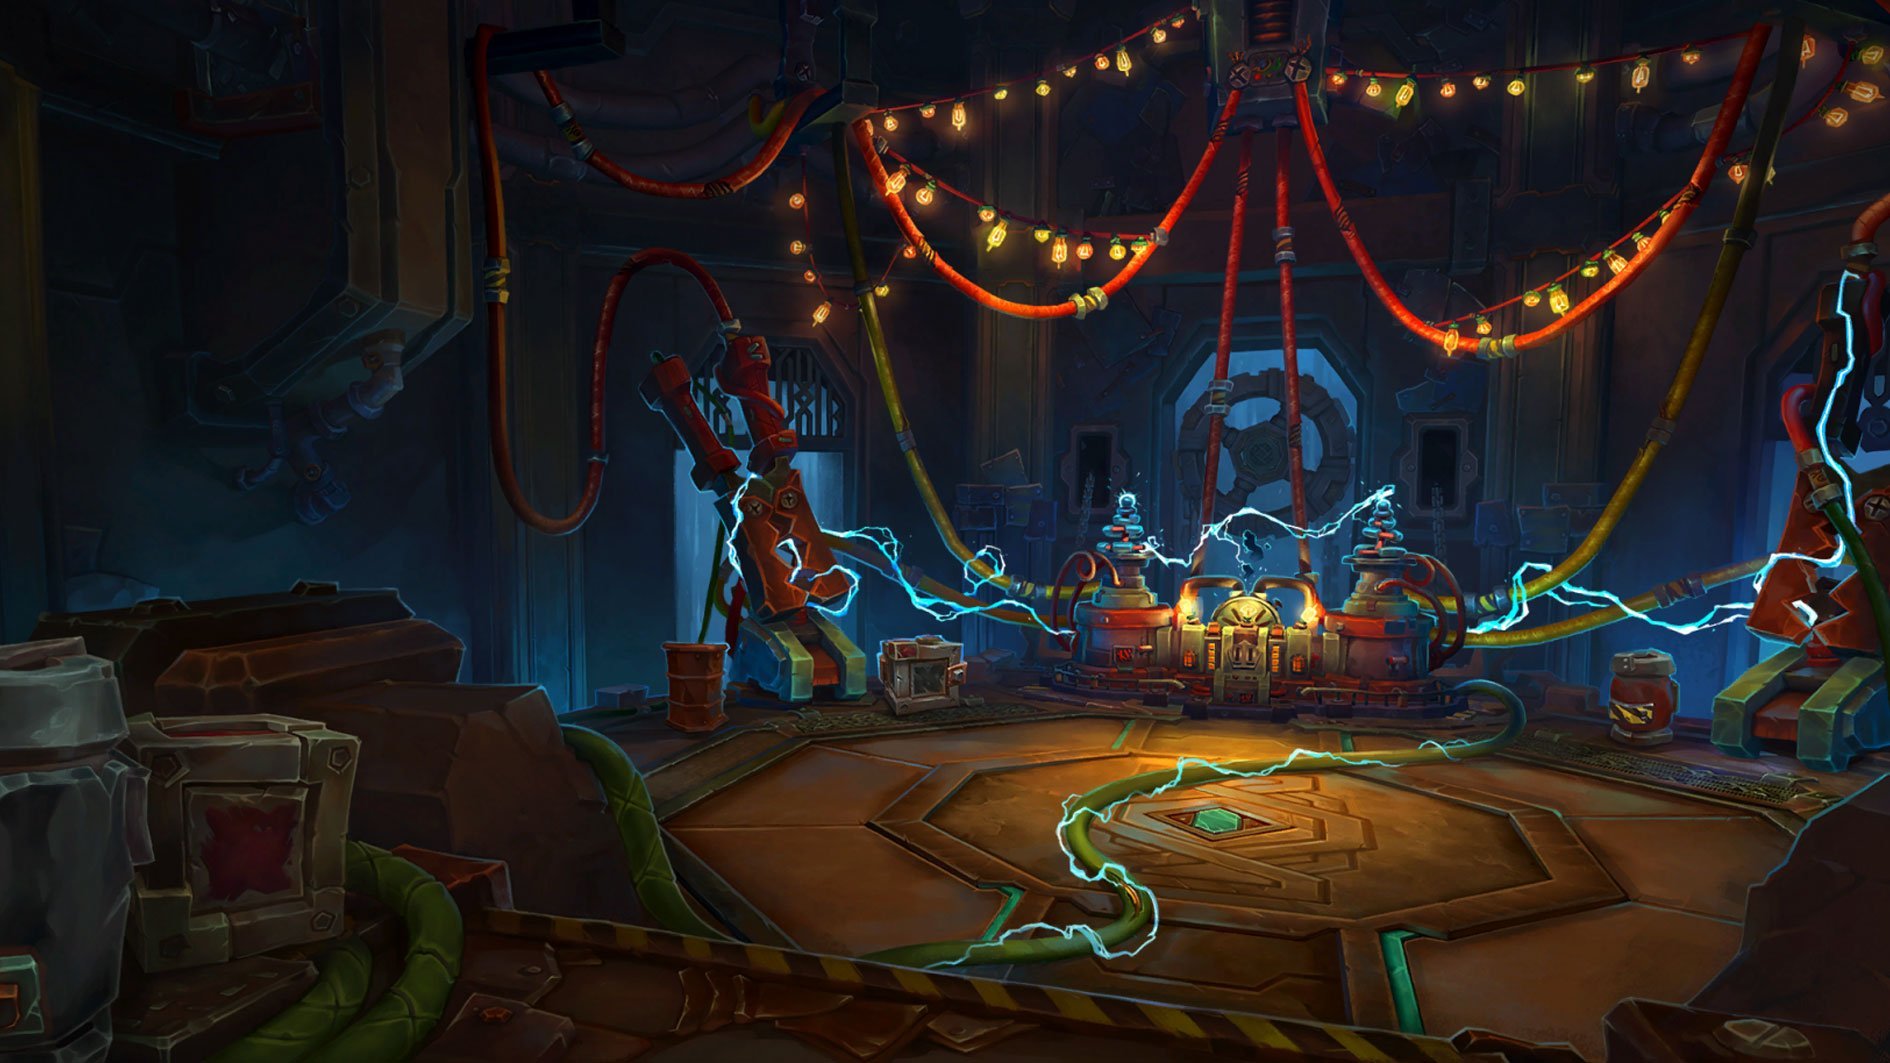
First part: Storm’s Roost

Once you enter The Rookery Mythic Plus dungeon, you have to make your way to Storm’s Roost, where you will fight the first boss of the instance. On your way, you will face the following mobs:
- Prior to Stormrook transporting your party, you will face these mobs:
- Cursed Thunderer
- Interrupt Lightning Bolt if possible.
- Cursed Rookguard
- Use defensive cooldowns on Crackling Crush as it deals massive damage to a tank.
Once in the Storm’s Roost, you will encounter new enemies:
- Quartermaster Koratite
- Dodge Bounding Void orbs. Make sure not to get hit when they return to the mob.
- Stand behind and deal damage if Entropy Shield is active, as the front damage will be blocked.
- This mob is immune to CC.
- Voidrider
- Dodge Wild Lightning lines to avid extra damage.
- All players can use defensives against Localized Storm. The Healer can use strong healing cooldowns if needed.
- This mob is immune to CC.
- Don’t ever try to pull 2 Voidriders, as Localized Storm is unavoidable.
- Cursed Rooktender
- Soothe Lightning Surge enrage.
- Unruly Stormrook
- Use defensives if you become a target of Energized Barrage. The Healer must pay extra attention to affected players.
Kyrioss boss guide
As the first Rookery boss guide, here is a full breakdown of Kyrioss abilities and how to handle them.
| Ability | Description | Tip |
|---|---|---|
| Crashing Thunder | Deals damage to all players and creates hazardous zones around them. | Spread from each other and use defensives to reduce damage. |
| Wild Lightning | Spreads damaging circles of lightning in multiple lines. | Move away from the zones. |
When the boss gains 100 Energy he will fly to the center of the arena, summoning 4 orbs. Orbs indicate where the beam will spawn, be aware of those beams as they do massive damage. During this intermission boss uses separate abilities.
| Ability | Description | Tip |
|---|---|---|
| Lightning Torrent | Deals ticking damage to the group and creates rotating beams that deal high damage and stun on impact. | Use defensives and strong healing cooldowns. Dodge lasers and follow their rotation. |
| Grounding Bolt | Creates damaging circles under players. | Use stutter-step and dodge hazardous zones. |
| Lightning Dash | Upon exiting the center, charges a random player, dealing damage to the target and around it, knocking it away. | Use defensive if you get targeted and move away from the group. |
Once you defeat the Kyrioss boss, you have to travel down the Strom’s Roost by using Stromrook feathers. Make sure to free some Captured Stormrooks during the fall with Lightning Charge to gain extra damage buff.
Second part: Crashing Storm Hall

On your way to the second Rookery dungeon boss, you will face the following trash mobs:
- Coalescing Void Diffuser
- Move away from Attracting Shadows hazardous zones and use defensives and healing cooldowns if needed.
- Use defensives if targeted with Arcing Void during other damaging abilities being performed.
- This mob is immune to CC.
- Void-Cursed Crusher
- Tank has to kite the mob if Void Claw stacks start reducing healing received too much.
- Move away from the Void Crush cleave and try to keep a distance between group members.
- Corrupted Oracle
- Always interrupt Void Bolt cast.
- Dispel Seeping Corruption DoT or use defensives and stutter-step if targeted and no dispel available.
- Afflicted Civilian
- Move away from Instability zones mobs drop upon dying.
Stormguard Gorren boss guide
As the second Rookery boss guide, here is a full breakdown of Stromguard Gorren abilities and how to handle them.
| Ability | Description | Tip |
|---|---|---|
| Crush Reality | The boss jumps onto a random player, creating a damaging, long-lasting puddle upon landing. This pool then erupts into multiple sides. | Move away from the boss and try leaving the puddle near the edge of the arena. Dodge the following eruptions. This ability only targets ranged players. |
| Chaotic Corruption | Applies a heavy DoT that bounces to the next closest player upon expiration. The DoT bounces during one cast, making four targets total. Leaves a debuff on a targeted player, increasing damage taken from it if applied to the same target again. | Use defensives. Make sure to avoid the debuff being applied to the same person more than once. Try to bounce Chaotic Corruption on tank for healer to have easier time. Don’t transfer debuff to players with Vulnerability debuff. |
| Dark Gravity | Deals damage to all players and pulls them into the boss. Then, explodes, killing anyone too close. | Use defensives and strong healing abilities to survive initial damage. Use mobility abilities to get away from the boss during pulling. |

Third part: Abandoned Mines

On your way to the final boss, you will face new trash mobs. Here are the ones you have to handle:
- Void Crusher and Civilians will come back on the way to the final, so read about them, just in case.
- Void Ascendant
- Always interrupt Void Bolt cast.
- Use dispels and healing to remove Feasting Void heal absorb DoT.
- Dodge Umbral Wave orbs.
- This mob is immune to CC.
- Consuming Voidstone
- Players must be careful to stay away from the Tank to avoid Volatile Void damage.
- Void Extraction can be deadly if too many mobs and players remain near the mob. Pull carefully or use strong cooldowns and kiting to kill the mob ASAP.
- Use defensives and strong healing cooldowns against Unleash Darkness. Dodge appearing damaging zones.
- This mob is immune to CC.
Voidstone Monstrosity boss guide
As the final Rookery boss guide, here is a full breakdown of Voidstone Mostrosity abilities and how to handle them.
| Ability | Description | Tip |
|---|---|---|
| Void Shell | 20% maximum health shield that applies Storm’s Vengeance debuff and stun on the boss after being broken. Storm’s Vengeance increases all damage taken by 100%. While stunned Voidstone Monstrosity doesn’t cast abilities. | Break through the shield during the fight to defeat the boss after it is gone. If you have Blood Lust and other bursts, it is better to spend during this phase. |
| Unleash Corruption | Applies a DoT to two random players. Leaves a damaging pool upon expiration or removal. | Dispel the DoT once players are distant enough from the group to leave a puddle. The player that doesn’t get dispelled has to use defensives and become a Healer’s priority. |
| Null Upheaval | Deals damage to all players, knocking them back, creating many exploding zones, and summoning three Voidstone Fragments. | Use defensives and strong healing cooldowns to survive. Dodge hazardous circles. |
| Corruption Overload | Voidstone Fragments that remained in the arena for 15 seconds become adds that deal heavy damage to all players. | Players with Stormrider’s Charge buff should destroy Voidstone Fragments by placing the buff zone onto them. We recommend assigning each DPS player to one out of three platforms surrounding the boss to make sure everyone has enough time to remove all Fragments. |
| Oblivion Wave | Performs a wide line frontal targeted to the Tank. | Always tank the boss near the edge of the arena to avoid other members being disturbed by this frontal. |
| Entropy | Deals wiping damage to the group if no target is in the melee range. | Tank always has to stay in the melee range to avoid wipes. |
The Rookery loot table
Here are all The Rookery rewards you can get in this dungeon:
| Item | Type |
|---|---|
| Hoop of the Blighted | Finger |
| Charged Rookfeather Wraps | Cloth Wrists |
| Ancient Hardened Legwraps | Cloth Legs |
| Cloudstrider Soles | Cloth Feet |
| Jerkin of Awakened Stone | Leather Chest |
| Tempestwind Handlers | Leather Hands |
| Squallrider’s Kilt | Leather Legs |
| Amice of Oblivion | Mail Shoulders |
| Boltbreaker Armor | Mail Chest |
| Treads of the Galvanic Skysoarer | Mail Feet |
| Monstrosity’s Gaze | Plate Head |
| Lightning-Conductor’s Bands | Plate Waist |
| Thunder-Clad Legguards | Plate Legs |
| Charged Stormrook Plume | Trinket |
| Sigil of Algari Concordance | Trinket |
| Entropic Skardyn Core | Trinket |
| Hyperactive Stormclaw | One-handed Axe |
| Behemoth Kneebender | One-handed Mace |
| Shadowskean of the Colossus | Dagger |
| Ireborne Stormbow | Bow |
| Galebreaker Bulwark | Off-hand |
| Crashing Thunderhammer | Two-handed Mace |
The Rookery achievements
Let’s take a look at all The Rookery dungeon achievements:
- The Rookery – defeat the final boss of the dungeon on any difficulty.
- Heroic: The Rookery – defeat the final boss of The Rookery dungeon on Heroic difficulty or higher.
- Mythic: The Rookery – defeat the final boss of The Rookery dungeon on Mythic or Mythic Keystone difficulty.
- Keystone Hero: The Rookery – complete The Rookery Mythic Keystone run at +10 or higher within the timer limit.
Last parting words
This is it for our Rookery M+ guide in Patch 11.1.7. We hope this knowledge will help you during your adventures in Season 2. We tried to mention only the most important mechanics and aspects of this dungeon. Let the knowledge guide you, and remember that if you face any significant difficulties, you can always rely on Mythic Plus boost as an alternative!
What do you think about The Rookery Mythic Plus dungeon? Which are your most and least favorite parts of this instance? Let us know your opinion in the comments!


Comments