Destiny 2 Derealize Exotic Mission: Everything you need to know
Complete the Secret Derealize Exotic Mission with this easy-to-follow guide and earn the exclusive Barrow-Dyad Exotic SMG.
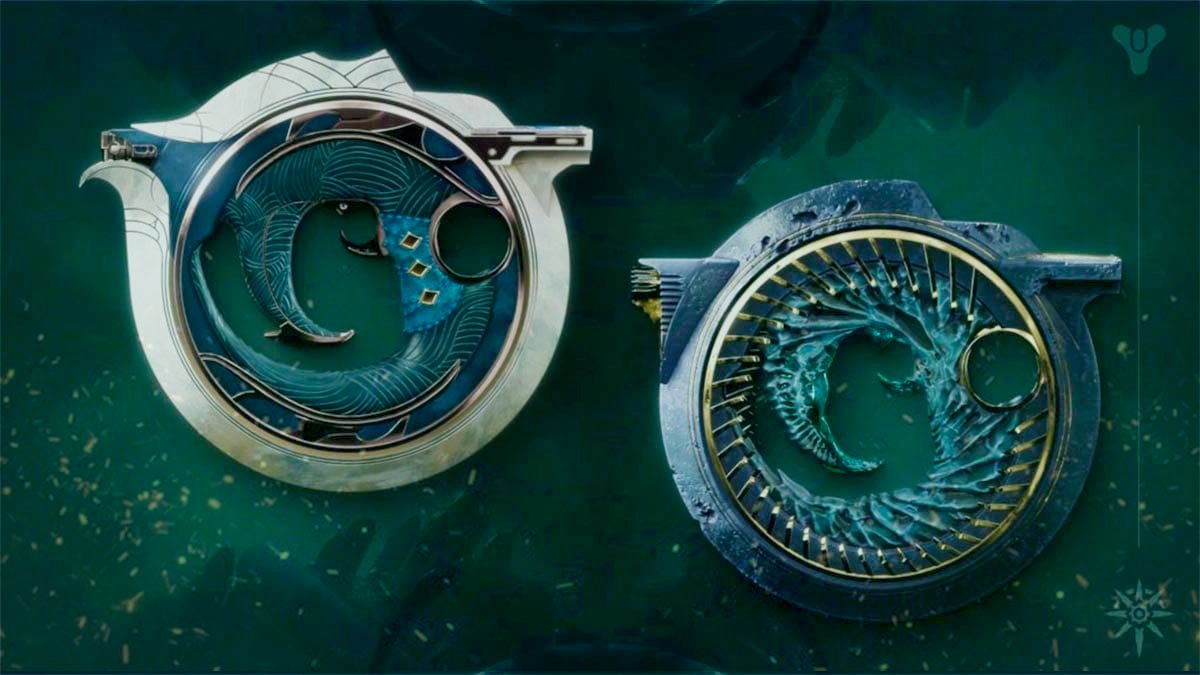
Table of Contents
- How to get Derealize Exotic mission
- Objective 1 — Get There First
- Objective 2 — Defeat the Dread
- Objective 3 — Pursue the Dread Commander
- Objective 4 — Defeat the Dread Commander
- Objective 5 — Defeat Blight Sentinels
- Objective 6 — Empower the Curse and Destroy Blights
- Objective 7 — Defeat the Dread Commander (in the Bubble)
- Objective 8 — NO ESCAPE
- Objective 9 — Claim the Corrupted Fragment
- Objective 10 — Taken Energies Whisper…
- Objective 11 — Take the Artifact
- Objective 12 — Do What You Must
- Objective 13 — Defeat Xir-Kuur
- Objective 14 — Seal the Anteroom
- Objective 15 — Open the Chest
- Lasting words on Derealize Exotic Mission
Key takeaways:
- Derealize is a secret mission you can only start by following the steps outlined in Barrow-Dyad guide.
- Get ready for combat, puzzles, jumping, and an intense boss fight.
- During this mission, you’ll earn the Exotic SMG Barrow-Dyad.
The Derealize Exotic mission is a secret quest hidden in the shadowy depths of Destiny 2. Discovering it on your own can be a real challenge, but the reward—Exotic SMG, the Barrow-Dyad—is well worth the effort. The mission is lengthy and demanding, involving plenty of platforming, combat, and even some puzzles. Don’t worry—we’ve covered everything you need to know. Follow our step-by-step guide for the Derealize Exotic mission and complete it quickly and with no hassle.
Related posts:


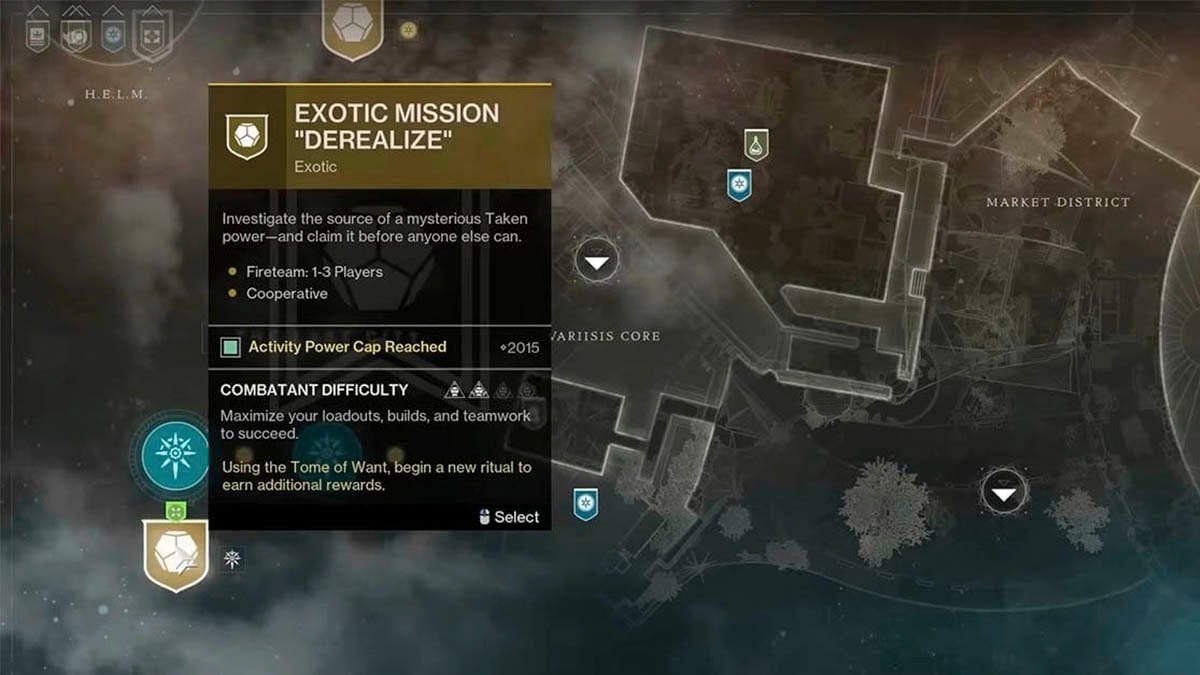
How to get Derealize Exotic mission
To begin the Derealize Exotic mission, you must first locate a randomly appearing Blight in the Nether. This secret Blight serves as your entry point to the initial mission—The Taken Path. Completing this mission will reward you with the Derealize quest. However, there’s still more to accomplish. Be sure to check out our detailed How to Get Exotic SMG Barrow-Dyad guide for everything you need to know about preparing for the Derealize mission. Once you’ve unlocked the Derealize mission, return here to follow our detailed step-by-step guide on how to complete it successfully.
Objective 1 — Get There First
Once you start the mission, your first objective is to advance further into the area. Naturally, you’ll encounter resistance from NPC mobs along the way. Push through them and fight your way forward to the first mini-boss.
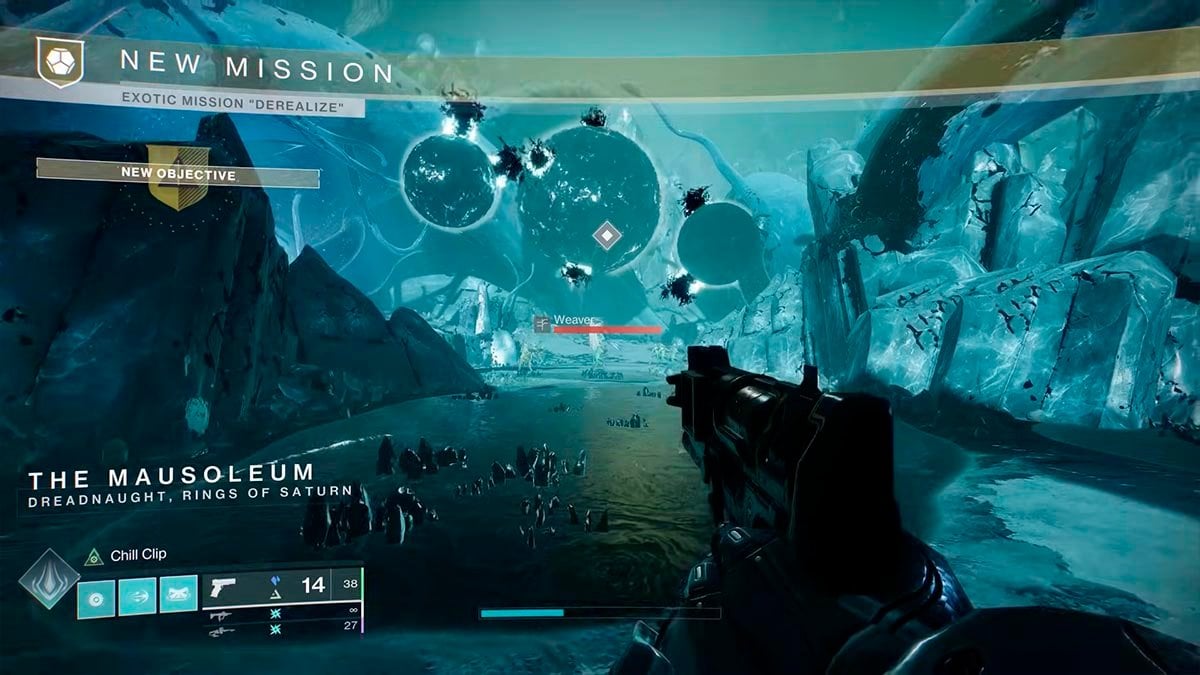
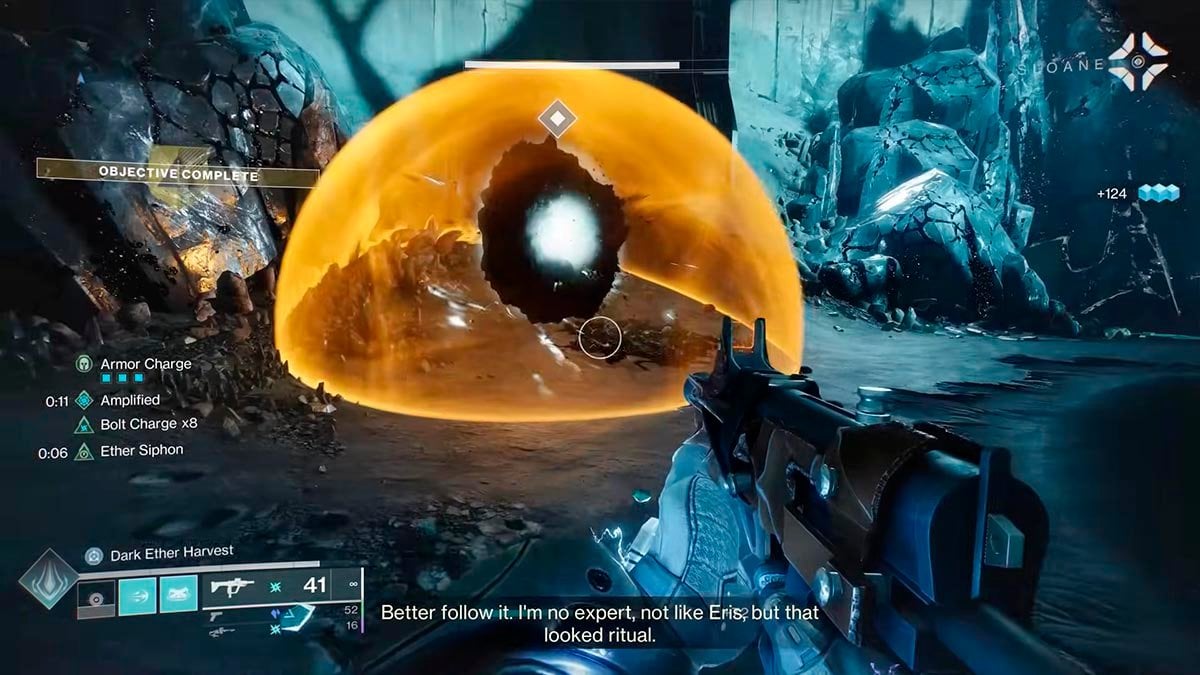
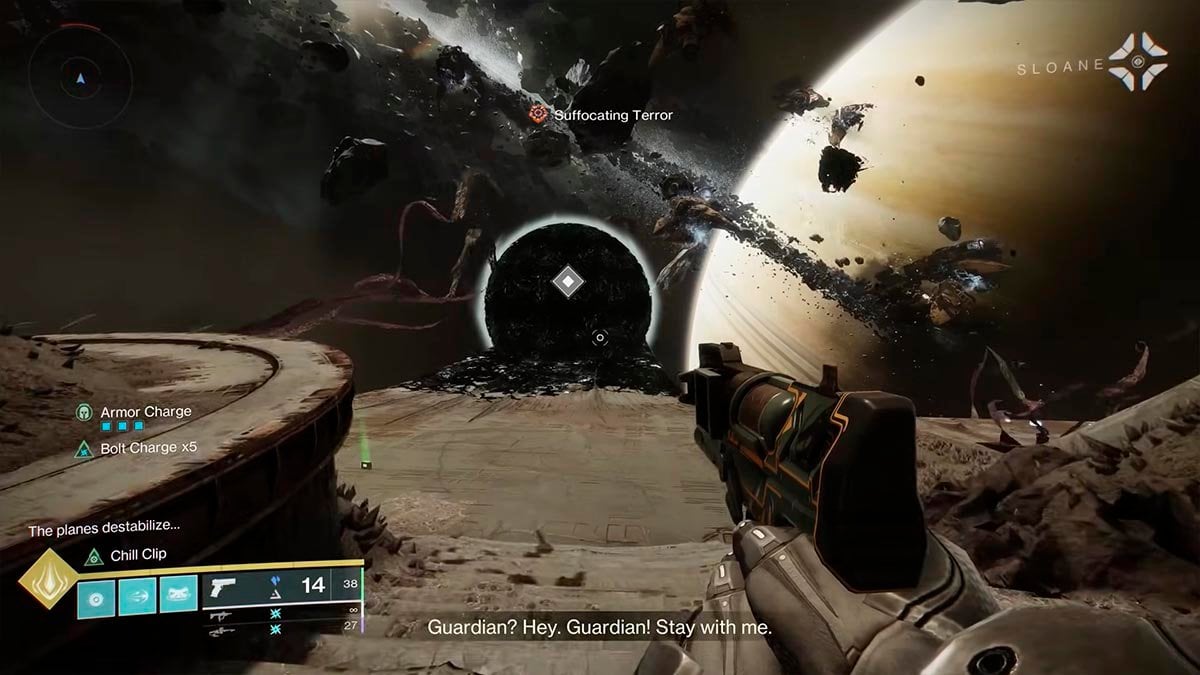
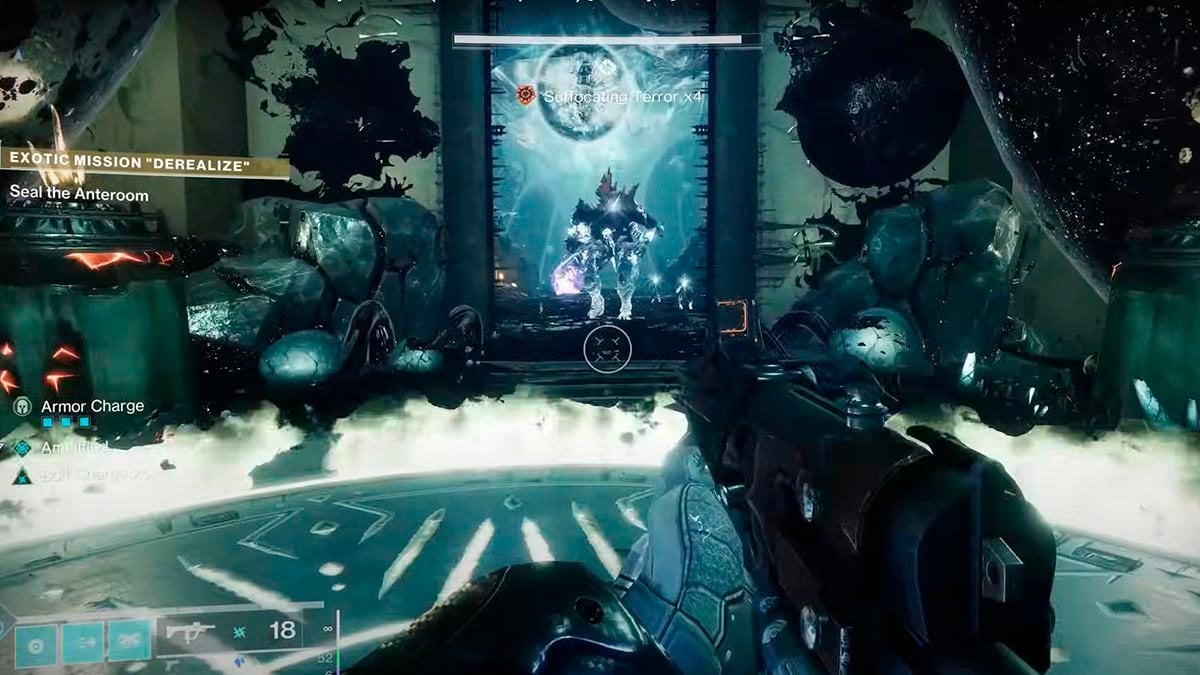
Objective 2 — Defeat the Dread
The first wave of enemies isn’t too challenging, but you’ll still need to watch out for the Suffocating Terror debuff caused by the giant eyes in the sky. To avoid this debuff, make sure do not look directly at the eyes as you move through the encounter. Your ultimate goal in this phase is to reach the orange portal ahead.
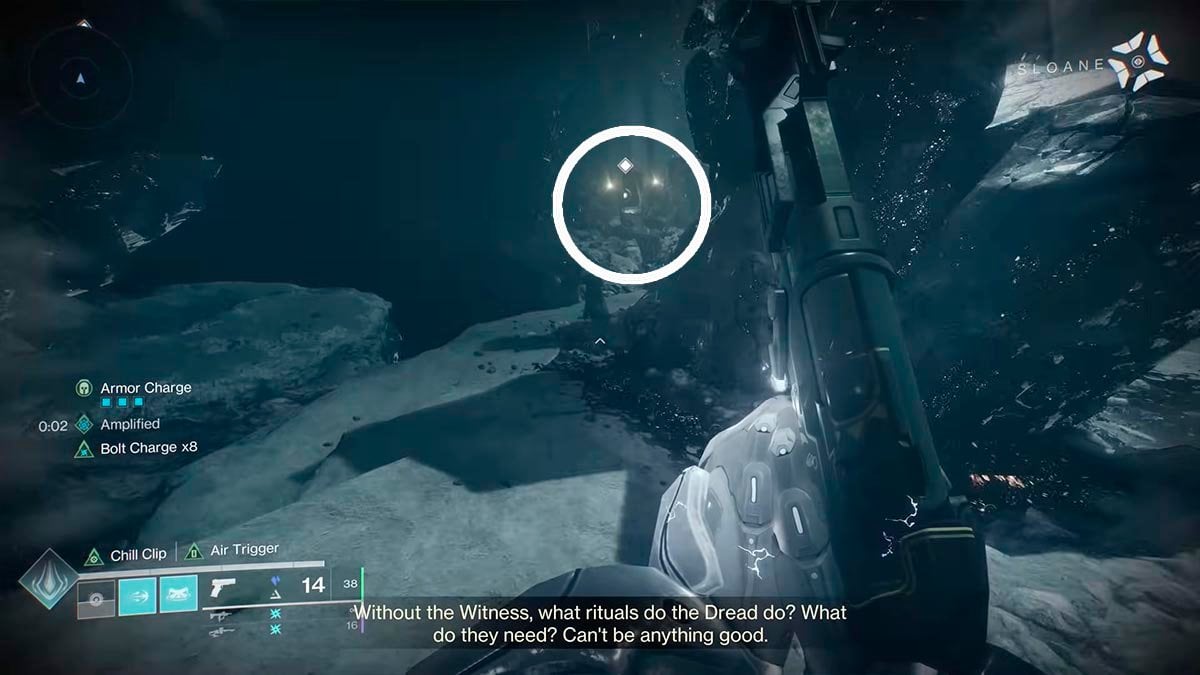
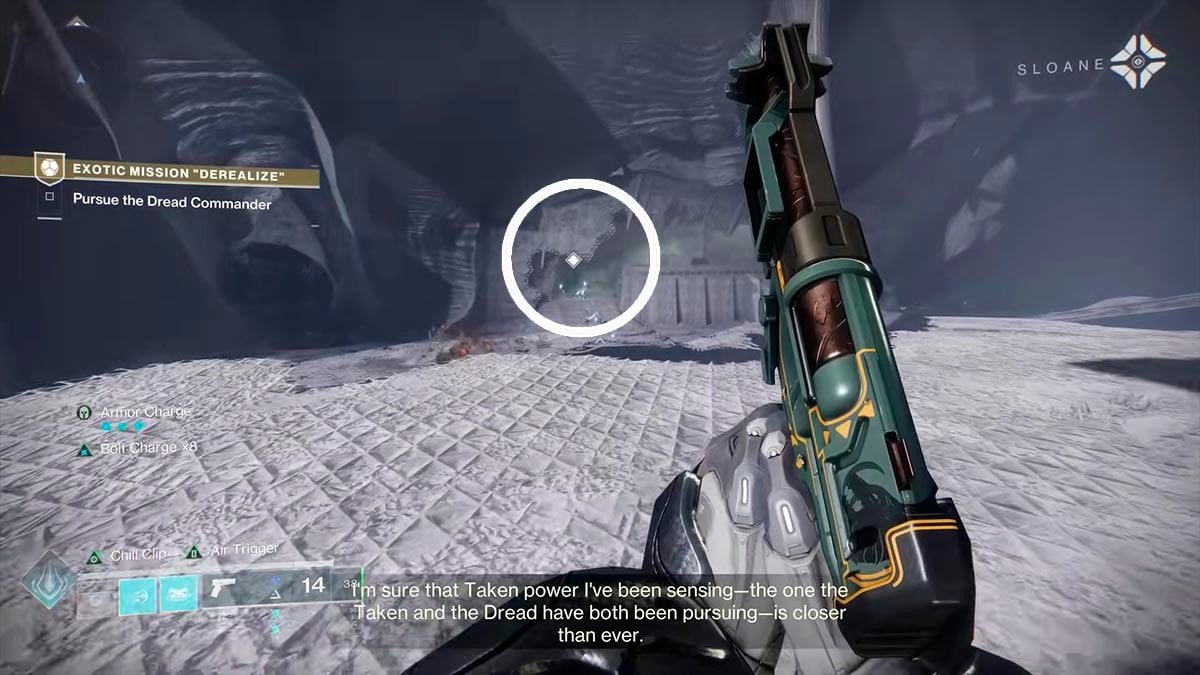
Objective 3 — Pursue the Dread Commander
At this point, simply continue moving forward through a few portals while dealing with the minions along the way. The path is straightforward, so there’s no chance of getting lost.
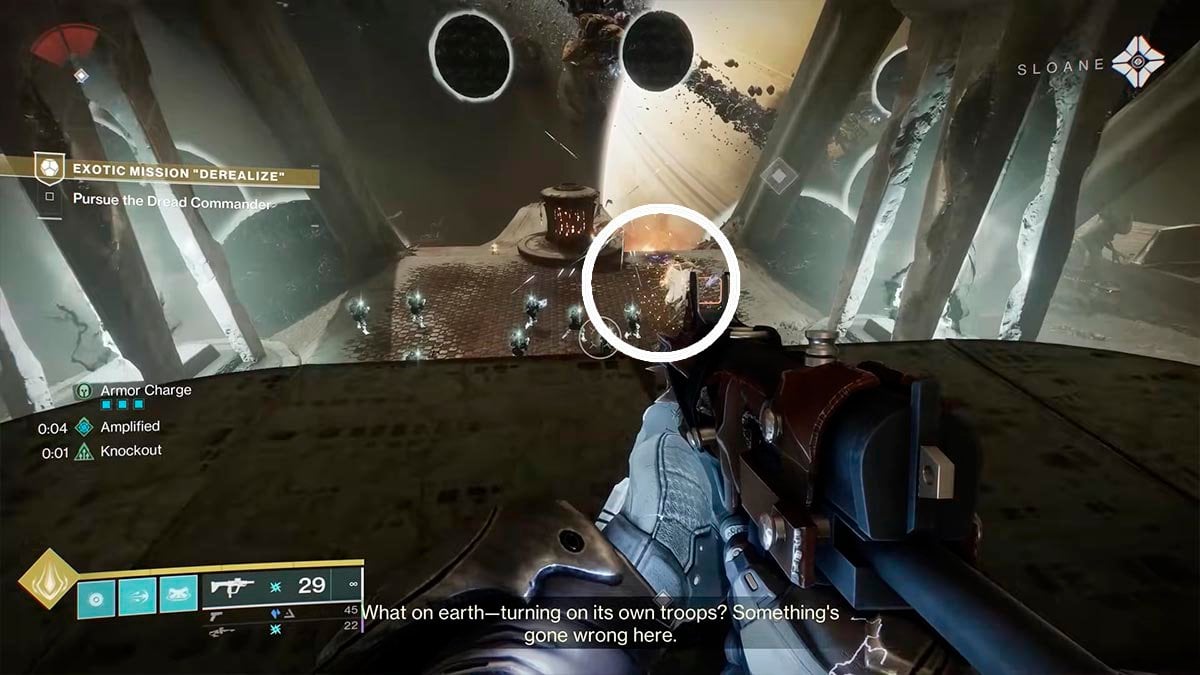
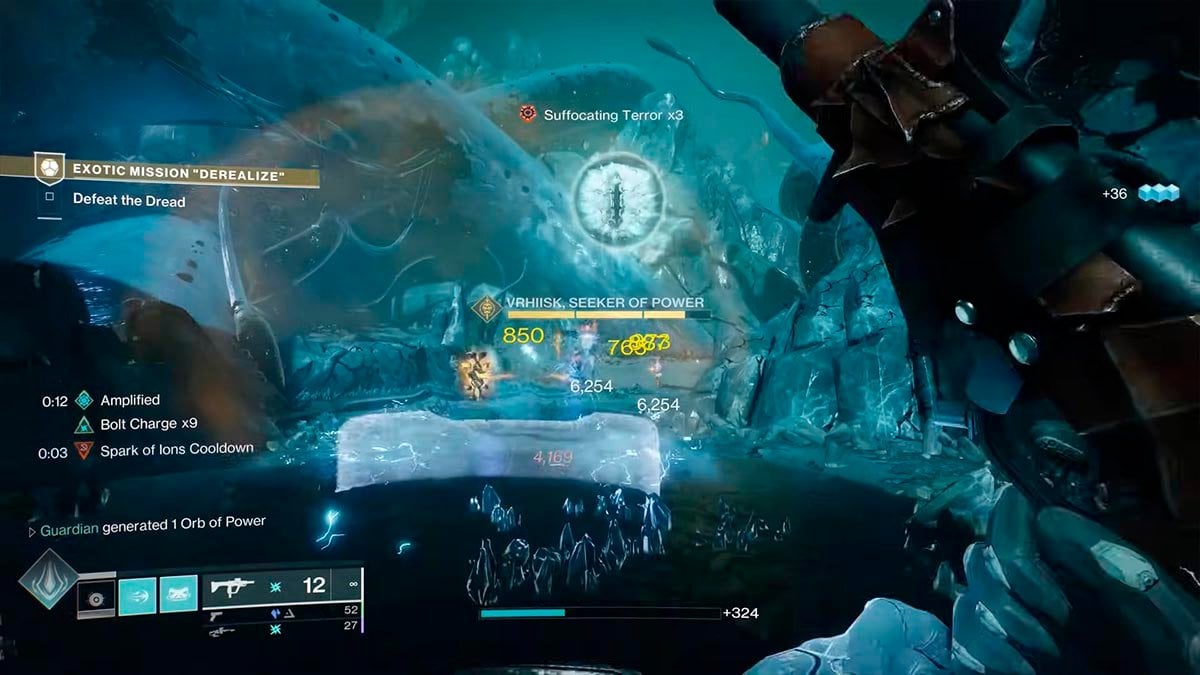
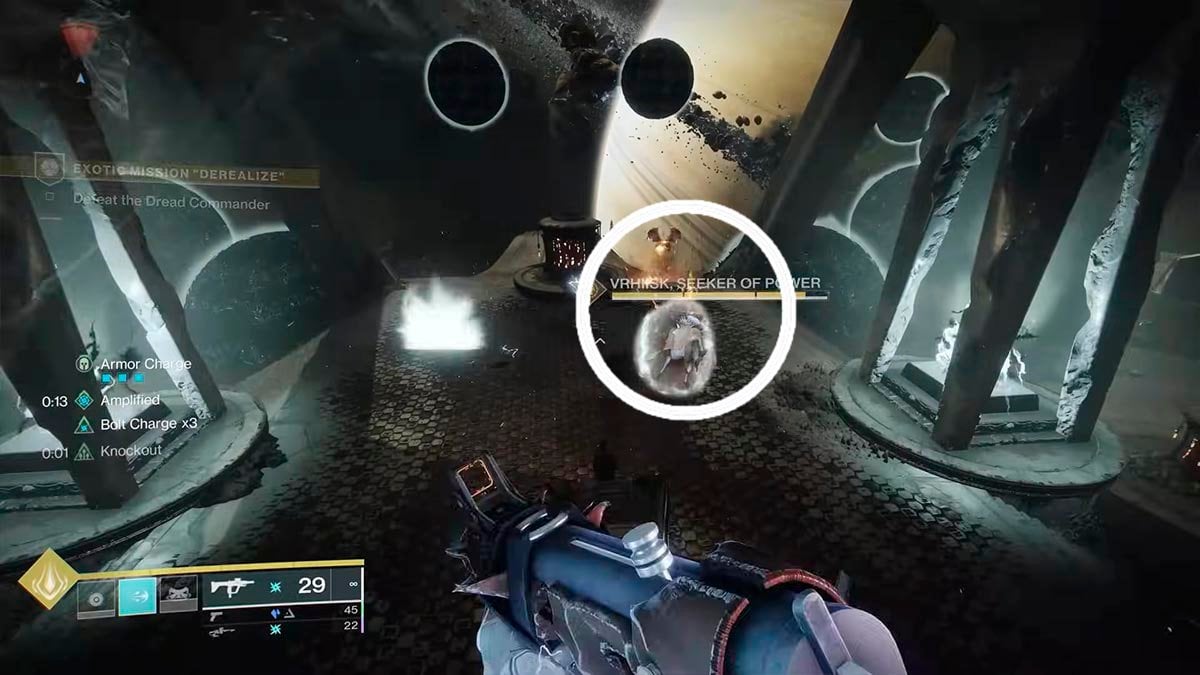
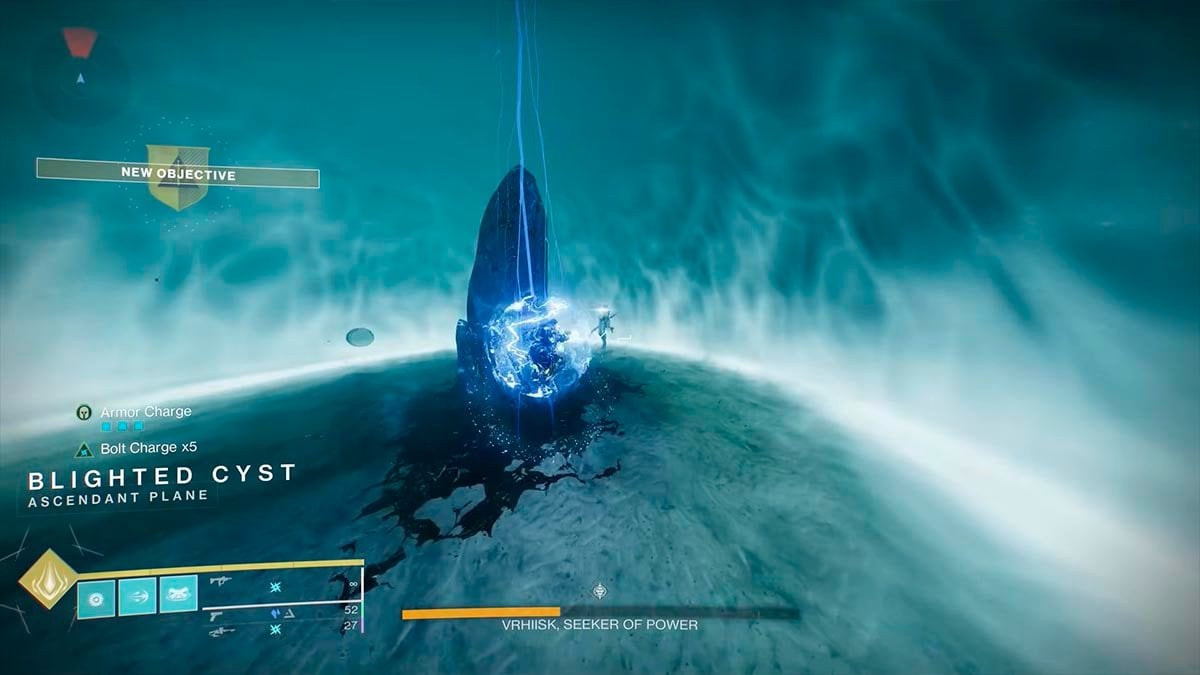
Objective 4 — Defeat the Dread Commander
Now, the real mini-boss fight begins. Focus your attacks on Vrhiisk whenever you get the chance. However, he’s a sneaky guy who frequently shield himself, summoning additional enemies to distract you.
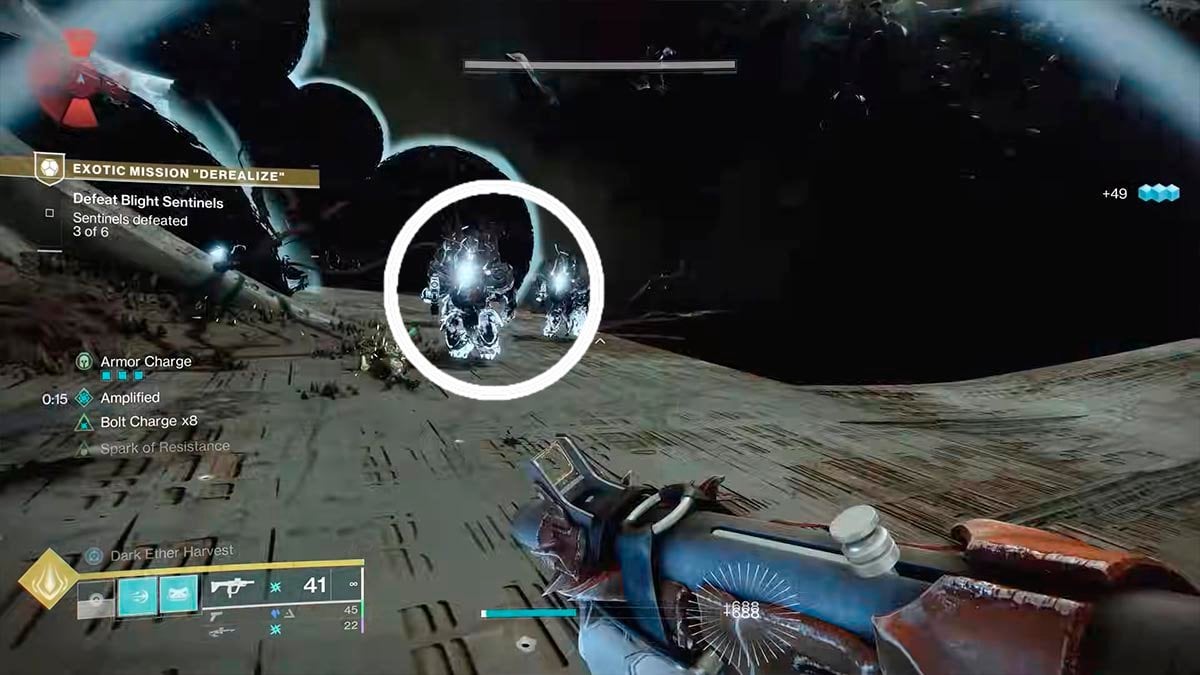
Objective 5 — Defeat Blight Sentinels
Finding these adds won’t be an issue—they’ll teleport around you.
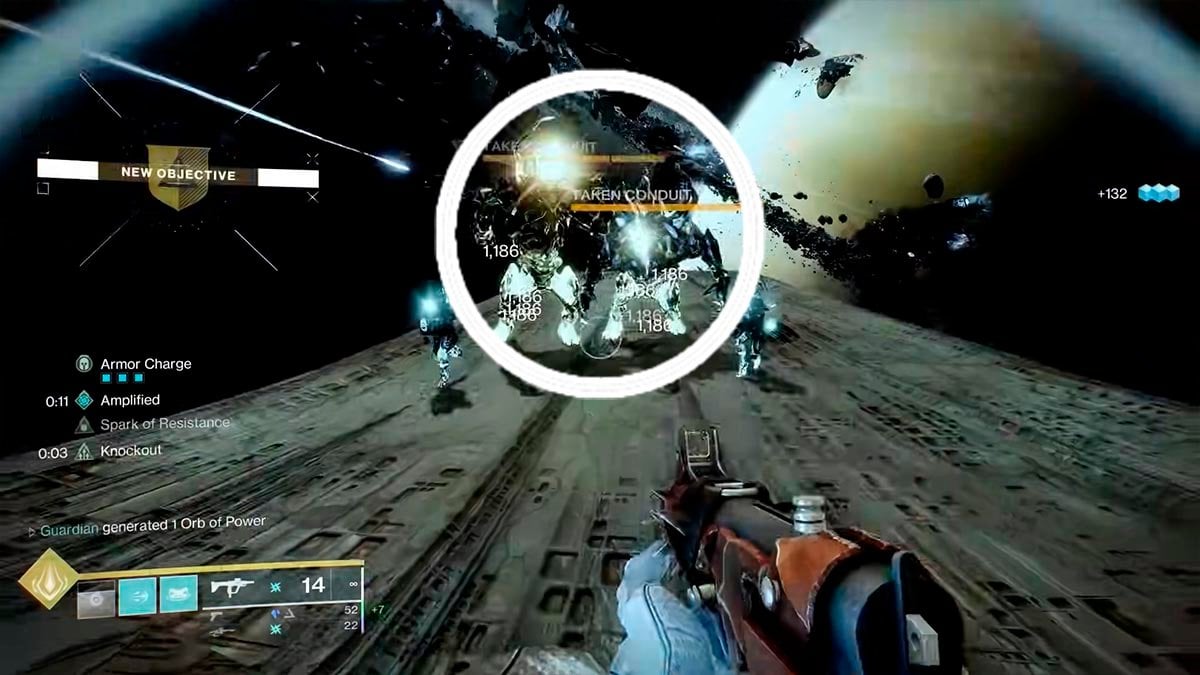
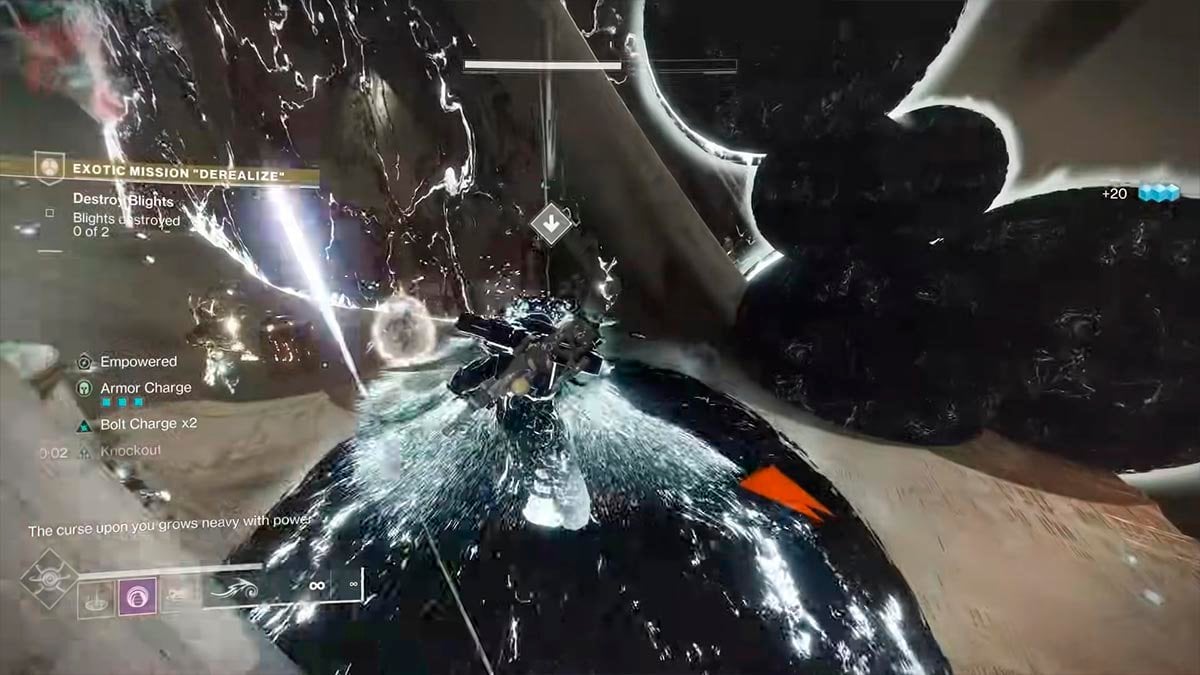
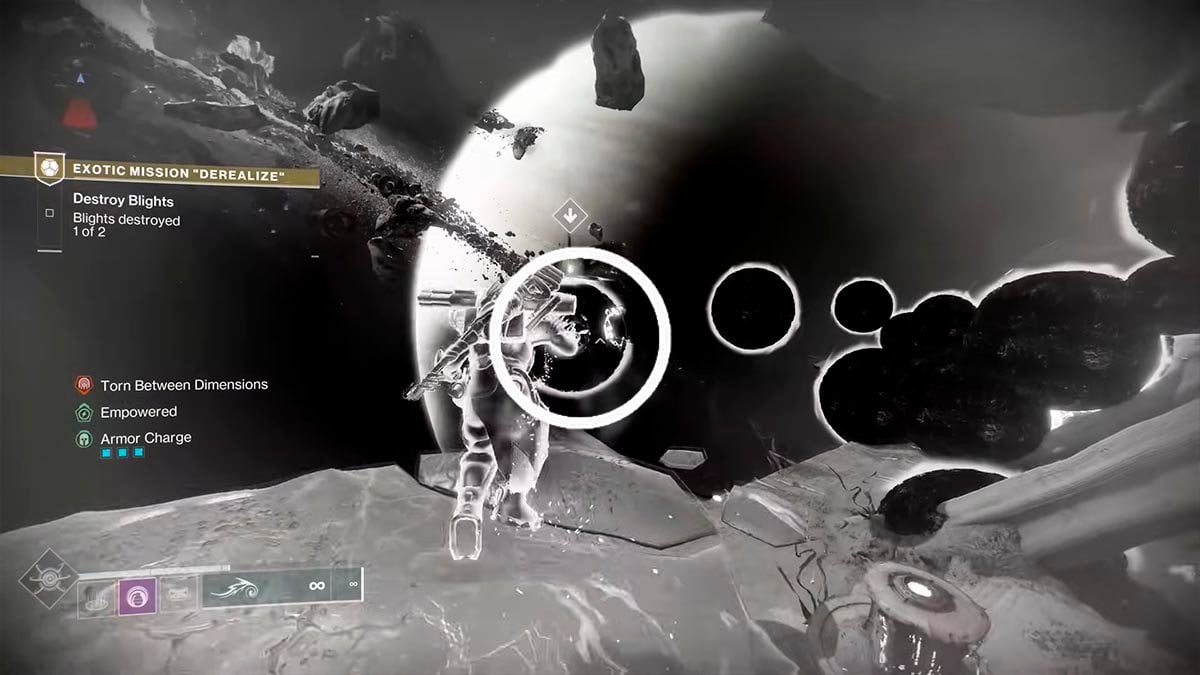
Objective 6 — Empower the Curse and Destroy Blights
Two Taken Conduits will appear. Take them down and move closer afterward. Interact with the nearby spheres to Accept the Curse.
Next, you’ll need to battle more enemies to charge the Curse. A timer will appear, but don’t worry—you can extend it, so there’s no rush.
Once the Curse is fully empowered, head to the large black Blight and interact with it to destroy it.
You need to repeat steps 4 and 6 one more time to progress.
Objective 7 — Defeat the Dread Commander (in the Bubble)
Chase Vrhiisk to the large Bubble and take him down inside. No big deal.
Objective 8 — NO ESCAPE
It’s puzzle time!
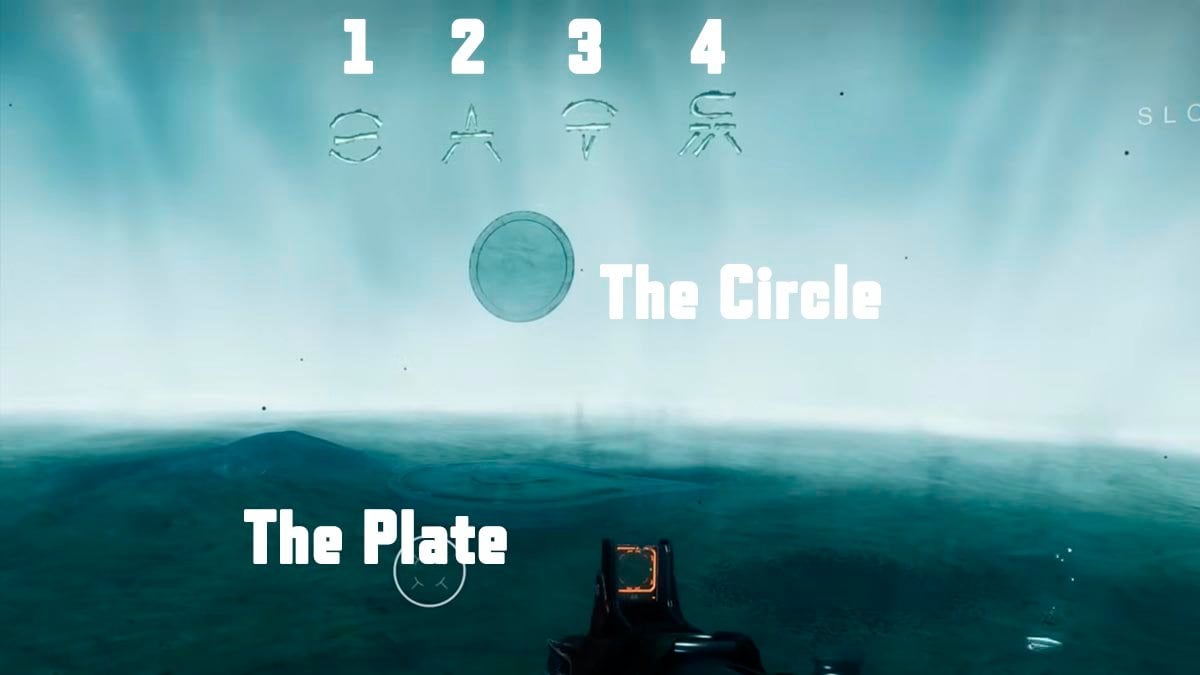
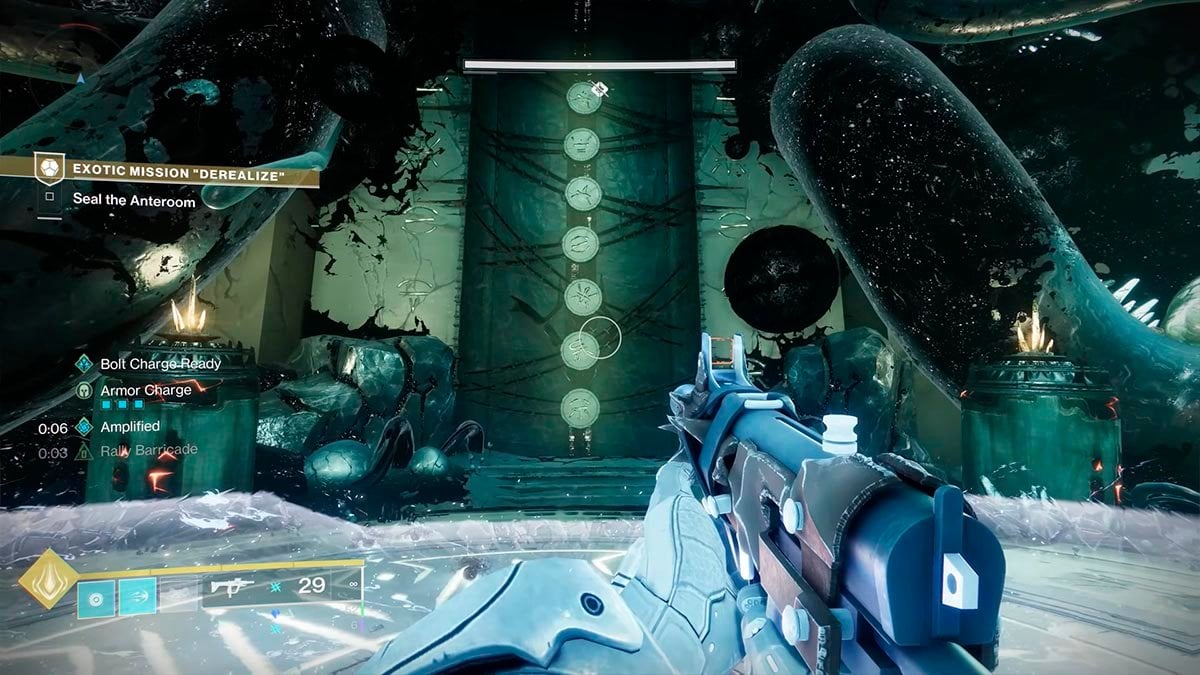
We have three pieces to interact with. The plate to stand on. The circle to look at. And the symbols (1, 2, 3, 4) to compare with.
First, take note of the plate’s position—it will indicate the correct direction to move. Stand on the Plate, and look at the Circle, and wait.
A Symbol will appear on the Circle. Your goal is to wait for the correct symbol (1, as shown in the image below) to appear.
- If the correct symbol appears, move in the direction the plate is pointing.
- If the wrong symbol appears, stay put and wait to be teleported to the next location. Once there, check the Plate’s direction again and repeat the process.
When the correct symbol appears in the circle, move in the indicated direction. If done correctly, the symbol will disappear.
Return to the plate and wait for the second symbol to appear. Repeat this process for the third and fourth symbols to complete the puzzle.
Throughout the puzzle, you will be teleported multiple times. Stay focused on the three key elements: the plate, the circle, and the symbols. No matter where you end up, follow the same steps to progress.
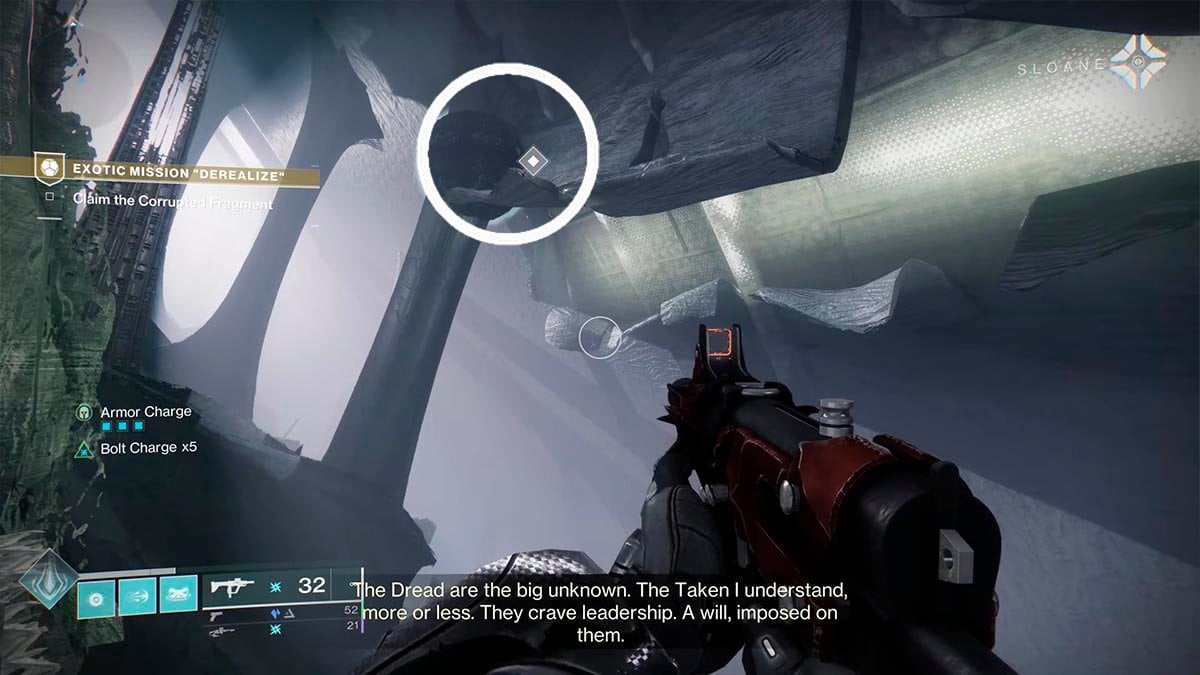
Objective 9 — Claim the Corrupted Fragment
Now, it’s time to jump around. Find your way to the Corrupted Fragment.
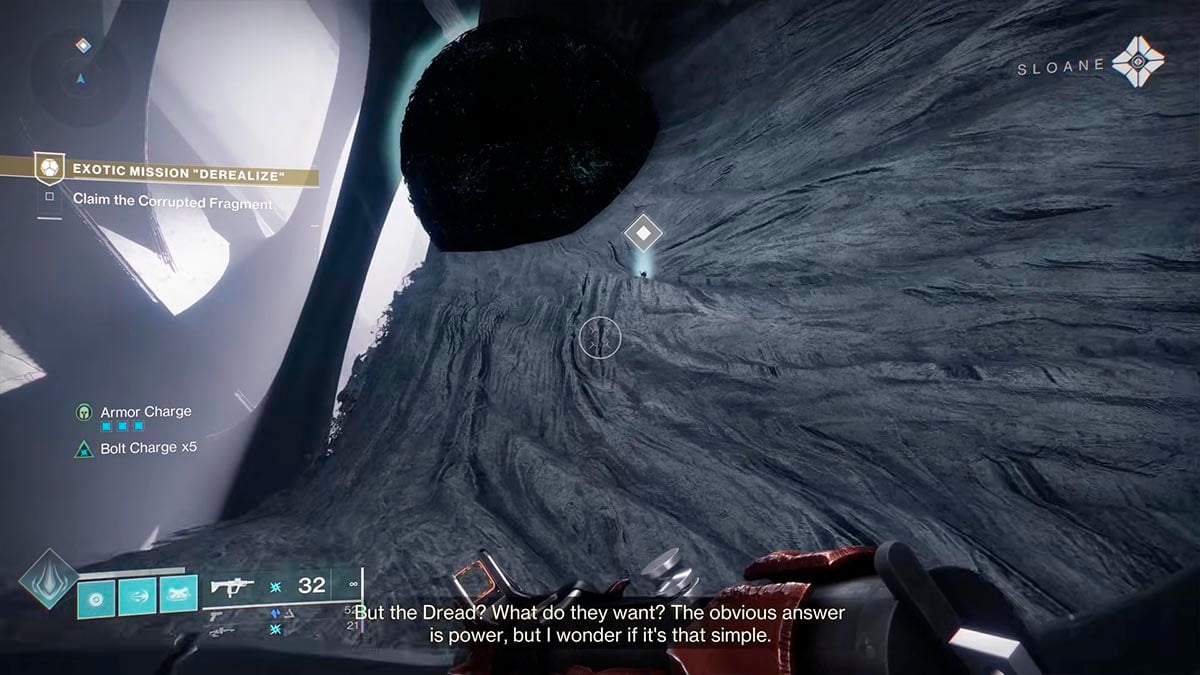
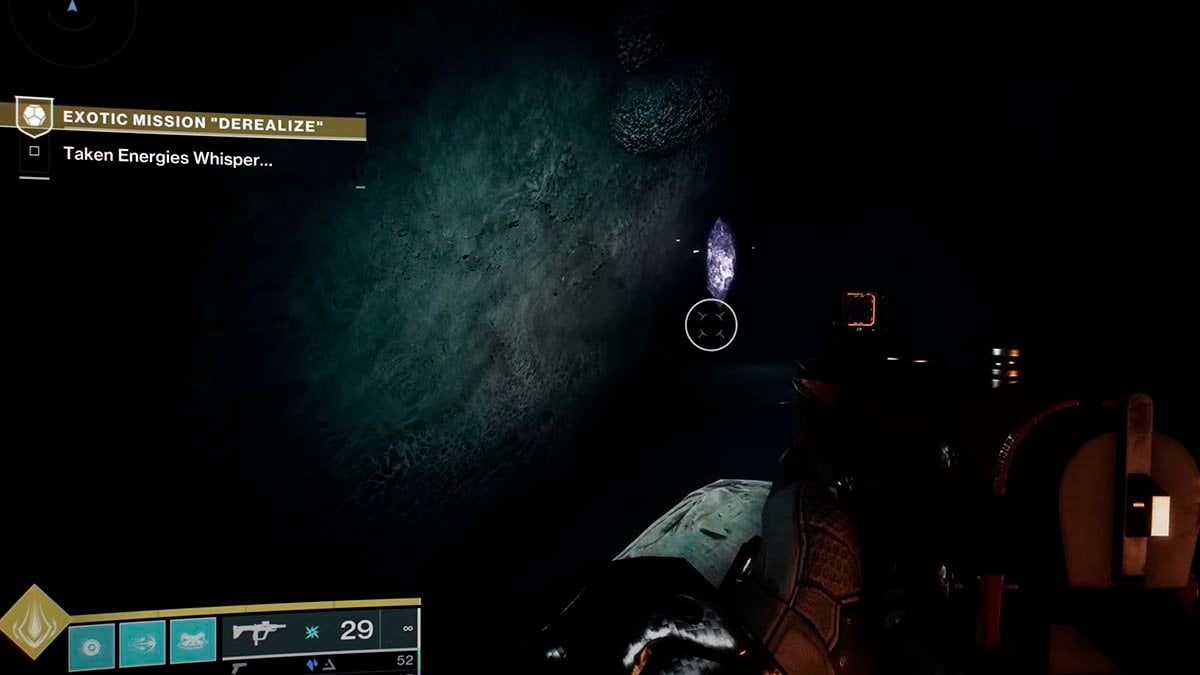
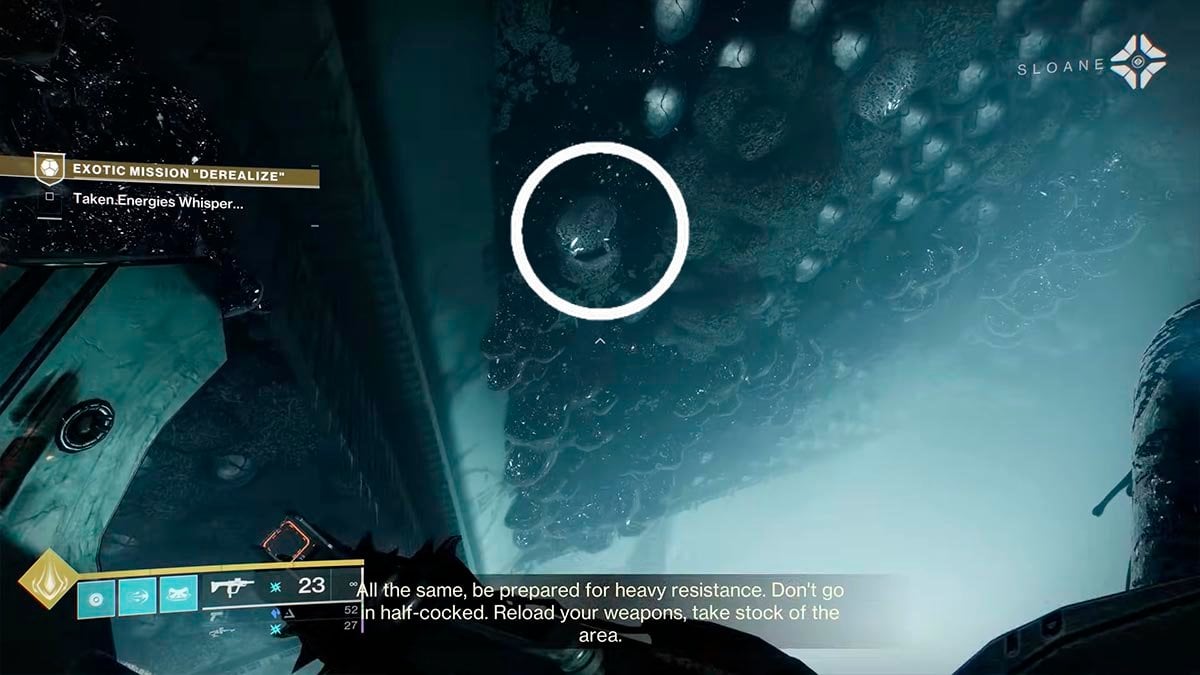
Objective 10 — Taken Energies Whisper…
After collecting the Corrupted Fragment, watch for the black Bubble to disappear. Behind it, you’ll find your path downward. Take the leap and jump into the pit.
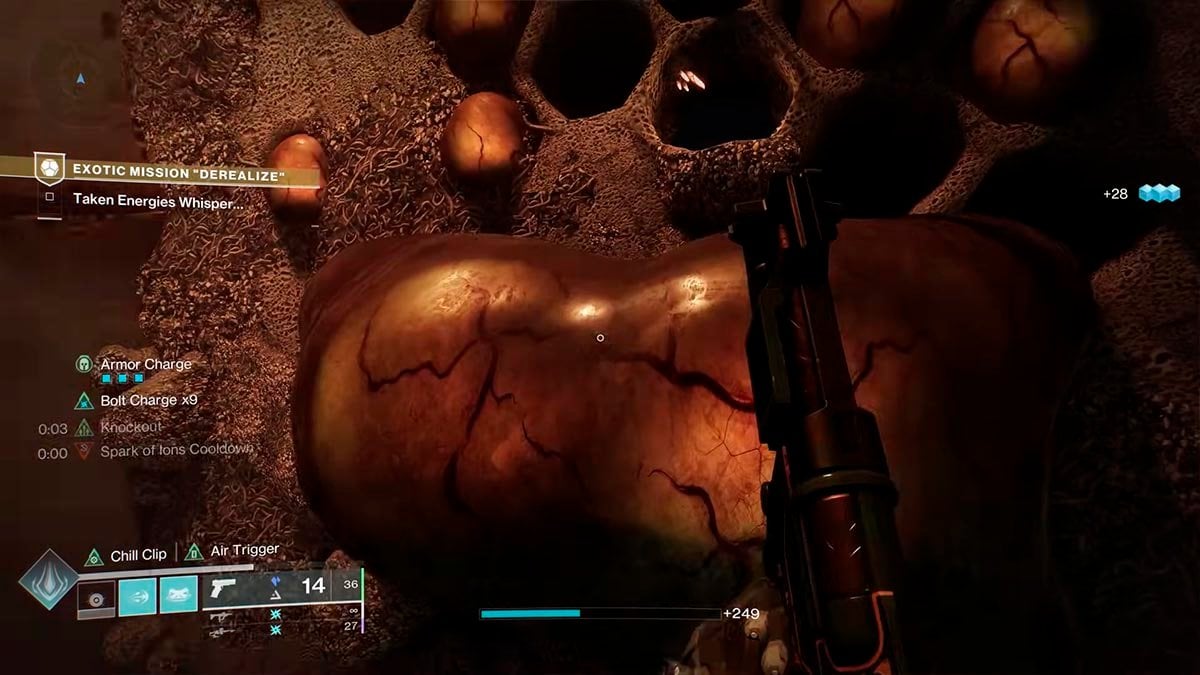
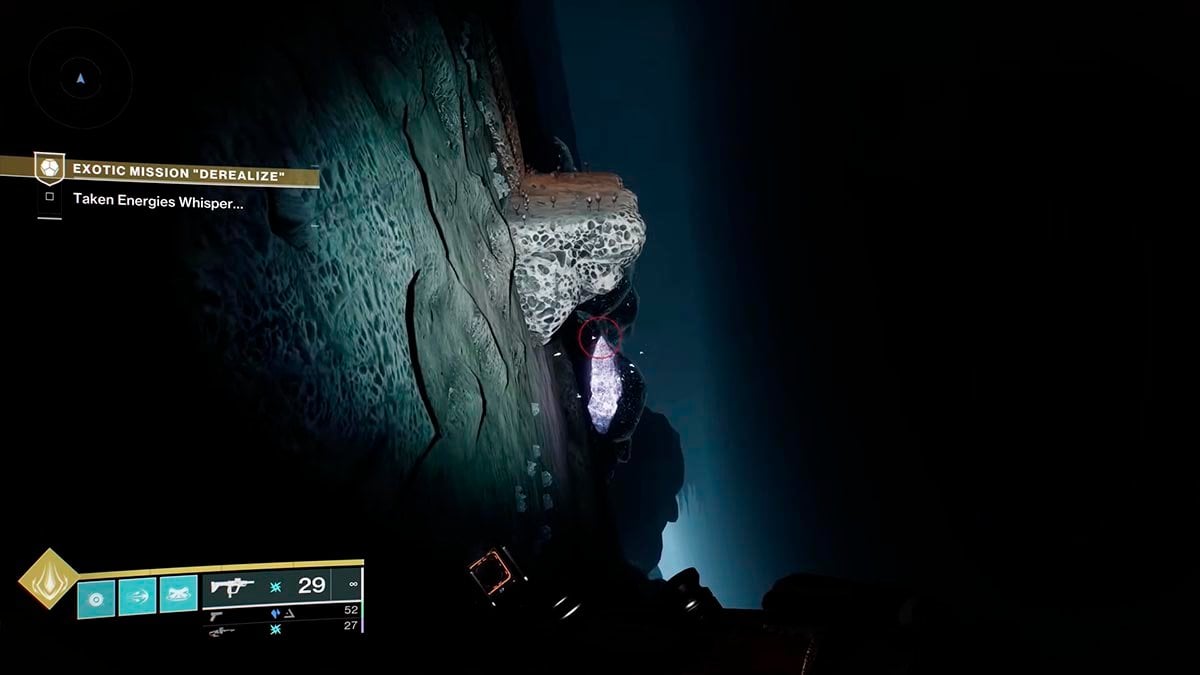
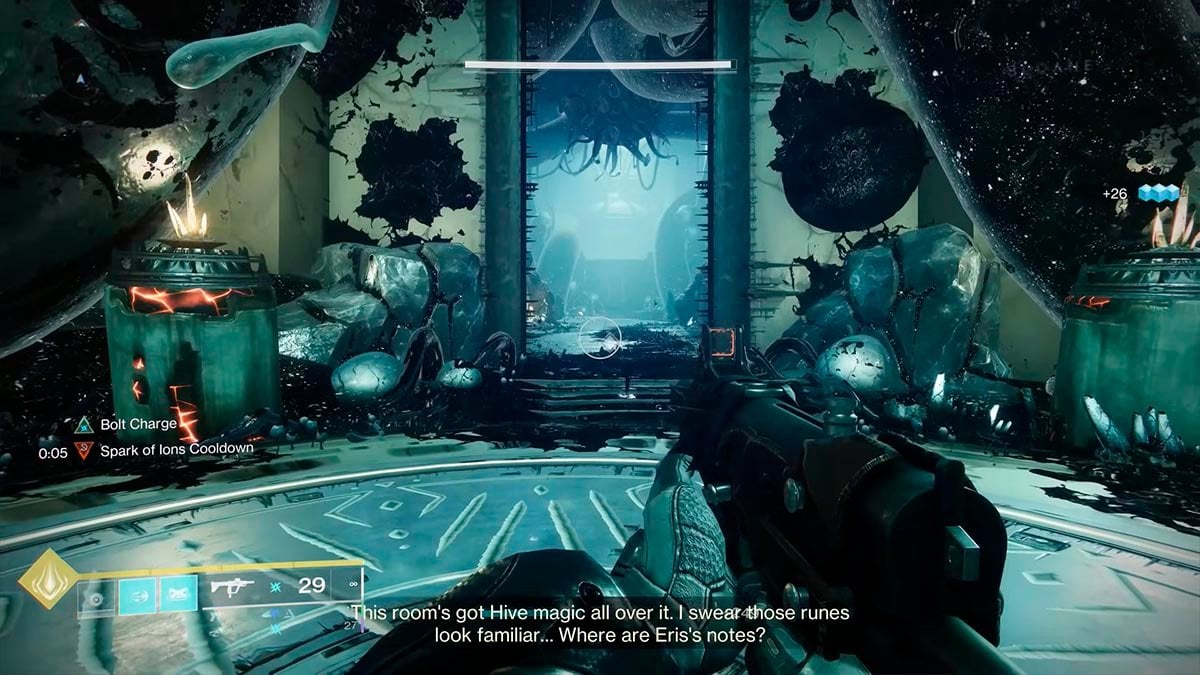
When you land, look to your left and jump up toward the hive location. Be cautious of the Pistons periodically bursting through the holes—they will deal a ton of damage and push you.
Make your way to the center area of this location.

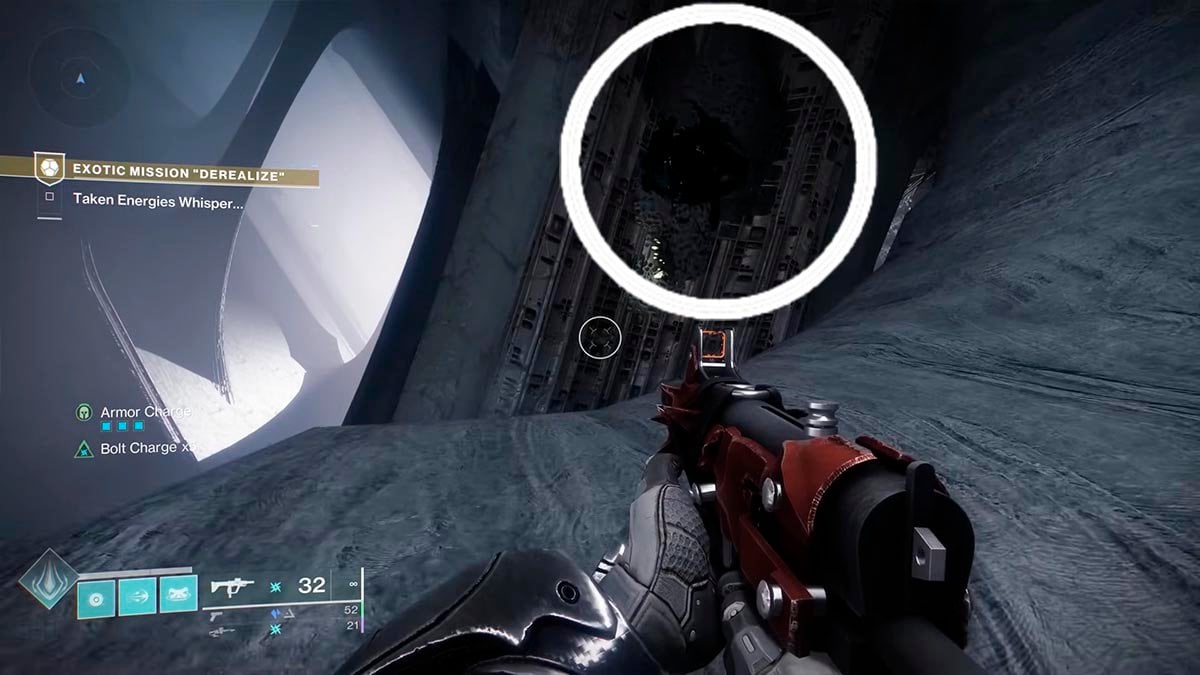
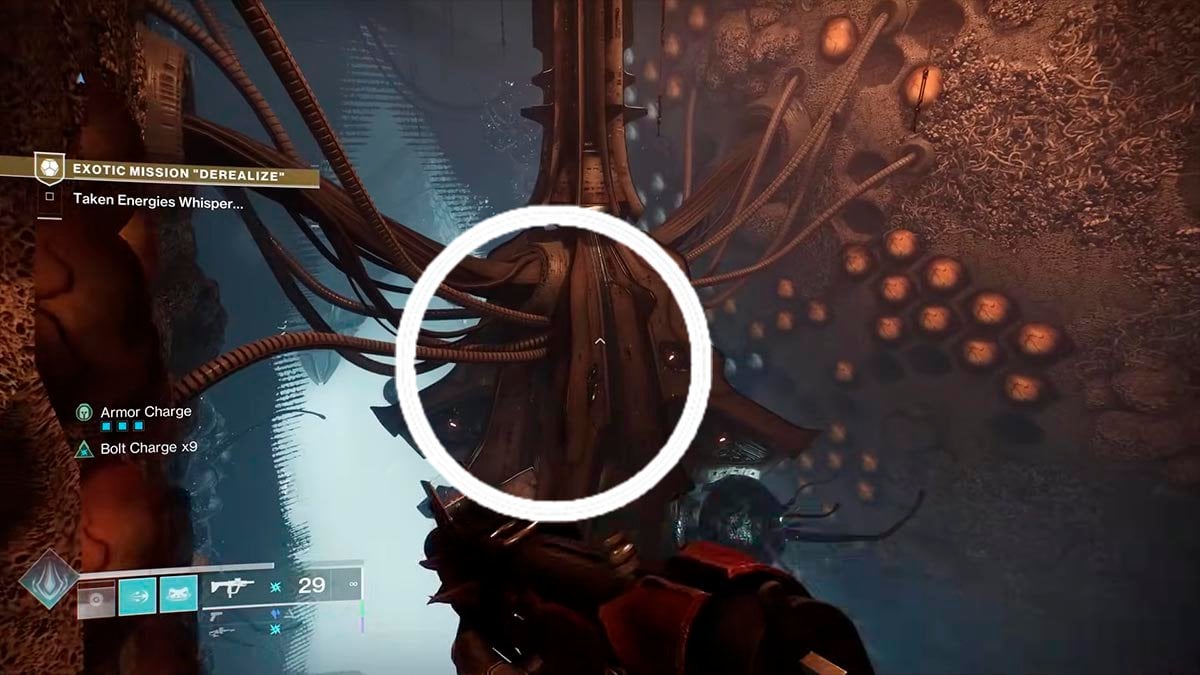
From here, head toward the wall with holes in it. Enter through the hole and jump up to reach the next similar area.
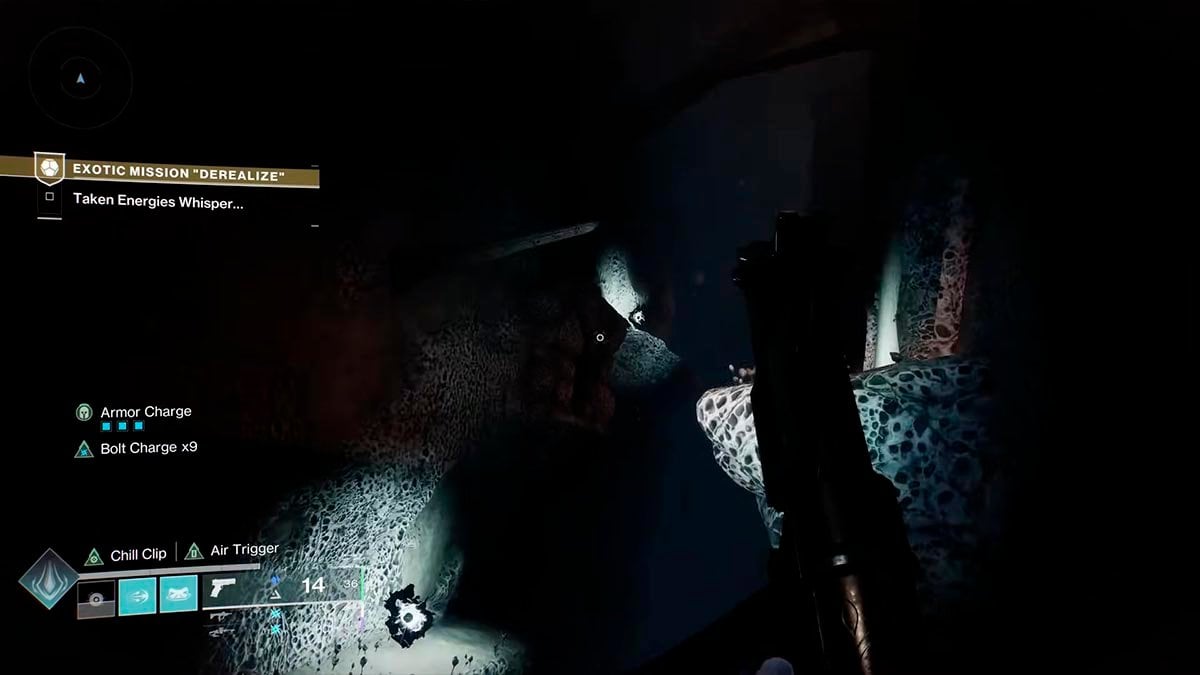
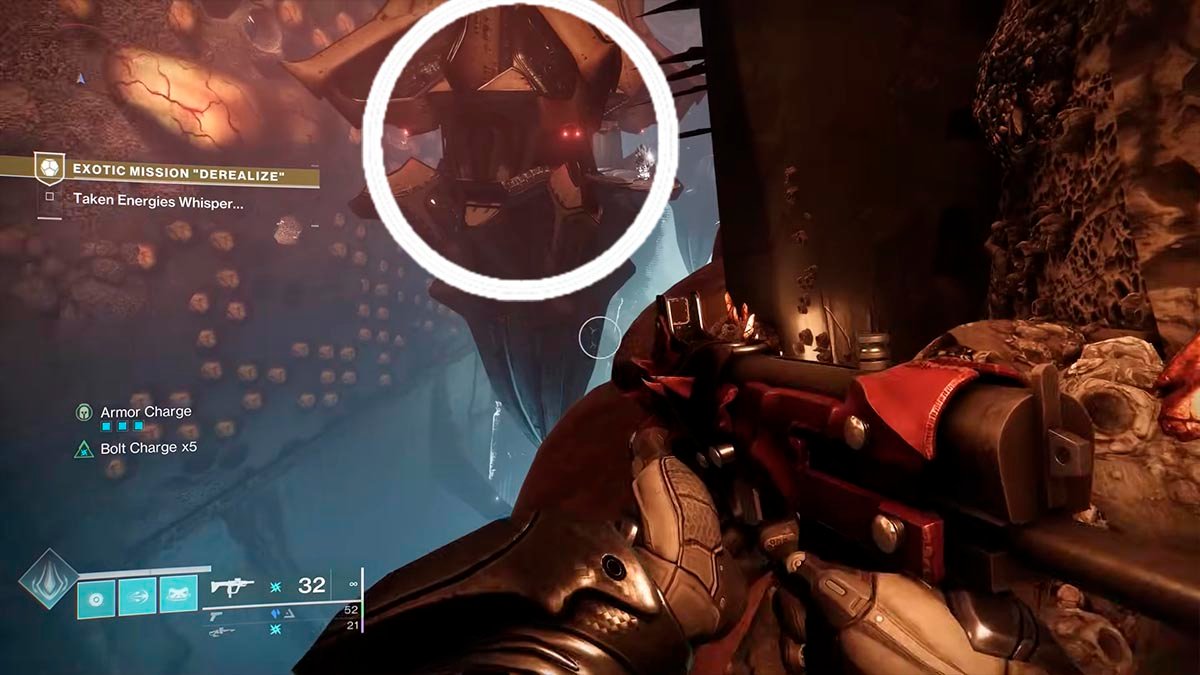
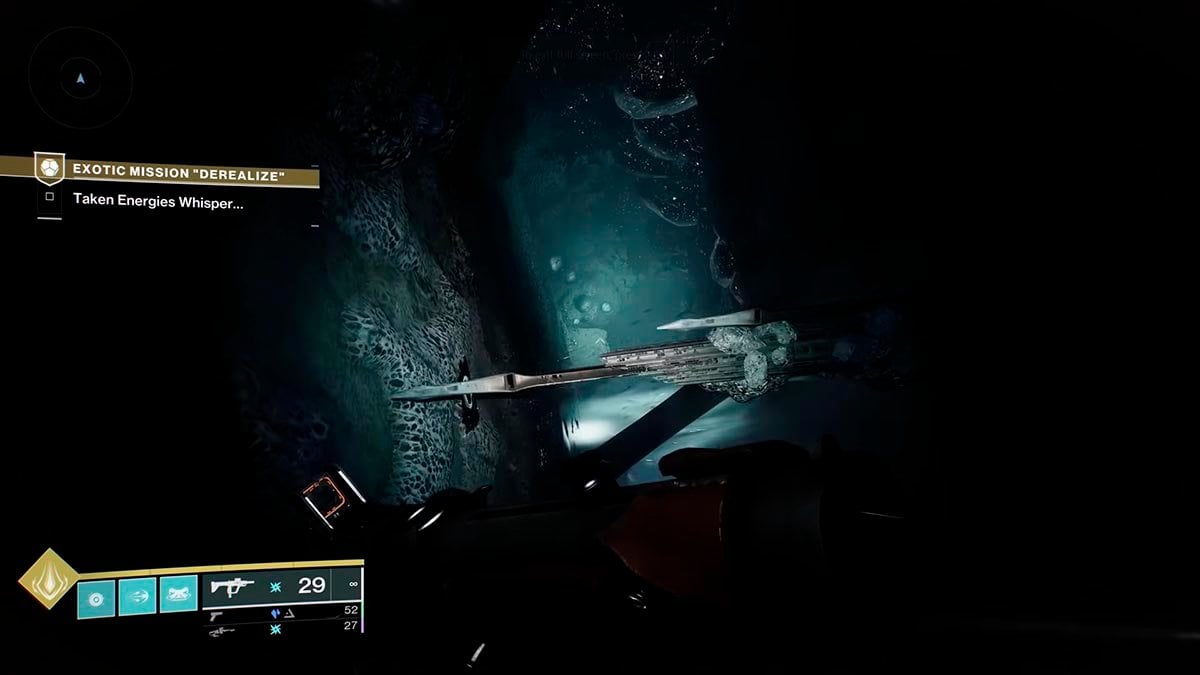
Now, you need to unlock the green shield wall, located in one of the hive walls. You must find and destroy 3 crystals. These crystals are also located within the hive walls, so search carefully, destroy all 3, and the shield wall will deactivate.
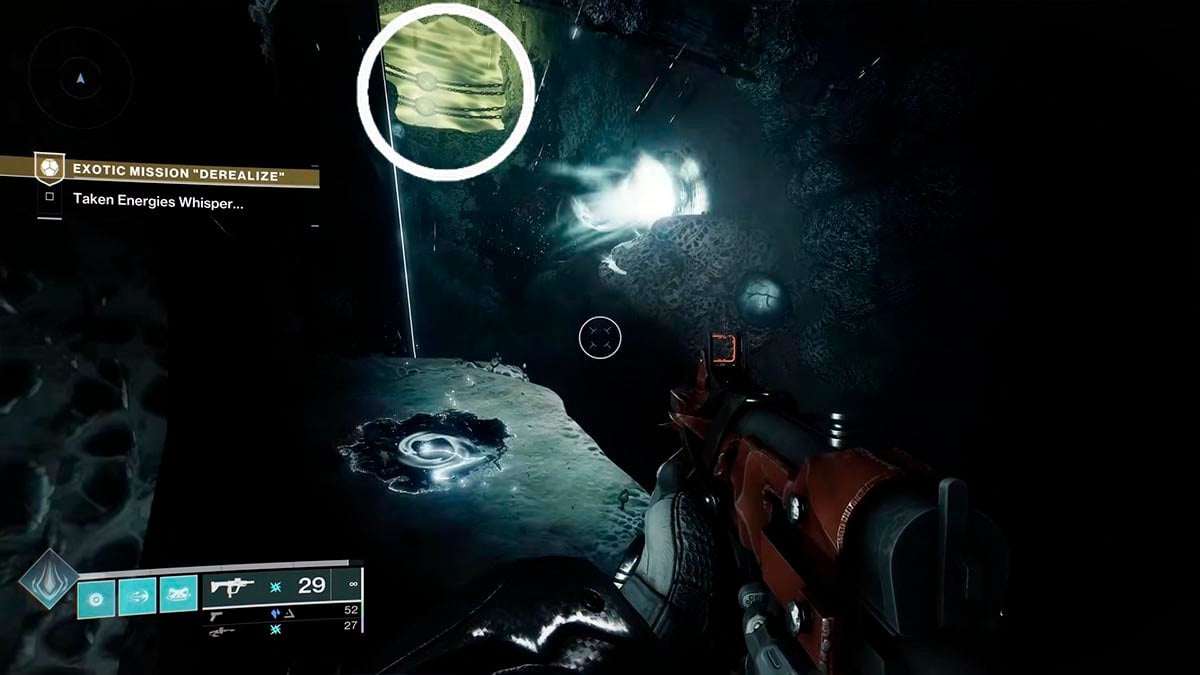

Return to the spot where the green shield was and move forward. Jump down and locate another metal structure in the center of the area. From there, jump into the lowest hole and climb up inside.
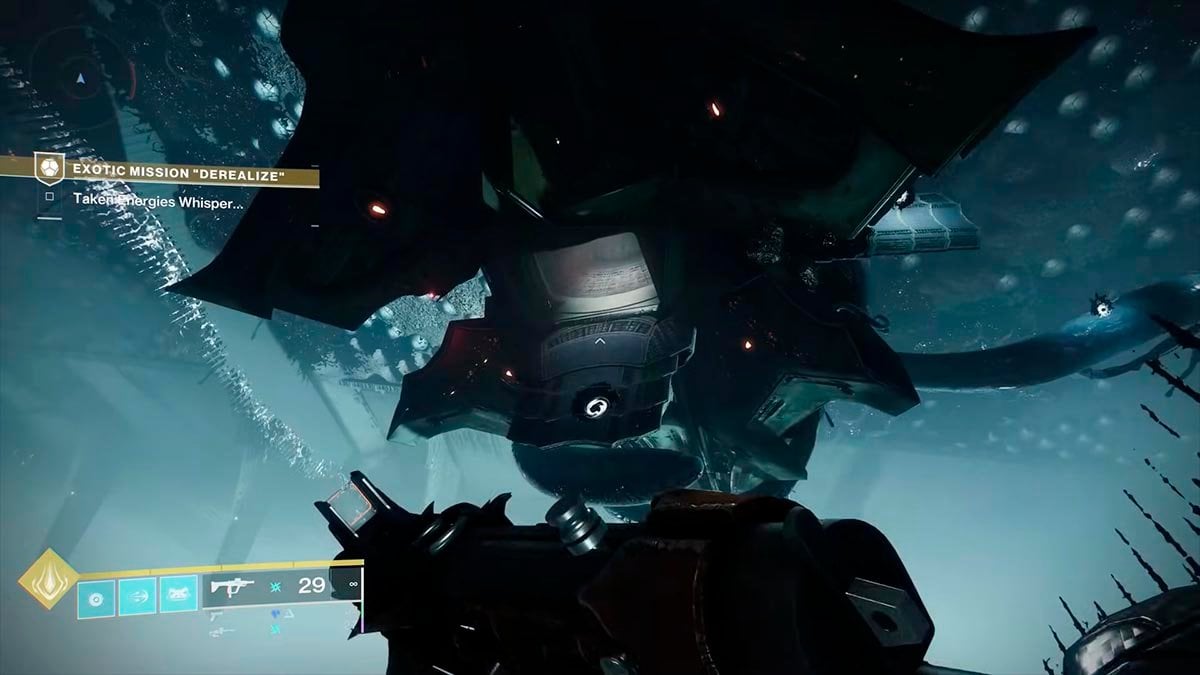
You are finally here. Your Barrow-Dyad Exotic SMG is waiting.
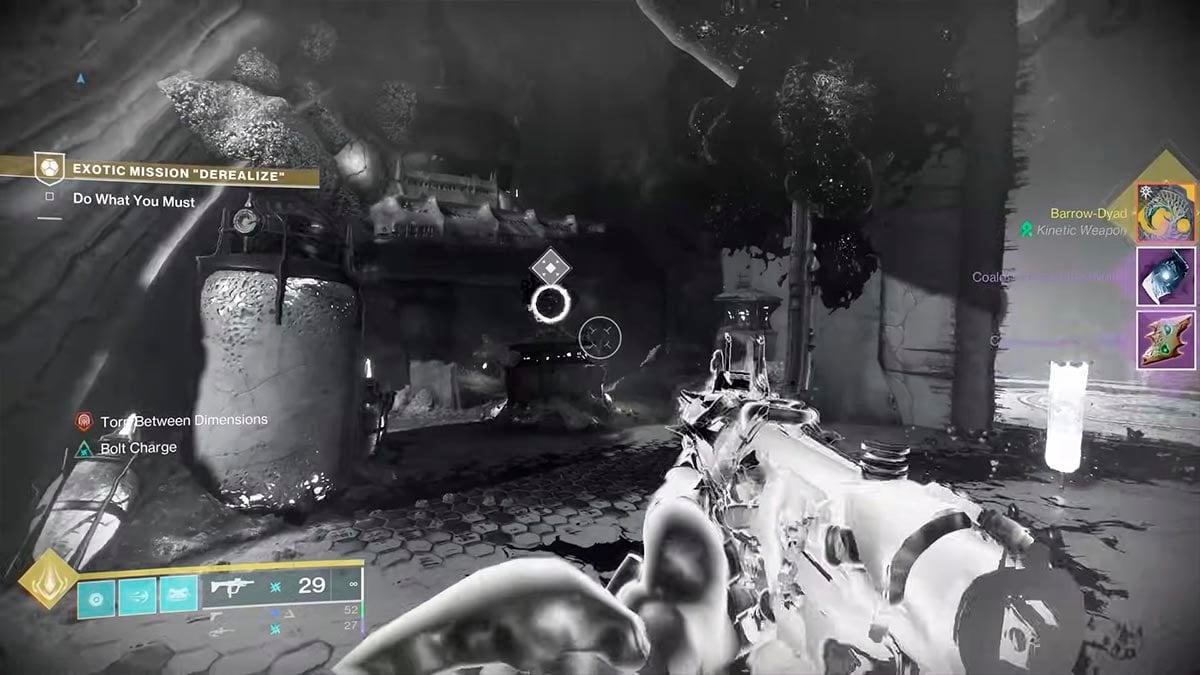
Objective 11 — Take the Artifact
Take Barrow-Dyad.

Objective 12 — Do What You Must
Search the area for three small spheres. Destroy all of them to start the final boss fight.
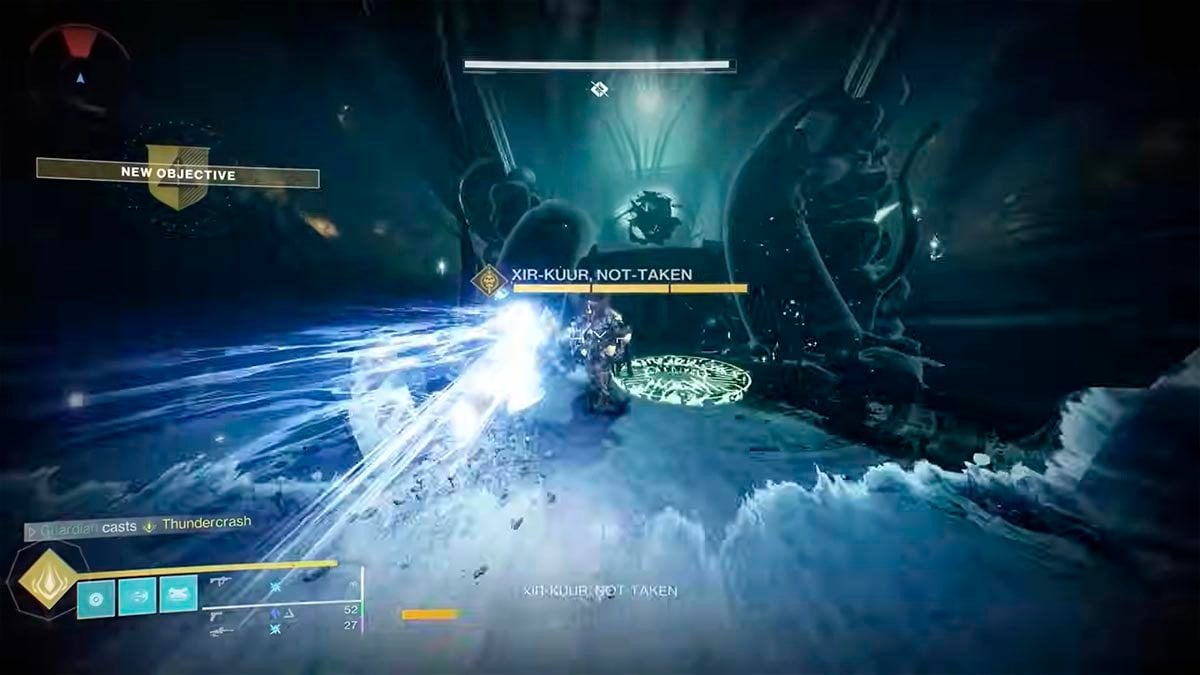
Objective 13 — Defeat Xir-Kuur
In this fight, you’ll face two bosses: one shielded and one unshielded. Their shields will switch periodically, so stay alert and adapt accordingly.
If the number of minions becomes overwhelming, prioritize clearing them out. If needed, also focus on destroying the Taken Blights.
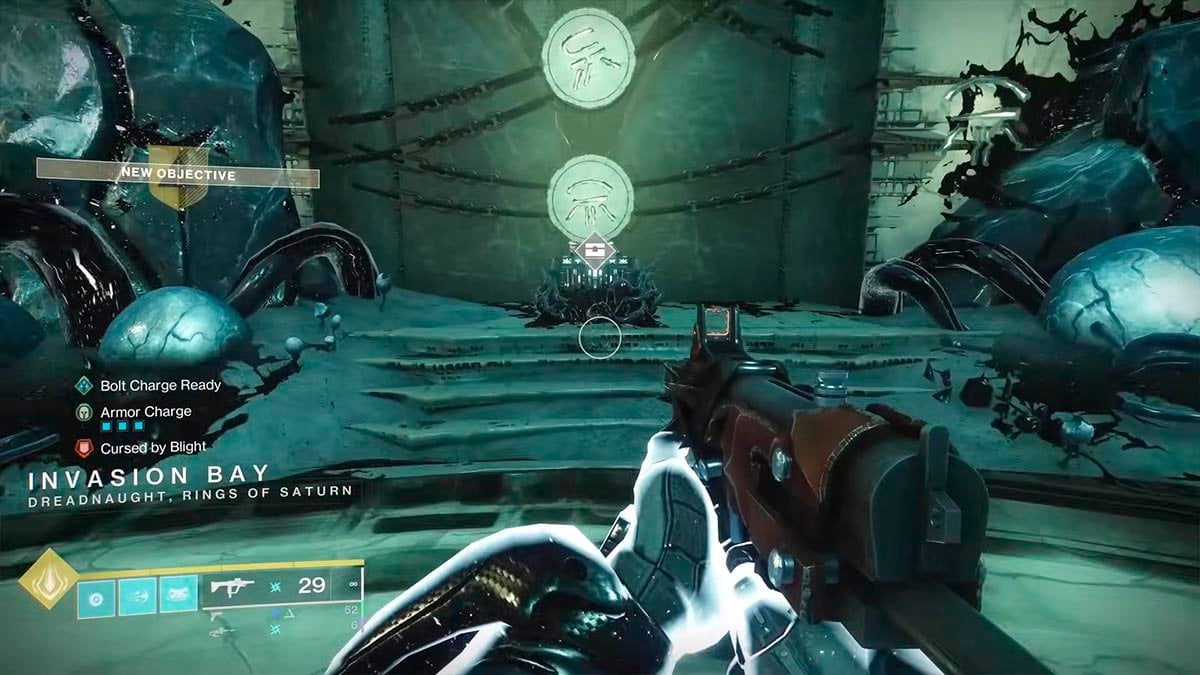
Objective 14 — Seal the Anteroom
Escape the boss room by retracing your steps to the entrance. Once outside, stand on the Plate to seal the room and complete this phase.
Objective 15 — Open the Chest
Look, there is more loot!
After completing the quest, don’t forget to visit the Shaping Slab. This will unlock a new mission to upgrade your Barrow-Dyad.
Lasting words on Derealize Exotic Mission
That wraps up our Destiny 2 Derealize exotic mission guide! We hope the mission will be smooth, and enjoyable for you. If you’re looking for even more loot or need assistance, be sure to check out our Destiny 2 boosting services to make your next adventure even easier.


Comments
thank you for the walkthrough. I’m not a fan of videos for these types of things.