
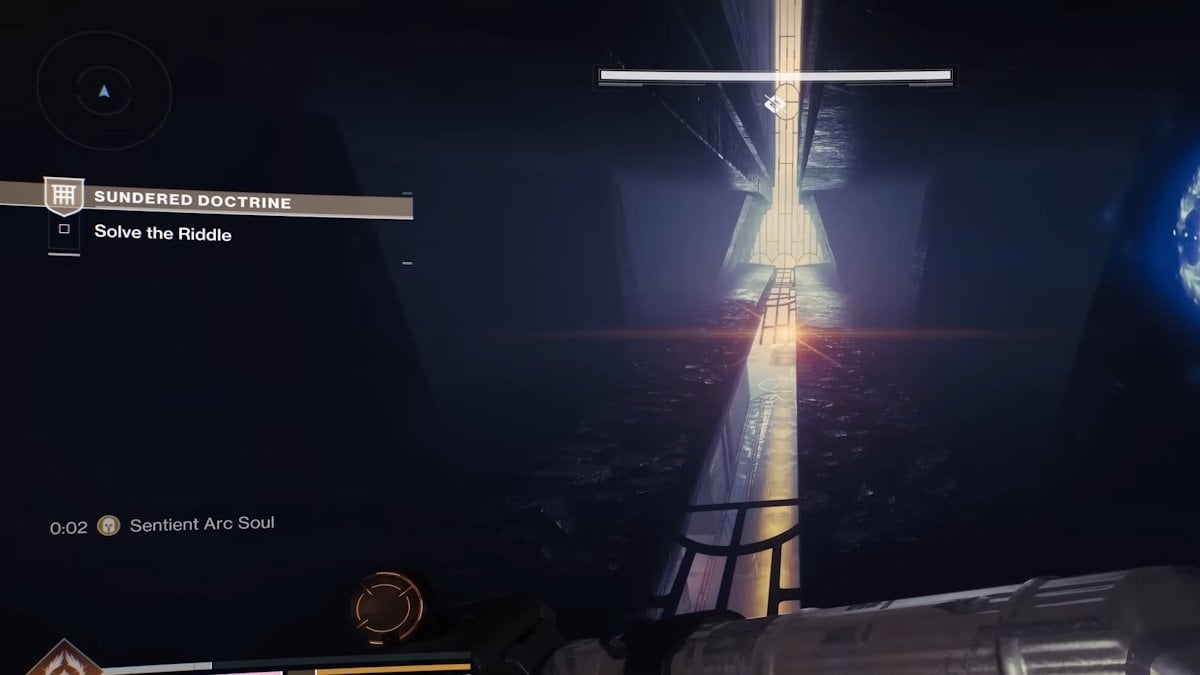
Destiny 2 Sundered Doctrine dungeon complete walkthrough
Master the challenges, uncover hidden secrets, and claim powerful rewards in Destiny 2’s latest dungeon, Sundered Doctrine.

Table of Contents
- Destiny 2 Sundered Doctrine dungeon release date
- How to start the Sundered Doctrine Dungeon in Destiny 2
- Conclusion
- FAQ
The Episode Heresy is here, and with it comes a new Destiny 2 dungeon. Sundered Doctrine takes Guardians into Rhulk’s Pyramid Ship, where they will face Dread and Hive enemies, navigate tricky puzzles, and earn exclusive loot. Whether you’re playing solo or with a team, understanding the dungeon’s mechanics is crucial to success. This guide will provide you with all the details about the new D2 dungeon. Don’t forget to check our Sundered Doctrine loot table to be aware of all the rewards this dungeon has to offer.
Related posts:


Before jumping in, check out our Destiny 2 DPS guide and our list of the best PvE weapons in Destiny 2 to ensure you’re battle-ready.
Destiny 2 Sundered Doctrine dungeon release date
The Sundered Doctrine dungeon launched on Friday, February 7.

How to start the Sundered Doctrine Dungeon in Destiny 2
Before you begin, go to the Tower and talk to Ikora Rey to pick up the “Drowning Labyrinth” quest. Once you have it, open Savathûn’s Throne World on your map and look at the top-left corner for the dungeon marker. Select it and launch the dungeon to begin your adventure. Make sure you have at least Power level 1995, as this is a requirement for the Dungeon.
Sundered Doctrine path to the First Encounter
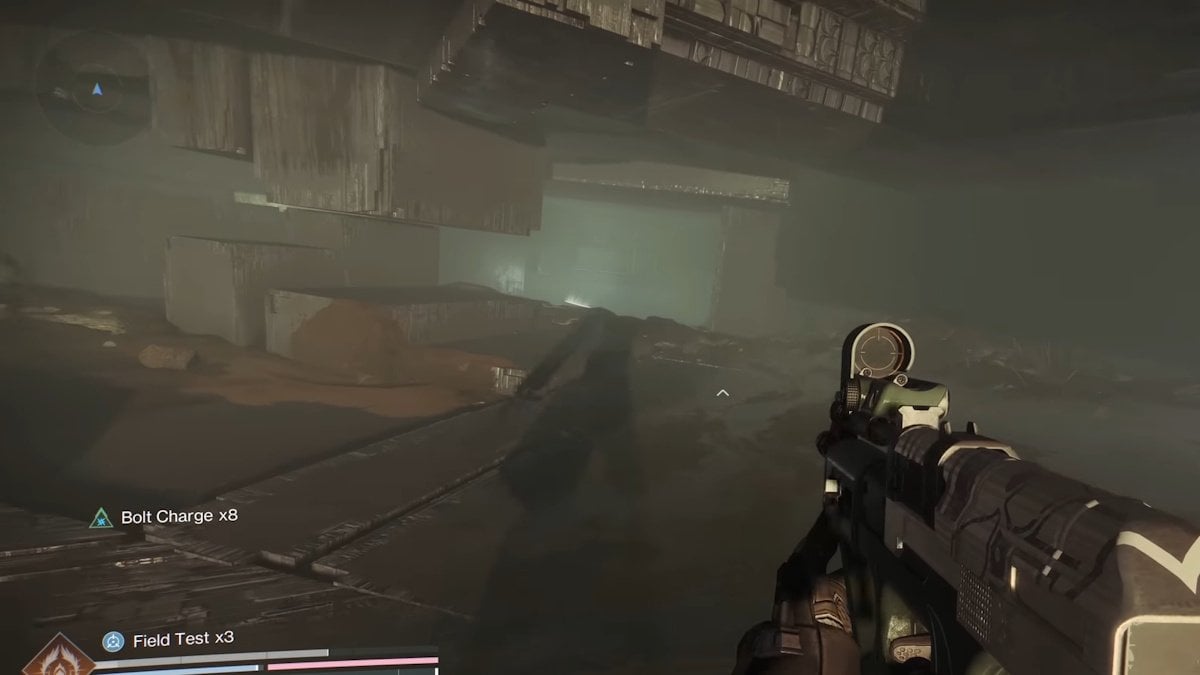
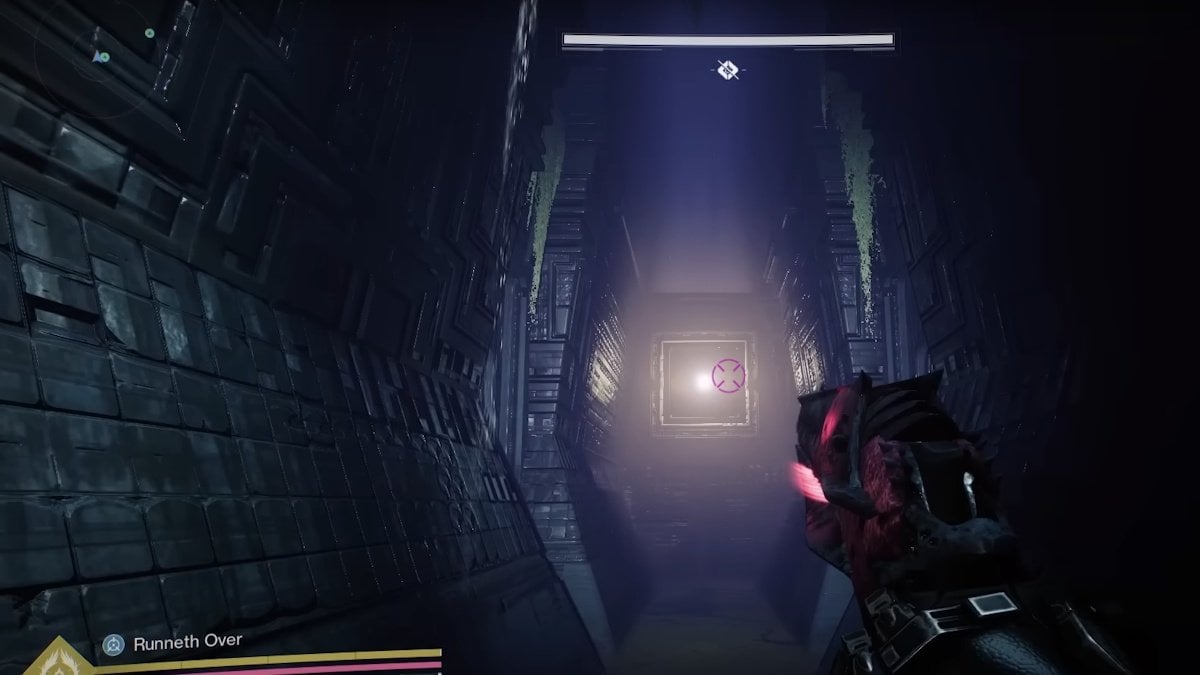
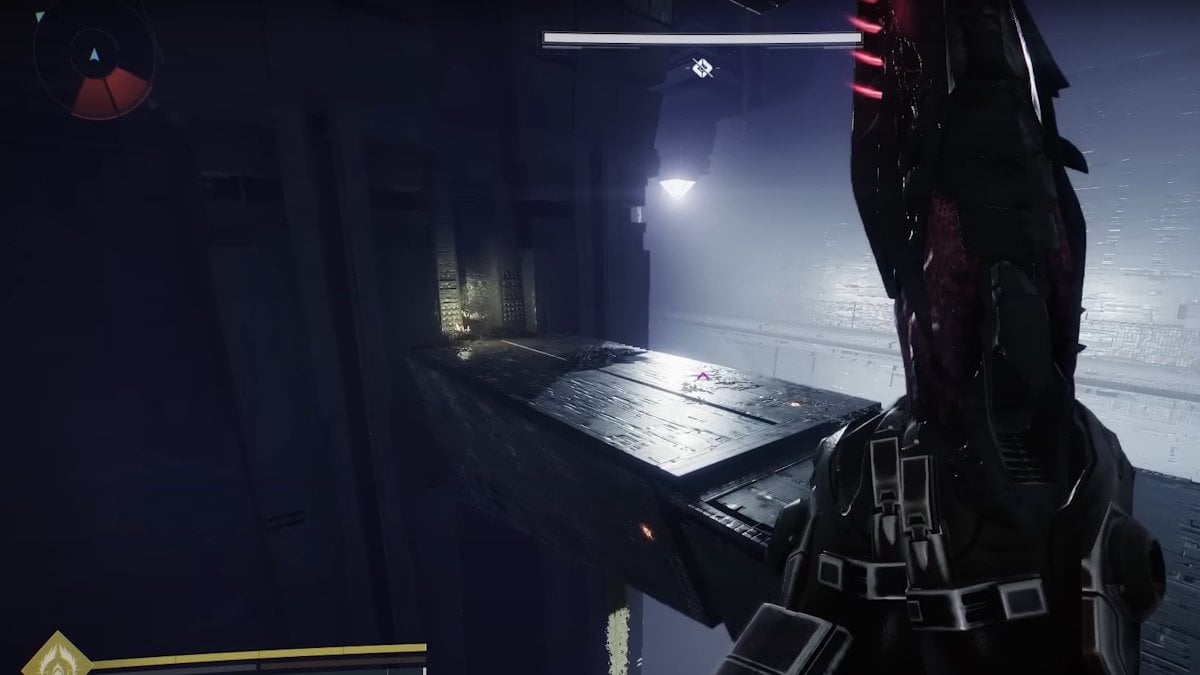
After spawning in, jump down and look for a long bridge to walk across.

Once you cross it, turn left and jump up to the nearby ledge highlighted in the picture.

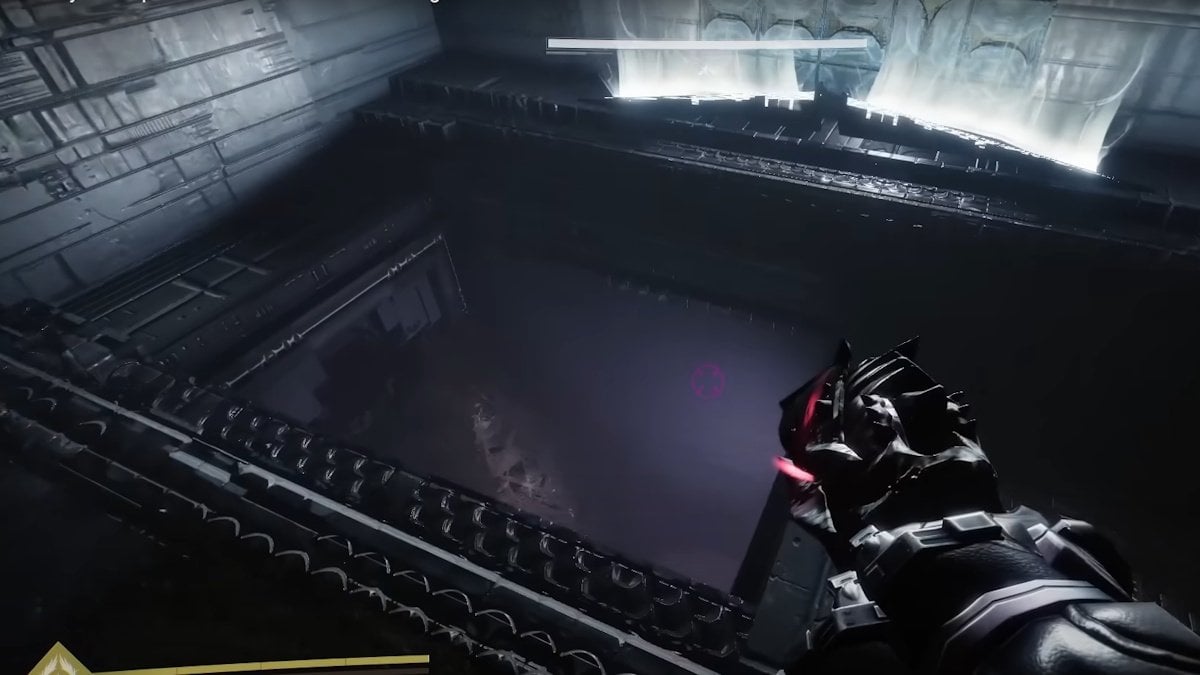
Continue along and take the first right turn, and fall down the hole in front of you. Go forward and you will eventually find a room filled with enemies.
Eliminate all of them, and once the area is clear, a small hole in a nearby wall will open up. Jump through and start falling further down.
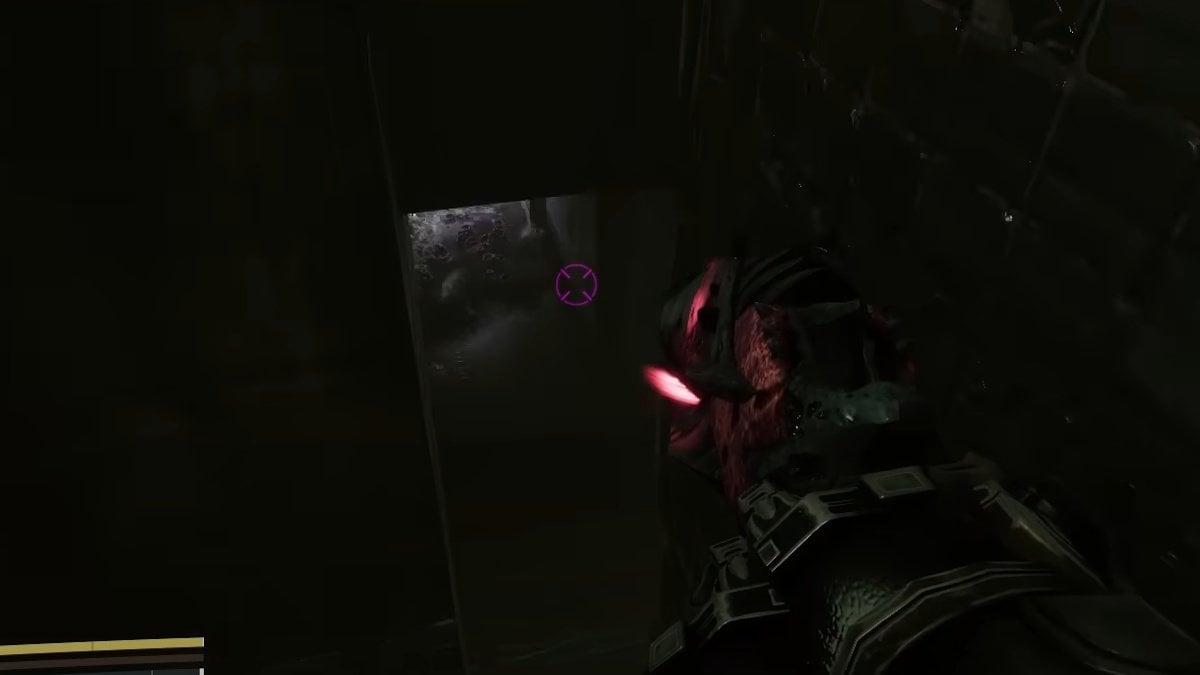
Keep descending until you reach another area filled with enemies. Clear this new room as well, then search for a small waterfall. There is a hidden passageway behind the waterfall that will allow you to progress.
Walk through it, fall through another big hole, then locate a small opening in a nearby grate. Drop through this final gap, and you will have officially reached the first encounter.
Sundered Doctrine First Encounter guide
To complete the First Encounter you will need to solve a puzzle to unlock the door and move forward. There is no boss fight in this Encounter.
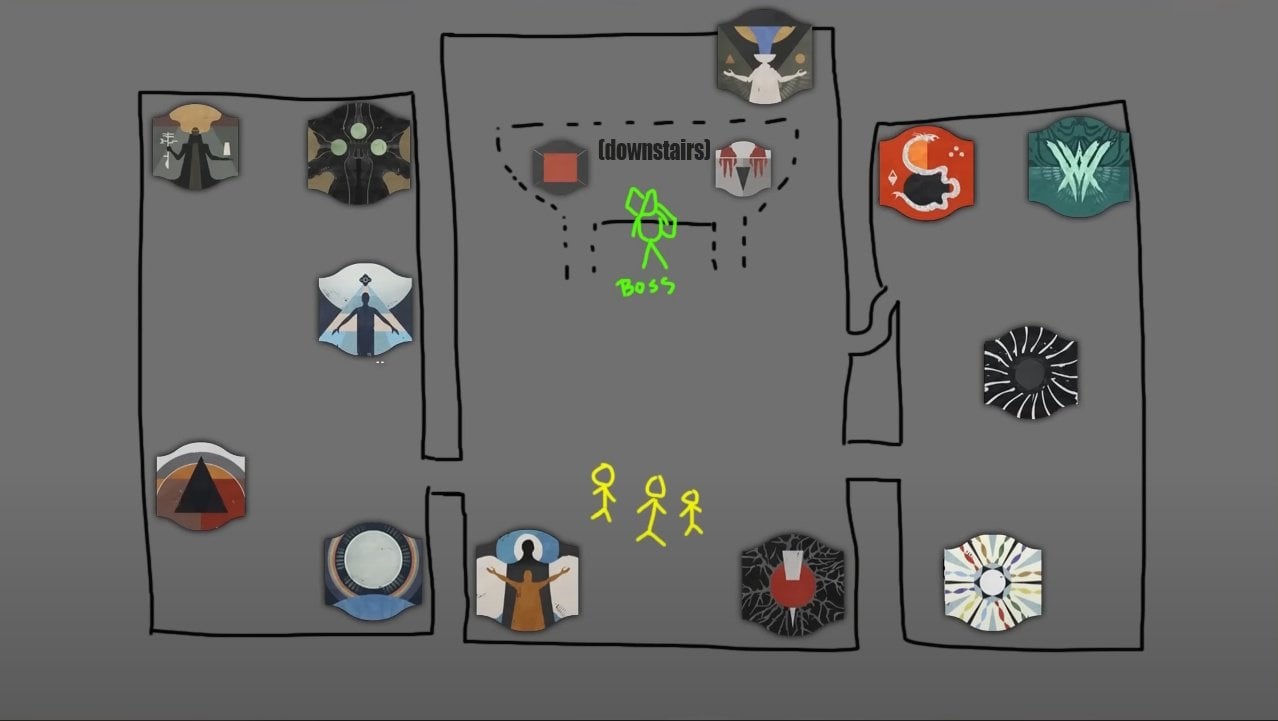
First Encounter area layout
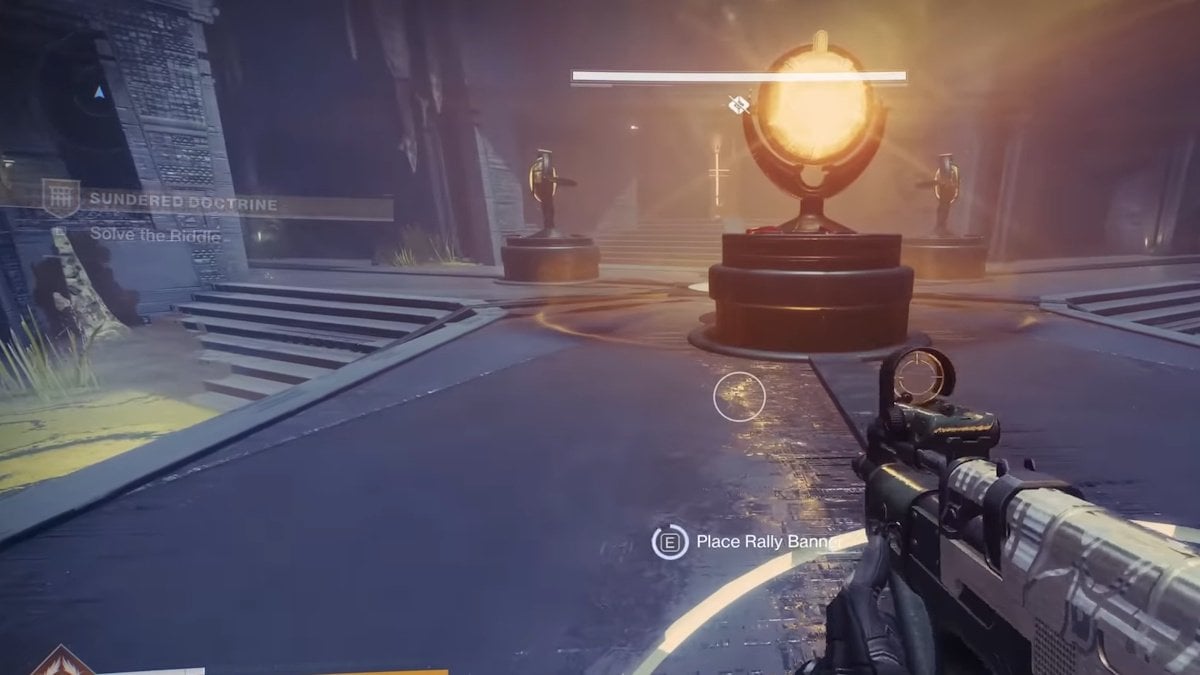
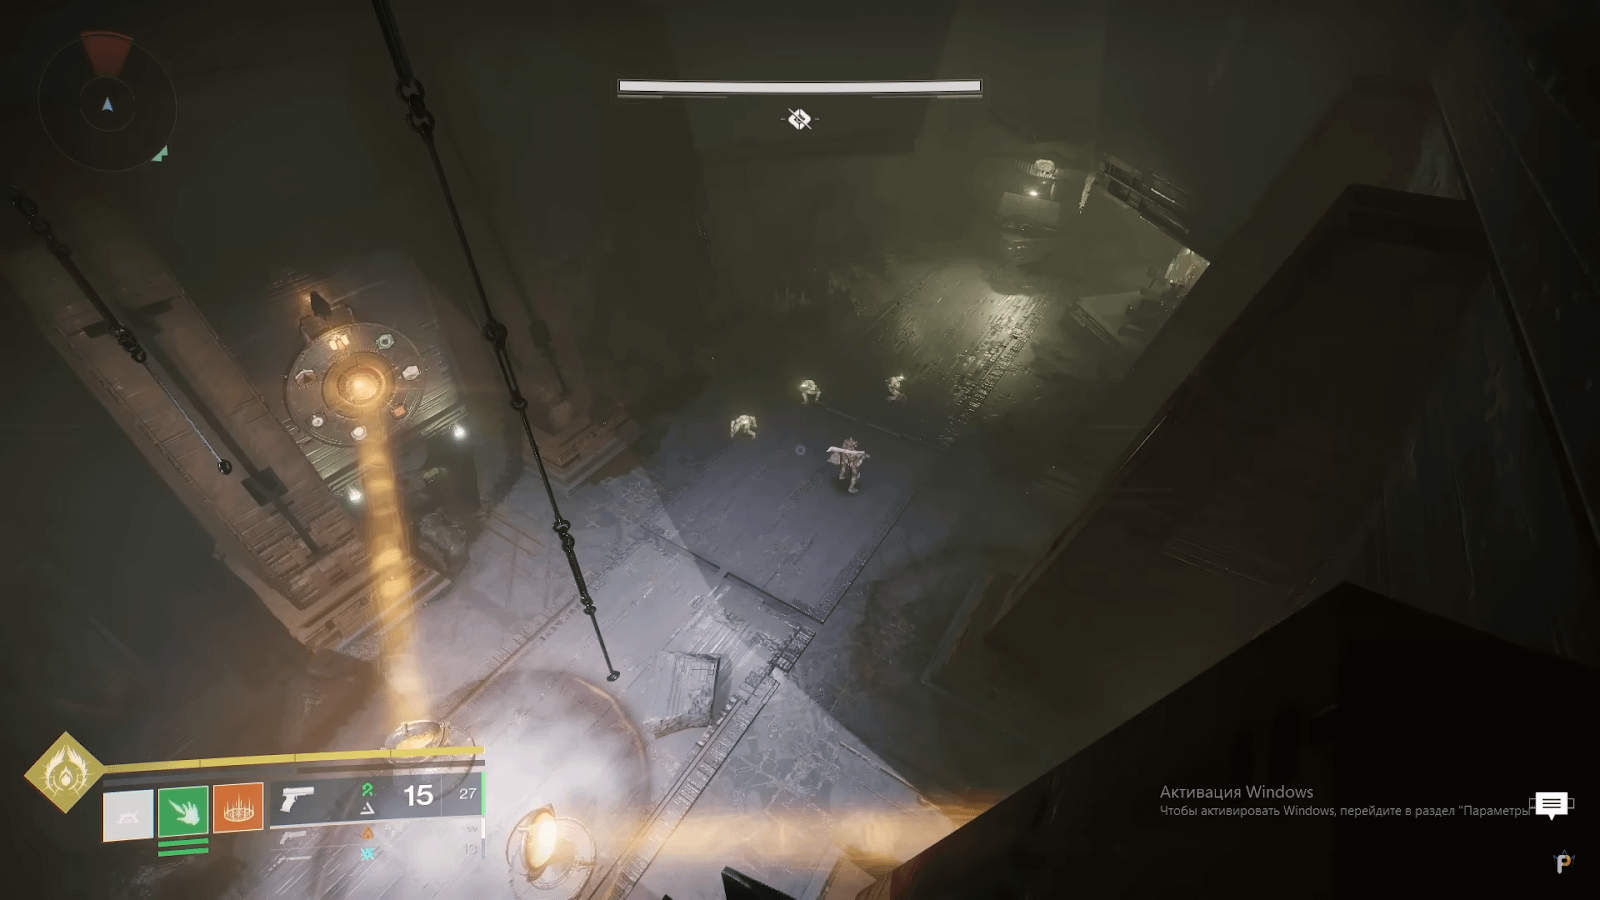
The encounter takes place in a large central room, which we’ll refer to as the Main Room. Four hallways branch out from this area, leading to four different side rooms. Two of these hallways are on the left side and two are on the right. Each side room contains a large wheel on the back wall. In the center of the Main Room, you will find three lenses arranged in a triangle, which can be rotated by interacting with them.
How to solve the First Encounter puzzle
To start the encounter, adjust any lens in the Main Room. Once activated, enemies will start spawning in the area. Your first priority is to locate and kill the “Truthspeaker” enemy, which is a floating enemy found in one of the rooms.
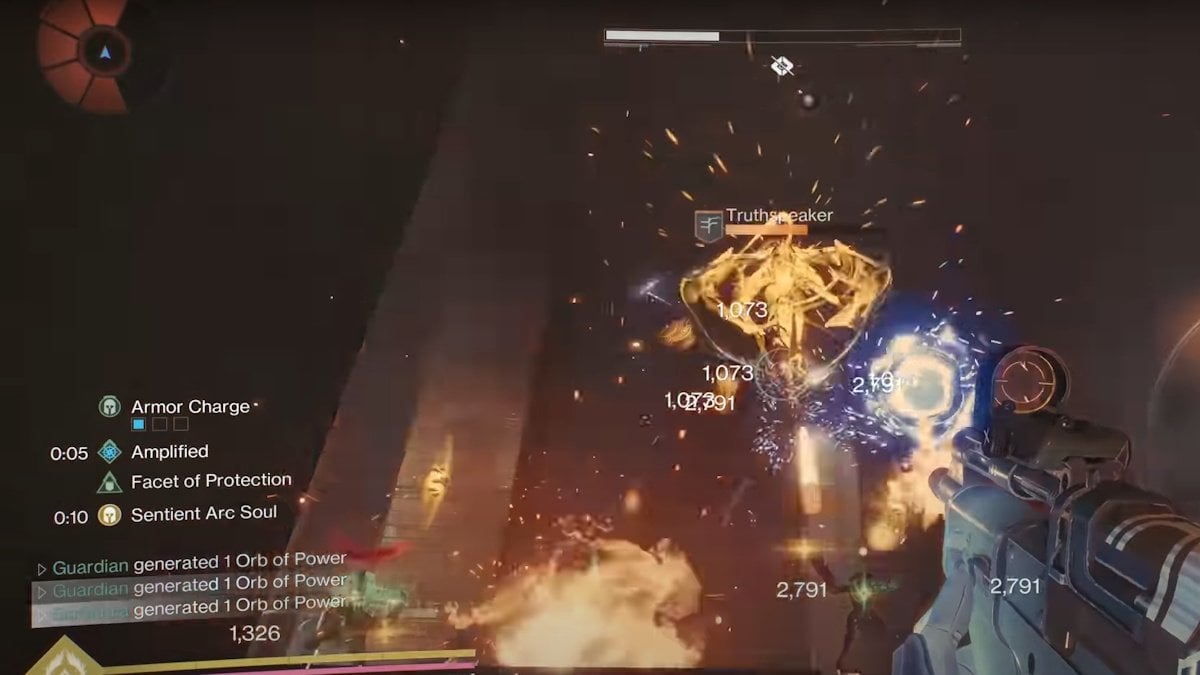
When defeated, the Truthspeaker will display a symbol.
Your goal is to find the side room that has the same symbol on its large wheel. Once identified, you need to direct a beam of light from the Main Room to hit the correct wheel in the correct side room.

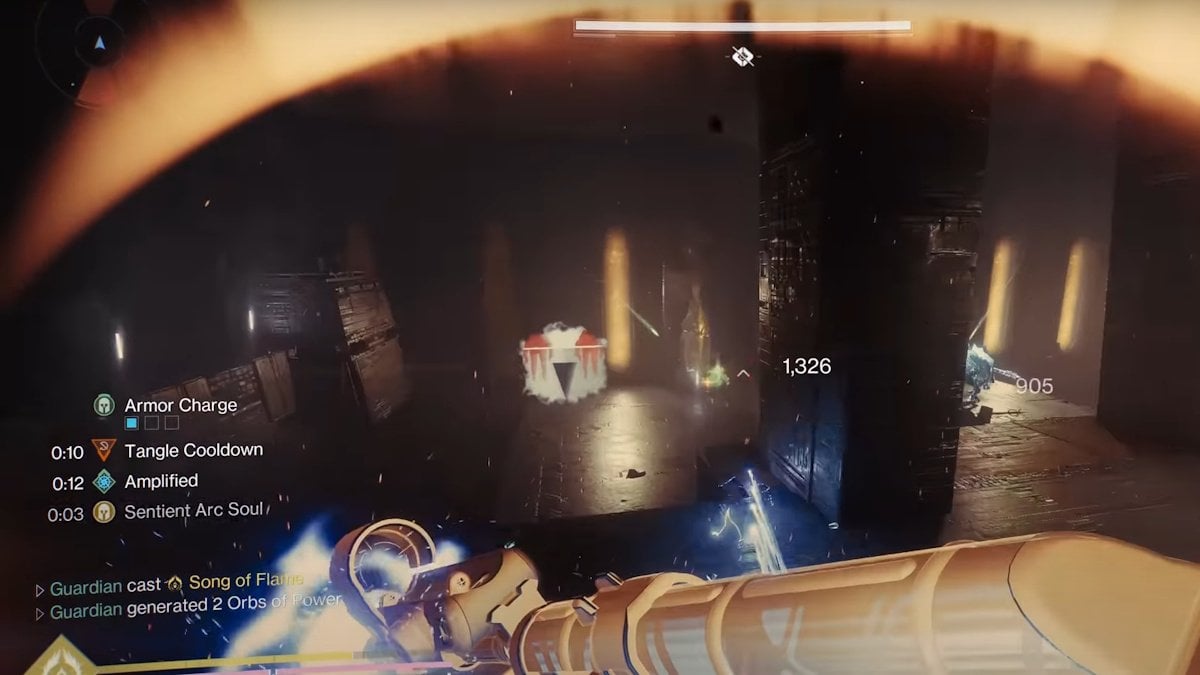
To achieve this, adjust the lenses in the Main Room to reflect the beam into the appropriate hallway. You will also need to kill Subjugators, which drop additional lenses that can be placed in empty holders. Continue redirecting the beam by adjusting the lenses until it reaches the correct wheel. Once the beam successfully hits the correct wheel, one wave of the encounter is complete.
The are a lot of different paths the beam can take, if you struggle to find the right path, below is the map of the area with the most optimal paths to each room showcased, made by CyanicKenshi.

The Encounter consists of three waves, each time you will have to do more than the last. The first wave requires just one symbol. The second wave requires two, meaning you will need to locate and defeat another Truthspeaker and repeat the process. The third and final wave requires three symbols. In total, you will need to redirect the beam six times across all three waves.
Sundered Doctrine path to the Second Encounter
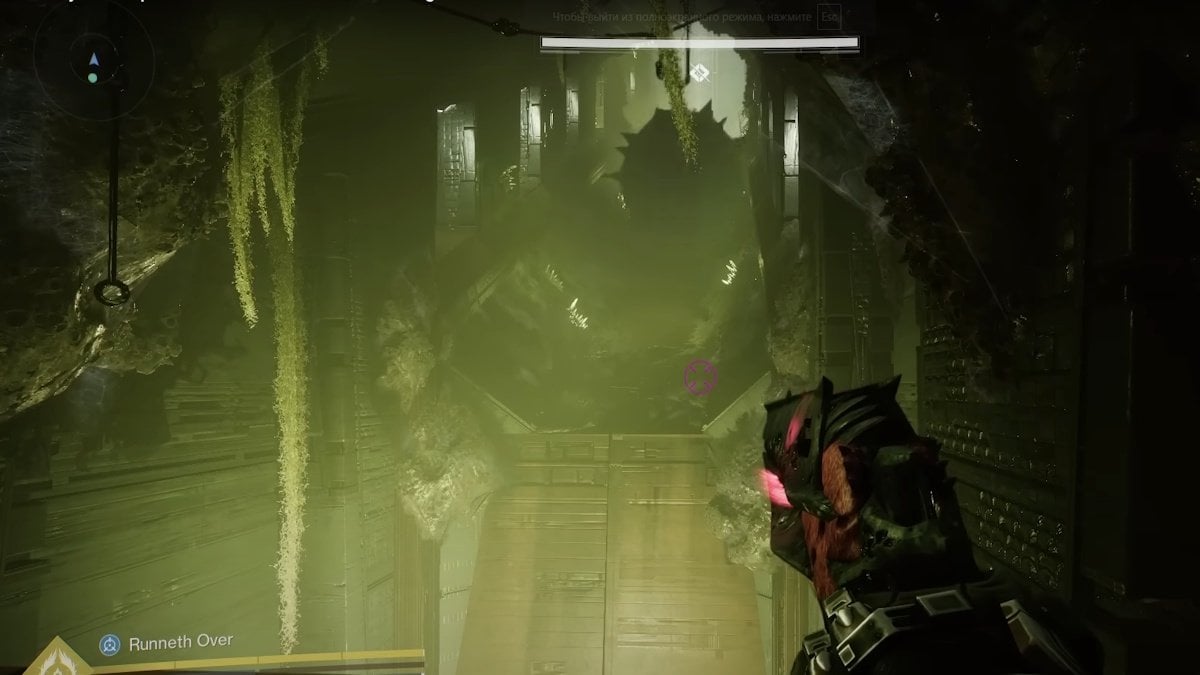
After completing the first encounter, a stairway will appear in the central room under the big wheel.
Head down the stairs and continue falling as far as possible until you reach the area shown in the picture below.
From here go through a long hallway until you find a large open hole that you will need to jump into.
This will bring you to a labyrinth area.
To navigate it, start by turning right, then head straight ahead until you drop off a small ledge into a slightly more open space.
Upon landing, immediately turn right to spot a large glowing square on the wall which will indicate you are in the right spot.
Look for some hanging moss on the left wall and jump up to the ledge it is on.
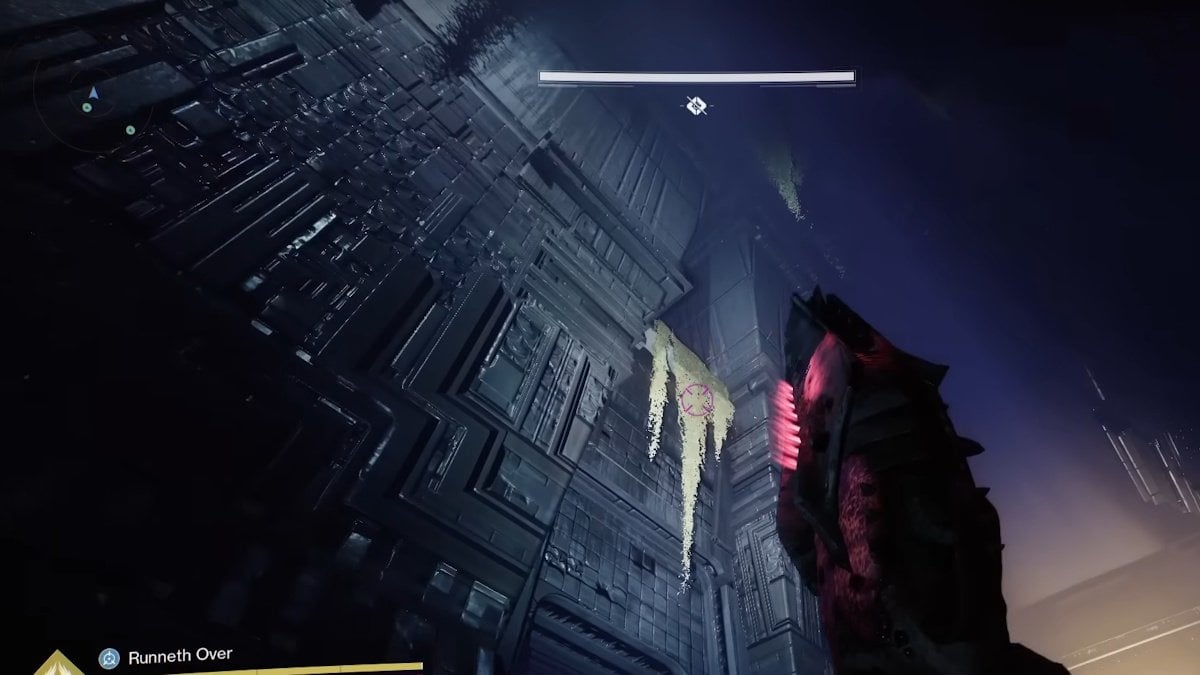
Move forward, and if you see a small red glowing light, you’re on the right path.
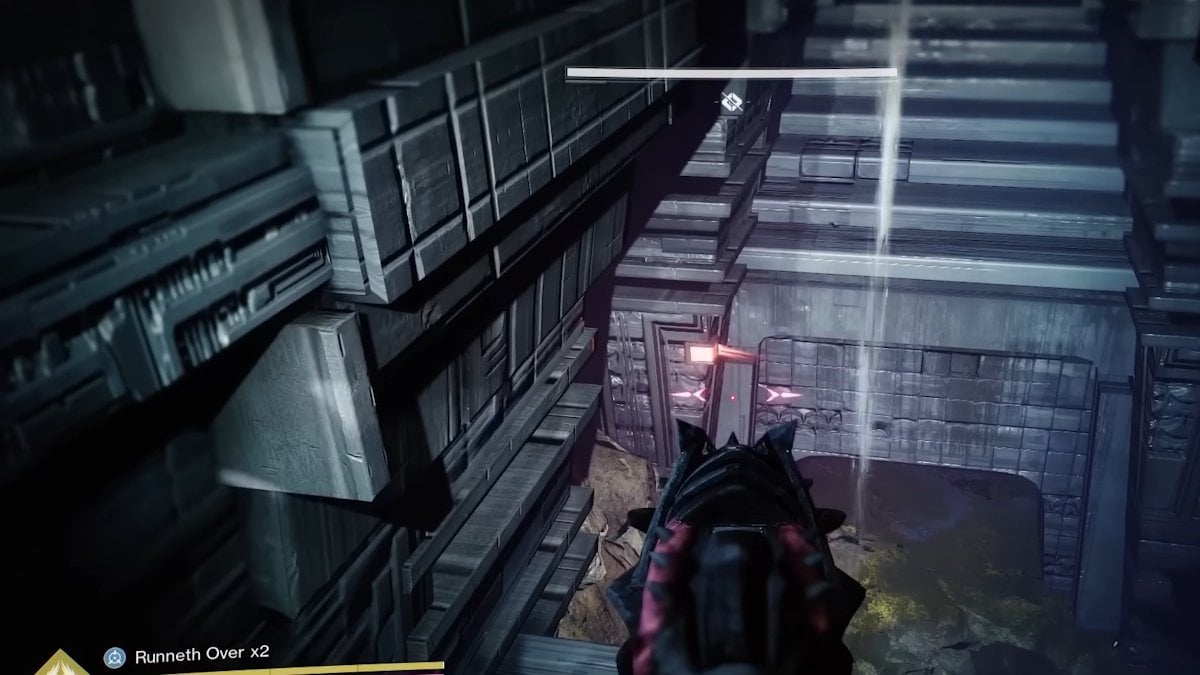
Jump over the red light to the opposite staircase, then follow the path ahead. Turn left twice, fall through a small hole, and you’ve made it out.
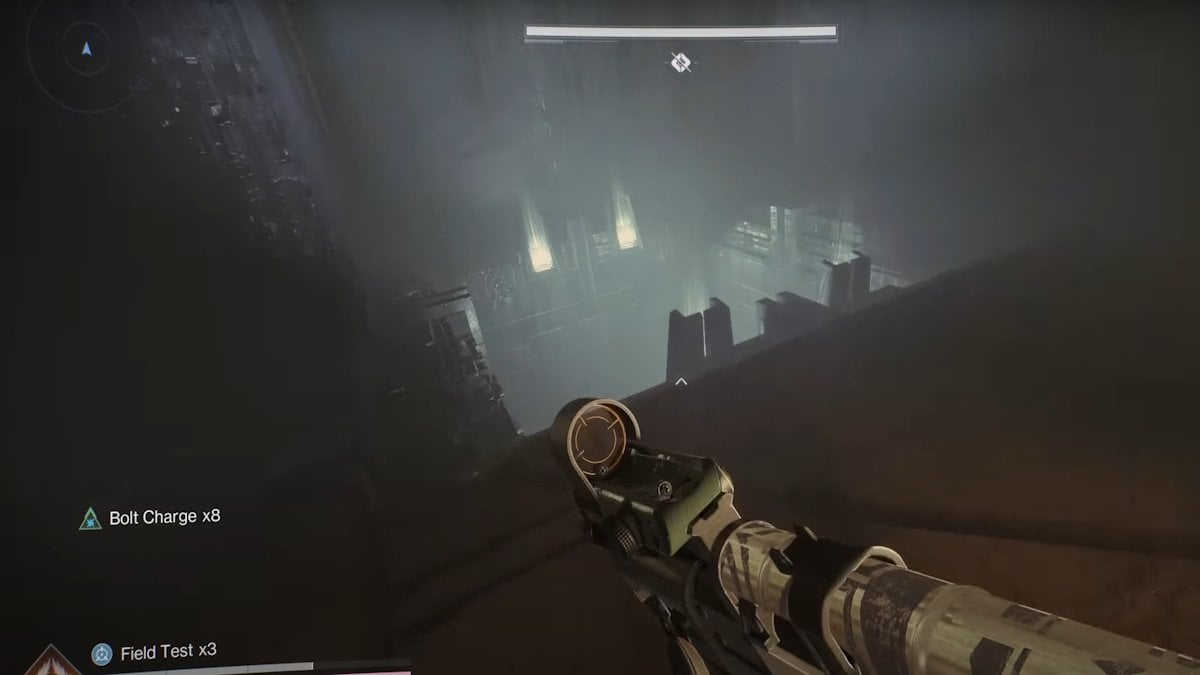
Now, you’ll find yourself in a wide open area filled with Dread enemies. You can fight them or simply run past them. Your goal is to locate a specific bridge with a doorway at the end. You’ll know you’re in the right place if you see a glowing yellow crystal beside the doorway.
Enter the doorway and proceed down the long hallway, but don’t go all the way to the end. Instead, look to your left before reaching the end and find another hole to drop through.
This leads to a green area with ledges on both sides. Walk along the ledge you are on until you see an open hole in the wall across from you. Simply jump into that opening.
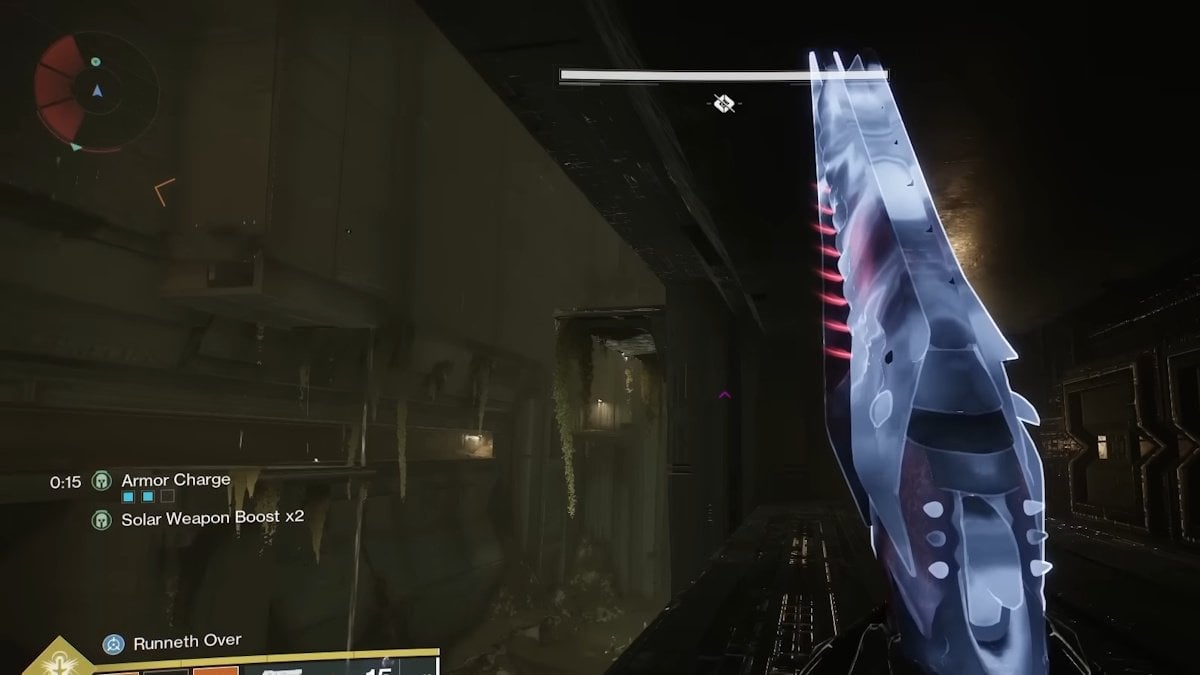
Next, you’ll face a huge ramp with massive balls with spikes rolling down at regular intervals. You need to ascend this ramp while avoiding these deadly obstacles.
If you need a break, use the ledges on either side to take cover. Fortunately, you don’t have to go all the way up. About halfway up the ramp, you’ll spot a large hole in the floo that you can get into. Move forward through a short hallway, take a left, and you’ll reach a flight of stairs. Be cautious, as death boulders will periodically roll across your path. Get past this hazard, and you’ll enter a new room.
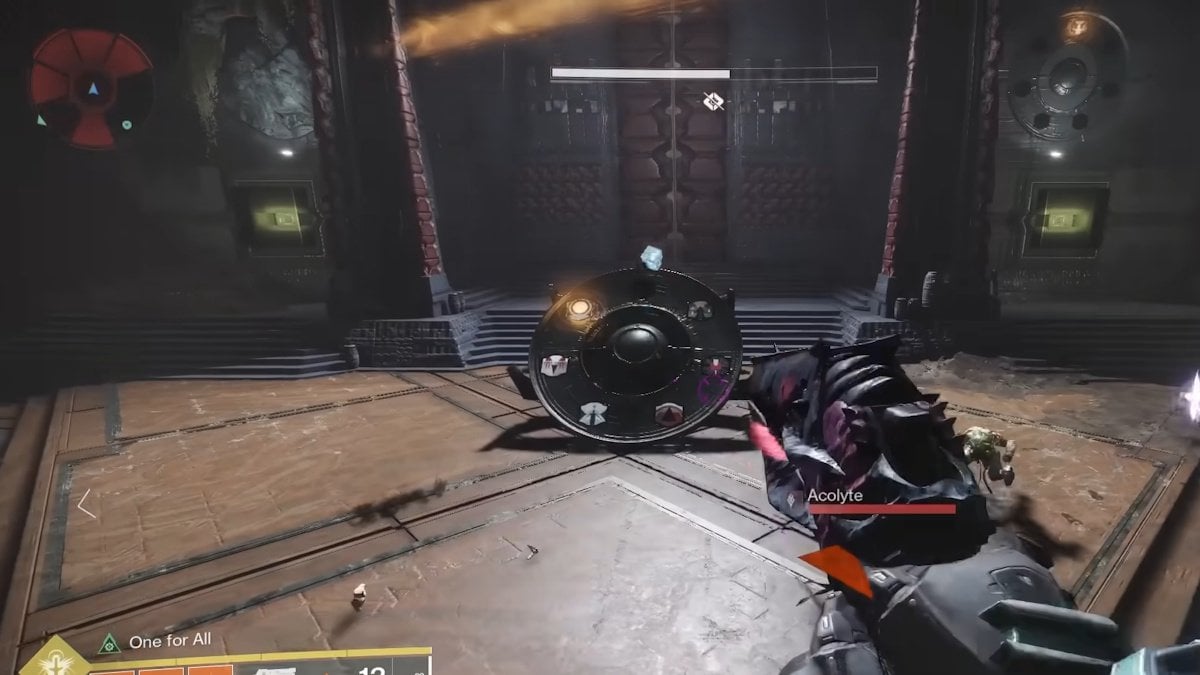
Before reaching the second encounter, you’ll need to complete this puzzle that introduces a new mechanic. You’ll find yourself in a Y-shaped hallway with two giant wheels on the walls and two glowing lenses. There’s also a closed door with two symbols on either side. Your goal is to illuminate those symbols on the wheels to unlock the door.
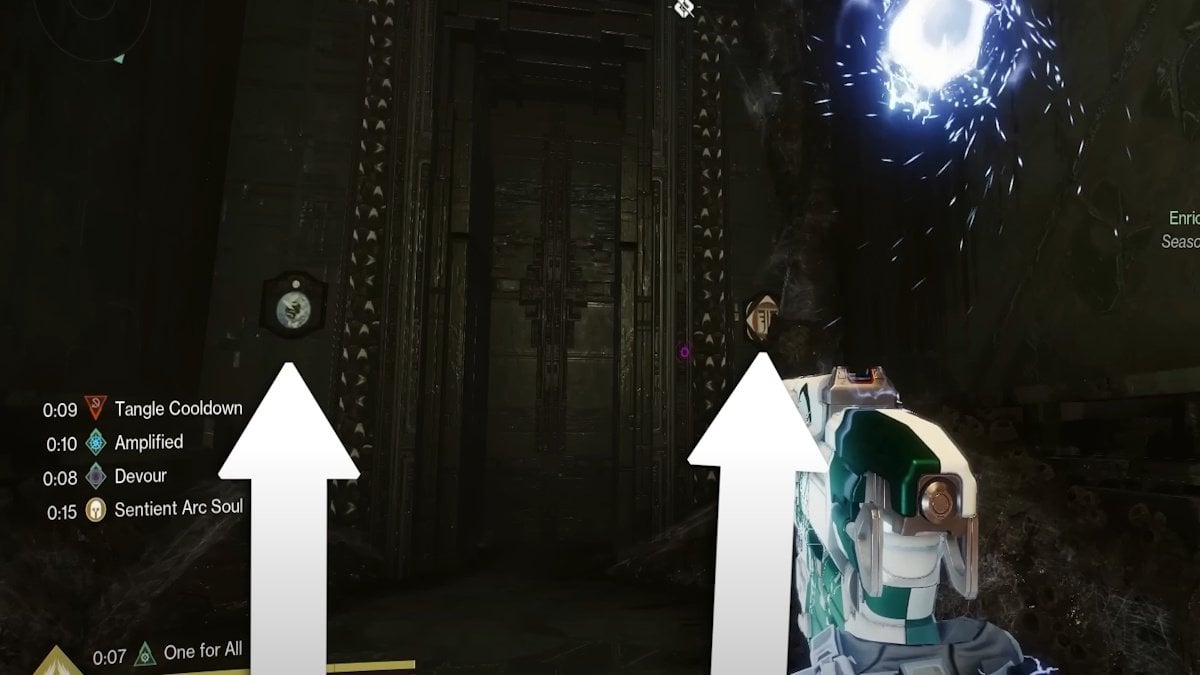
To do this, you need to defeat Hive Wizards. When they die, they drop an item called Heightened Knowledge.
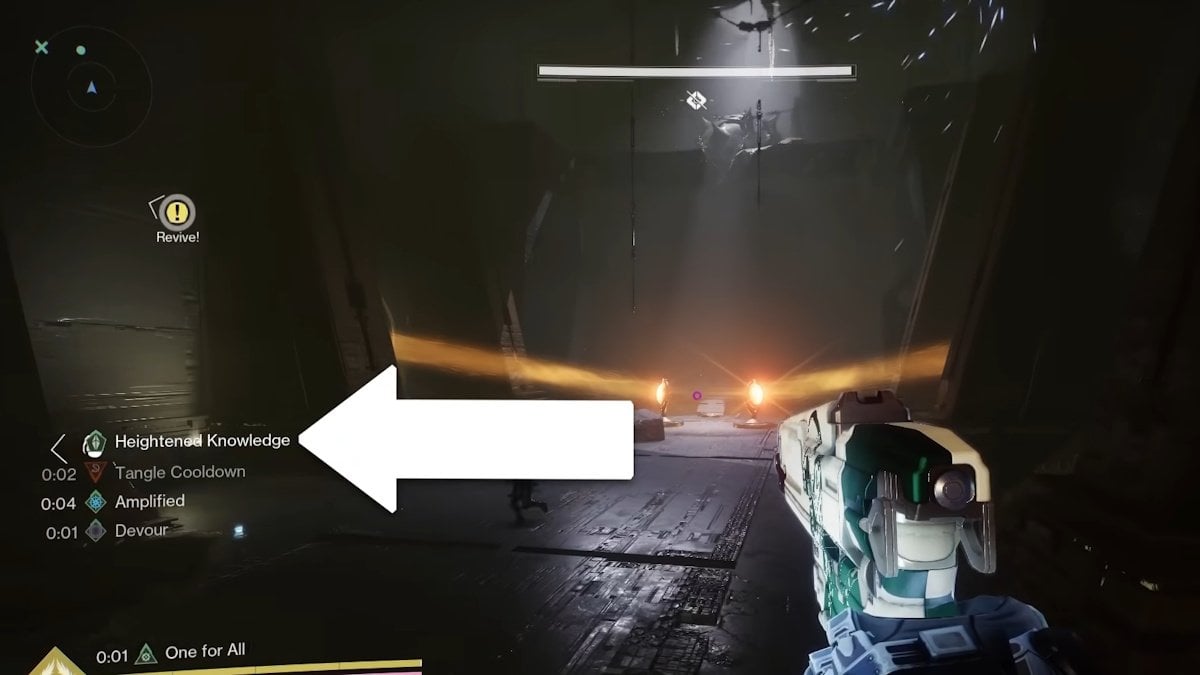
Depositing knowlege into the podium beneath a wheel moves the wheel and highlights another symbol. The direction of movement depends on the spinning circle in the center of the wheel. If the circle is spinning left, the glow will move left, and if it’s spinning right, the glow will move right. You can change the spin direction by shooting the activation button above the wheel.
Once you rotate the wheels so the right symbols are highlighted the door will open leading you to the Second Encounter
Sundered Doctrine Second Encounter guide
The goal of this encounter is to defeat the boss, but not in the way you might expect. Instead of a single enemy, the boss consists of four large Shriekers that share one collective health bar. Any damage you deal to one of them will contribute to the total, and when the bar is fully depleted, all four will die simultaneously. Here’s how to complete the encounter.
Second Encounter layout
The battlefield consists of four Shriekers positioned at the far end of the room. They are completely immobile. In front of each Shrieker, there is a small screen rising from the ground (four in total). Additionally, there are four wheels, similar to those from the mini-encounter earlier.
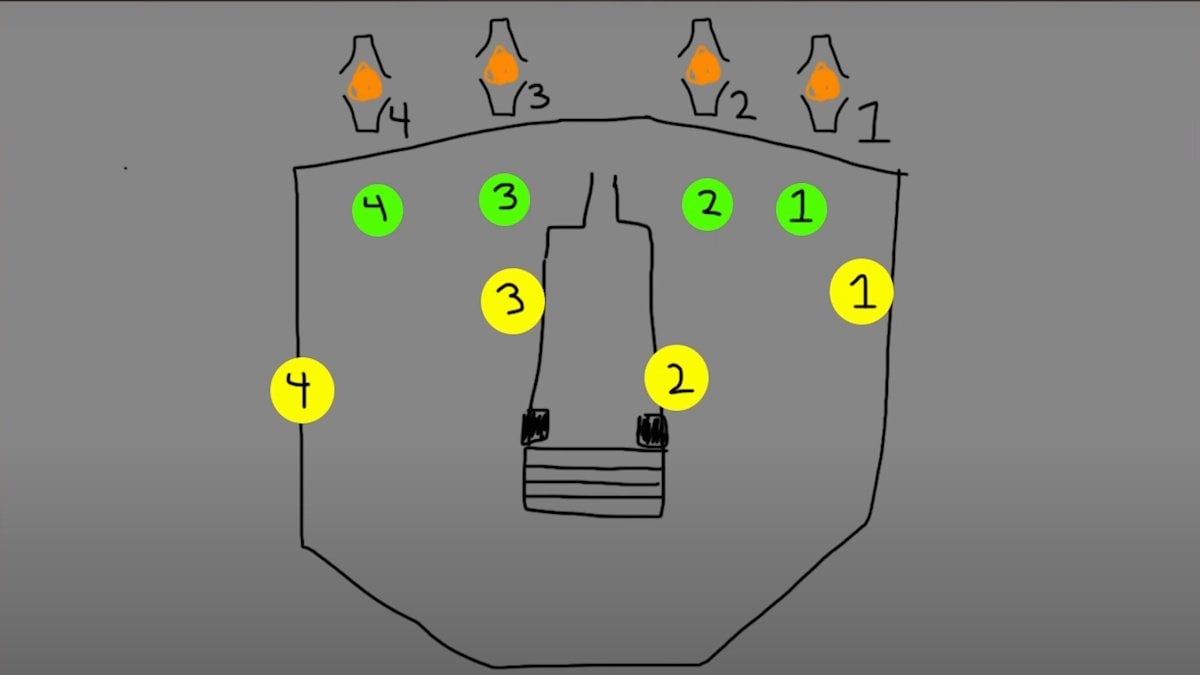
To start dealing damage to the Shriekers, at least one of these billboards must display the Kill symbol. Your objective is to manipulate the wheels so that the Kill symbol appears on display 4 while placing Stop symbols on the first three. This setup will help minimize the difficulty of the encounter. Here is a display of all symbols so you can understand which ones you need.
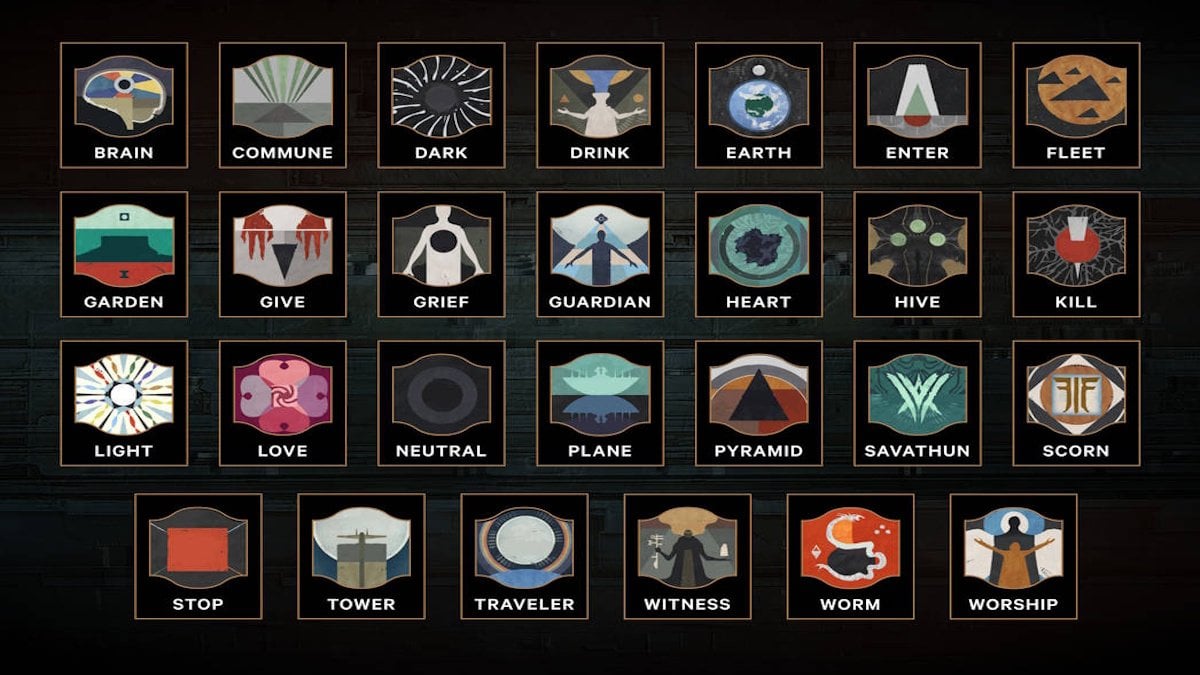
Sundered Doctrine Symbols explained
Each symbol on the displays affects the encounter differently. While the community is still figuring out the exact effects of all symbols, here’s what is known so far:
- Kill symbol: Initiates the damage phase.
- Stop symbol: Delays the spawn of additional enemies (though it doesn’t prevent them entirely).
- Commune symbol: Causes large, tracking projectiles to appear.
- Knowledge symbol: Spawns additional Wizards.
For now, the safest approach is to set Stop symbols on displays 1-3 and the Kill symbol on display 4.
Placing the Symbols on the displays
One of the Shriekers will always be active, scanning the room with a beam of light. To place a symbol on display, follow these steps:
- Kill Wizards to collect the Knowledge buff they drop.
- Deposit the Knowledge buff into one of the four podiums beneath the wheels. This moves the glowing symbol on the wheel left or right, depending on the wheel’s rotation.
- Change the wheel’s rotation (if needed) by shooting the activation button above it.
- Position the correct symbol on the wheel that corresponds to the active Shrieker.
- Let the Shrieker scan the wheel and then look at you. After a few seconds, it will lock in the glowing symbol onto its corresponding display.
Each Shrieker will only look at its corresponding wheel. When the correct symbol is locked in the damage phase will begin.
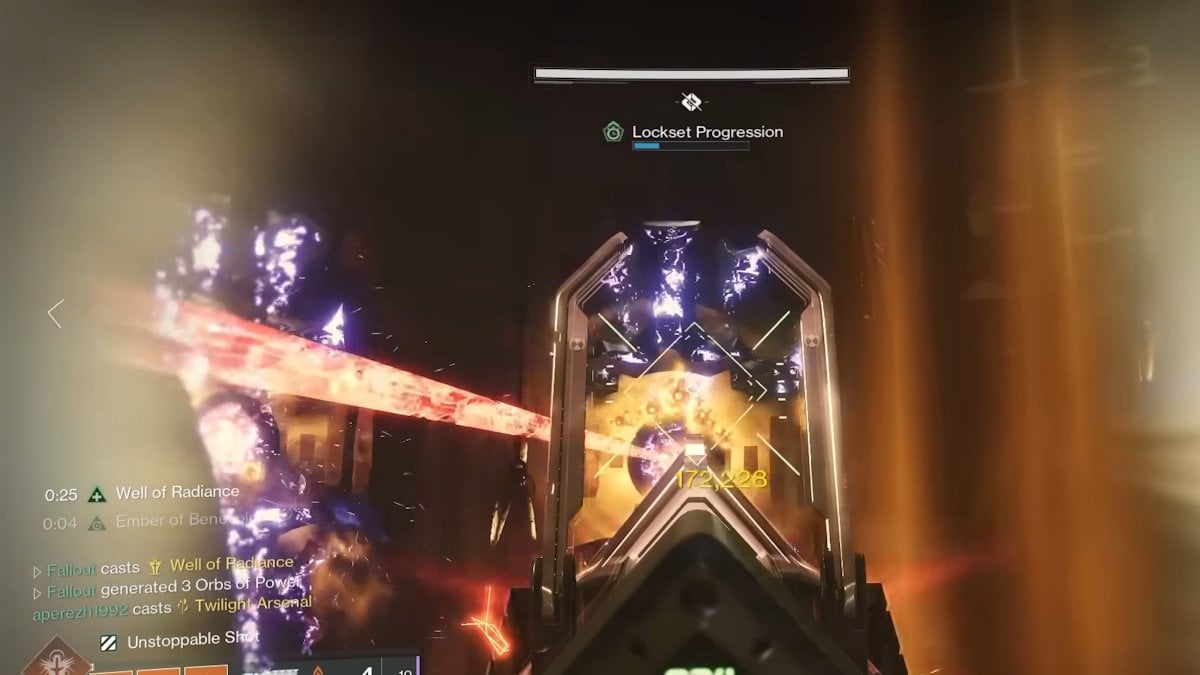
Sundered Doctrine Second Encounter damage phase
Once the Kill symbol is locked in, the Shriekers will open, and you can start dealing damage. Here’s how to maximize your DPS:
- Drop a Well of Radiance or other damage-boosting abilities.
- Use high-burst damage weapons.
- Watch out for adds that spawn during the phase.
- Be aware that the Shriekers will temporarily close at times. Just wait for them to reopen and continue dealing damage.
Since all Shriekers share the same health bar, you can damage any of them, and it will count toward the total.
When the Shriekers close up and reset their shields, you’ll need to repeat the process.
This encounter involves a lot of waiting for the Shriekers to scan their wheels and look at you, so patience is key. Stay alive, clear ads, and prepare the wheels efficiently to get through the encounter as smoothly as possible.
Once the shared health bar reaches zero, all four Shriekers will die simultaneously, and you’ll have completed the Second Encounter!
Sundered Doctrine path to the Final Encounter
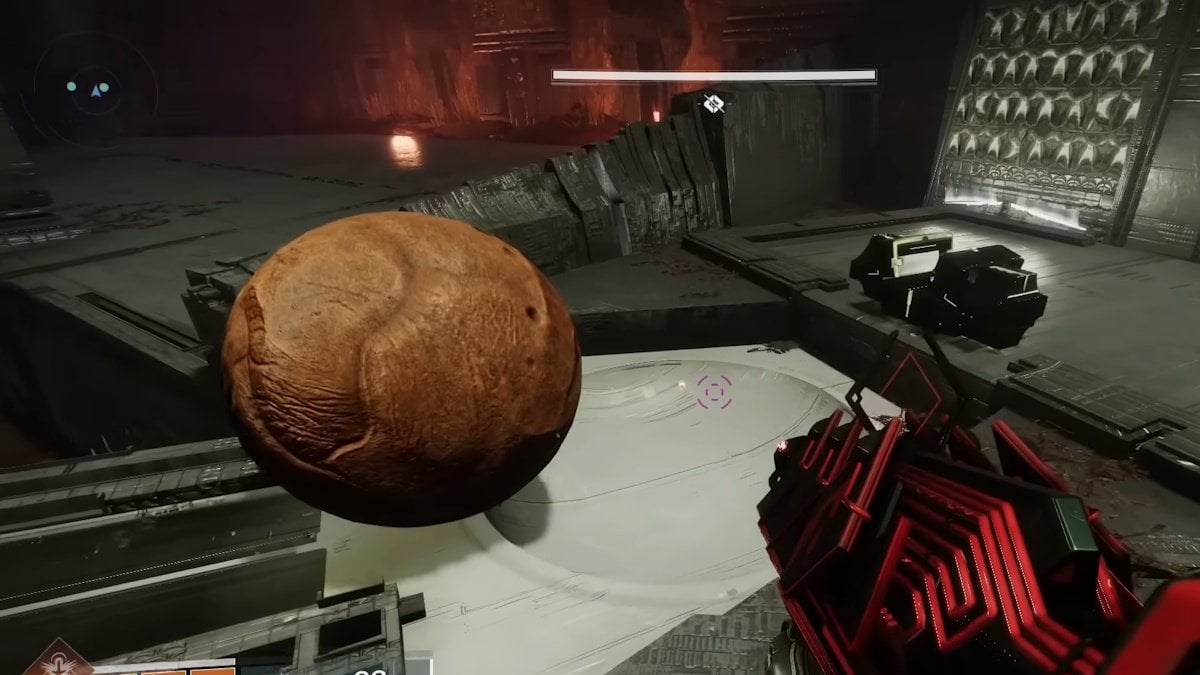
Before facing the final boss, you must complete a small but interesting puzzle to unlock the door. At this point, the large Shriekers from the second encounter will no longer be a threat. Instead, they will appear as large, inactive spheres scattered across the room. Your goal is to pick any one of them and move it across the room by shooting it. Carefully guide it into a hole located in front of the loot chest from the second encounter. Be cautious while moving the sphere, as going too fast might cause it to fall off, forcing you to restart.
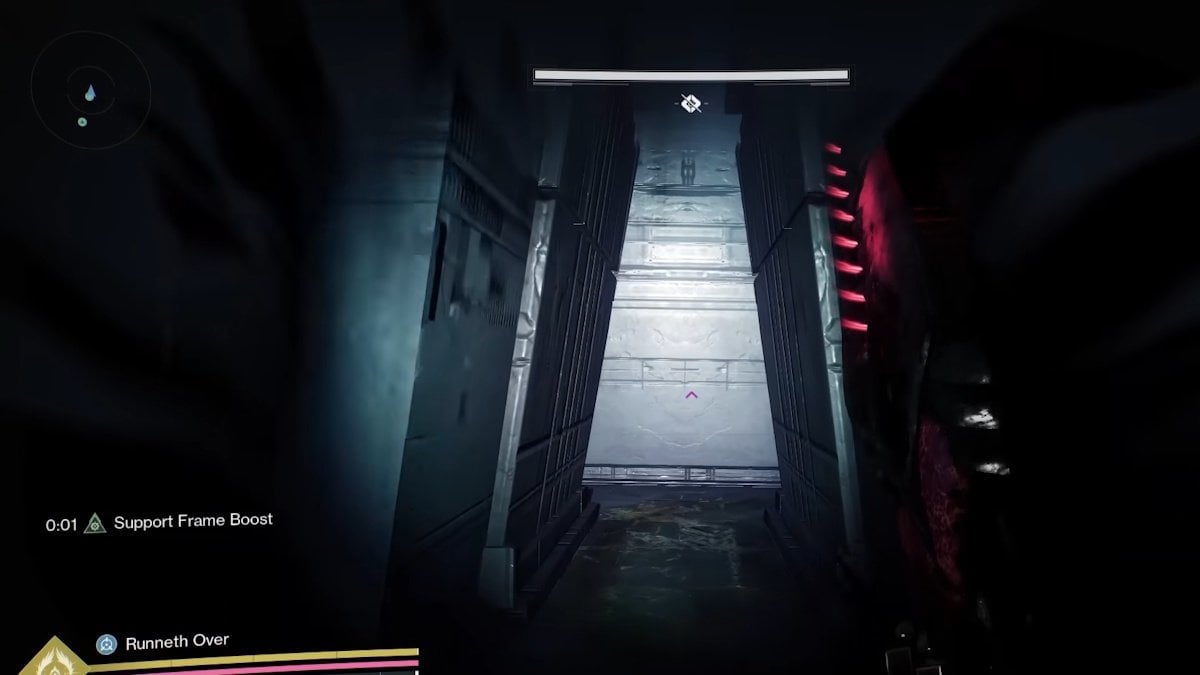
Once the sphere is correctly placed, a passage behind the loot chest will open, allowing you to proceed further. You will then drop down a massive waterfall, leading you to a new section. Look around for a large white doorway. This doorway is your next objective.
After entering, take a right turn and follow the trail of red lights.

As you continue moving forward, you will start detecting enemy activity on your radar, confirming that you are heading in the right direction.
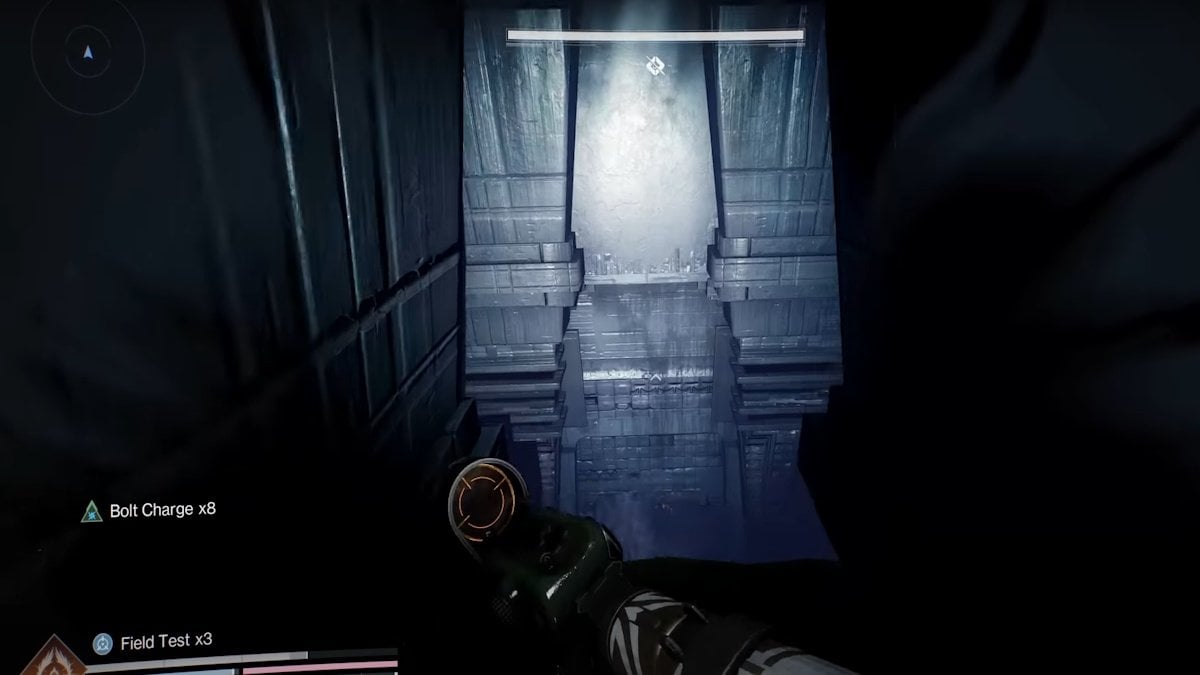
After navigating through this path, you will reach a vast open area.
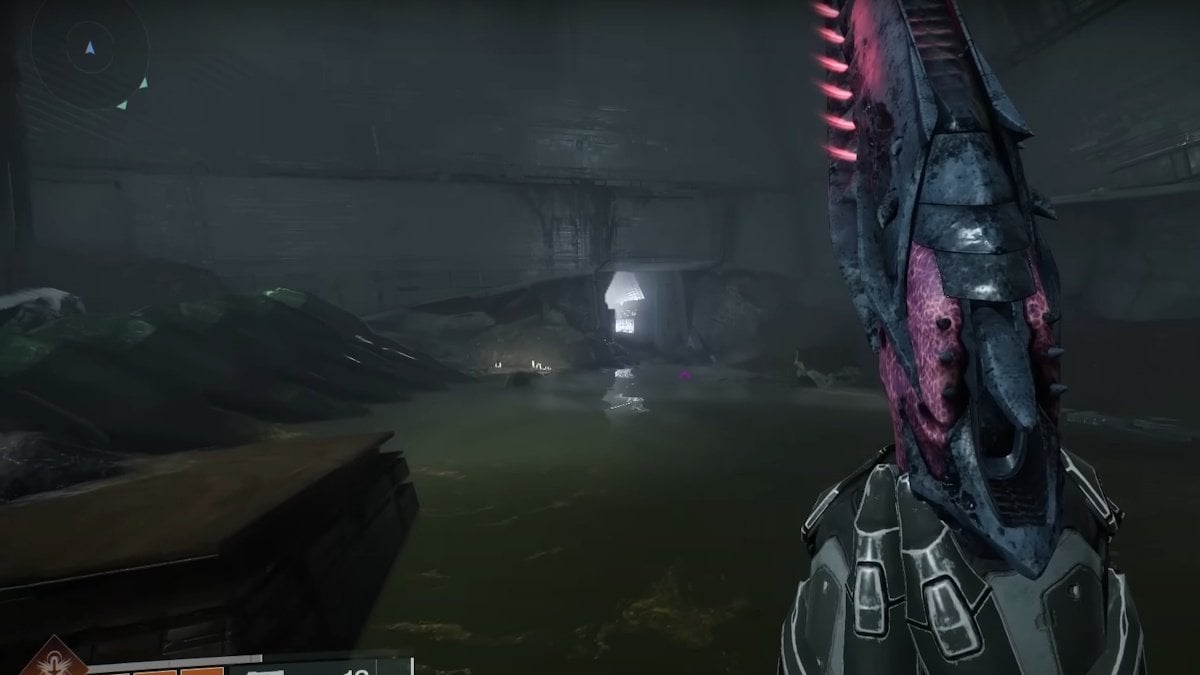
The layout here requires you to go up in order to progress. Keep moving upwards, and eventually, you will come across an enormous worm skeleton.
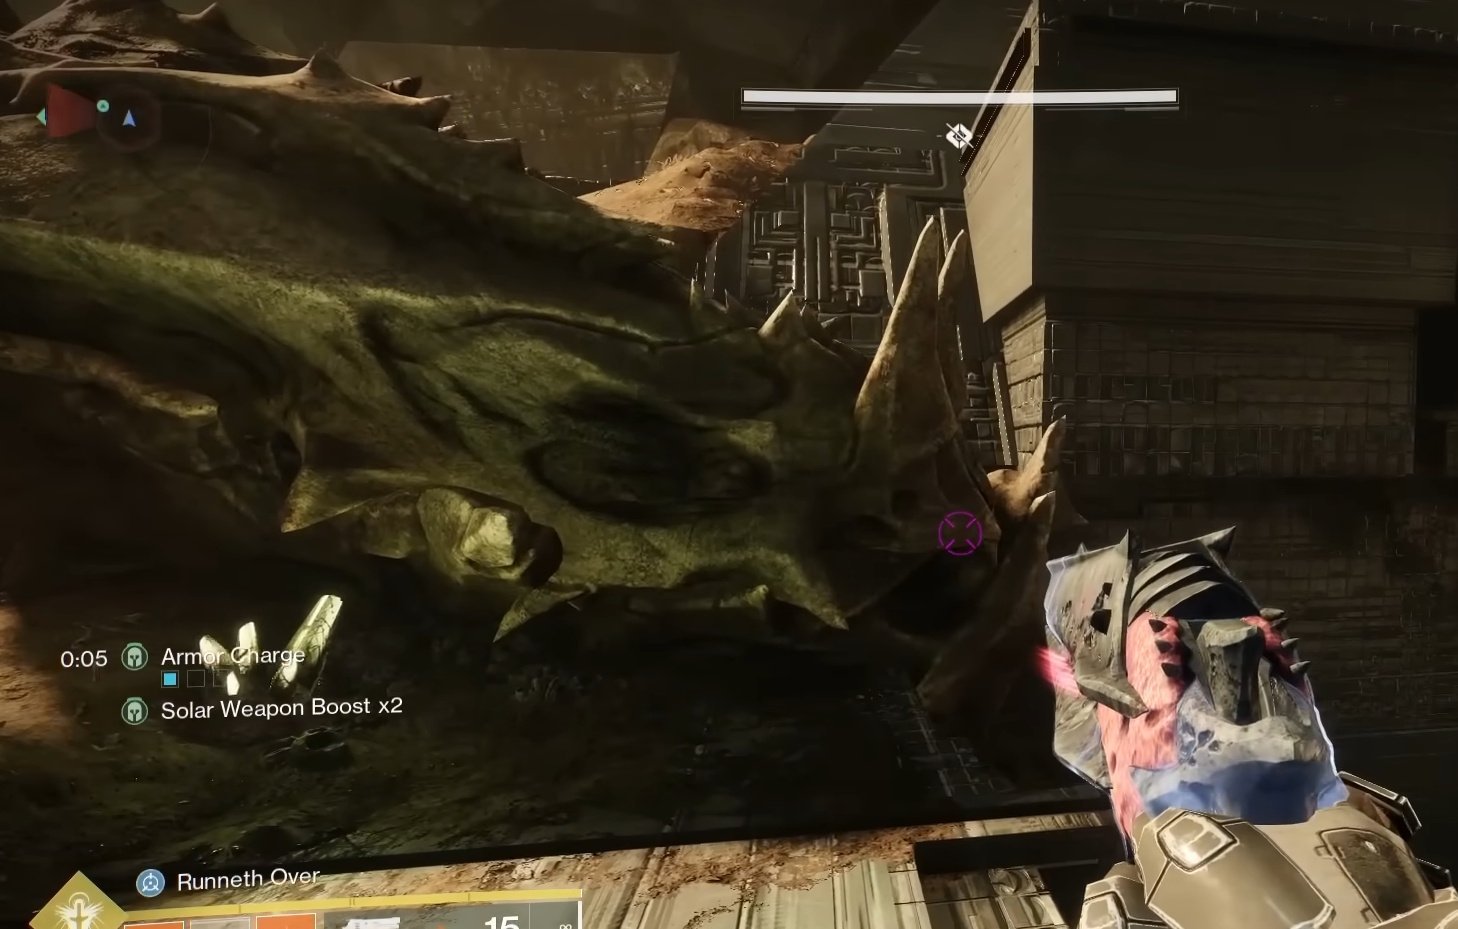
To proceed, move through the ribcage of this skeletal remains, using it as a tunnel to reach the next area.
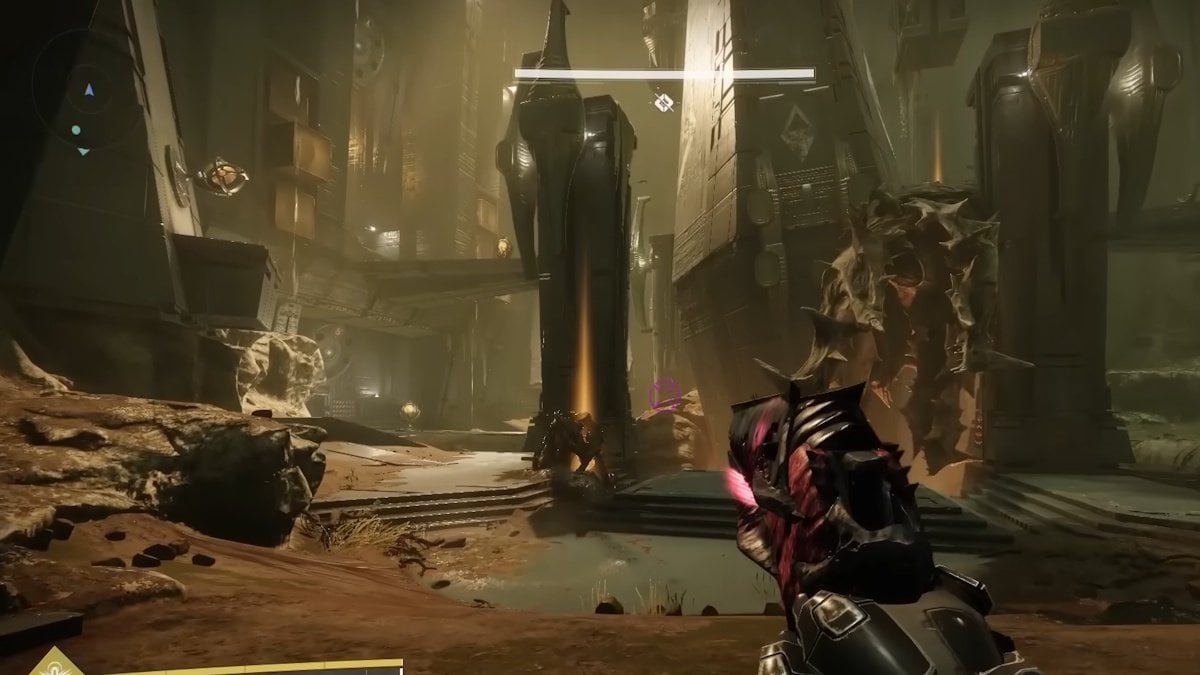
In this next section, you will find yourself inside a large room filled with lenses. Some of these lenses might be obstructed by Hive gunk, which you can remove by shooting at it. Your primary objective in this room is to manipulate beams of light, each of which corresponds to a specific symbol. You must redirect these beams so that they align with their matching symbols on the large wheels in the room.
When a beam is correctly aligned, you will receive an in-game message stating, “The pyramid responds to a command.” Once both beams are properly directed to their respective wheels, a glowing barrier will disappear, granting you access to the final pre-boss area.
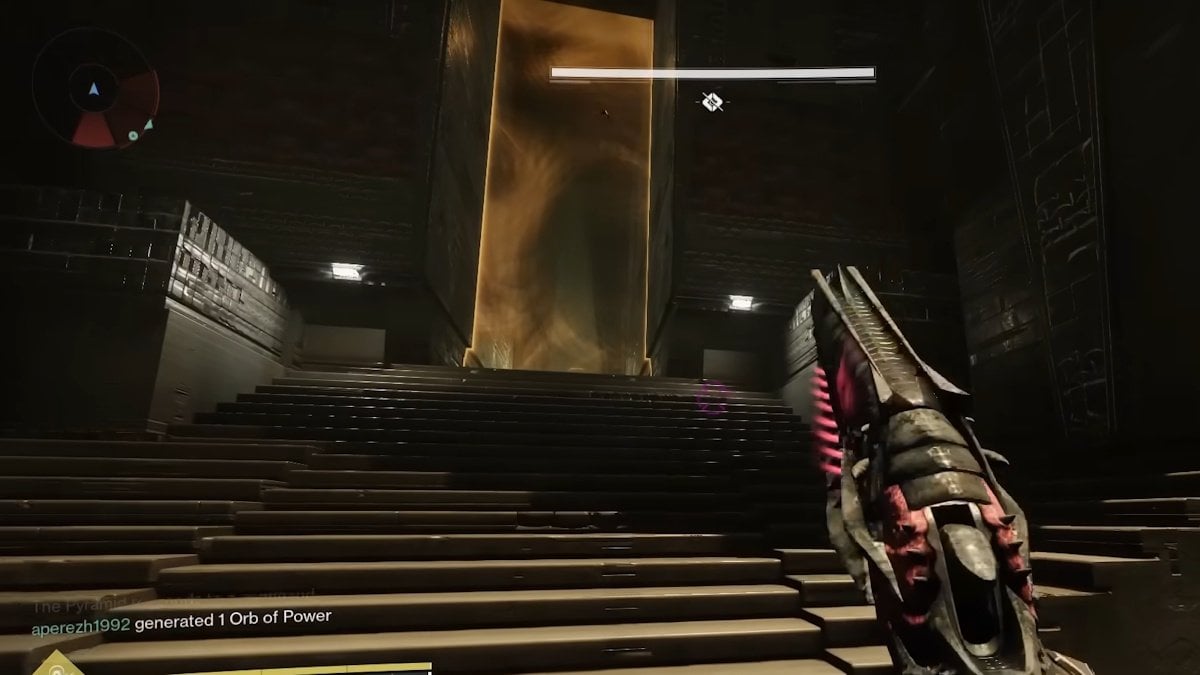
To proceed, locate this wall and shoot it repeatedly. This “wall” is actually a hidden door that will gradually open when shot enough times. Once it is fully open, you can proceed into the final boss room.

Sundered Doctrine final Boss fight guide
Now comes the ultimate challenge: defeating Carev, the Erased. The layout of the boss room is deceptively simple at first glance, but in reality, there are three distinct areas you need to be aware of. The main room is where you initially spawn, but there are also two side rooms — one on the left and one on the right. Additionally, there is a somewhat hidden lower level beneath the boss, which you can access via two ramps. This area contains the Stop and Give symbols, which will come into play during the encounter.
Behind the boss, you will notice a massive wheel. Activating the damage phase requires illuminating three specific symbols on this wheel.
The process to determine which symbols to activate is straightforward once you understand the mechanics. Your need to find and eliminate the Truthspeaker the same enemy from the First Encounter. Once it is defeated, take note of the symbol it shows.
This symbol determines which side of the wheel you need to illuminate. If the Truth Speaker drops a symbol that appears on the right side of the wheel, then you must illuminate the three symbols on the left. Conversely, if the dropped symbol appears on the left side of the wheel, you will need to light up the three symbols on the right. This might seem counterintuitive at first, but it is the fundamental rule of this puzzle.
Manipulating the Symbols
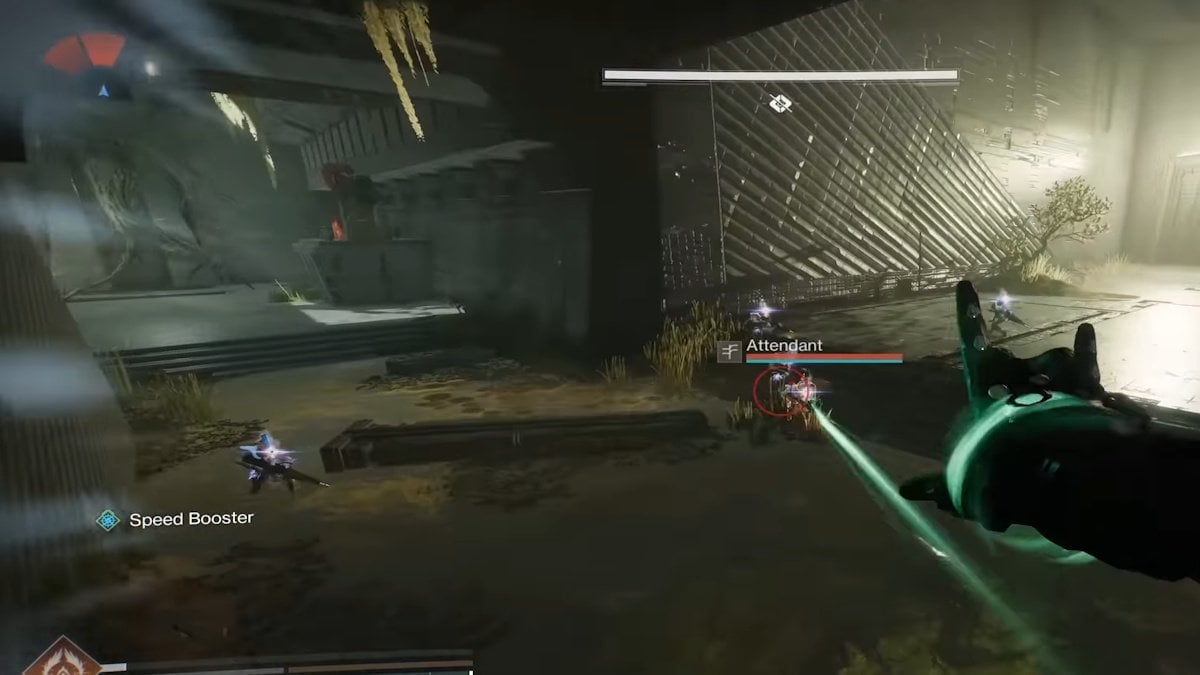
The next step involves adjusting the lenses in the room to direct light toward the correct symbols. Some of these lenses will be obstructed by Strand Bindings, preventing them from moving.
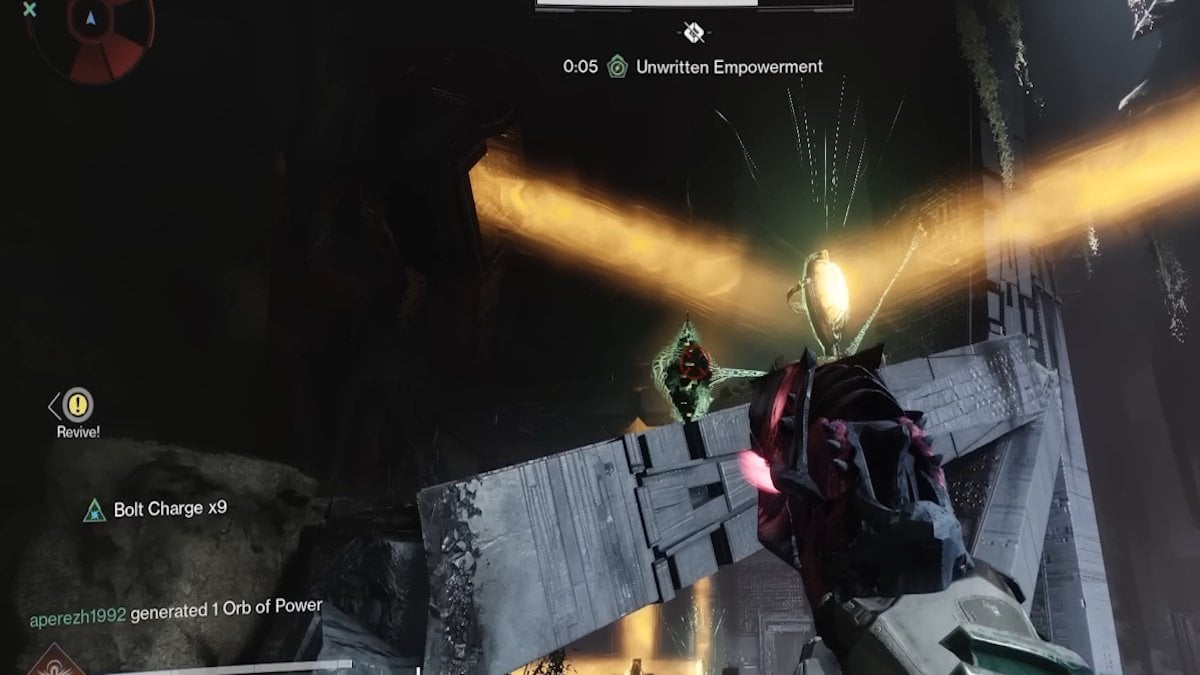
To clear these, you must locate and eliminate Unwritten Attendants, enemies that drop a buff called Unwritten Empowerment when defeated.
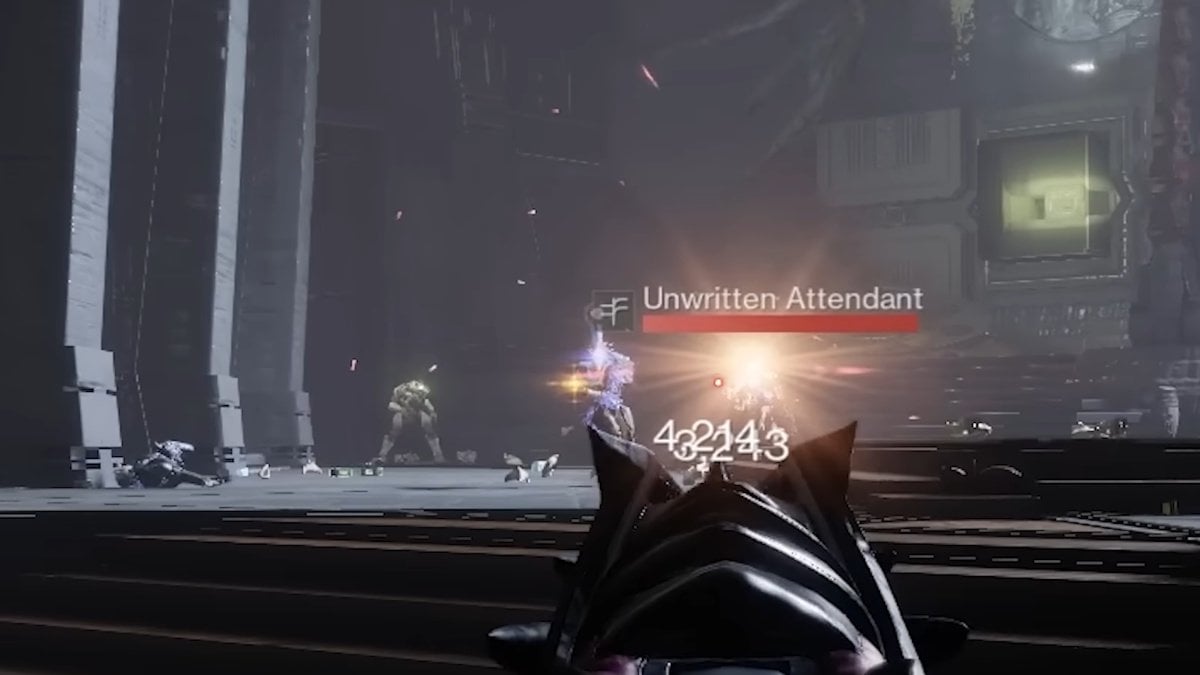
With this buff active, you will be able to shoot the Strand Bindings and free the lenses, allowing you to manipulate them as needed. If your buff expires before clearing all obstructions, simply defeat another Unwritten Attendant to regain it.
Once you have illuminated the correct three symbols on the wheel, you can initiate the damage phase. This is done by interacting with a button on a podium in front of the wheel. However, be prepared — immediately after pressing the button, the entire room will erupt in flames. To avoid taking excessive damage, make sure to take cover behind a wall or pillar as soon as the activation occurs.
Sundered Doctrine Final Boss fight damage phase
With the damage phase initiated, Carev’s shields will drop, giving you the opportunity to attack. Unlike some other bosses, Carev is highly mobile, constantly moving around the arena. This makes landing precision shots a challenge. If your fireteam has access to Divinity, using it can significantly help with damage output by creating an easy-to-hit crit spot.
During the damage phase, you must deal as much damage as possible before Carev’s shields regenerate. When this happens, the encounter resets, requiring you to go through the puzzle phase again. Simply repeat the process of finding the Truth Speaker, identifying the required symbols, adjusting the lenses, and triggering the next damage phase.
Conclusion
We hope that this guide will help you complete all the puzzles and finish the final bossfight in the Sundered Doctrine dungeon. However if you still have any questions you can ask them in the comments below!
FAQ
When was the Sundered Doctrine dungeon released?
The Sundered Doctrine dungeon was released on Friday, February 7 as part of the Episode Heresy content in Destiny 2.
How to unlock Sundered Doctrine in Destiny 2?
To unlock Sundered Doctrine in Destiny 2, head to the Tower and speak to Ikora Rey to pick up the “Drowning Labyrinth” quest. Then, open Savathûn’s Throne World on your map and select the dungeon marker in the top-left corner. Make sure you meet the required Power level 1995 to enter. However, if you enter the dungeon in a fireteam, your Power level will scale based on the player with the highest number. This means that if your teammate has Power level 2005, your rating will be scaled to 2000. However, it will still be harder for you to complete the dungeon, so it’s better to reach the required number.
Do I need a specific Power level to start the dungeon?
Yes, you need at least Power level 1995 to start the Sundered Doctrine dungeon. However, if you’re part of a fireteam, your Power level will scale to match the highest player’s level. For instance, if your teammate has a Power level of 2005, your rating will be adjusted to 2000. Despite this scaling, the dungeon will still be more challenging for you, so it’s advisable to reach the required Power level beforehand.
Can I complete the dungeon solo or do I need a fireteam?
While the dungeon can be played solo, many encounters, especially the boss fights, can be a much harder challenge without a fireteam. It’s recommended to tackle the dungeon with a group of skilled players to increase your chances of success. Completing dungeons solo in D2 is the highest level of difficulty and shows the player’s skill and game knowledge.
How long does the Sundered Doctrine dungeon take to complete?
The dungeon can take anywhere from 1 to 2 hours depending on your team’s experience and coordination. The First and Second Encounters might take more time, especially if you’re learning the puzzle mechanics.


Comments