WoW Classic SoD Phase 2: Gnomeregan Raid Guide
Welcome to your comprehensive Gnomeregan raid guide for SoD Phase 2!
SoD Phase 2 introduced a Level-Up raid version of the Gnomeregan instance. On level 40, you can visit this instance in a 10-player raid party. This article is aimed to guide you into the quickest way to reach the raid, the key bosses’ tactics, and the raid’s main rewards.
Table of Contents
Key Takeaways:
- SoD Gnomeregan raid is in Dun Morogh. Get there from Ironforge as an Alliance player and by using a teleport in Booty Bay as a Horde player.
- 3-days lockout after February 20.
- SoD Gnomeregan raid has six bosses: Grubbis, Viscous Fallout, Crowd Pummeler 9-60, Electrocutioner 6000, The Mechanical Managerie, and STX-96/FR.
- Fight six bosses to get tokens exchangeable for new Tier Sets, obtain valuable loot, cosmetics, and SoD-exclusive mount
Where Is Gnomeregan
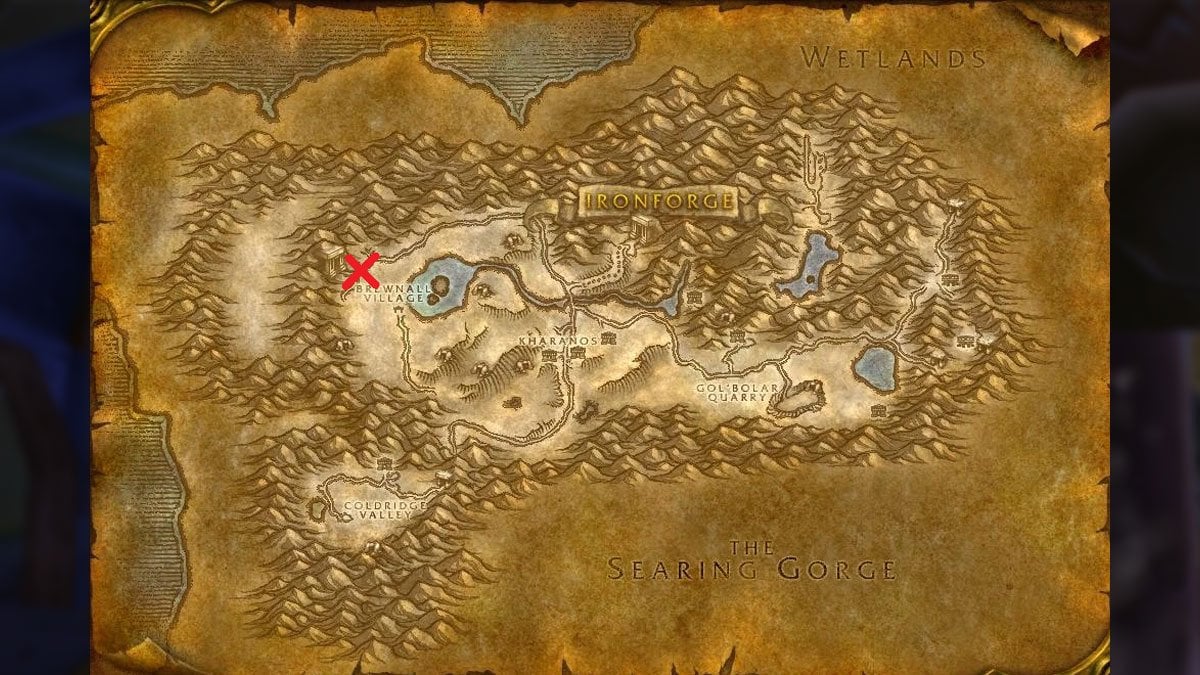
Gnomeregan is in the west of Dun Morogh. It used to be the capital of the Gnome race. After a failed attempt to defend against the Troggs’ invasion, it became radiated and inhabited by dangerous creatures. They are your main enemies in the raid. Until February 20, the Raid can be completed once a week. Then it’ll receive a 3-day lockout.
How to get to Gnomeregan Alliance
Alliance players may quickly get to its entrance from the Ironforge. Enter the mechanical cave near the dungeon’s Summoning Stone. Take the elevator downstairs. At the first crossroad below, turn left, and walk until you reach the dungeon’s entrance.
How to get to Gnomeregan Horde
Horde players should complete a few Gnomeregan quests to be able to get there quickly. The questline starts with Chief Engineer Scooty. Take it from Sovik in Orgrimmar’s Engineer Shop. The quest makes you travel to Booty Bay. The quickest way to get there is by a ship from Ratchet.
Find Scooty near the Booty Bay’s Inn. Complete the next Gnomer-gooooone! short quest. Now you can find a Goblin Transponder item in your bags. It grants access to the Teleport next to Scooty. Use it to get to Gnomeregan. You’ll find yourself in a room deep underground. Leave this room and head left until you come across the instance entrance.

Full SoD Phase 2: Gnomeregan Walkthrough
Gnomeregan Raid Layout
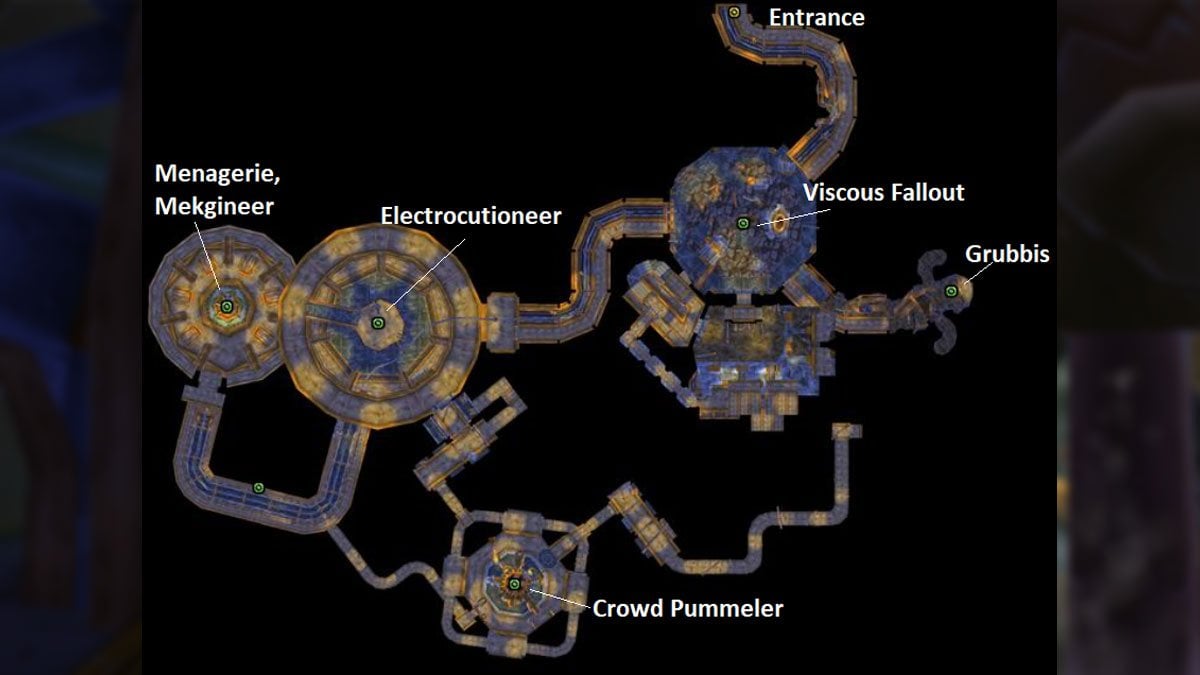
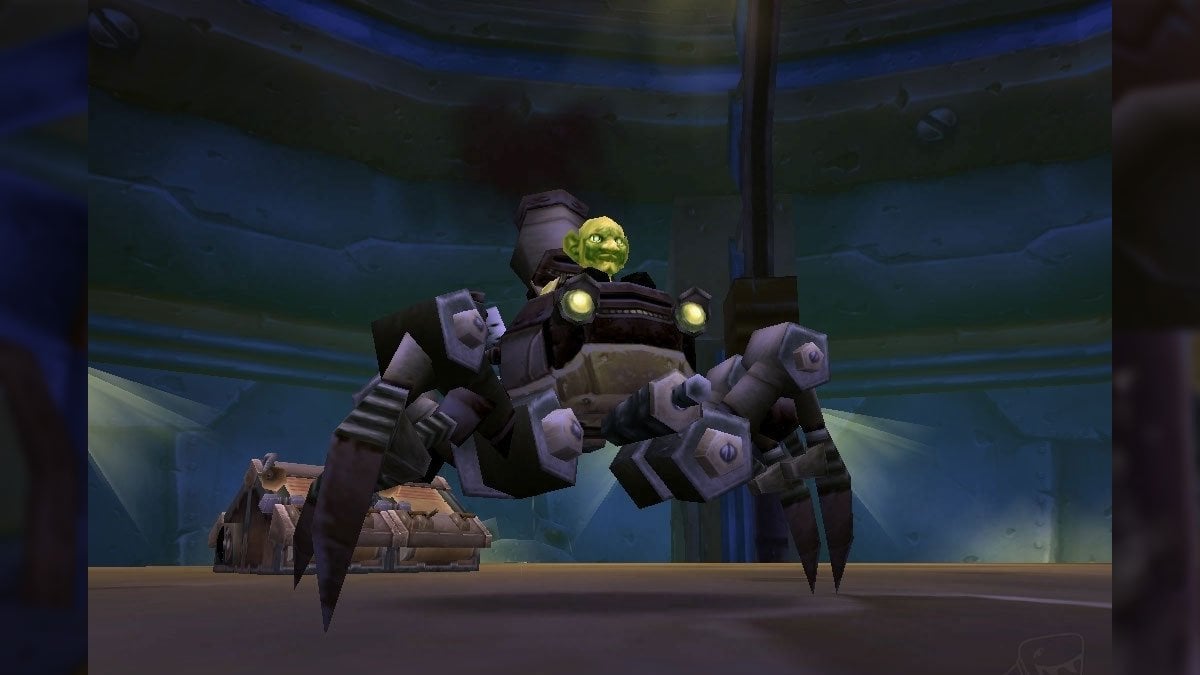
Gnomeregan Raid Guide: Grubbis
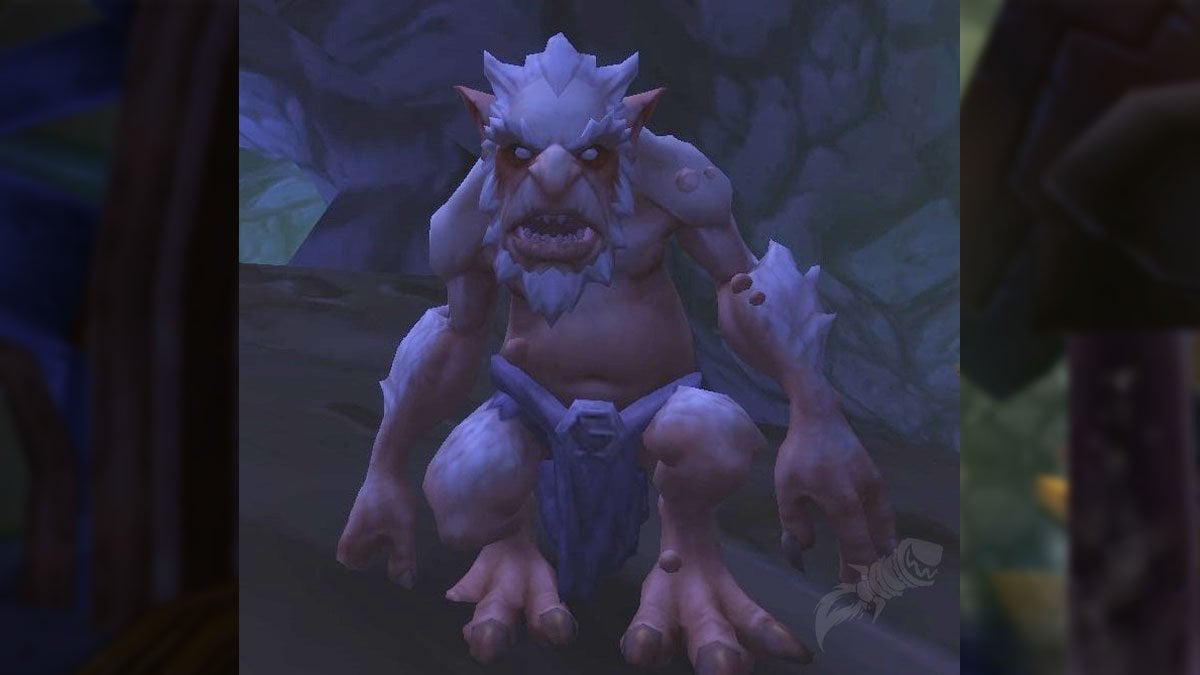
The first Gnomeregan boss enters the fight with his Basilisk pet. Off-Tank should tank it. Basilisk periodically re-aggros to another target regardless of aggro level. Off-Tank must press taunts in time. Damage-Dealers should only damage the boss during the encounter.
Grubbis periodically spawns a green gas cloud. It starts moving towards the nearest player. Don’t let it come into contact with the boss, or he’ll receive the Enrage buff. The targeted player should lead the gas cloud to the Trogg mobs that appear during the fight to eliminate them. Alternatively, the Tank can force the Troggs to come across the cloud to cause an explosion to instantly defeat them all and dissipate the cloud.
It must be done quickly because each gas cloud hurts the party with pulsing AoE. The damage may seem insignificant. But over time, there’ll be more and more gas clouds. Nature Protection Potion is strictly recommended to be taken before the pull. It might be worth using it again when the boss reaches 30% HP.
Defeat Grubbis as quickly as possible. At 20% HP, it inevitably becomes Enraged. It’s worth saving powerful healing CDs and mitigation spells for this part of the fight. Don’t relax even after defeating Grubbis. Basilisk doesn’t disappear when the boss fight ends, so make sure to defeat it too.
Gnomeregan Raid Guide: Viscous Fallout
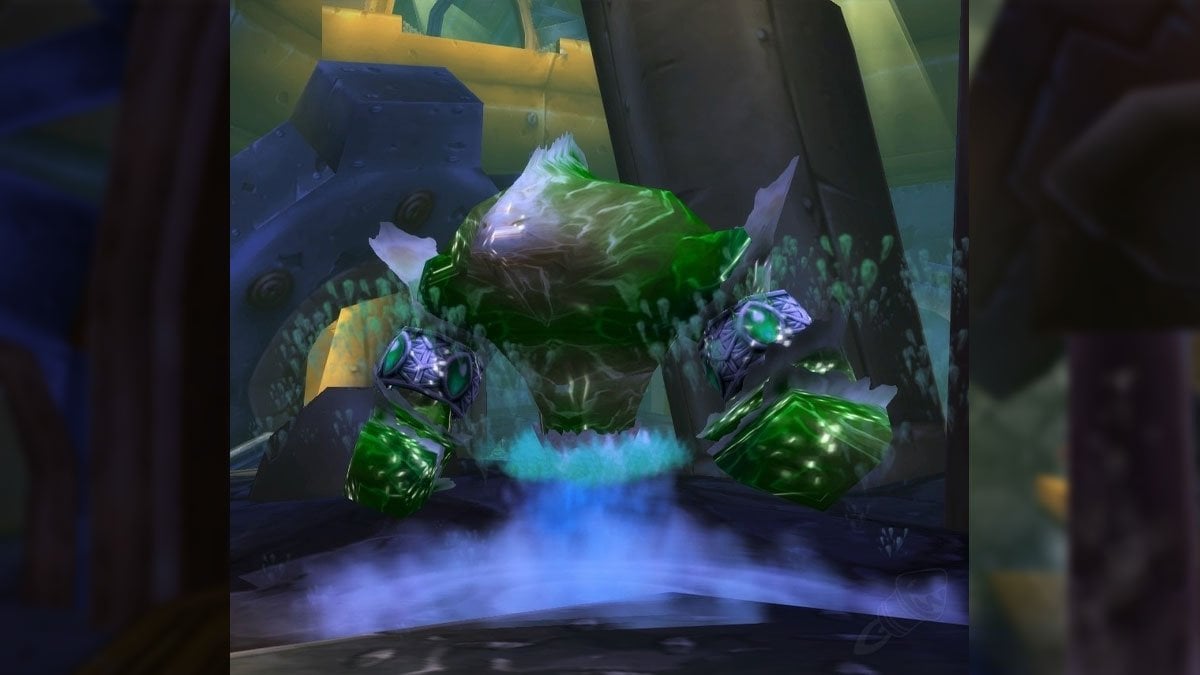
Green clouds also periodically spawn right under Viscous Fallout. They cause unpleasant damage. It may be difficult to notice them. Therefore, Tank should move the boss around the room from time to time.
However, the boss must be moved carefully. Fallout mob corpses are scattered around the room. Each corpse is easy to spot by the pair of bindings on the ground. The boss needs to be kept as far away from them as possible. Periodically it’ll spawn three Irradiated Goo mobs. Each Goo starts moving towards one of the Fallout corpses.
Goo will spawn a Desicted Fallout mob if it reaches the bindings. This dangerous mob has 6,000 Health. It attacks the whole raid with a painful Radiation Burn AoE spell which should be interrupted. The spell applies a stacking DoT. Nature Protection Potion can be useful in this encounter too.
The boss will first spawn Irradiated Goo 15 seconds after the start of the fight. After this, they’re spawned each minute. Use stuns and any crowd-control effects to slow them down. Try to put maximum damage into them to prevent the dangerous adds spawn.
Gnomeregan Raid Guide: Crowd Pummeler 9-60
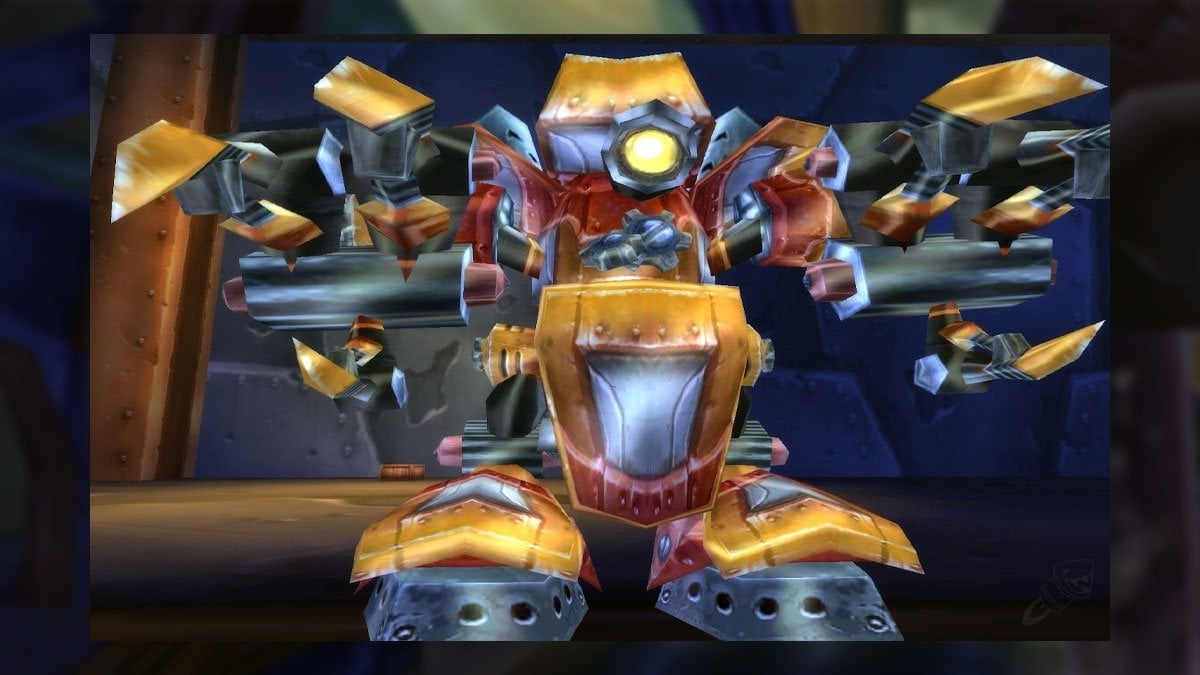
The next Gnomeregan raid boss casts a Gnomeregan Smash spell that fatally pushes affected players off the platform. To avoid this spell, make sure not to stand in front of the boss. During the cast, the boss’ upper body turns to the right. Determine the direction of the cast by looking at Pummeler’s feet.
During the fight, the boss will also spawn 2 big rotating bronze cogwheels. They fly through the platform, run into the players, deal damage, and knock them back. This mechanic badly disturbs players’ rotations. But most dangerously, a series of knockbacks can also push you off the platform. This threat intensifies because, over time, there will be 4 cogwheels on the platform.
Try to avoid gears and stand away from the platform edges. The good news is that thrown-off players’ corpses appear on the platform. Thus, you can battle-res them.
At 30% HP, the boss will start casting The Claw! ability. Crowd Pummeler targets a random player and prepares to charge it. Its victim suffers enormous damage. Moreover, the boss grabs the target and starts swinging it like a weapon for a while. The player takes damage while in the boss’ grip too.
That’s when the target must press all its mitigation spells and Healing Potions. Healers should top the target’s HP immediately after charge and maintain it afterward. However, strong escape spells like Blink, Ice Block, or Vanish currently allow you to completely avoid the boss’ grip. Make sure to press them when the boss has almost reached you.
Gnomeregan Raid Guide: Electrocutioner 6000
For this fight, you should clear the room in advance and hold the boss against the wall. The boss periodically casts Static Field. Its victim strikes allies around with painful bolts of lightning. Target should quickly take this AoE away from allies. But not too far, so that it won’t become a target of Static Arc.
Static Arc is the most dangerous mechanic. The targeted player is attacked by a chain lightning skill. It hits two players closest to the target. Arc’s target is always the character furthest away from the boss. The spell applies a debuff that increases the next Arc’s damage five times. Characters with the debuff mustn’t get hit by Arc to stay alive.
The wisest way to deal with this mechanic is to split the ranged characters into two groups. One group should stand the furthest from the boss. When its members receive Static Arc damage and debuff, the first group switches places with the second. By the time the first group stands far away again and is attacked by the Arc spell, the debuff will expire. It’s advisable to have Healers in the first group and ranged DPS in the other. This way, you’ll lose less DPS output during the group swaps.
If you don’t have enough ranged characters, a melee Damage-Dealer can join one of the two groups from time to time. Besides, one of the characters assigned to the group can become the target of Static Field. In this case, it can’t be in the group taking Static Arc damage and must be replaced by someone too.
Gnomeregan Raid Guide: The Mechanical Menagerie
The next boss encounter is especially new for the Gnomeregan guide. It has four bosses: the Dragon, Squirrel, Chicken, and Sheep.
Sheep can’t be aggroed. It follows a randomly selected target and attacks it in melee. Besides, it casts AoE stun in the melee range. Sometimes Sheep buffs itself with Frayed Wiring reflect spell that damages attackers with Nature damage. Don’t attack it during this mechanic.
Chicken leaves behind the egg-like bombs. They disappear over time, but it’s better to destroy them with damage. Don’t run close to the bombs, as you’ll trigger a painful AoE explosion.
Dragon periodically breathes frontal cone fire toward a randomly selected target. Targets caught in its fiery breath receive a stacking DoT with nasty fire damage. Squirrel casts Widget Volley and Widget Fortress. The first spell deals damage to a random player and interrupts casting. The second summons a large yellow shield on the ground that reduces damage dealt to bosses. Interrupt Volley and move bosses away from the Fortress zone.
One Tank is advised to tank Squirrel and Chicken, and the other should tank Dragon. Tanks must be prepared to use defensives in response to Cluck! 50% attack speed buff Chicken applies to all the bosses.
These mechanisms must be defeated simultaneously. Each defeated boss begins to cast Self Repair ability. If you don’t defeat everyone else, it finishes casting and returns to battle with additional HP. Besides, beware of the Overheat. When the bosses receive this buff, they take 25% more damage but also hurt characters in the melee zone with fire. Melee Damage-Dealers should move away from bosses during Overheat and attack them when the buff expires.
Mana-dependent characters may easily get out of resources in this fight, especially Healers. Be sure to press the red buttons on the columns around the boss fight area. They give you 20% Mana in exchange for 30% HP.
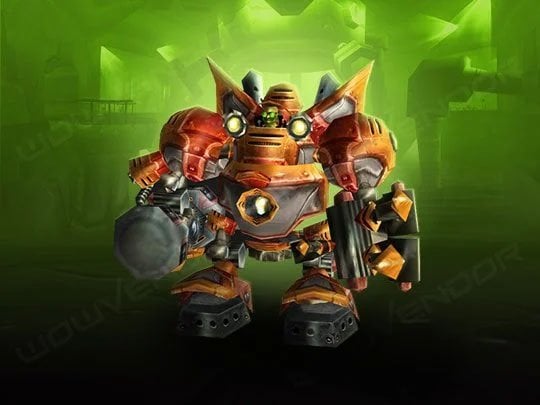
Gnomeregan Raid Guide: Mekgineer Thermaplugg — STX-96/FR
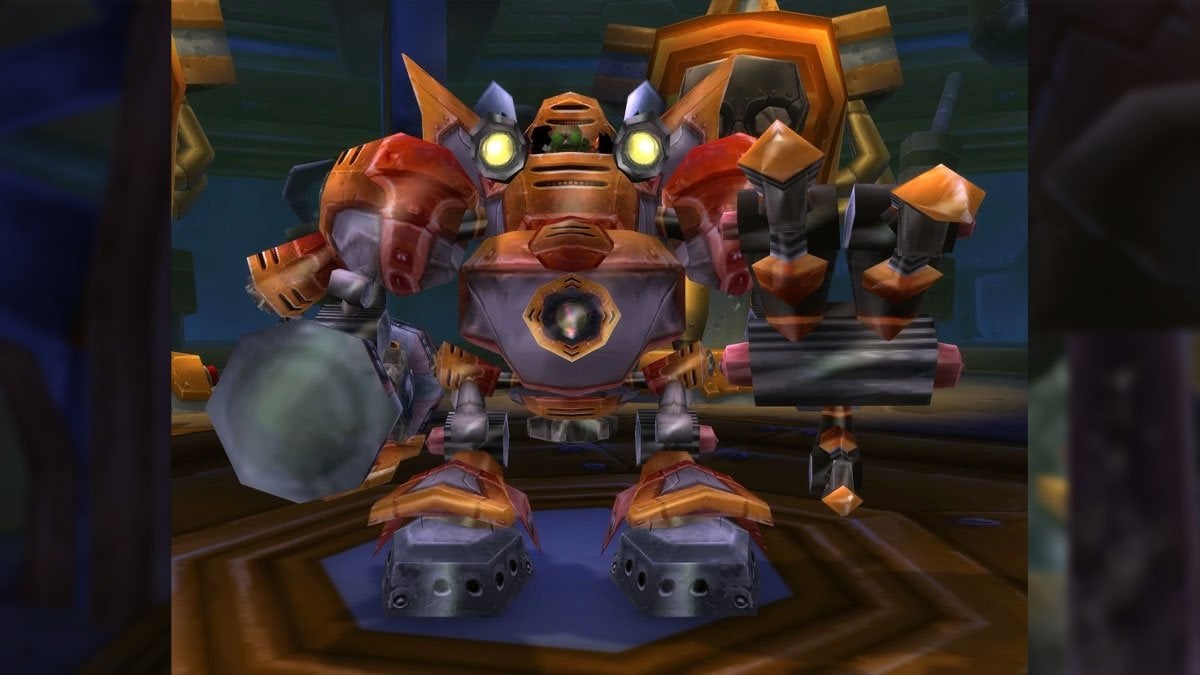
The last WoW SoD Gnomeregan dungeon boss encounter consists of four Phases. In each Phase, one of the columns around can start spawning bomb-adds. Adds deal AoE damage of different types depending on the Phase. Each add can be defeated without taking damage with a distant attack or cast. But they appear from the activated column until someone presses the red button on it. After the button is pressed, stay still for a second. It’s reported that sometimes the button doesn’t work if you press it and immediately run away.
A player pressing the button receives damage from the fallen bomb, and also exchanges 30% HP for 20% Mana. Besides, the character won’t be able to press the button for another 30 seconds. It’s recommended to make Healers or Ranged players responsible for pressing buttons.
During Phase 1, the boss should be tanked along the wall with the entrance to the room. When it uses Flame Thrower, the main Tank should continuously kite it to the left or to the right running away from its melee range. This way, Tank avoids getting many stacks of the debuff that Thrower applies. The debuff increases the damage taken from this ability. Therefore, when the boss uses the spell again, Off-Tank, or Warlock’s or Hunter’s pet must taunt the boss and kite it in the other direction along the wall. Thus, you’ll buy time for the main Tank to regenerate and have its debuff stacks expire.
At 50% HP, the boss enters Phase 2. It restores HP to 100%. All damaging mechanics now apply Freezing stacks. Each stack decreases the character’s movement speed. 11 stacks make the character immobile. This magical debuff can be dispelled. Lucky Druids can get rid of the debuff with shapeshifting. Free Action Potion also helps to resist it. The boss also uses Coolant Discharge and Supercooled Smash skills. The first is an AoE spell that applies a stack to the whole raid, and deals damage depending on the number of debuff stacks on players in the raid group. If someone has 11 stacks during this AoE, it wipes the raid. The smash is a tank-buster mechanic that also applies freezing stacks when hit. Make sure to heal up the tank during this cast and swap tanks if the main tank reaches the maximum stacks of freezing. Don’t forget to press the red button. Phase 2 bombs leave puddles applying a Freezing stuck if you get in it.
Phase 3 begins when the boss has 50% HP too. It replenishes HP again. Now its mechanics and explosions of new bombs apply the Radiation Sickness debuff that increases the taken Natural damage. Be sure to dispel the debuff. Periodically, the boss casts the Toxic Ventilation channeling spell. It doesn’t have a cast bar, but it must be interrupted so that the raid doesn’t receive huge damage.
At 50% HP, the boss enters Phase 4. Again, it gets 100% HP, but this time, you can bring it to 0%. The strongest cooldowns should be saved for this Phase. Here the boss uses all the mechanics you’ve seen. Columns also spawn bombs of all types. The ways to avoid their negative impact don’t change. Kite the boss during Flame Thrower, interrupt Toxic Ventilation, dispel negative effects, and press the red button in time. After it’s defeated, Mekgineer Thermaplugg appears. Compared to the encounter, this Gnome will seem like a weak mob.
Gnomeregan Raid Loot Table
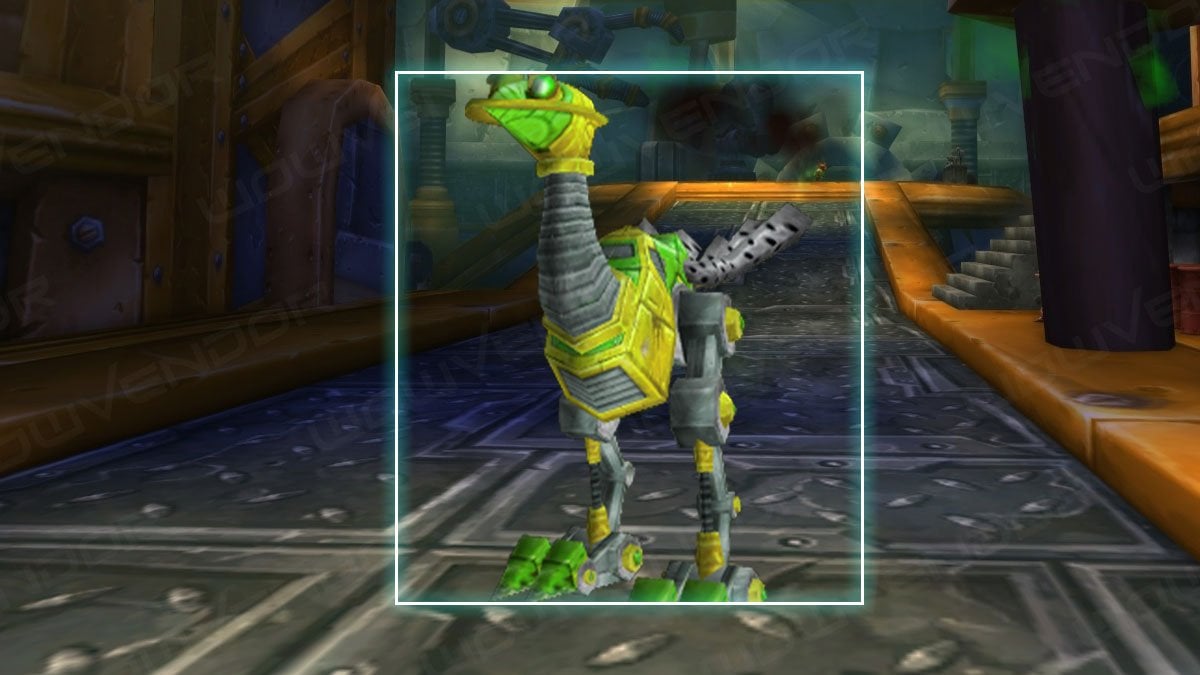
WoW SoD Gnomeregan Raid rewards you with basic loot drops, tier sets, and profession recipes. Among loot drops, you may find the fresh versions of Classic items dropped from 5-ppl Gnomeregan. Tier Sets are armor type based. They’re purchased for slot-based Tokens dropped from bosses. You can get detailed information on these and other rewards in WowVendor’s Gnomeregan raid loot table. And don’t forget about a chance to loot the SoD-exclusive Fluorescent Green Mechanostrider mount from the last boss!
Top Contributors to This Guide on WowVendor
Thank you for spending your time and effort discovering and sharing your findings with us on WowVendor!
| Contributor | Section |
|---|---|
| Forley | Supercooled Smash |
Conclusion
We hope that this guide has been able to answer your questions about how to get to Gnomeregan as an Alliance or Horde player, the main mechanics of raid bosses, and the rewards for defeating them!


Comments
supercharged coolant smash on phase 2 for thermaplugg does not deal increasing damage based off stacks on the raid. this can be confirmed by looking at raid logs of the fight
Hi Forley 😊 Thank you for your keen eye and clarification! We’ve updated our guide based on your feedback. Since we put it together right after our first run when the raid was released, we’re still adding more information from our later runs. If you find out anything else, don’t hesitate to drop a comment, and we’ll credit you carefully when we update the guide ❤️
Thanks again and happy gaming!