WoW Dragonflight Season 3: Waycrest Manor Mythic Plus Guide
Welcome back to our Mythic+ guide series! This time, we’re excited to present our Waycrest Manor Mythic plus guide to all the dungeon-runners out there.

Table of Contents
Key Takeaways
- Waycrest Manor is located in northern Drustvar. To get there, go to Valdrakken, travel to Millenia’s Threshold, use the rightmost portal to arrive in Drustvar. Mount up and fly straight to Waycrest Manor.
- There are 5 bosses: Heartsbane Triad, Soulbound Goliath, Raal the Gluttonous, Lord and Lady Waycrest, and Gorak Tul.
- Loot: ilvl 441-470 from M+ runs, up to ilvl 483 in the Great Vault.
- Achievements: 6 in total.
Previously, we covered the WoW Everbloom Mythic+ guide, be sure to check it out if you haven’t already. As for today, let’s talk about Waycrest Manor!
Waycrest Manor returns as one of the new dungeons for the M+ pool in Season 3. It’s a max-level instance featuring 5 bosses and various trash encounters. In our Waycrest Manor Mythic Plus guide, we’ll delve into the main boss mechanics, highlight priority trash mobs, and discuss the valuable loot you can obtain for your adventures.
Where Is Waycrest Manor Entrance
Waycrest Manor is located in northern Drustvar. For a quick journey from Kul Tiras, use the Whitegrove Chapel flight point and then proceed further north.
Alternatively, you can also get to Valdrakken, travel to Millenia’s Threshold, then use the rightmost portal to arrive in Drustvar, where you can mount up and fly straight to Waycrest Manor.
Full Waycrest Manor Walkthrough
Waycrest Manor Layout


Heartsbane Triad
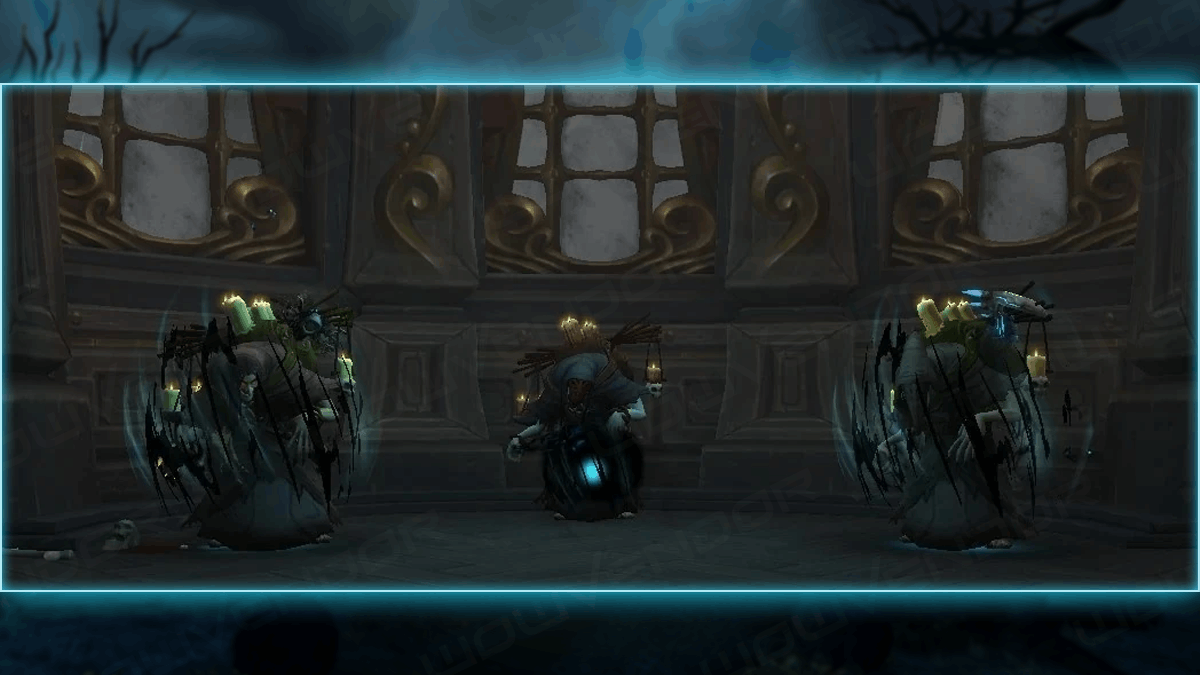
Heartsbane Triad Trash Guide
Soul Essences spam-cast Scar Soul. Interrupt or stun the pack to avoid them ganging up on one player. Tanks should use mitigation when attacked by the Enthralled Guard’s Focused Strike. Watch out for Captains casting damage-reducing Spirited Defense; purge or kick it, and dodge Shadow Cleave. Interrupt or disease-dispel Drain Essence and Infected Thorn.
Runic Disciples are your top-priority mobs. Interrupt their Runic Bolt and Spellbind casts. Interrupt Heartsbane Soulcharmer’s Soul Volley to avoid heavy group-wide damage and kite out of Warding Candles. When fighting Blight Toad packs, beware of the Toad Blight swirlies upon mob death.
Heartsbane Triad Boss Guide
Major Boss Mechanics
- Bosses have full immunity with Ironbark Shield, only vulnerable when in possession of the Focusing Iris buff. When holding the Iris, Sisters gain energy, leading to Dire Ritual cast on full bar. Use magical immunity to prevent a group wipe.
- Watch out for bolt casts and always interrupt the boss with the Iris buff to avoid increased damage.
Sister Solena
The buff rotation starts with Solena. Her Aura of Apathy reduces healing on allies, and she occasionally mind-controls someone from your group. Use magic stuns to help your Healer to insta-dispel the affected player and not let them perform any ability on your group while mind-controlled.
Also, beware of Solena’s Soul Armor, which makes her almost immune to damage. Tanks should use their CCs while Soul Manipulation is in progress, and Healers need to manage group healing during Aura of Apathy.
Sister Malady
Next up, the Iris goes to Malady. Her Aura of Dread does stacking damage, ramping up if you’re standing still, so make sure to move around.
Her Unstable Runic Mark ultimate puts curses on your group. Curse-dispel this, if possible, spread out, and put in some extra healing. Healers should also keep their cooldowns ready for when Malady is active.
Sister Briar
Once Malady’s health is below 50%, Briar is triggered. Her Aura of Thorns hits the whole party, intensifying with the damage dealt to her. Jagged Nettles inflict heavy damage, leaving a bleeding wound on the target. Bleed-dispel it or heal the affected player above 90%. DPS players should use defensive cooldowns to make the Healer’s job easier. Immunities or Blessing of Protection can also be helpful.
Soulbound Goliath

Soulbound Goliath Trash Guide
Coven Thornshapers target a random player with Uproot, causing roots to deal damage and knock them up. Step out and spread to avoid the damage and slowing effect. Disease-dispel the damage and DoT from the upfront Infected Thorn cast. Thornguards use Tearing Strike on Tanks, dealing hefty Physical damage and applying bleed, so prepare mitigation. Watch for a damage-increasing dispellable Enrage cast and keep your distance on mob death to avoid Shatter. Jagged Hounds not only do melee attacks but also Thorned Claw the Tank, so be cautious. Matron Bryndle attacks the Tank with Thorned Barrage, inflicting Physical damage with a ticking debuff, so be sure to mitigate it. Avoid Splinter Spike casts that create erupting swirlies under party members.
Soulbound Goliath Boss Guide
Soulbound Goliath accumulates Soul Harvest throughout the fight, gaining 5% increased damage every 2 seconds. To remove this buff from the boss, wait until it stacks up to 10 times. Then the Tank should lead the boss to the fire puddles created by lightning strikes, being cautious as these will damage players when stepped on.
Once Soul Harvest is removed from the boss, it gains Burning Brush, causing party-wide AoE damage. Additionally, it releases Burning Souls. Players need to kite away to avoid heavy damage upon contact.
Crush is the main Tank mechanic here. Initially, it deals low damage, escalating with high Soul Harvest stacks, so prepare active mitigation.
The boss also has a random non-tank Soul Thorns cast that can be removed by damaging the Thorns, using immunities, or stun removals. Prioritize freeing the affected player. To deal with the cast faster, it’s advisable for the party to stack in melee.
Raal the Gluttonous

Raal the Gluttonous Trash Guide
Once dead, Infected Peasants spawn Devouring Maggots, casting Spit for moderate damage and a dispellable DoT. Some have Parasitic debuff, allowing Infest. Kick it to prevent overwhelming spawns. Gorestained Piglets attack tanks with Snout Smack. Pallid Gorgers attack the furthest player with Ravaging Leap, dealing damage and applying Bleed to anyone in a 5-yard radius. Make sure to spread to minimize the Bleed. The Retch frontal should be kicked or side-stepped. Banquet Steward’s Dinner Bell can’t be interrupted, so stay out of the targeted zone. In Hunting Lodge, Crazed Marksmen spam-Shoot and cast uninterruptable Tracking Explosive. Targeted players should stay spread. Maddened Survivalist’s group-wide Severing Serpent is a high-priority kick to keep the damage under control. Watch for Shrapnel Traps — they stay active until the mob is down. Diseased Mastiffs attack the tank with Diseased Crunch. These mobs can generally be ignored as they are easily cleaved down.
Raal the Gluttonous Boss Guide
Raal casts the Rotten Expulsion frontal, sending out several bolts that deal a burst of damage. Identify the direction and avoid the attack. Bile Oozelings spawned by the initial cast must be eliminated fast.
Tanks should prevent Bile Oozelings from reaching allies and watch for Bile Explosion upon mob death.
Throughout the encounter, Raal also casts Tenderize, inflicting lethal damage on anyone hit. Find a safe spot based on his facing direction and prepare for three waves of this cast.
Lastly, Raal summons Wasting Servants. DPS should slow and defeat them to prevent them from reaching the boss. If they make it to Raal, he’ll release Gluttonous Bile, applying a non-dispellable DoT to everyone. Prioritize taking the Servants down fast; CCs and collective effort are welcome.
Lord and Lady Waycrest

Lord and Lady Waycrest Trash Guide
Matron Alma casts Dread Mark — curse-dispel or let it expire, but be sure to spread out while the cast is active so as not to get affected by Lingering Dread. Decaying Touch on the tank deals heavy magic damage and increases damage taken. Use your defensives, especially when tanking multiple enemies. Lastly, Matron casts Ruinous Volley which must be kicked.
Coven Diviners randomly cast Soul Bolt. They also hit your tank with Fragment Soul, so Healers should dispel this DoT to prevent increased damage from Consume Fragments. Heartsbane Runeweaver’s Etch is uninterruptible but can be lessened by your defensives.
Lord and Lady Waycrest Boss Guide
Phase 1
Lord Waycrest initiates the fight with tank-specific Wasting Strike, dealing Nature damage and applying a DoT. Tanks should use activate mitigation and defensives whenever necessary. Healers need to be ready to spot-heal them during this attack.
The Lord also randomly applies Virulent Pathogen. Disease-dispel if possible, but be careful: when the effect expires, the affected player explodes, leaving a swirl that can reapply the buff, so get out of it ASAP. Players hit with Virulent Pathogen must spread out and either be dispelled or spot-healed.
Throughout the fight, Lady Waycrest puts Discordant Cadenza swirls on the arena — these should be avoided.
When Lord’s health drops to 30%, Lady uses Vitality Transfer to heal him, increasing his damage by stacking Putrid Vitality. Tanks should manage defensives accordingly.
Phase 2
To initiate phase 2, lower Lord’s health to 30% three times, triggering three Vitality Transfers. Lady joins the battle with 10% HP, repeatedly casting Wracking Chord. This fight requires a two-melee kick rotation, but be sure to focus on the Lord, as he poses a significant threat to your tank.
Gorak Tul

Gorak Tul Trash Guide
Gloom Horrors periodically hit the tank with Shadow Claw and jump to the furthest player using Dark Leap. Use defensives in advance and bait the leaps to manage the attacks strategically.
Gorak Tul Boss Guide
Once Deathtouched Slavers show up, defeat them ASAP. Just like Gloom Horrors, their Dark Leap causes damage and applies a bleed, so stay spread out to avoid cleaving nearby allies. Slavers also inflict Death Lens, stunning the target and dealing damage. Since it’s not interruptible, use CCs like stuns, disorients, and displacements to prevent the casts.
Although the adds can be killed, the boss fully heals and reanimates them with Dread Essence at full energy. Prevent this by using Alchemical Fire viles: run over a vile and throw it on a dead Slaver to stop it from resurrecting.
The boss also unleashes Darkened Lightning — kick it or stay spread out to minimize the damage.
Waycrest Manor Loot Table
Successful M+ runs give a chance to loot items ranging from ilvl 441-470 as end-of-dungeon drops and even up to ilvl 483 in the Great Vault.
Here are some of the notable items you can get your hands on:
| Name | Type | Boss |
| Belt of Undying Devotion | Cloth Waist | Lord and Lady Waycrest |
| Blightreaper | Staff | Gorak Tul |
| Blight Toadskin Leggings | Leather Legs | Heartsbane Triad |
| Fatty Hooves of Gory Comfort | Plate Boots | Raal the Gluttonous |
| Gore-Crusted Butcher’s Block | Trinket | Raal the Gluttonous |
| Risen Lord’s Oversized Gauntlets | Plate Hands | Lord and Lady Waycrest |
| Solena’s Watchful Collection | Off-Hand | Heartsbane Triad |
| Sinister Wicker Talons | Fist Weapon | Soulbound Goliath |
| Thornwoven Band | Ring | Soulbound Goliath |
Waycrest Manor Achievements
Waycrest Manor offers a total of 6 achievements:
- The eponymous achievement is earned by defeating Gorak Tul. Its Heroic and Mythic versions are rewarded for conquering the final boss on the respective difficulty or higher.
- Keystone Hero is attained by completing the dungeon on Mythic +20 or higher in timer, rewarding the portal spell Teleport: Waycrest Manor.
- You can get the Alchemical Romance achievement by eliminating 3 Deathtouched Slavers’ bodies with a single Alchemical Fire and taking down Gorak Tul on Mythic.
- For Run Wild Like a Man On Fire, conquer the Soulbound Goliath on Mythic before it gets 12 Soul Harvest stacks.
Conclusion
That’ll be it for our Waycrest Manor Mythic Plus guide. We hope it has made your journey a bit easier and more enjoyable. Don’t forget to take a look at our Mythic+ Guide for Newbies for all the essential information you need to know about M+ along with a list of Dragonflight Season 3 Mythic plus dungeon guides. Next, we will discuss WoW Throne of the Tides M+ guide, so be sure not to miss it!
Thanks for reading, and see you in the next one!


Comments