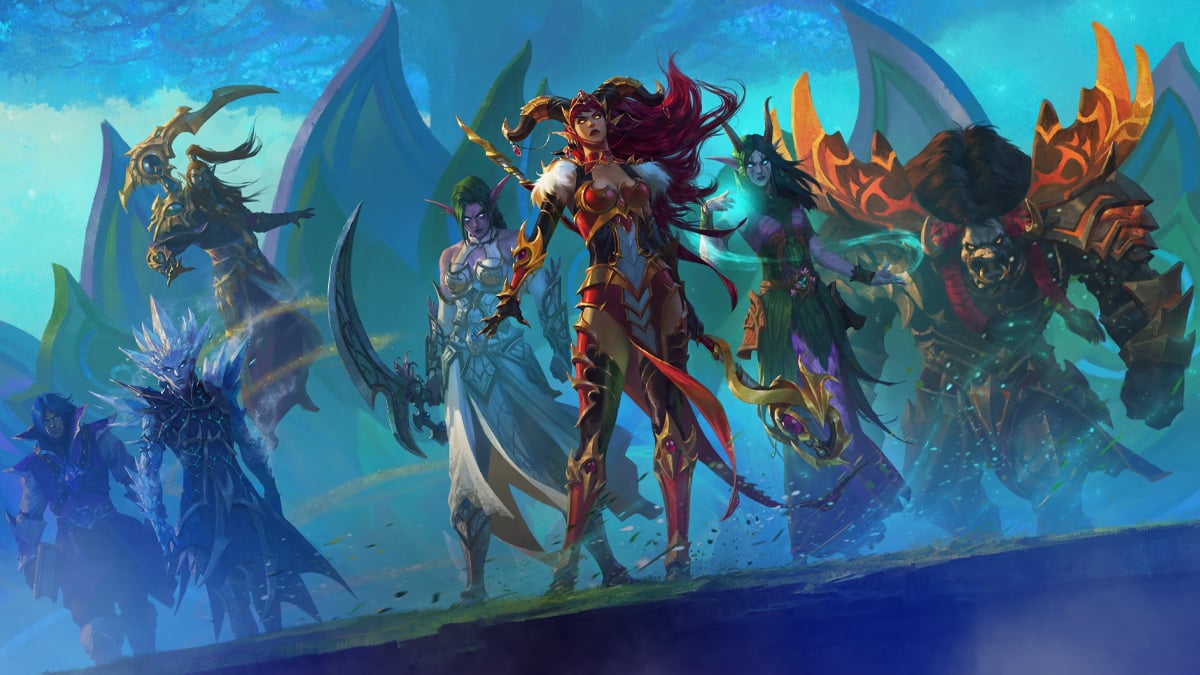
WoW Dragonflight Season 3: Throne of the Tides Mythic Plus Guide
Welcome back to our Mythic+ guide series! This time, we’re excited to present our Throne of the Tides Mythic plus guide to all the dungeon-runners out there!
Table of Contents
Key Takeaways:
- Four bosses: Lady Naz’Jar, Commander Ulthok, Mindbearer Ghur’sha, and Ozumat.
- Don’t forget to prepare Potions and Healthstones. You’ll often need to take care of yourself in several encounters.
- Healer with the Curse dispel is an advantage for your group.
- Prepare to split up. Some boss and trash mechanics will make you want to keep away from allies, especially when the encounter takes place in narrow dungeon corridors.
- Don’t waste interruptions on certain single-target spells. They’re deadly.
Throne of the Tides is the only Cataclysm dungeon in the Season 3 M+ pool. Last time, we discussed WoW Waycrest Manor Mythic+ Guide. And today, let’s see what challenges await you during the Throne of the Tides walkthrough!
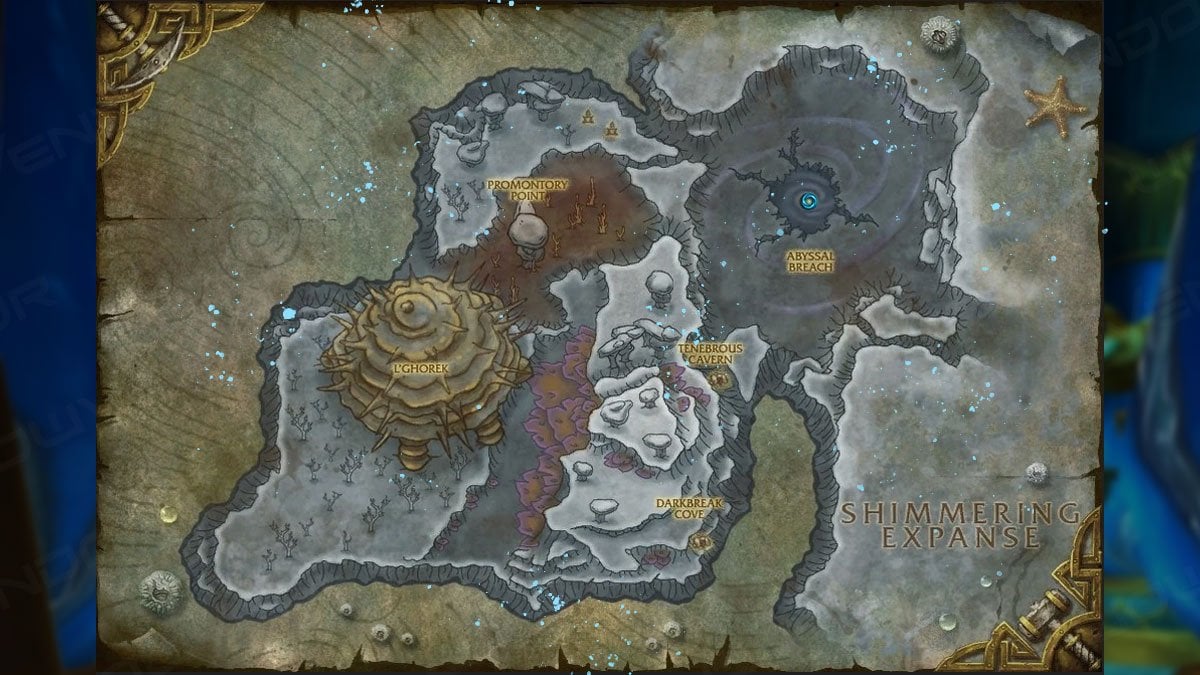
Where Is the Throne of the Tides Entrance
The Throne of the Tides entrance is in the Vashj’ir, Abyssal Depths. The quickest way to get there is to use a portal in the Millennia’s Threshold portal room. You can get there using a portal to Timeways in Valdrakken. Once you’re in Abyssal Depths, swim into the Abyssal Breach blue vortex in front of you and you’ll find yourself in a cave with the dungeon’s entrance.
Full Throne of the Tides Walkthrough
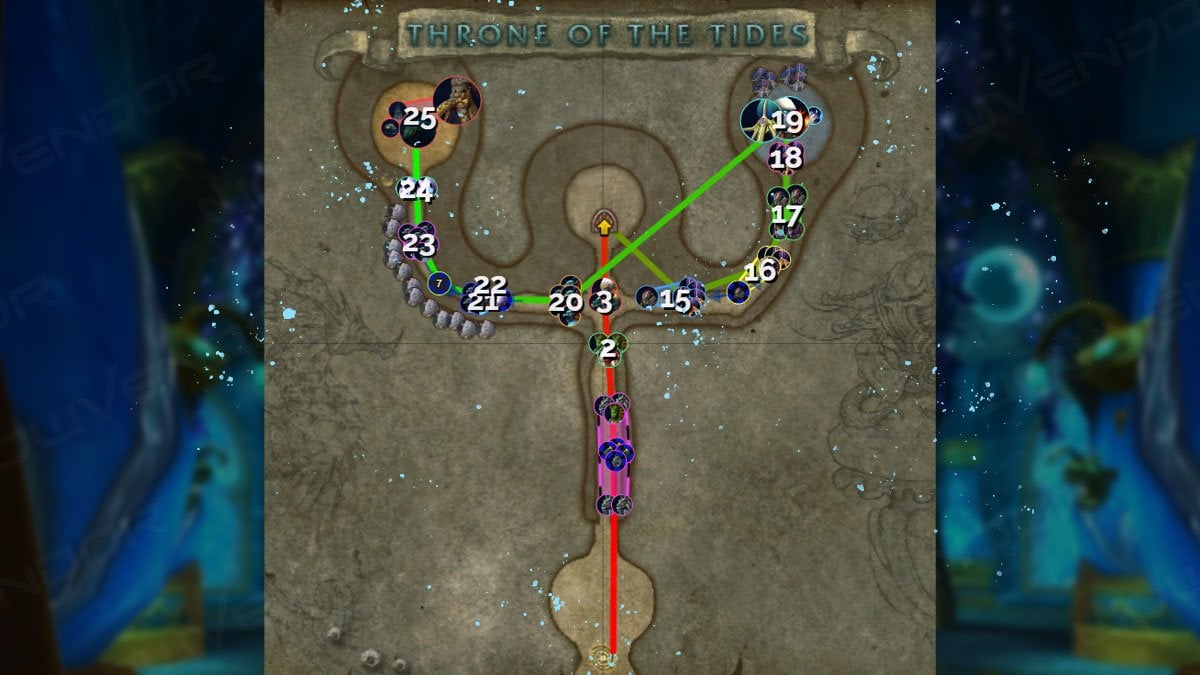
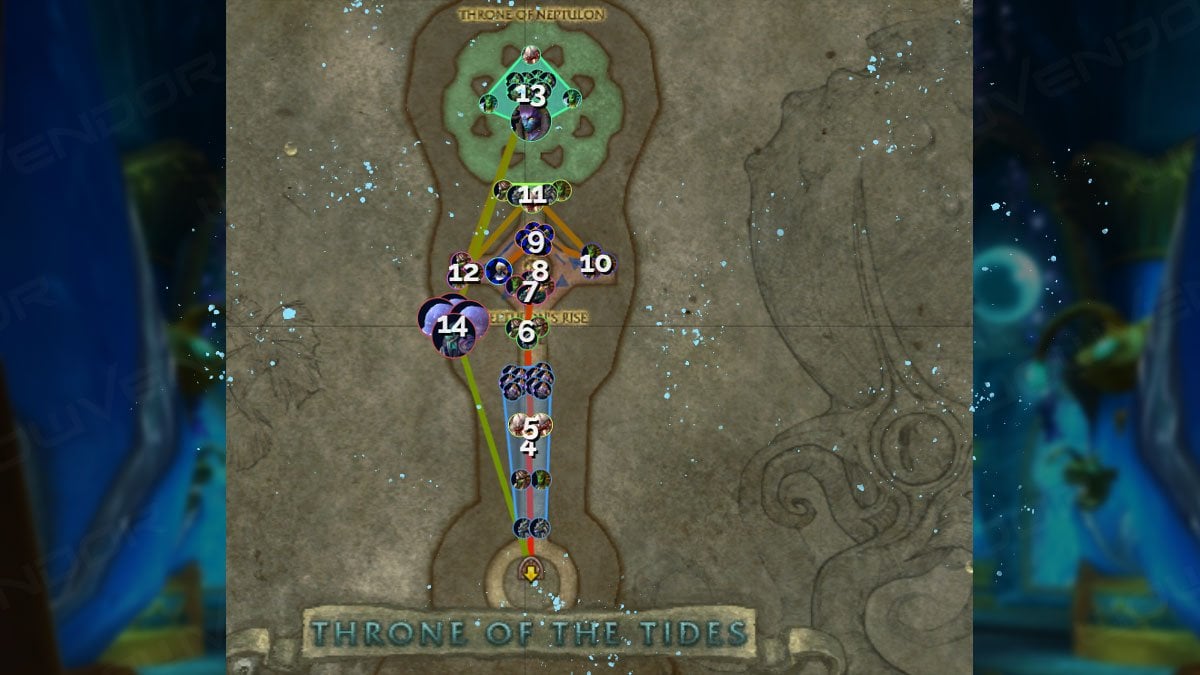
Throne of the Tides Layout
The screenshots of the dungeon route by Petko may serve well as a layout for Throne of the Tides locations. They also show an approximate order of trash pulls. However, be sure to plan your own one depending on your party configuration and current affixes.
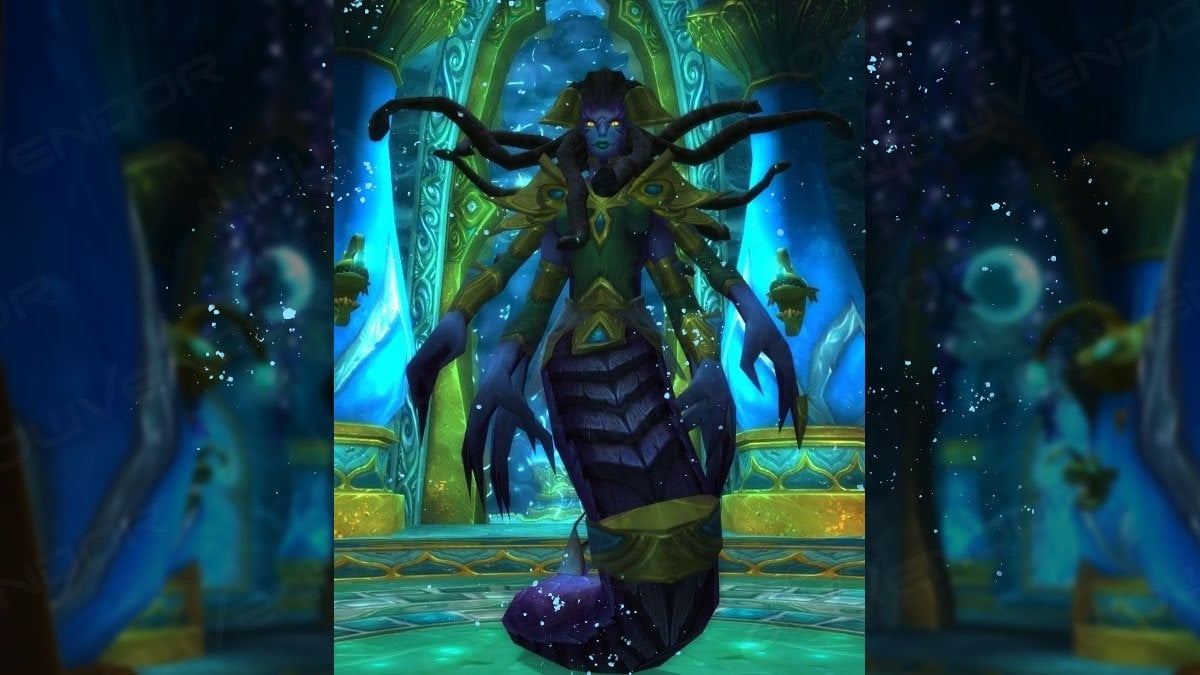
Lady Naz’Jar
Lady Naz’Jar Trash Guide
Among the first trash packs, pay special attention to Naz’jar Oracle. All of her skills can be interrupted. However, Healing Wave should always be at the highest priority. Hex is also very dangerous because it turns your ally into a crab for a long 6 seconds. If you have a Shaman, Evoker, Mage, or Druid, you can dispel this Curse. But even in this case, it’s better not to risk and remember to interrupt Hex.
Keep an eye on Naz’jar Invader and Vicious Snap Dragon mechanics. The first one’s dangerous attacks are regularly accelerated by the Slithering Assault buff. Snap Dragons chase random players with the Ravenous Pursuit spell. If caught, players are immobilized. The Dragons also deal devastating damage with the Razor Jaws stacking debuff. You must slow down and kite these mobs during the Pursuit.
Naz’jar Sentinel mob is a headache for the Tank. The Shellbreaker debuff increases incoming damage by 30%. Tank must use defensive spells to survive the effect. In turn, a Healer must urgently outheal the Sentinel’s Crushing Depths debuff. It applies a healing absorption effect to a random player. The affected player receives a large amount of Frost damage every second and certainly dies if not out-healed. Be sure to use Health Potions or Healthstones to help out your Healer.
In the case of Naz’jar Ravager, Tank should always turn the Acid Barrage frontal spell away from the allies. The group should avoid Volatile Bolt’s landing area. The puddle it creates deals lots of periodic Nature damage. There will also be a lot of Deep Murloc Drudge mobs in the corridor in front of Neptulon’s Rise location. Keep away from each other to avoid the dangerous consequences of their Leaping Thrash mechanic. Also, dispel or run away from an ally affected by Naz’jar Tempest Witch’s Lightning Surge debuff.
Lady Naz’Jar Boss Guide
During the entire first encounter, you’ll face four mechanics. The target of Shock Blast must take this AoE effect as far away from allies as possible. This way, it’ll be easier for the party to avoid the electric spheres flying around from the Blast explosion.
Then, it’s necessary to scatter over an area during the Focused Tempest skill channel. It’ll damage two random players. But if there are allies nearby, Tempest will painfully jump on them too. Be sure to interrupt the Water Bolt spell as often as possible. Finally, do not stand in the blue craters from which the Geysers rise.
At 60% and 30% HP, the boss enters the High Tide transition phase and spawns mobs. You must gather them to finish them off as quickly as possible. The phase ends when all mobs are dead. Be sure to interrupt the Frostbolt cast by Naz’jar Frost Witch. It’ll help to get this caster mob together with the others and avoid getting serious damage. Be sure to use Healthstones or Health Potions if the skill isn’t interrupted.
The Witch is always the highest priority for damage-dealers. Try to remove the Icy Veins buff from this enemy so that its Bolt damage and Haste aren’t increased. The same applies to Slithering Assault, which this time buffs the Naz’jar Honor Guard mob. The latter will also cast Trident Flurry. Be sure to dodge it. Also, spread around to avoid additional damage from the Leaping Thrash of the local Murloc adds.
Commander Ulthok, the Festering Prince

Commander Ulthok, the Festering Prince Boss Guide
The first and second bosses of the Throne of the Tides come in a row without any trash in between. The main mechanic in the Ulthok battle is Bubbling Fissure. It’s periodically cast on three players. They must make sure that dark vortices spawning under their feet are placed close to each other and run out of them. Thus, they’ll avoid damage from their eruption and the spawned puddles.
These puddles are called Bubbling Oozes. They should be placed next to each other because the boss will periodically animate both new and old puddles with Awaken Ooze. Animated puddles turn into mobs that move toward players. It’s impossible to defeat them permanently. However, damage pushes them back. Kite the boss to avoid the puddles’ damage. Use Health Potions or Healthstones to aid the Healer.
Tank must kite the boss around the room. The boss will periodically push players away using Festering Shockwave. Everyone should avoid being pushed into the growing pile of puddles behind the boss. Getting there is almost certainly lethal. Especially considering that Healer already needs to use important cooldowns to outheal the DoT inflicted by the Shockwave. Last but not least, Tank should use defensive abilities to survive Crushing Claw. The debuff this spell applies increases incoming damage by 100%.
Mindbender Ghur’sha

Mindbender Ghur’sha Trash Guide
On the way to the Mindbender Ghur’sha boss, you’ll meet Faceless Seers, Faceless Watchers, and Minions of Ghur’sha. Interrupt the first ones’ Mind Flays and avoid the Null Blast rift they cast. The latter causes painful damage and silences players.
Watcher pulls the party towards him with Clenching Tentacles and then almost immediately tries to deal massive damage with Shadow Smash. It can be lethal when combined with the Null Blast skill. In any case, everyone must run out of the Smash zone. A Tank must also be prepared to use defensive spells to survive the Watcher’s regular Crush hits.
In the case of Minions, just make sure to use crowd control effects on them to interrupt the constant damage coming from the Psionic Pulse AoE. However, this trash pack can become much more difficult in combination with some particularly troublesome Affixes. Be sure to check our Mythic+ Guide for Newbies to learn more about them, as well as the rest of the M+ guides for Dragonflight Season 3.
Mindbender Ghur’sha Boss Guide
This encounter consists of two phases. In the first, your opponent is Erunak Stonespeaker possessed by Ghur’sha. The phase lasts until the boss’ HP is reduced to 25%. Healer must dispel Flame Shock. The entire party should run out of the small brown swirlies on the ground to avoid the Earthfury’s damage.
But the main task is to destroy Stormflurry Totem. The boss periodically summons it, strengthening his attacks with Natural damage and speeding them up by 100%. Tank should save mitigation skills for this mechanic. Damage-Dealers must destroy the Totem as quickly as possible.
In the second phase, Ghur’sha detaches from Erunak and becomes your target. The boss begins to damage the party with the Mind Rot AoE aura constantly. This damage can’t be avoided. But damage from the Terrifying Vision spell can and should be avoided. The boss will periodically cast this spell for 5 seconds. During this time, you must line of sight, taking cover behind the nearest columns. This way you’ll avoid not only massive damage but also the Fear effect it applies.
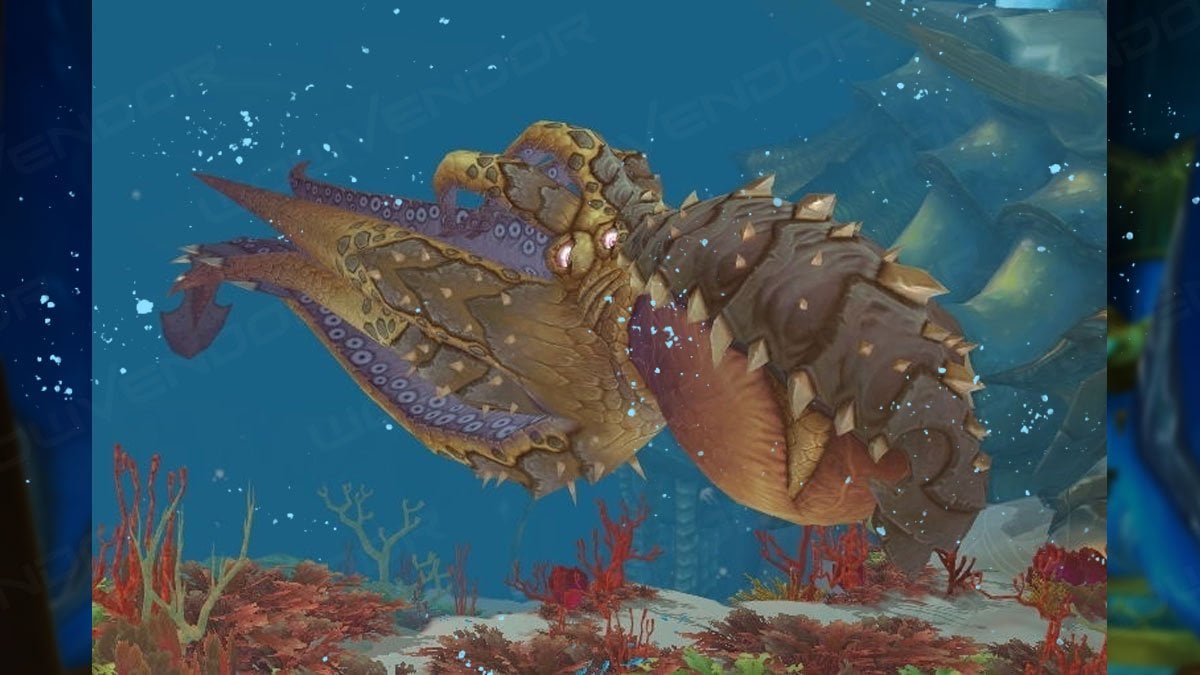
Ozumat
Ozumat Trash Guide
The next mob type worth mentioning in the Throne of the Tides guide is Tainted Sentry. Its Swell spell deals lots of Shadow AoE damage. But the true problem here is you’ll also need to deal with the Unstable Corruption mobs.
They cause significant damage only with the post-mortem explosion. But their explosions also apply the Wave of Corruption debuff to affected players. Each stack of this effect increases incoming Shadow damage by 10% for 8 seconds. A truly deadly combination with Sentry’s spell.
Beware of Gilgoblin Hunters and Aquamages in this area. Tank should be especially wary of Gilgoblin Hunters as they throw Poisoned Spears at the Tank, applying a debuff that stacks and should be removed. In turn, the Aquamages deal tons of single-target damage with Aquablasts. Interrupt them with stuns or CCs.
Ozumat Boss Guide
And we have arrived at the final boss in this Throne of the Tides Mythic plus guide. The last encounter has two phases. In the first one, you fight Ink of Ozumat. Ink periodically casts Murk Spew frontal AoE. Ensure it doesn’t hit anyone but the Tank. Also, Ink periodically attacks the entire party with Putrid Roar. Healer must heal the damage of this AoE and the subsequent DoT it applies.
But the main danger is the Blotting Barrage mechanic that targets three players. The players will receive serious damage, and after a few seconds, leave black puddles on the ground. The puddles are called Blotting Darkness. They deal tons of damage, slow players down, and infinitely expand. Puddles also spawn at the death site of the Splotch and Sludge adds summoned by the boss from time to time. Thus, the adds should be gathered and quickly cleaved down near the active puddles. Don’t forget to interrupt Splotch’s Ink Blast.
Periodically, your ally Neptulon targets two players with a Cleansing Flux blue beam. The targeted players become immune to Shadow damage and gain the ability to clear the ground of Blotting Barrage dark puddles. They must remove all of them during the buff’s duration.
Once you’ve dealt with Ink of Ozumat, Neptulon will greatly buff your damage and HP for the fight against Ozumat itself. Thus begins the second phase. You’ll only receive Raining Darkness AoE damage. Your task is simply to actively reduce Ozumat’s HP until the encounter ends.
Throne of the Tides Loot Table
In Season 3, you can get up to 470 ilvl End of the Dungeon and up to 483 ilvl Great Vault loot. Below is the Throne of the Tides loot table for your M+ run:
| Name | Type | Boss |
| Aurelian Miter | Cloth Head | Lady Naz’Jar |
| Cerith Spire Staff | Staff | Commander Ulthok |
| Anomuran Helm | Plate Head | Mindbender Ghur’sha |
| Might of the Ocean | Trinket | Ozumat |
| Lightning Whelk Axe | One-Hand Axe | Lady Naz’Jar |
| Caridean Epaulets | Leather Shoulders | Commander Ulthok |
| Bioluminescent Lamp | Off-Hand | Mindbender Ghur’sha |
| Whitefin Axe | Two-Hand Axe | Ozumat |
Throne of the Tides Achievements
You can get the following achievements for Throne of the Tides‘ M+ runs:
- Throne of the Tides requires defeating Ozumat. You gain it along with Heroic and Mythic versions after completing the instance on M+ difficulty.
- Keystone Hero: Throne of the Tides is given for a successful M+ run with a +20 keystone level or higher. The reward is a teleport to the dungeon’s entrance.
Conclusion
And that’s it for our Throne of the Tides Mythic Plus guide! We will see you again in our WoW Dark Heart Thicket M+ Walkthrough.


Comments