Motherlode M+ dungeon walkthrough: Route, strategies, and rewards
Master The Motherlode!! Mythic+ in The War Within Patch 11.1.7 with this easy-to-follow guide covering bosses, deadly trash, key mechanics, and strategies.
Table of Contents
Key takeaways:
- Key Takeaways
- Boss strategies and trash management: Learn how to handle all four bosses in The Motherlode!!, along with the most dangerous trash mobs to avoid unnecessary wipes in Mythic+ runs.
- Loot and rewards: Check out the full loot table, categorized by armor type and weapons, to find the best gear upgrades for your class and spec.
- Achievements and Keystone benefits: Earn achievements for defeating Mogul Razdunk on higher difficulties, and unlock a teleport to The Motherlode!! by completing a Mythic+10 run within the time limit.
The Motherlode!! (ML) is back in Mythic+ for Season 2 of The War Within! This high-octane dungeon takes players deep into the heart of the Venture Co.’s chaotic mining operation, where they’ll dodge explosives, battle mercenary enforcers, and take on some of Azeroth’s most reckless industrialists.
This guide has everything you need to tackle The Motherlode!! on any Mythic+ difficulty. We’ll break down all four boss encounters, highlight key trash mob dangers, provide a complete loot table, and share essential tips to help you clear this dungeon efficiently. Let’s get to work!
Related posts:


What is The Motherlode
The Motherlode!! is a four-boss dungeon originally introduced in Battle for Azeroth and now returning to the Mythic+ rotation in Season 2 of The War Within. Set in a massive Venture Co. mining operation, this chaotic dungeon is packed with explosives, mercenaries, and reckless goblin industrialists who will stop at nothing to protect their profits.
Players will fight their way through high-tech hazards, deadly enforcers, and volatile machinery, culminating in a showdown against Kingpin Mogul Razdunk, the ruthless CEO behind it all. Here are all Motherlode bosses:
- Coin-Operated Crowd Pummeler
- Azerokk
- Rixxa Fluxflame
- Mogul Razdunk
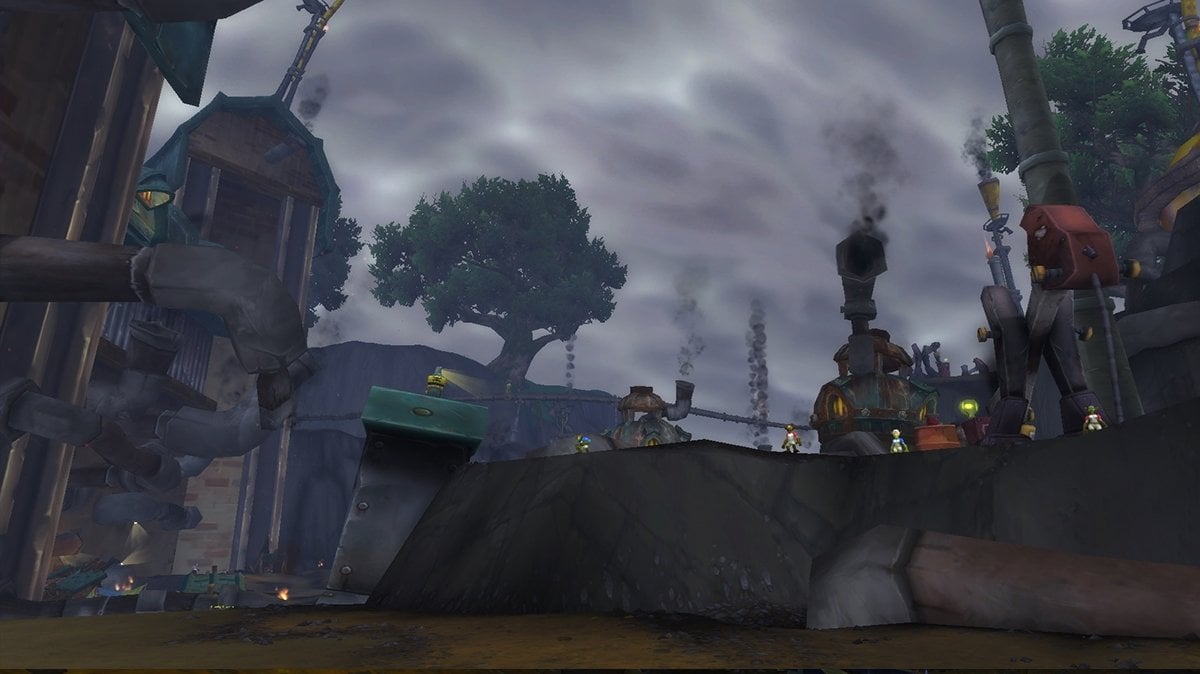
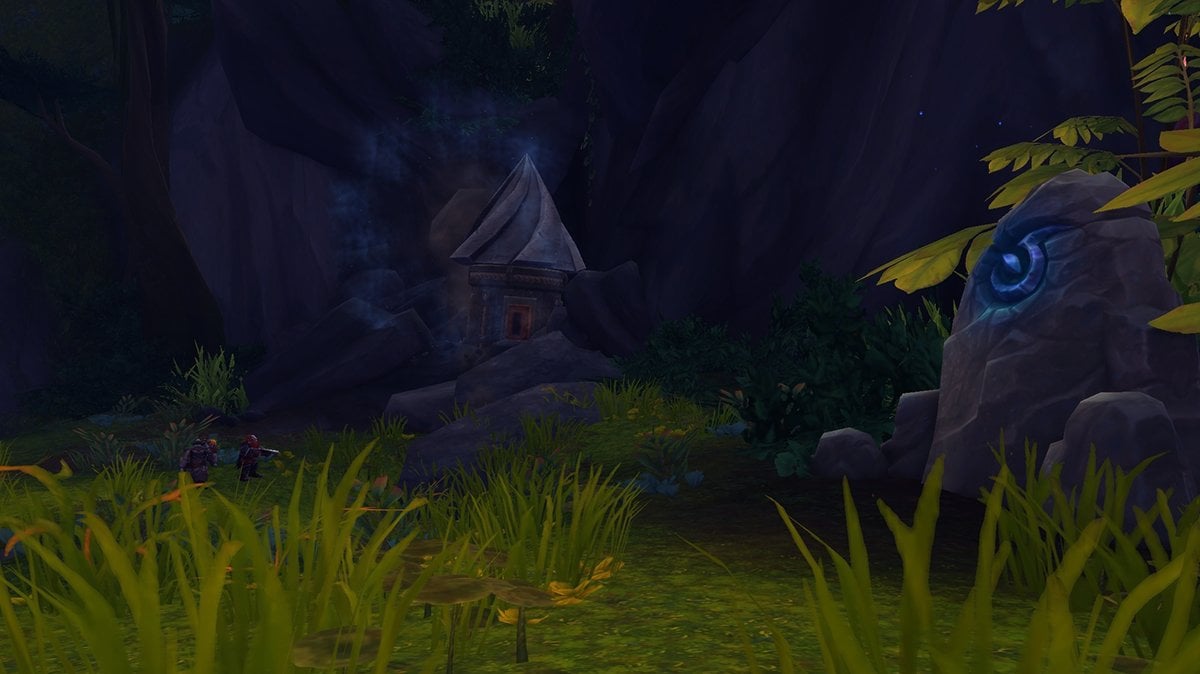
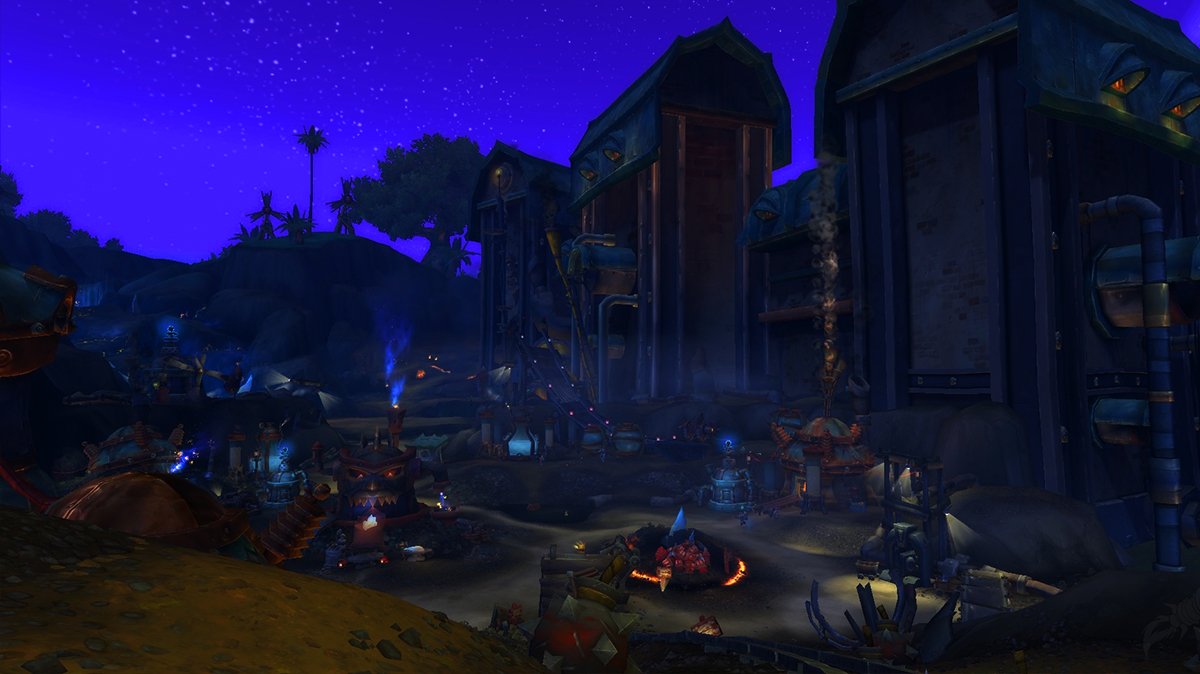
The Motherlode entrance
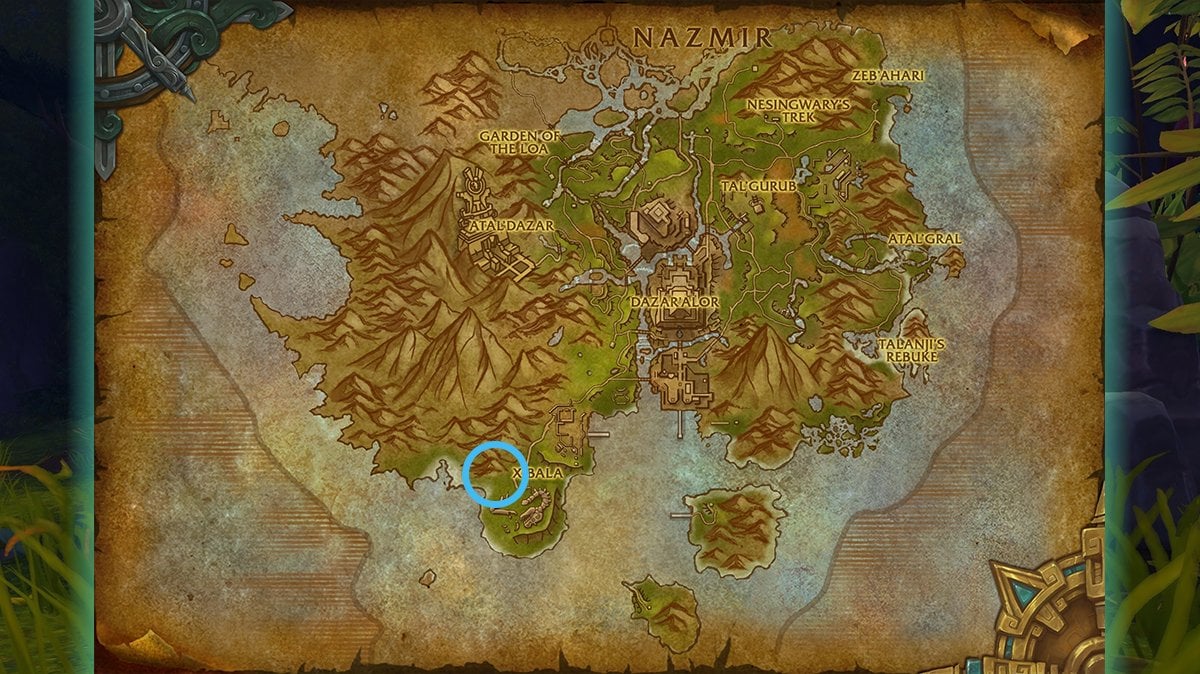
Before going into the Motherlode, don’t forget to teleport to the BfA zone. The Portal Room for The War Within is located in Dornogal at /way 53.7, 38.7. Use it for quick and easy access to the zone containing The Motherlode dungeon.
Once in Zuldazar, locate the Motherlode at coordinates [53.7, 38.7]. If you need additional guidance in-game, use the following command:
/way 53.7 38.7The Motherlode entrance looks like this.
Note
Don’t forget to download TomTom addon, to easily navigate WoW locations.
The Motherlode walkthrough
In this section, we’ll cover all 4 Motherlode bosses, detailing their abilities, counter strategies, and key mechanics for each encounter.
The Motherlode dungeon layout
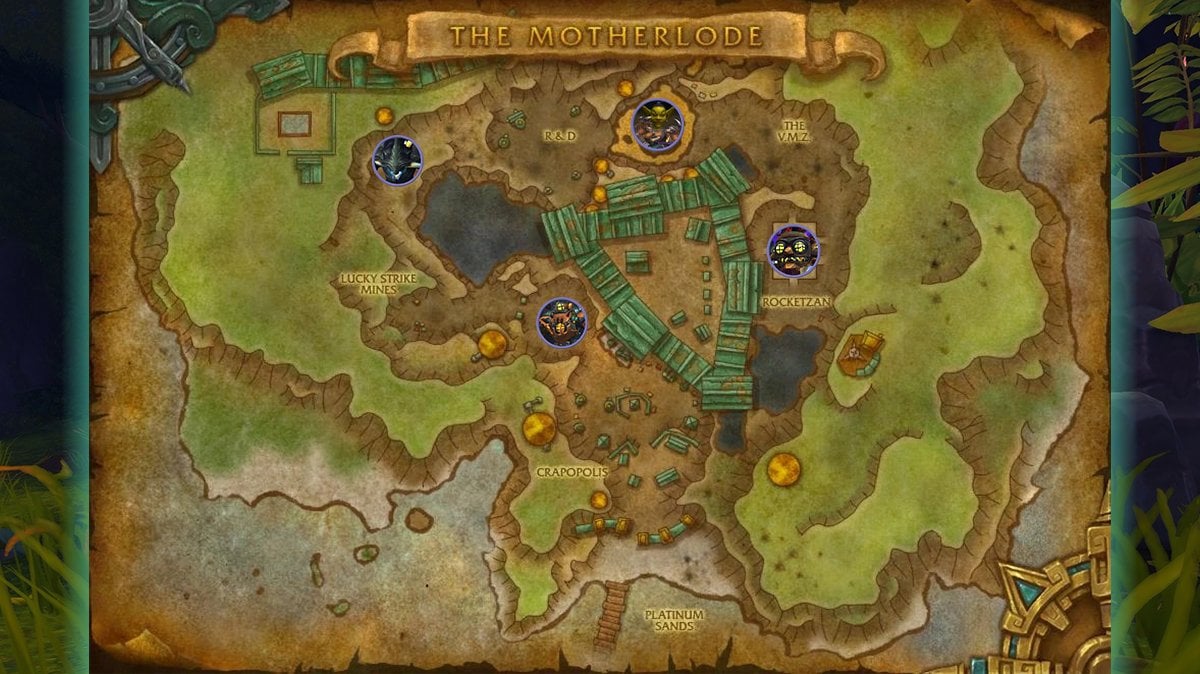
The Motherlode has a curved layout that enforces a straight pass. While the overall path moves forward, certain sections offer optional skips, making efficient mob management key in Mythic+ runs.
Here is the most optimal Motherlode route:

First part: Entering the Motherlode
Be Wary of Off-Duty Laborers – These seemingly harmless workers can be a nuisance if not handled correctly. As soon as combat starts, they will immediately cast Throw Wrench at whoever engages them first—this should always be the tank to prevent unnecessary damage to other party members.
Interrupt Refreshment Vendors and Hired Assassins – Iced Spritzer from Refreshment Vendors must be interrupted to prevent them from healing their allies. Hired Assassins pose a significant threat with Toxic Blades. If this ability goes off, every tick of Fan of Knives will apply a stackable poison effect, which can quickly spiral out of control. Dispelling Fan of Knives itself is also a priority to minimize overall party damage.
Shut down Mech Jockeys before they escalate – While Grease Gun is an annoyance, the real danger from Mech Jockeys comes from Activate Mech. If this cast is completed, they will transform into a Mechanized Peacekeeper, a much tougher enemy. If this happens, be prepared to dodge Tear Gas, which will disorient players in the area, and keep everyone topped off, as Charged Shield randomly damages party members.
Manage Addled Thugs’ Enrage and Avoid Uppercut – Inhale Vapors will enrage Addled Thugs, increasing their damage output. This effect must be dispelled to avoid unnecessary strain on the healer. Additionally, be mindful of Uppercut, as it deals heavy damage and knocks players into the air, potentially putting them in dangerous positioning.
Coin-Operated Crowd Pummeler M+ guide

Tanks play a crucial role in managing the boss’s movement throughout the encounter. Keeping the boss away from gold piles is essential, as standing near them increases Coin Magnet stacks, making the fight significantly harder. Proper positioning ensures the team can focus on mechanics without unnecessary damage spikes.
During Footbomb Launcher, every player must actively engage with the bombs, kicking them toward the boss. Successfully landing multiple bombs on the boss reduces incoming damage and significantly boosts overall DPS output. Coordination and awareness are crucial to executing this mechanic efficiently.
Static Pulse is a dangerous ability that deals heavy group-wide damage. Healers should be prepared to use cooldowns during this phase, ensuring the team survives the intense pressure. Players with personal defensives should also activate them as needed to mitigate incoming damage.
Both melee and ranged DPS must be mindful of Shocking Claw, an ability that inflicts avoidable damage. Taking unnecessary hits increases healer strain and can lead to avoidable deaths. Staying mobile and reacting quickly to boss mechanics will help maintain a smooth fight and reduce the risk of wipes.
| Ability | Description | How to Counter |
|---|---|---|
| Shocking Claw | The boss swipes at a target, dealing damage in a frontal cone. | Dodge the attack by moving out of the frontal area. |
| Footbomb Launcher | Launches bombs around the arena. Players must kick them into the boss. | Every team member should help kick bombs into the boss to maximize damage and prevent explosions. |
| Coin Magnet | The boss pulls nearby gold piles, gaining stacks that increase its damage. | Tank should move the boss away from gold piles to minimize stacks. |
| Static Pulse | A powerful area-of-effect pulse that deals damage to all players. | Healers should use cooldowns to mitigate and heal through the damage. |
Second part: Going into mines
Mitigate Rapid Extraction and Bleed Effects – When fighting Azerite Extractors, be ready to use defensive cooldowns during Rapid Extraction. This ability deals significant damage, and tanks will also suffer from Puncture, a nasty bleed effect that requires active mitigation or external healing support.
Watch your step around Wanton Sappers – Mining Charge will be scattered around the battlefield by Wanton Sappers. Always sidestep these explosive charges to avoid unnecessary damage.
Interrupt Earthshapers and prioritize Stonefury Kicks – Venture Co. Earthshapers will cast Rock Lance, which should be interrupted to minimize single-target damage. However, the highest priority is Stonefury’s Furious Quake—this cast must be stopped at all costs, or your party will take heavy, avoidable damage.
Stay clear of Taskmaster Askari’s massive slam – Taskmaster Askari will periodically use Massive Slam, a devastating ground AoE. Be sure to step out of the impact zone to avoid taking unnecessary damage.
Azerokk M+ guide

Azerokk is all about control and target priority. Dodge frontal attacks like Tectonic Smash by positioning yourself away from the cast to avoid unnecessary damage. This ability can easily chunk your health bar if you’re not careful, so staying aware of Azerokk’s movement is key.
One of the biggest threats in this fight comes from Azerite-Infused adds. The moment Azerite Infusion is cast, swap to the empowered Earthrager and burn it down immediately. If left alive, it will unleash devastating raid-wide damage that can quickly wipe your group. Cleaving is fine, but focus fire is essential.
Defensive cooldowns can save your life. If Resonant Quake is about to go off and an add is still alive, use defensives or health potions to survive the unavoidable pulsing damage. Tanks should also keep an eye on their positioning—control is everything here. Earthragers apply a nasty Bleed, so they need to be kept away from the group while tanks mitigate stacks as best as they can.
Finally, healers need to be proactive. If someone is stacking too many Bleed debuffs, spot-heal them before it gets out of hand. During Resonant Quake, healing cooldowns should be used strategically to keep the group stable. With good positioning, add management, and solid defensive play, Azerokk becomes a much smoother fight.
| Ability | Description | How to Counter |
|---|---|---|
| Tectonic Smash | A frontal cone attack that deals heavy damage to anyone caught in it. | Avoid standing in front of the boss to dodge the attack. |
| Azerite Infusion | Empowers an Earthrager add, making it radiate group-wide damage. | Immediately swap to the infused Earthrager and kill it before the boss finishes Resonant Quake. |
| Resonant Quake | A powerful AoE that deals massive damage if an infused Earthrager is alive. | Use defensives before the cast, and make sure all adds are dead beforehand. |
| Earthrager Bleed | Earthragers apply a stackable Bleed effect with their melee attacks. | Tanks should control adds to prevent them from attacking the group. |
Third part: Last push before the last boss
High-Priority interrupt – stop Transmute: Enemy to Goo! – Venture Co. Alchemists will attempt to cast Transmute: Enemy to Goo, which can completely disable a party member. This is the most important interrupt in the encounter. Any spare kicks should be used to stop Caustic Compound, which applies a nasty poison effect that can quickly wear down your team.
Mitigate Mind Lash and avoid Brainstorm zones – Venture Co. Masterminds will cast Mind Lash on a random player, dealing significant damage. If you’re the target, use a defensive cooldown to survive the hit. Additionally, Brainstorm will create ground puddles that not only damage players standing in them but also silence them—move out immediately to maintain your ability to heal, interrupt, or deal damage effectively.
Rixxa Fluxflame M+ guide

Rixxa Fluxflame’s fight is all about proper positioning and spatial awareness. Managing Azerite Pools is crucial—avoid standing in them, as they deal continuous damage, and always be mindful of where new ones will spawn. Poor placement can quickly make the fight a nightmare, so stay aware of your surroundings.
Azerite Catalyst Rings require coordination. When targeted, players should stack their rings together in a way that minimizes wasted space. If rings are scattered randomly, the arena will become cluttered, leaving little room to maneuver later in the fight.
Propellant Blast is a key mechanic that can be used to your advantage. Players hit by it should move into lingering Azerite Pools before being knocked back. This helps clear the pools and ensures there’s enough safe space for the team before the next Gushing Catalyst occurs. Coordination here makes a huge difference.
Tank positioning is critical to keep the boss in areas with enough open space for players to safely dodge mechanics. Keeping Rixxa near a wall or in a bad spot can make Azerite Pools overwhelming, so always plan ahead.
Lastly, healers need to be prepared for knockback damage. Propellant Blast can push players into dangerous areas, so quick reaction times and spot-healing are necessary to prevent deaths. Stay aware, use space wisely, and Rixxa will go down without too much trouble.
| Ability | Description | How to Counter |
|---|---|---|
| Azerite Ground Pools | Pools of volatile azerite that deal damage over time to anyone standing in them. | Avoid standing in the pools and move to clear areas. |
| Azerite Catalyst | Creates rings of azerite on the ground that expand over time. | Stack multiple rings together in one area to conserve space for movement. |
| Propellant Blast | Targets a player, dealing damage and knocking them back. | The targeted player should clear lingering azerite pools by positioning themselves accordingly. |
| Gushing Catalyst | Massive azerite eruption triggered after Propellant Blast, covering the area with pools. | Ensure proper positioning beforehand to keep safe zones clear. |
Part four: Last encounter
Dodge Artillery Barrage – Ordnance Specialists will bombard the area with Artillery Barrage. Keep an eye on the incoming markers and reposition quickly to avoid taking unnecessary damage.
Survive Charged Shot and Kill Crawler Mines – Venture Co. War Machines will periodically channel Charged Shot, dealing heavy damage. Use defensive cooldowns if you’re targeted or low on health. They will also deploy Crawler Mines, which must be quickly focused and destroyed before they reach their target, as they will only explode upon impact.
Mogul Razdunk M+ guide

Mogul Razdunk, the final boss of The Motherlode!!, demands precise coordination and awareness from all party members to ensure a successful encounter.
Gatling Gun: Razdunk’s Gatling Gun ability initiates as a frontal attack directed at the tank, after which he rotates 360 degrees in a random direction, continuously firing. All players must remain cautios and be prepared to sidestep this attack promptly to avoid significant damage.
Micro Missiles: Throughout the fight, Razdunk summons two B.O.O.M.B.A bots that periodically launch Micro Missiles, targeting specific zones on the ground. These areas are clearly marked, and players must quickly move out of these indicators to prevent lethal damage. It’s crucial to note that the bots adjust their positions after each volley, necessitating continuous spatial awareness and repositioning.
Homing Missile: When marked by a Homing Missile, the targeted player should distance themselves from the group to minimize splash damage upon impact. Healers need to be attentive, providing spot heals to these individuals to mitigate the incoming damage effectively. If the targeted player possesses a defensive cooldown, it’s advisable to use it to further reduce harm.
Intermission Phase: At 50% health, Razdunk becomes immune and summons two Venture Co. Skyscorchers, accompanied by three Big Red Rockets. Prioritize eliminating the Skyscorchers swiftly to halt their dangerous Buster Shot and Azerite Heartseeker abilities. Concurrently, players targeted by Drill Smash should maneuver Razdunk to strike the Big Red Rockets, as each successful hit removes a stack of his immunity, expediting the return to the main phase. This phase inflicts consistent party-wide damage, so the use of defensive abilities and healing cooldowns is essential to maintain group stability.
Tank Positioning: Tanks play a pivotal role in this encounter by positioning Razdunk and any adds in a manner that facilitates efficient cleave damage while preserving safe zones for the party. Given Razdunk’s reliance on ranged attacks, tanks should focus on optimal boss placement rather than traditional melee mitigation strategies.
| Ability | Description | How to Counter |
|---|---|---|
| Gatling Gun | Fires a barrage of bullets in a cone. | Sidestep out of the cone’s path. |
| Summon B.O.O.M.B.A. | Spawns two drones that launch Micro Missiles, which deal lethal damage on impact. | Watch the missile travel time and move out of the targeted ground patches quickly. |
| Homing Missile | Targets a player, dealing high front-loaded damage and a DoT effect. | The targeted player should run away from the group to minimize splash damage. |
| Intermission Phase (50%) | The boss summons 2 Venture Co. Skyscorchers and 3 pillars. | Focus on killing Skyscorchers first to prevent excessive damage from Buster Shot and Heartseeker. |
| Drill Smash | The boss slams the ground, dealing AoE damage. | Destroy pillars to end the phase while using defensives to mitigate group-wide damage. |
The Motherlode loot and achievements
Here’s a complete list of all the loot available in The Motherlode.
The Motherlode achievements
Here are all the achievements from the instance:
| Achievement | Criteria | Reward |
|---|---|---|
| The MOTHERLODE!! | Defeat Mogul Razdunk in The Motherlode!!. | — |
| Heroic: The MOTHERLODE!! | Defeat Mogul Razdunk on Heroic difficulty or higher. | — |
| Mythic: The MOTHERLODE!! | Defeat Mogul Razdunk on Mythic or Mythic Keystone difficulty. | — |
| Keystone Hero: The MOTHERLODE!! | Complete The Motherlode!! at Mythic +10 or higher, within the time limit. | Teleport to The Motherlode!! |
Conclusion
We hope this guide has helped you navigate The Motherlode!!, a fast-paced, explosive-filled dungeon where precision and strategy are key to survival. If you’re looking for extra support on your Mythic+ journey and aiming to conquer higher difficulties, consider our Mythic Dungeon boost.
Check out our FAQ below for more details on The Motherlode!!, including quests, achievements, rare mounts, and other rewards.

FAQ
Where is The Motherlode located?
The Motherlode is located in Zuldazar[53.7, 38.7].
Do I have to unlock BfA to acess The Motherlode?
No, because this dungeon is in the Season 2 Mythic+ dungeons rotation, all you have to do is teleport to the BfA expansion, via teleport in Dornogal.


Comments