
Destiny 2 Kell’s Fall walkthrough: complete guide
Check out our complete Kell’s Fall destiny 2 walkthrough, in Destiny 2, and earn exciting rewards, including the Slayer’s Fang Exotic Shotgun.

Table of Contents
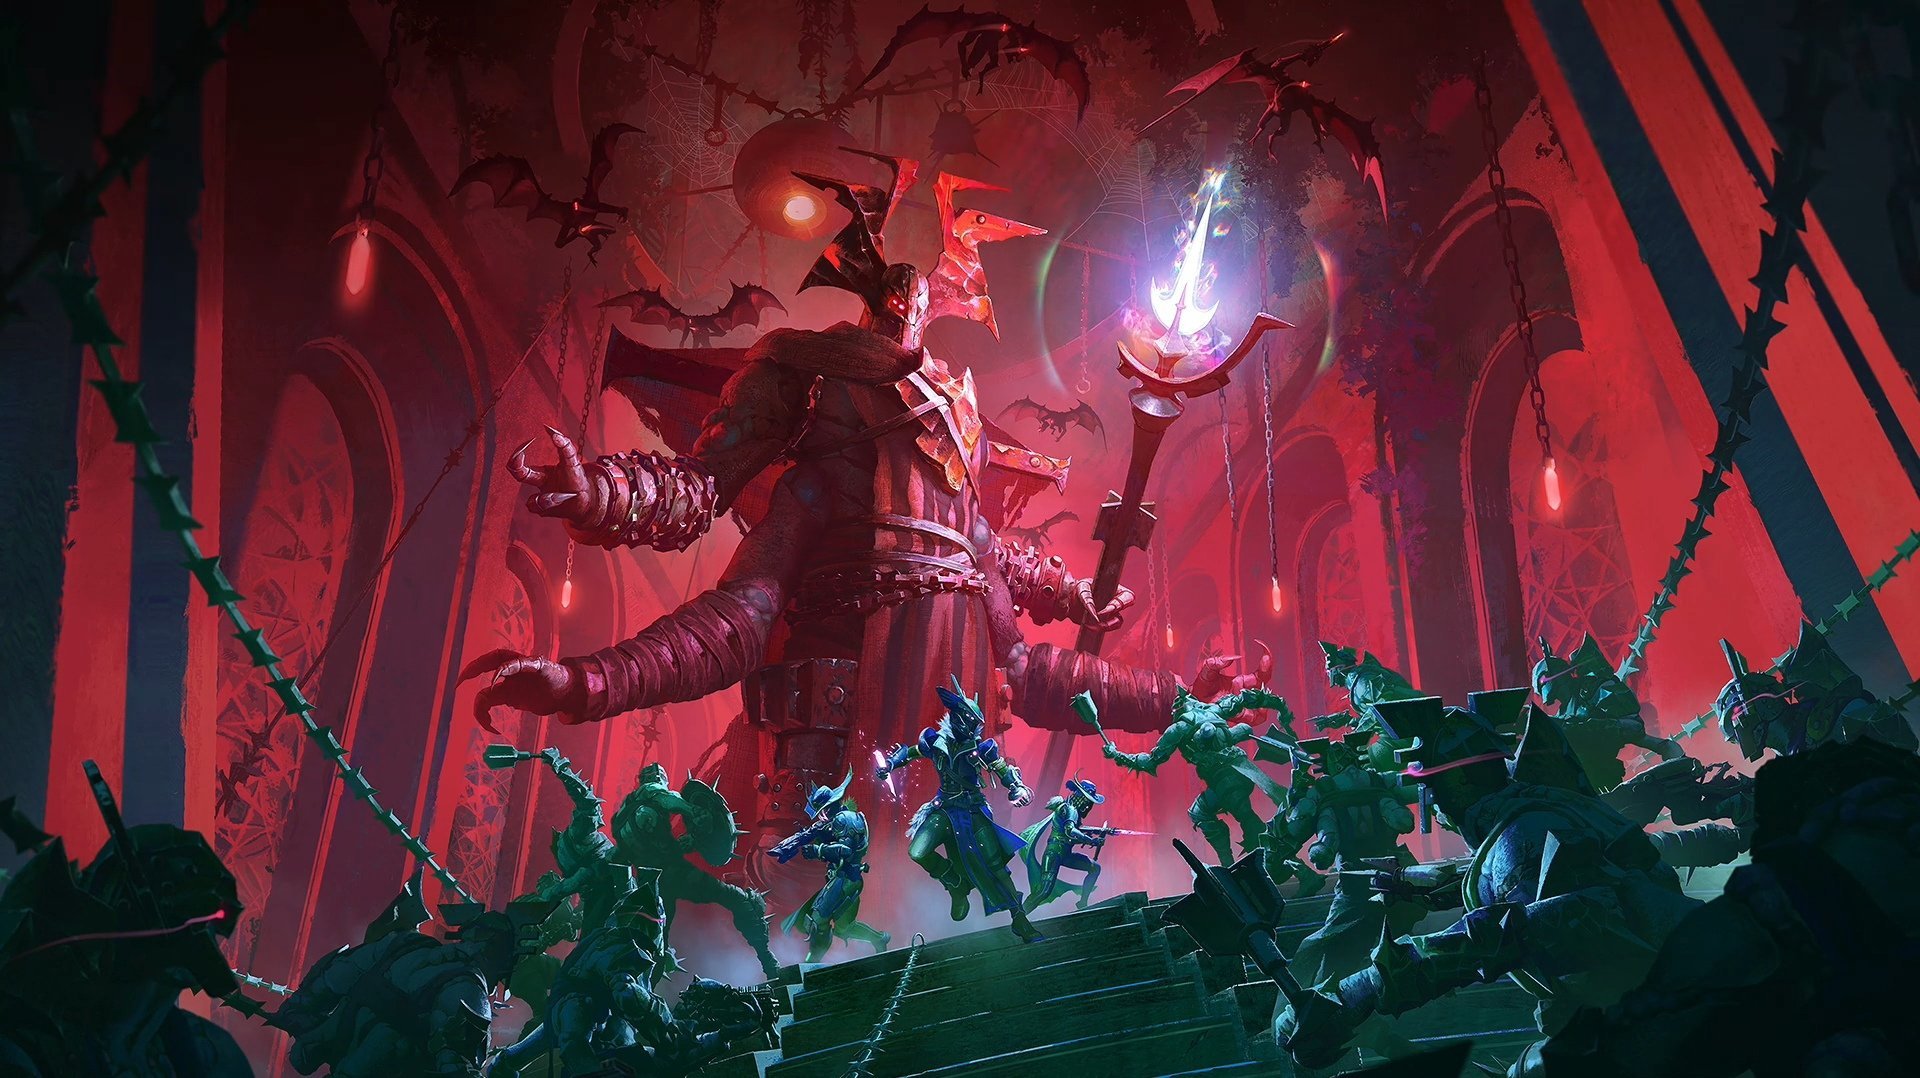
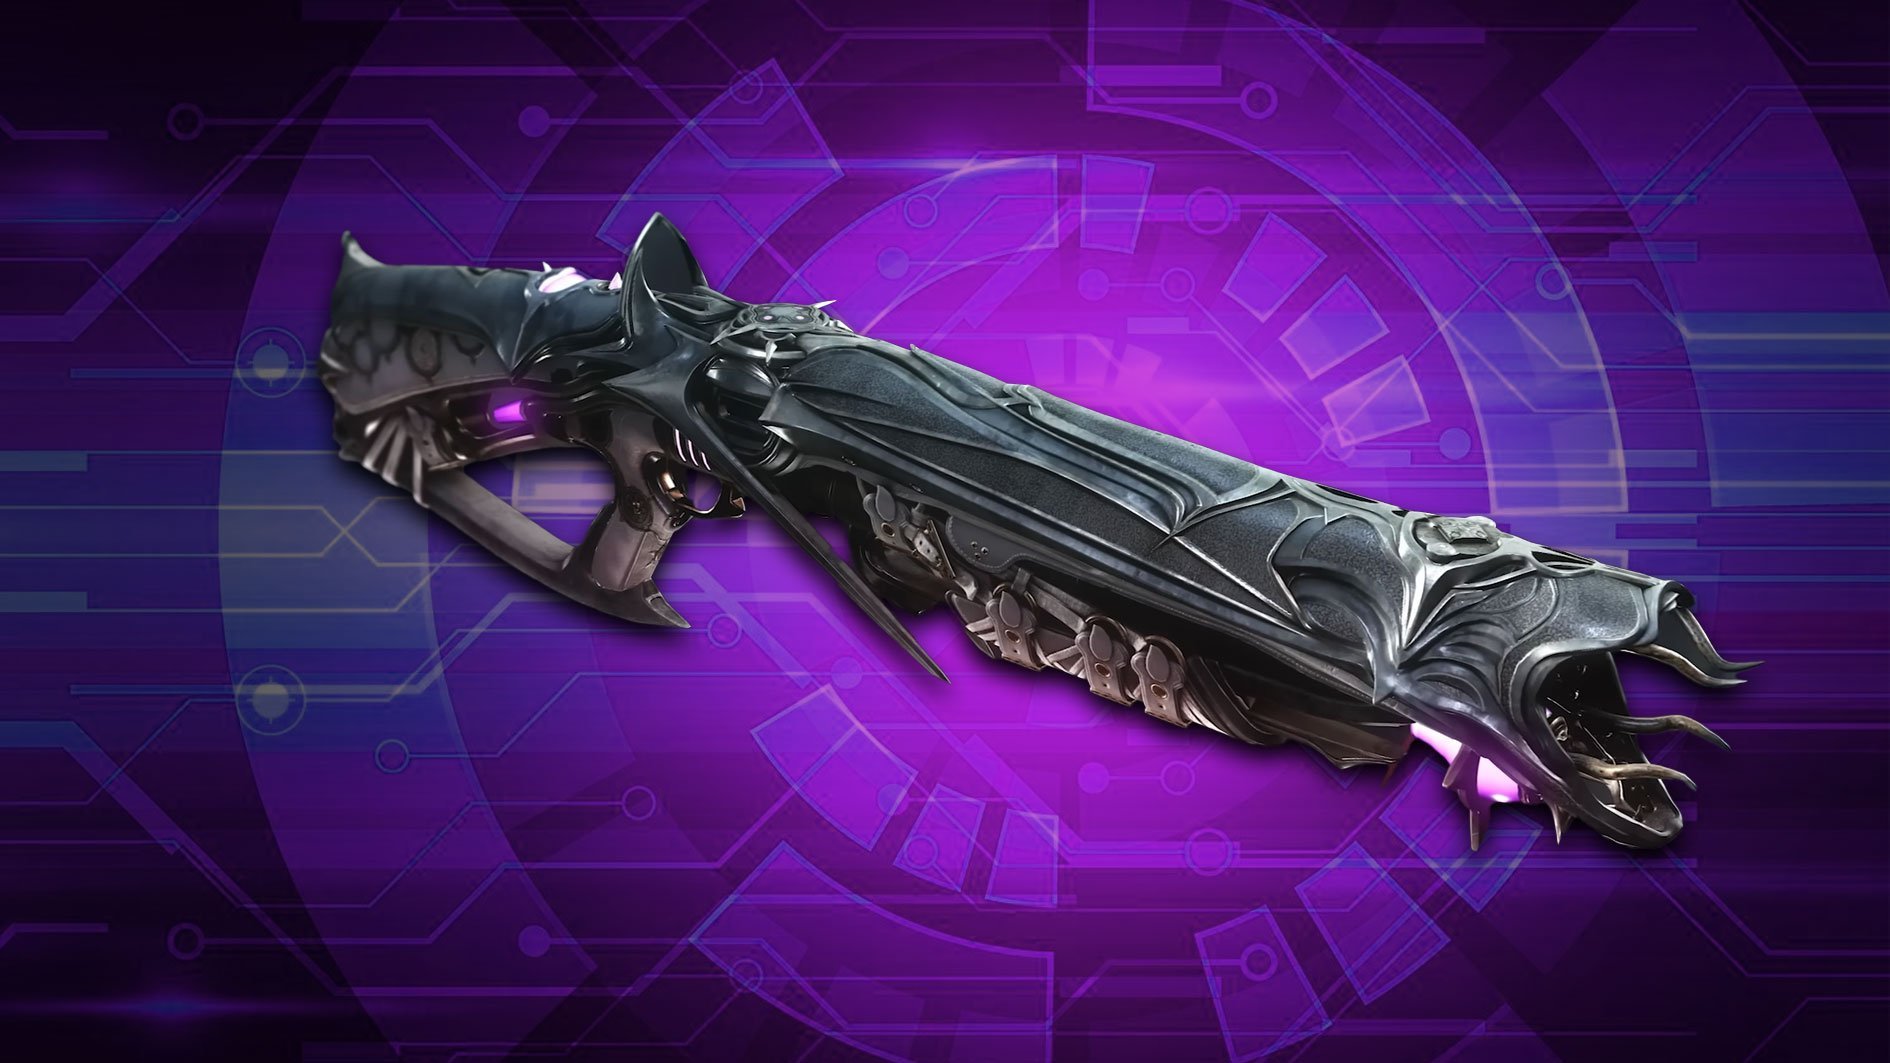
Kell’s Fall takes Guardians back to the Tangled Shore to face Fikrul and his Scorn army. This challenging mission offers incredible loot, including the Slayer’s Fang Exotic Shotgun, seasonal gear, and unique cosmetics. Here’s a complete walkthrough to help you succeed in this high-stakes mission.
If you are interested in the Exotic Shotgun itself, check out our Slayer’s Fang guide.

Destiny 2 Kell’s Fall overview
Kell’s Fall is the centerpiece mission of the Revenant: Act III update, where players represent House Light in a duel against Fikrul’s Revenant Fortress. It’s more than a simple fight — it’s a narrative-driven raid involving puzzles, mechanics, and powerful enemies.
The ultimate goal is to collect components for Eido’s tonic to learn how to beat Fikrul while battling through three versions of the mission. However, to get the Exotic weapon, you will only need to complete the mission once.
Complete Destiny 2 Kells Fall walkthrough
In our Destiny 2 Kells Fall guide, we will presume that you started the mission for the first time. This means that most of the puzzles for additional rewards will be locked to you, so your main goal is to focus on completing the mission.
Launch the Kell’s Fall mission
To begin our Kell’s Fall guide, launch the Kell’s Fall Exotic Mission from the Last City map. Choose Normal or Expert difficulty based on your Power Level and gear setup. It is recommended to do the mission with a team, as it will make it significantly easier for you. However, the mission can be completed alone as well.
Kell’s Fall first Trickster fight
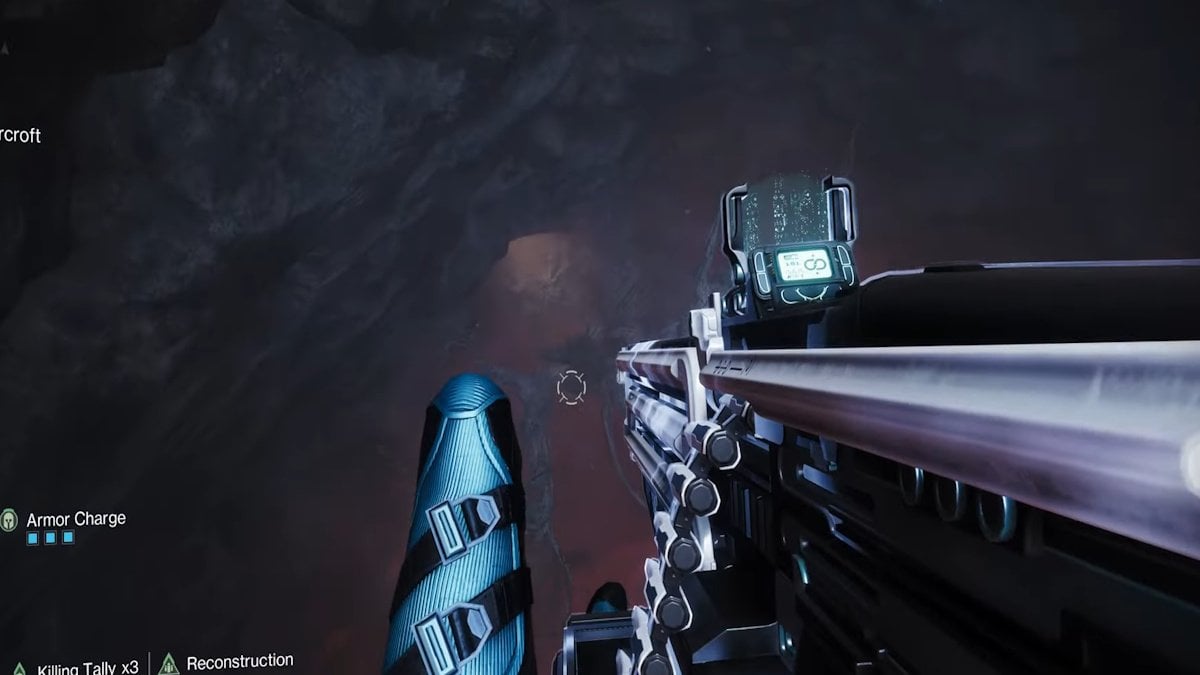
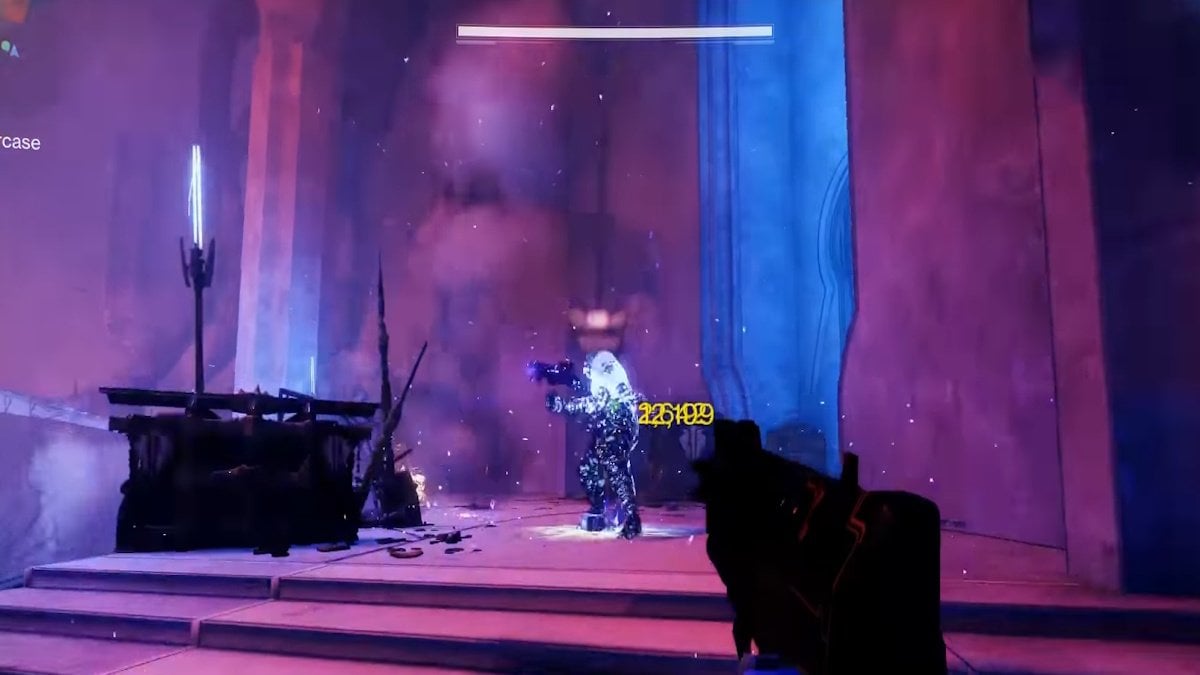
You start at the outskirts of the Dreaming City watchtower on the Tangled Shore, a location revisited for this mission. Follow the ledges to reach the courtyard, where the Trickster baron and Scorn enemies will ambush you. This is the first fight against a Baron of many you will face. But our Kells Fall destiny 2 guide will help you beat all of them.
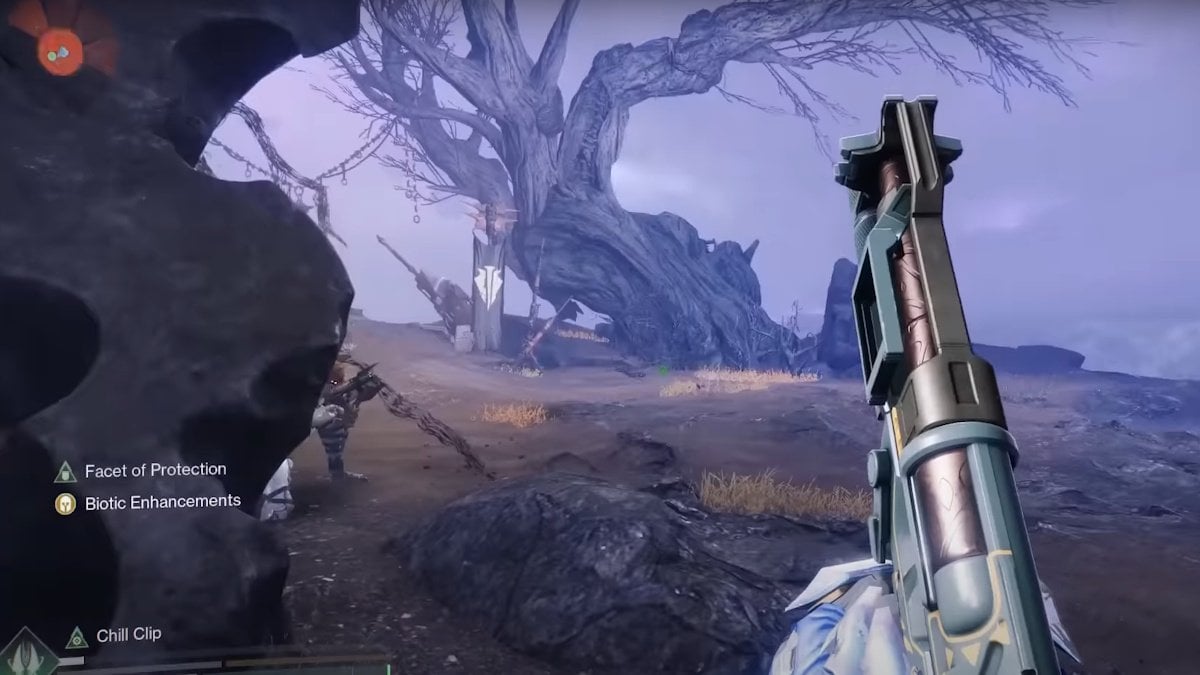
To force the Trickster to retreat, deplete about a third of its HP. Focus on heavy damage and watch for the immunity phases.
Once it escapes, head inside the fortress.
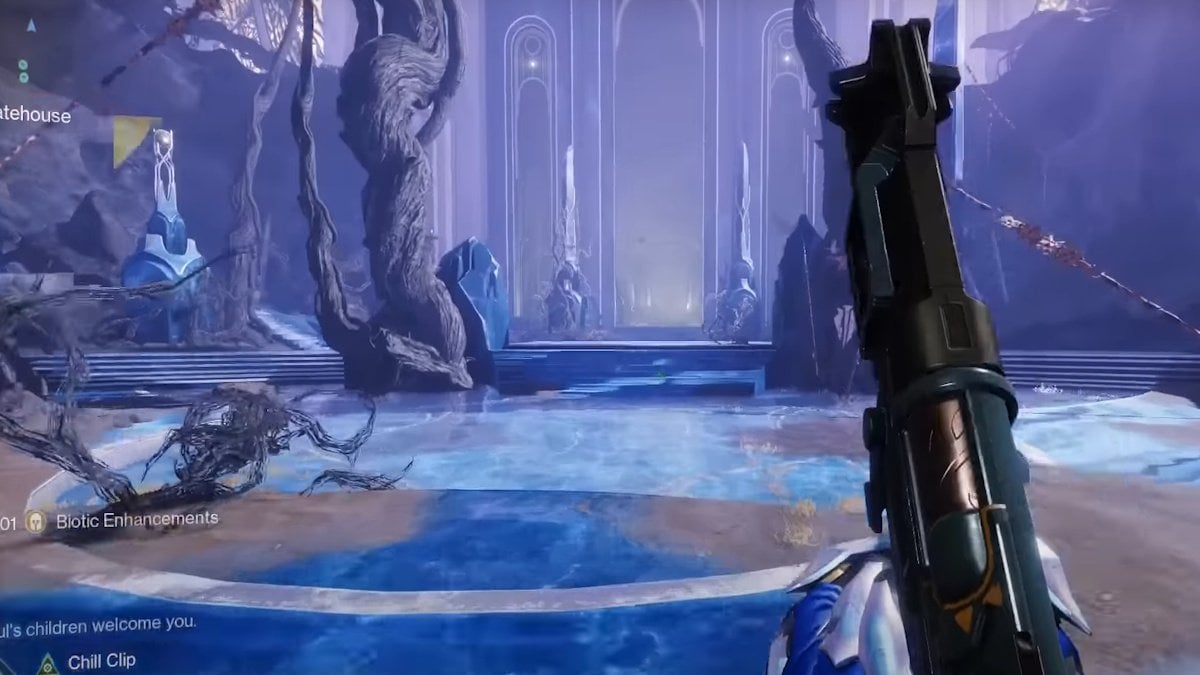
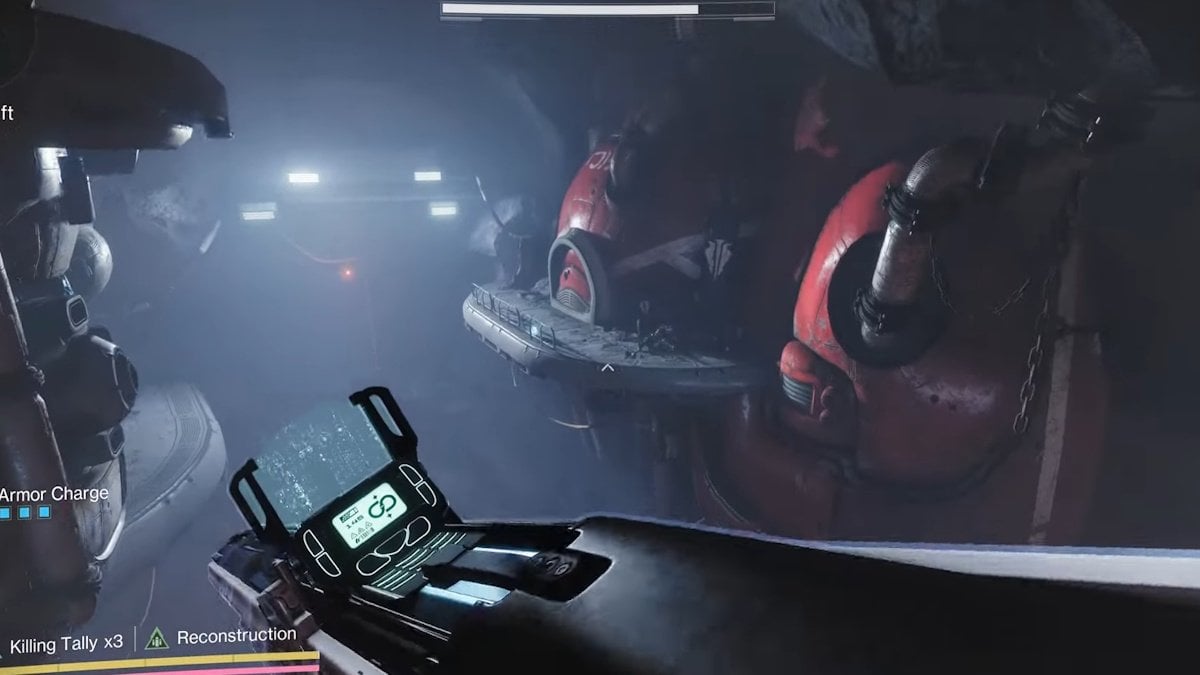
Kell’s Fall fortress exploration
Inside the fortress, you’ll encounter a massive pipe organ. On the first playthrough, it will miss some of the buttons, so you can’t complete all the secret codes it stores. You can ignore it this time.
Go to the left of the organ and light a brazier to advance.
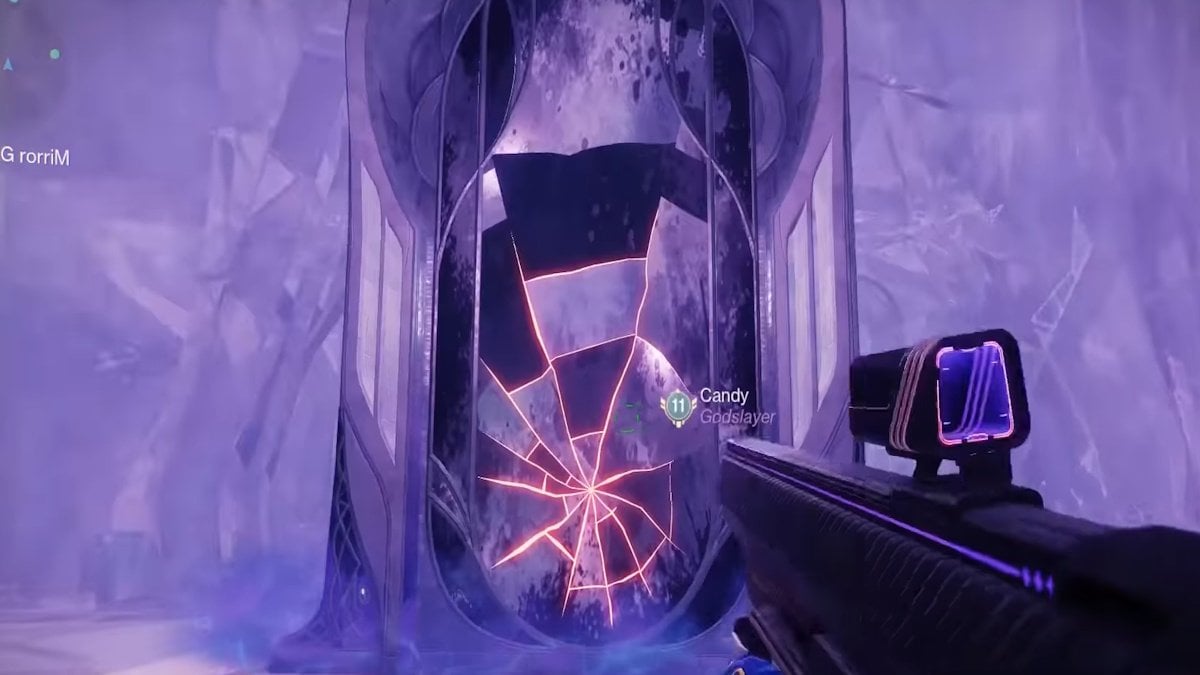
Right in front of you will be a branch-covered wall, look behind the branches and shoot the debris to reveal a hidden broken mirror.
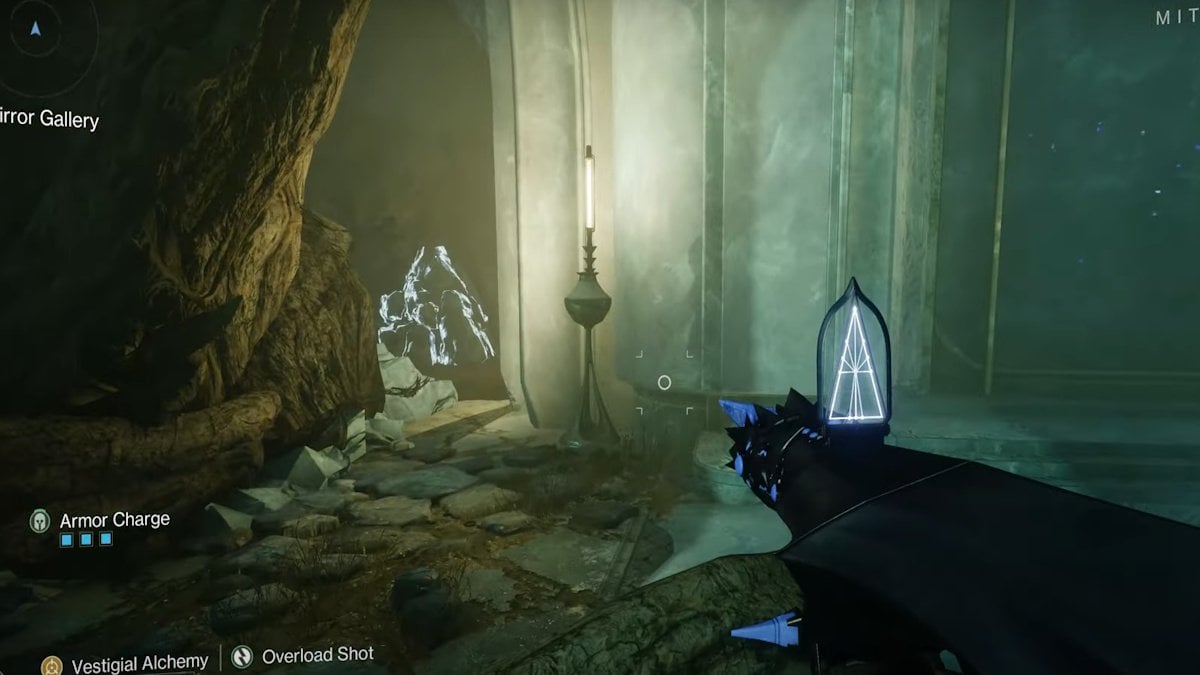
Break the glass to access the mirror dimension, and you’ll fight Dread and Scorn’s enemies there.
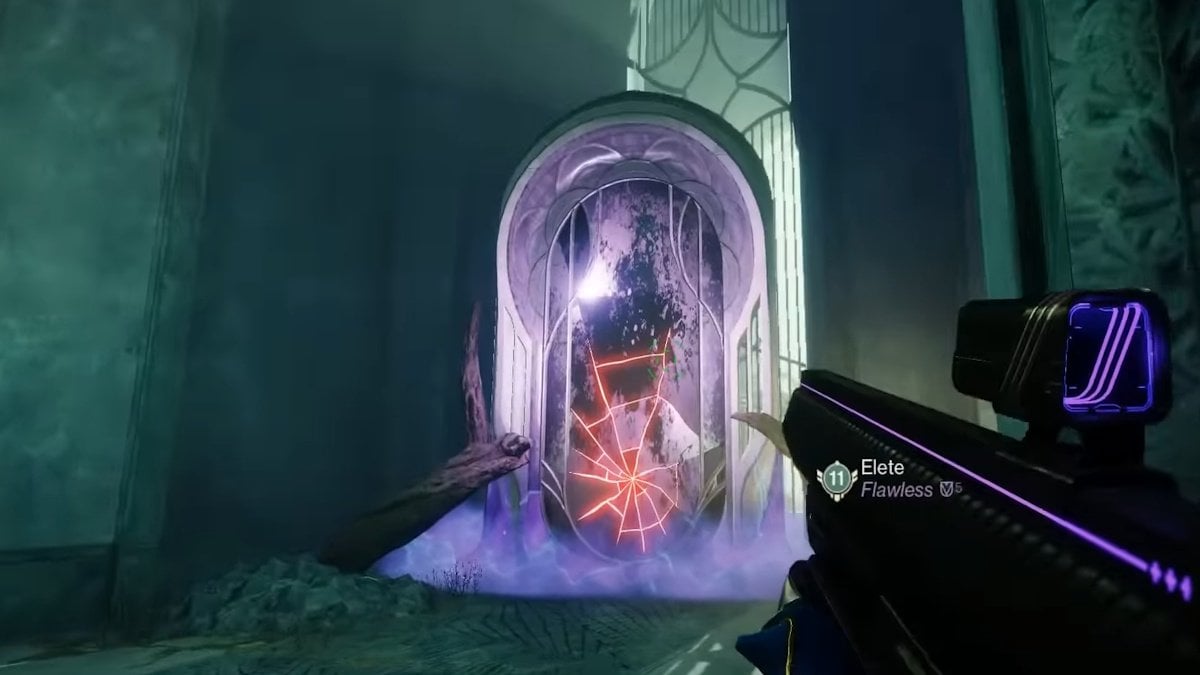
Once you find and kill all the enemies, proceed further into the area until you find a room with another broken mirror. In the same area, there should be a brazier. The location of the braziers in the mission will vary in each playthrough but it should be pretty visible. Light up the brazier and leave the area through the mirror.
Once you are back into the real dimension, find another brazier nearby, when you light it up, you should get a message about a door opening.
Go into a nearby area that was opened, and you will find a rock formation in the right part of the room. Destroy it to proceed to the Mad Bomber arena.
Kell’s Fall Mad Bomber fight
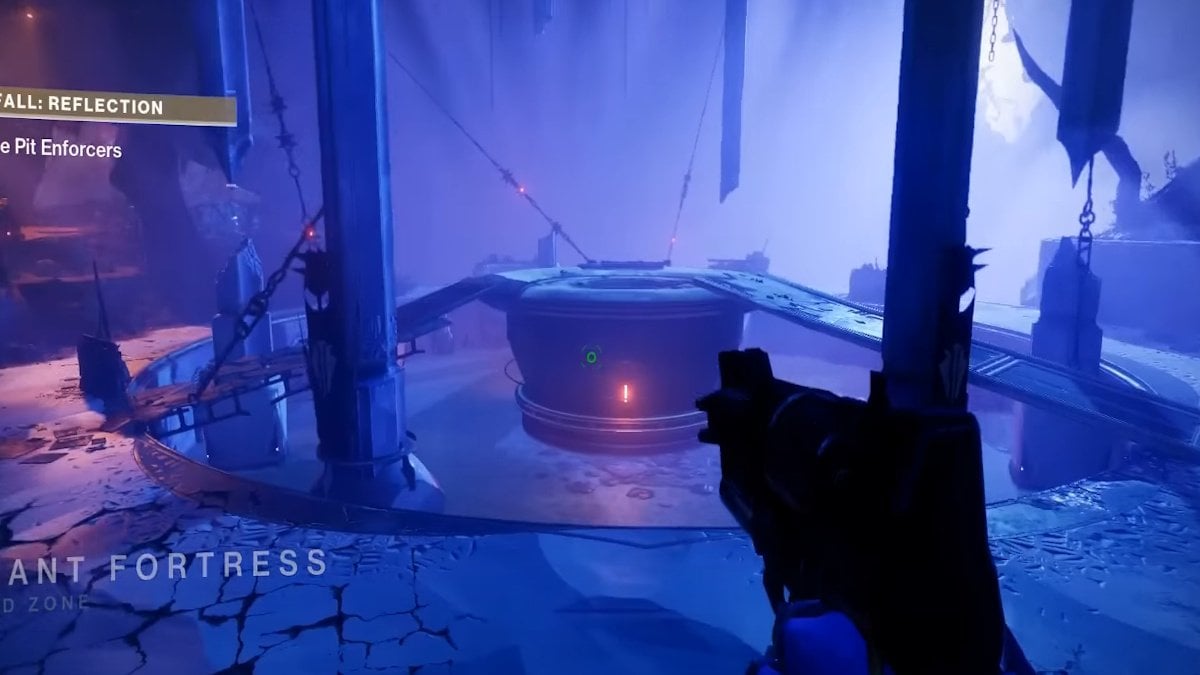
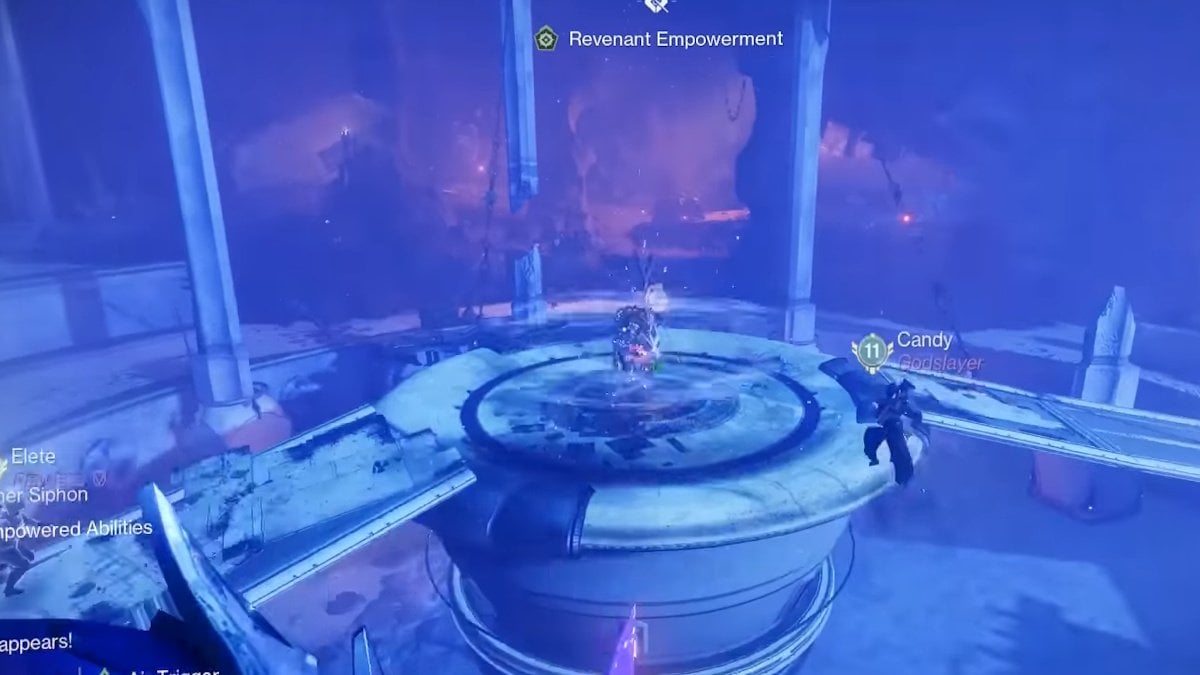
Once you are In this arena, enemies will start spawning. You will need to enter a mirror inside this area, which is located just to the right of where you entered from. Collect Revenant Essence from killing the Revenant Essentia (Weaver) enemies in the mirror realm. Gather ten stacks of the essence to get the Revenant Empowerment and leave the mirror realm. Now, you will be able to damage the immune Ogres.
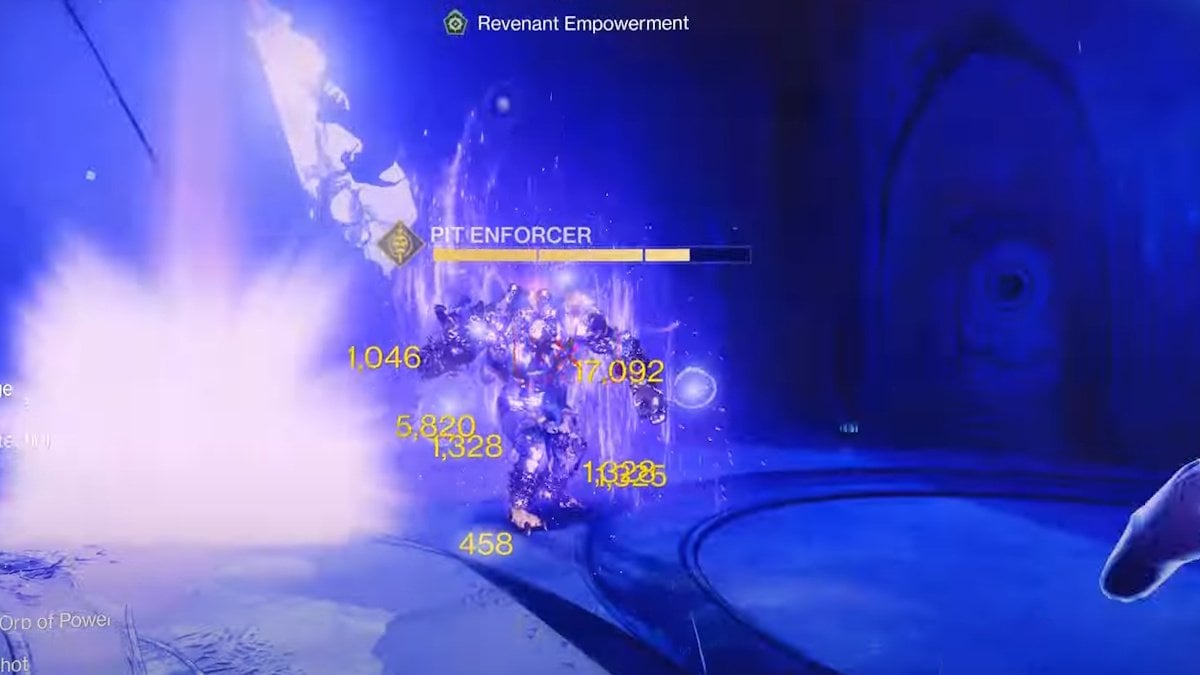
Once they’re down, the Mad Bomber spawns.
This Scorn boss throws explosives and requires careful positioning. Use your best Heavy weapons and abilities to burn through its HP. The encounter ends after the Mad Bomber is defeated.
After the fight, Fikrul will appear, and a small door will open in the backside of the arena. Leave the area and proceed further.
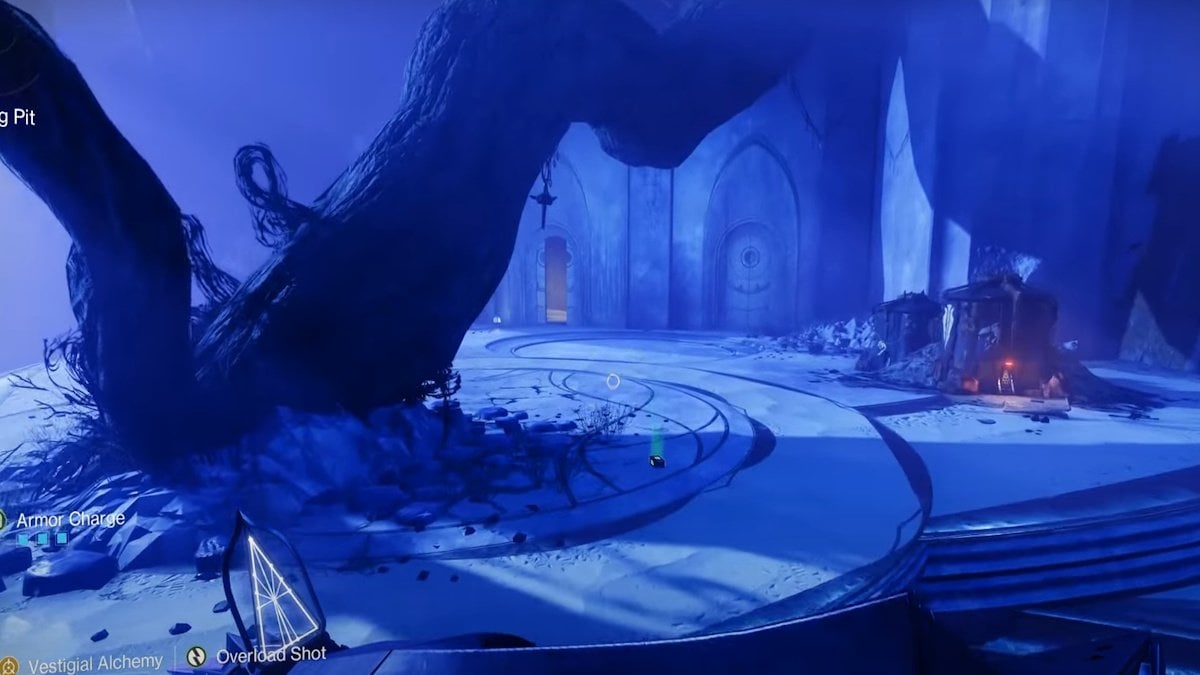
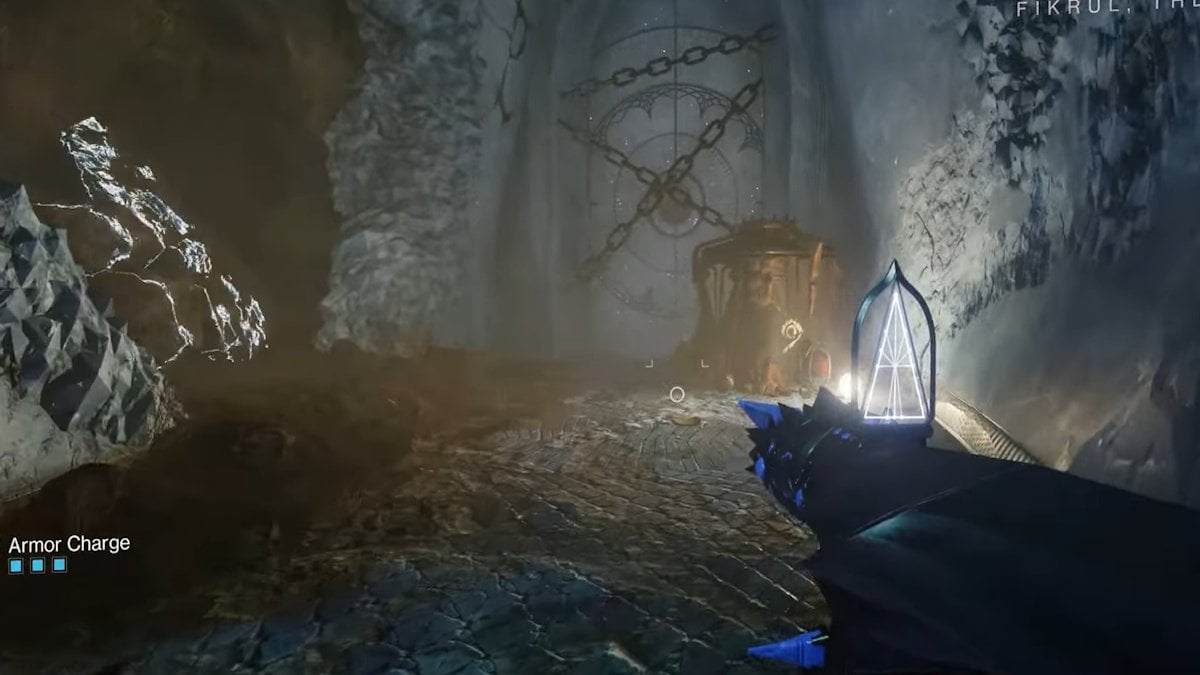
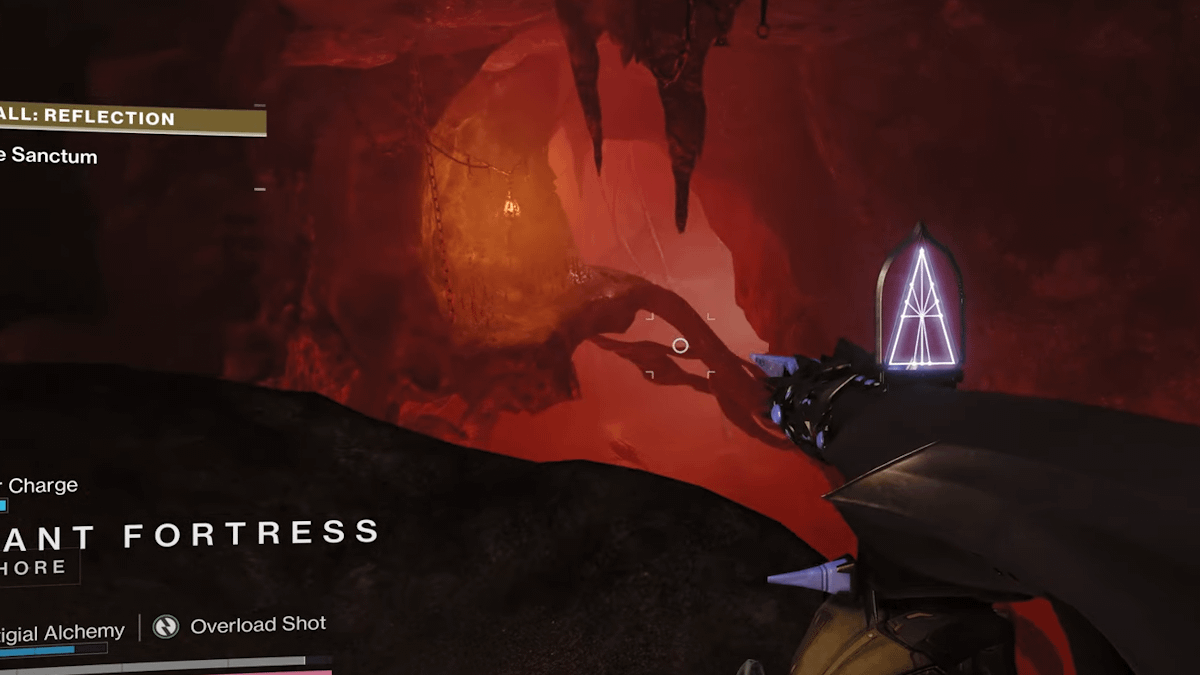
Kell’s Fall path to the Sanctum
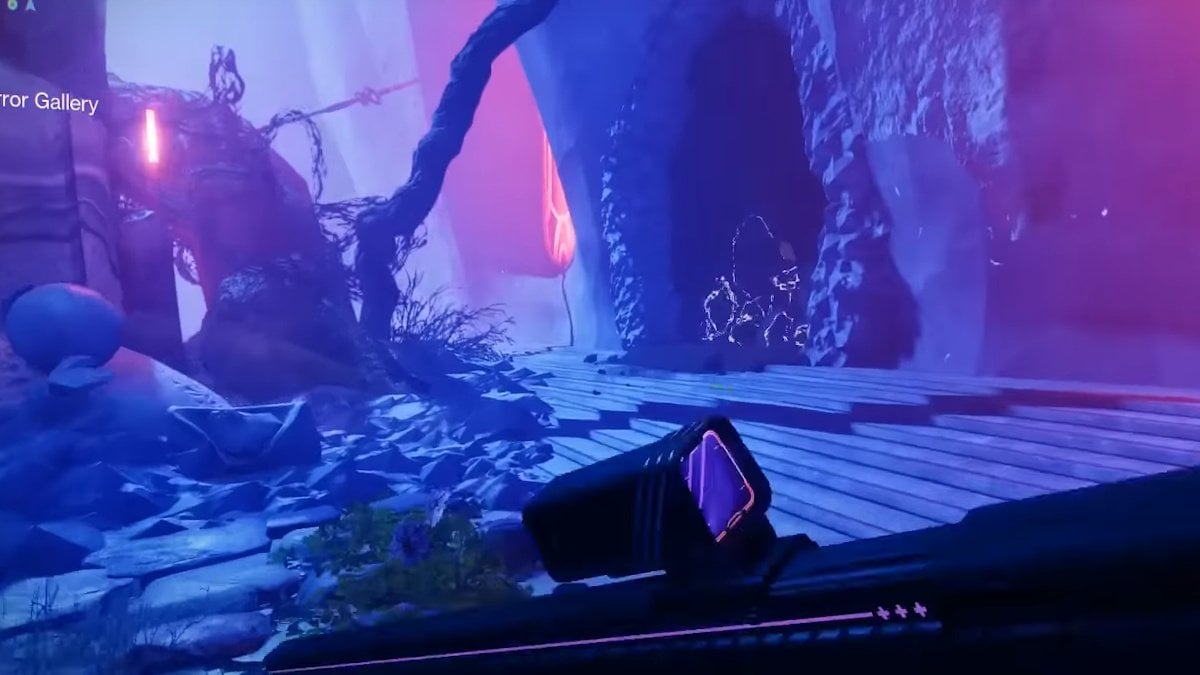
As you go through the hallways, you will eventually find this room with another rock formation. Destroy it and go through a tunnel until you reach the red-glowing cavern.
Once you are in this area, you can go into 2 directions. This area will be one of the hardest to navigate in your Kells Fall destiny 2 walkthrough. You can either start jumping on platforms to your left. Or you can drop down to the right into another cave. Either way, you will end up in the same area, but the left path appears to be easier to navigate.
You will be jumping onto platforms and fighting some enemies until you reach the area with these red structures.
Once you are in this area you can drop down to a small cave at the bottom of the area.
You will go through that cave until you reach an opening in this room there will be a brazier that you will need to light, and two other braziers will be located further in the room with another broken mirror. Once all the braziers are lit, enter the mirror.
Kell’s Fall Mindbender fight
Once you are in the mirror realm, proceed forward into the main area and fight the Mindbender. Deal some damage to him until he escapes.
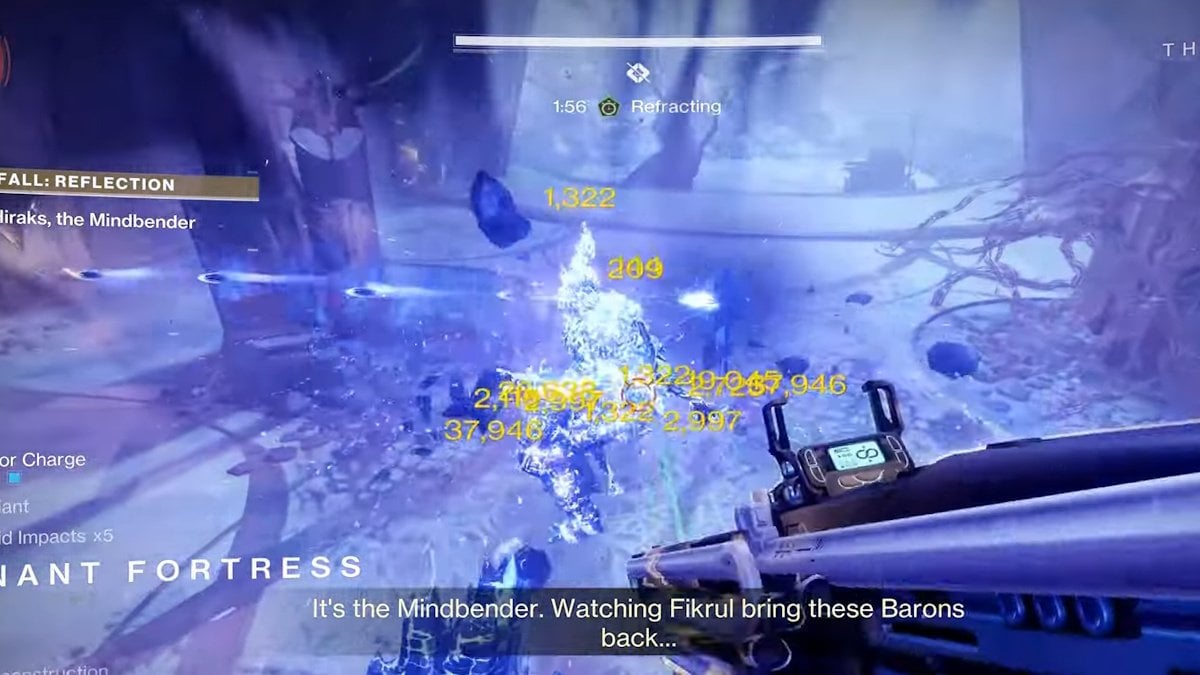
After this, you will need to escape the area before the timer ends. If you don’t have a lot of time left you can return back to where you came from to reset the timer and enter the area again.
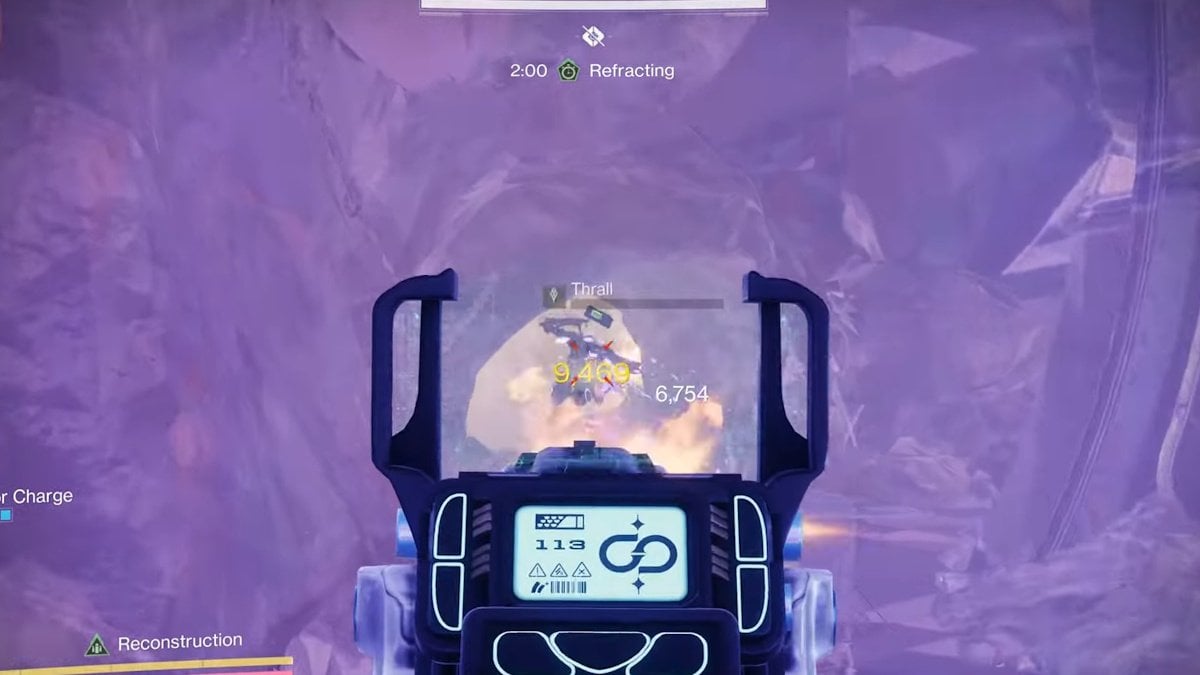
But to proceed with the fight, you must find another exit. To the left of where you came from, you will see a small cave, and enemies will spawn in it. Be careful as it is full of Thralls, including the exploding ones.
Follow the enemies until you reach the mirror. However, on this path, don’t forget to light one brazier.
In this location, there will be two braziers in total. However, their spawn location is random, and they can spawn both in the mirror and the real world. One of the more common locations for one of the braziers in the real world is behind the breakable rock formation in the real world. Once you light the braziers, this door in the real world will open.

Behind this door, Mindbender and some enemies will start attacking you. Deal damage to the Mindbender until he flees again. Another door will open once he flees.
Proceed until you find another broken mirror. Once you enter it, the final fight with the Mindbender will start, but keep in mind that you will have to kill him before the timer runs out. Once you kill him, hurry and leave the area through a broken mirror located behind the room he was in.
Kell’s Fall second Trickster fight
As you go, you will find a gravity lift that will elevate you to the area with a spiral staircase. Ascend the spiral staircase and defeat the Trickster again. This time for good. Focus on precise bursts of damage when it stops moving. Trickster will spawn fake heavy ammo bricks, which can be a problem on Expert difficulty, so watch out.
The doors at the top open after its defeat, leading to the final part of our D2 kells fall walkthrough.
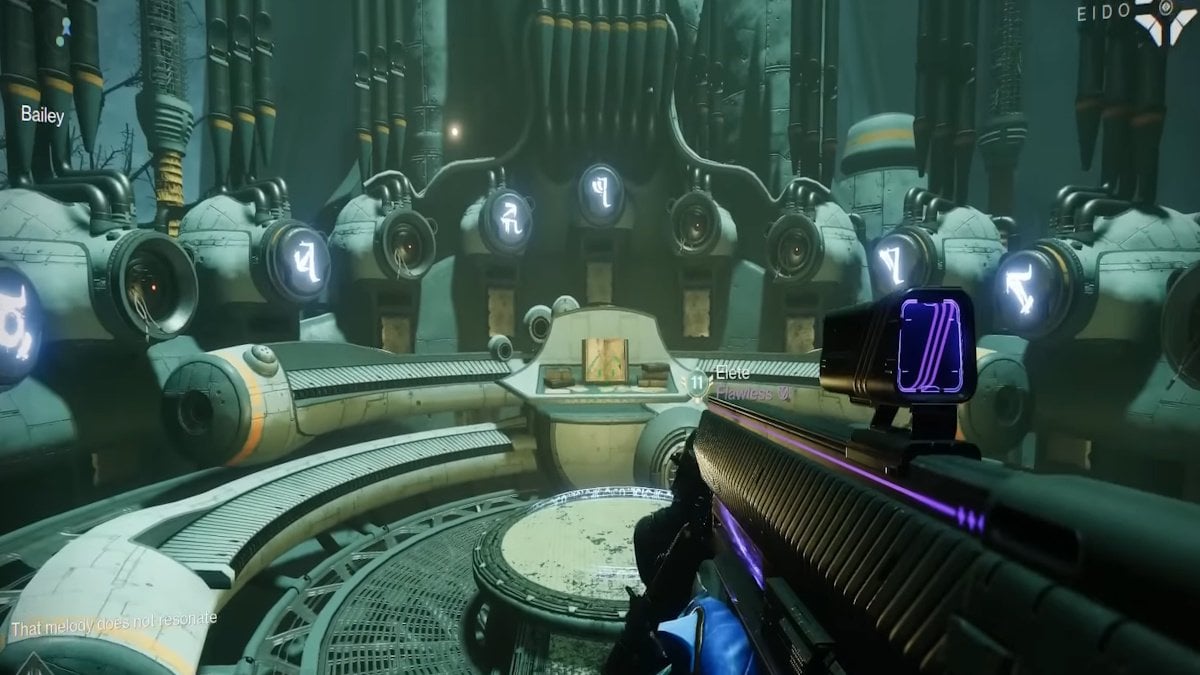
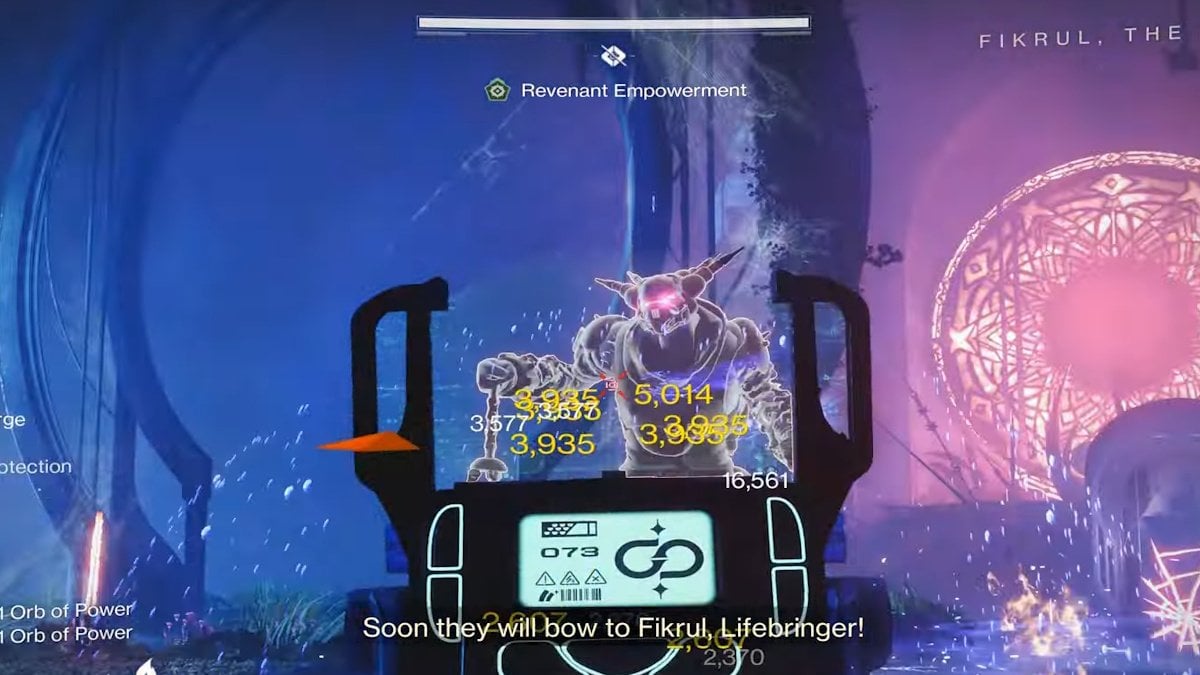
Kell’s Fall final boss fight
You will enter the Fikrul throne room. You will encounter Fikrul, who will be immune. Fight the enemies until Fikrul starts preparing for a wipe attack. Use the mirror in the back of the area to avoid dying from his attacks and fight enemies in the mirror dimension. Collect Revenant Empowerment and leave the area. Once you are out, wait until Fikrul summons the Hangman.
Defeat the Hangman with the buffs from the Revenant Empowerment to finish the mission and get the final rewards. This marks the end of our Kells Fall Reflection walkthrough.
Kell’s Fall mission variants
Kell’s Fall features three different bosses:
- Reksis Vahn, the Hangman (Reflection): a melee-focused Scorn boss requiring precise positioning. You will fight him on your first encounter.
- Scorned Organist (Distortion): uses soundwave and AoE attacks to control the battlefield. You will fight him on your second encounter. You will encounter him on your Kells Fall Distortion walkthrough.
- Fikrul, the Fanatic (Diffraction): the final Fikrul boss fight who you will encounter on your Kells Fall Diffraction walkthrough. The beginning of the fight is the same as the previous ones. However, once you acquire Revenant Empowerment, Fikrul will actually jump inside the mirror and enter the mirror world. If you wonder how to kill Fikrul fast, you can destroy the mirror behind him.
Destiny 2 Kell’s Fall mission rewards
- Slayer’s Fang Exotic Shotgun: A Void weapon with Nightsworn Sight and Heart Piercer perks.
- Enriching Powder: Essential for crafting Eido’s tonic.
- Red Tape Scout Rifle: Stasis weapon with customizable perks.
- Heretic’s Fervor Rocket Launcher: A high-damage Stasis weapon.
- Vintage Kell’s Fall Weaponry: Updated versions of classic weapons from this mission.
- Unique Mission Cosmetics: Includes emblems, shaders, and ships exclusive to this mission.
Expert difficulty offers enhanced loot and triumphs for completionists alongside hidden chests containing rare crafting materials. Be sure to replay the mission on both Normal and Expert difficulties to maximize rewards and experience the full scope of its narrative depth.
Conclusion
This is it for our Kell’s Fall Exotic mission guide in Destiny 2. We hope this guide will help you easily navigate this mission and get all the rewards you want.
If you are struggling to complete Kell’s Fall or any other mission, don’t worry. Many players find it hard as well. Destiny 2 boosting services might be just the solution for you.
What do you think of our Kells Fall exotic mission guide? Did you find the Slayer’s Fang worth the effort? Share your thoughts in the comments below!


Comments