How To Beat Destiny 2’s King’s Fall Raid: Oryx Encounter
Here comes the King.
Hello Guardians, and welcome to the last part of our epic King’s Fall guide series. The final battle of the raid is going to be a tough one, but you’ll earn a whole bunch of high-tier loot pieces and, if lucky enough, even get a King’s Fall exotic on your first try. And, of course, we’ll walk you through every single step of the encounter, so let’s buckle up and dive right in!
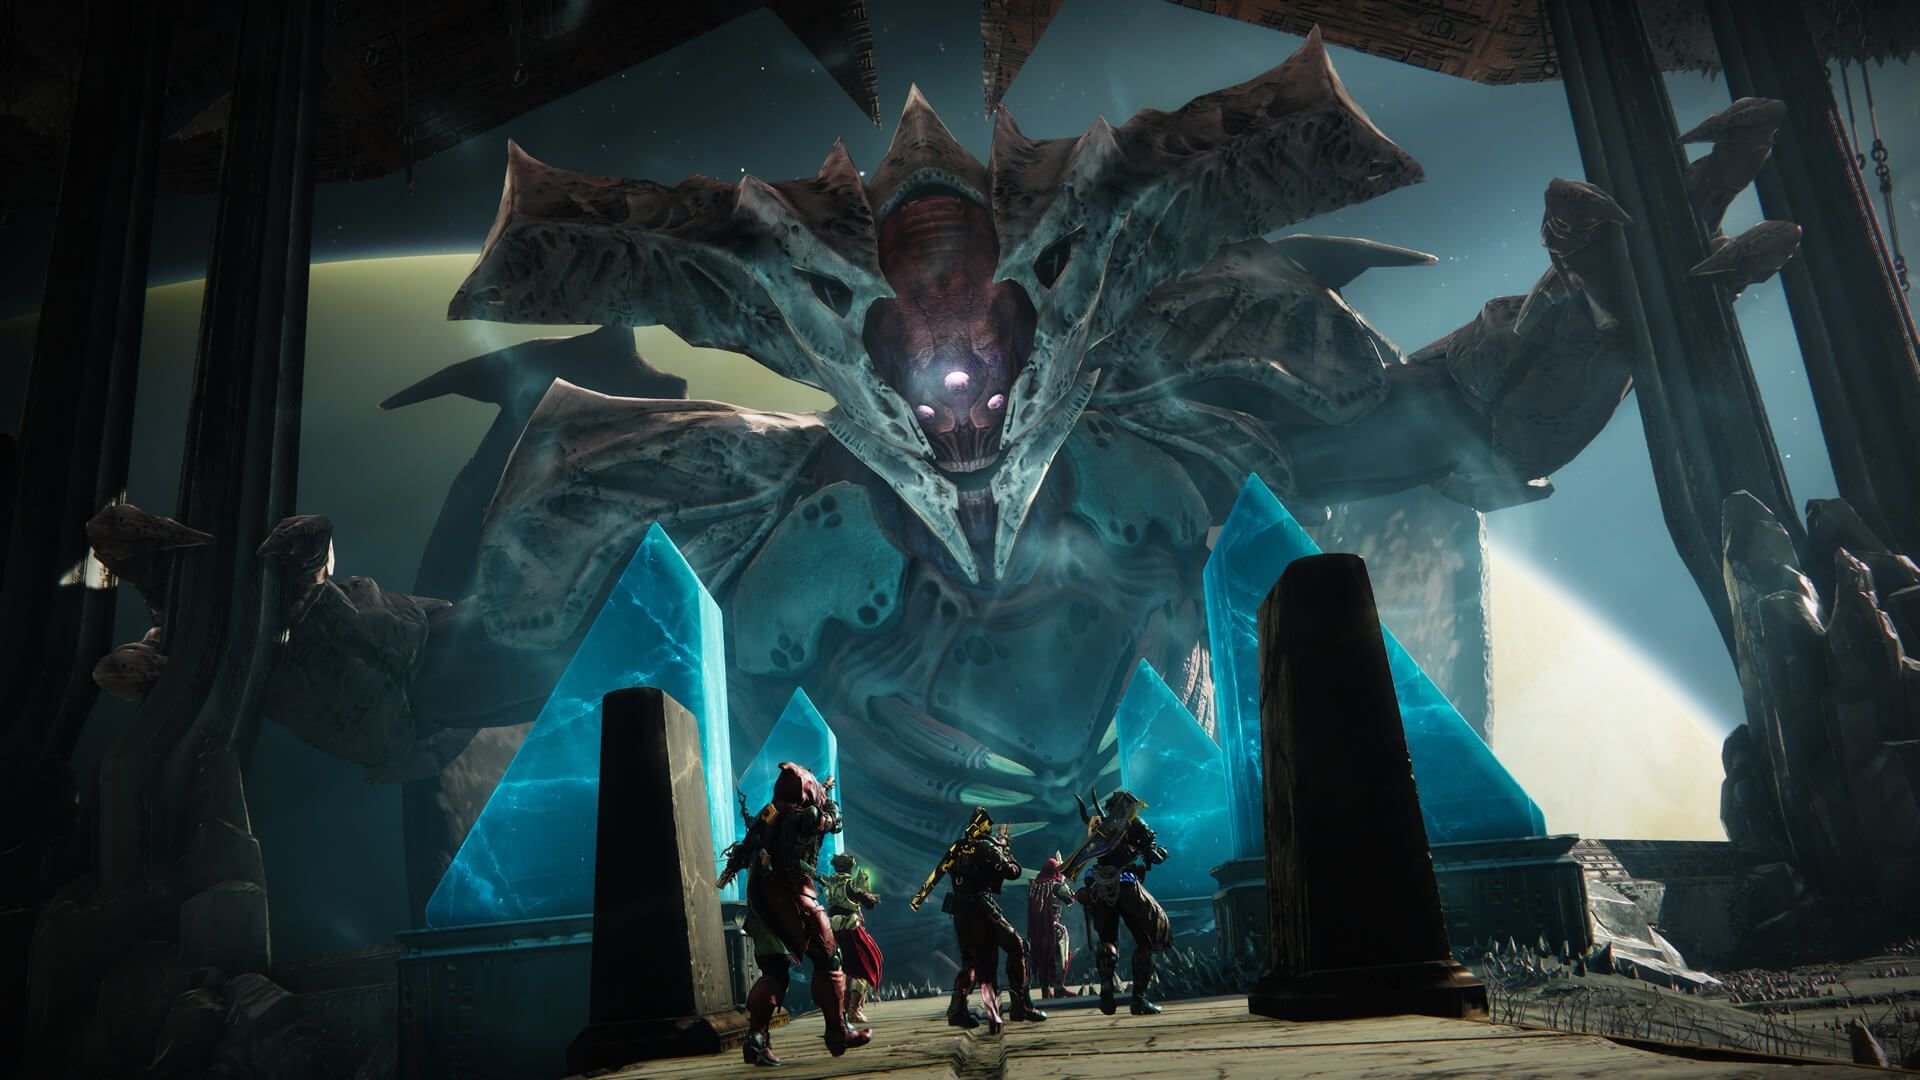
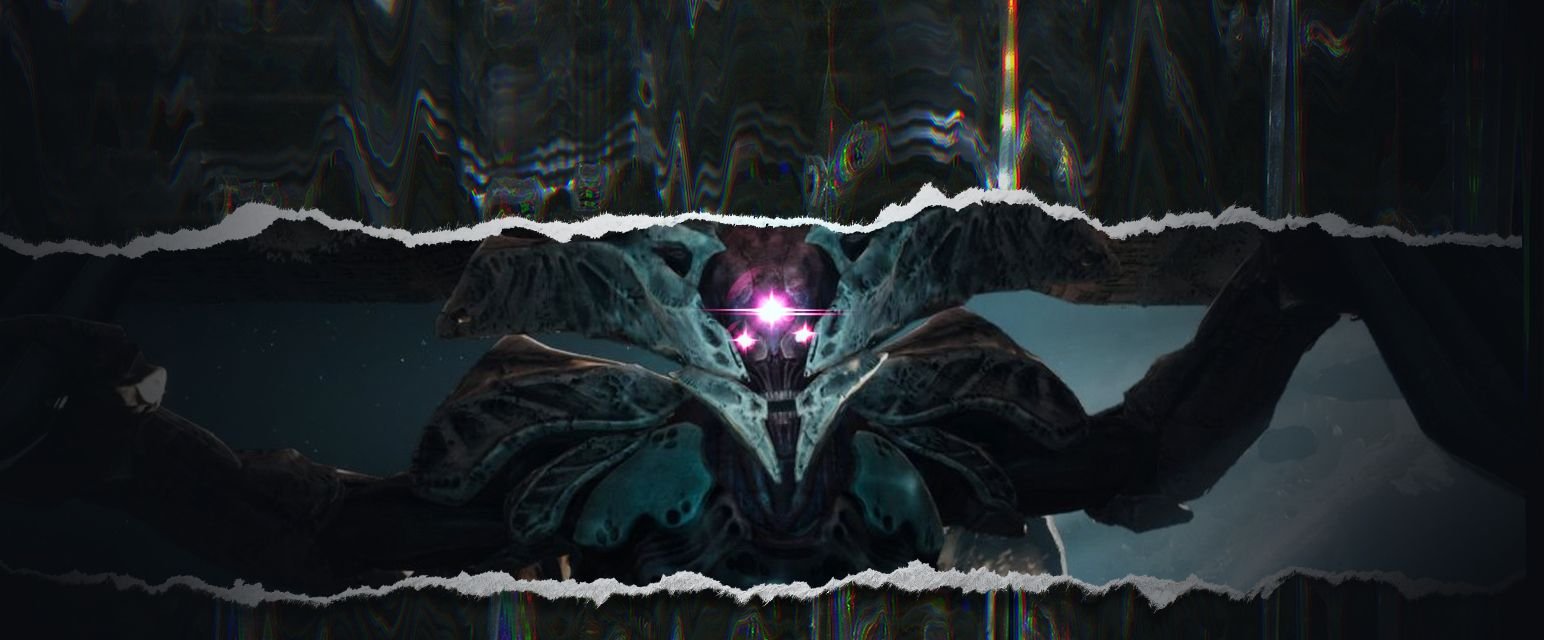
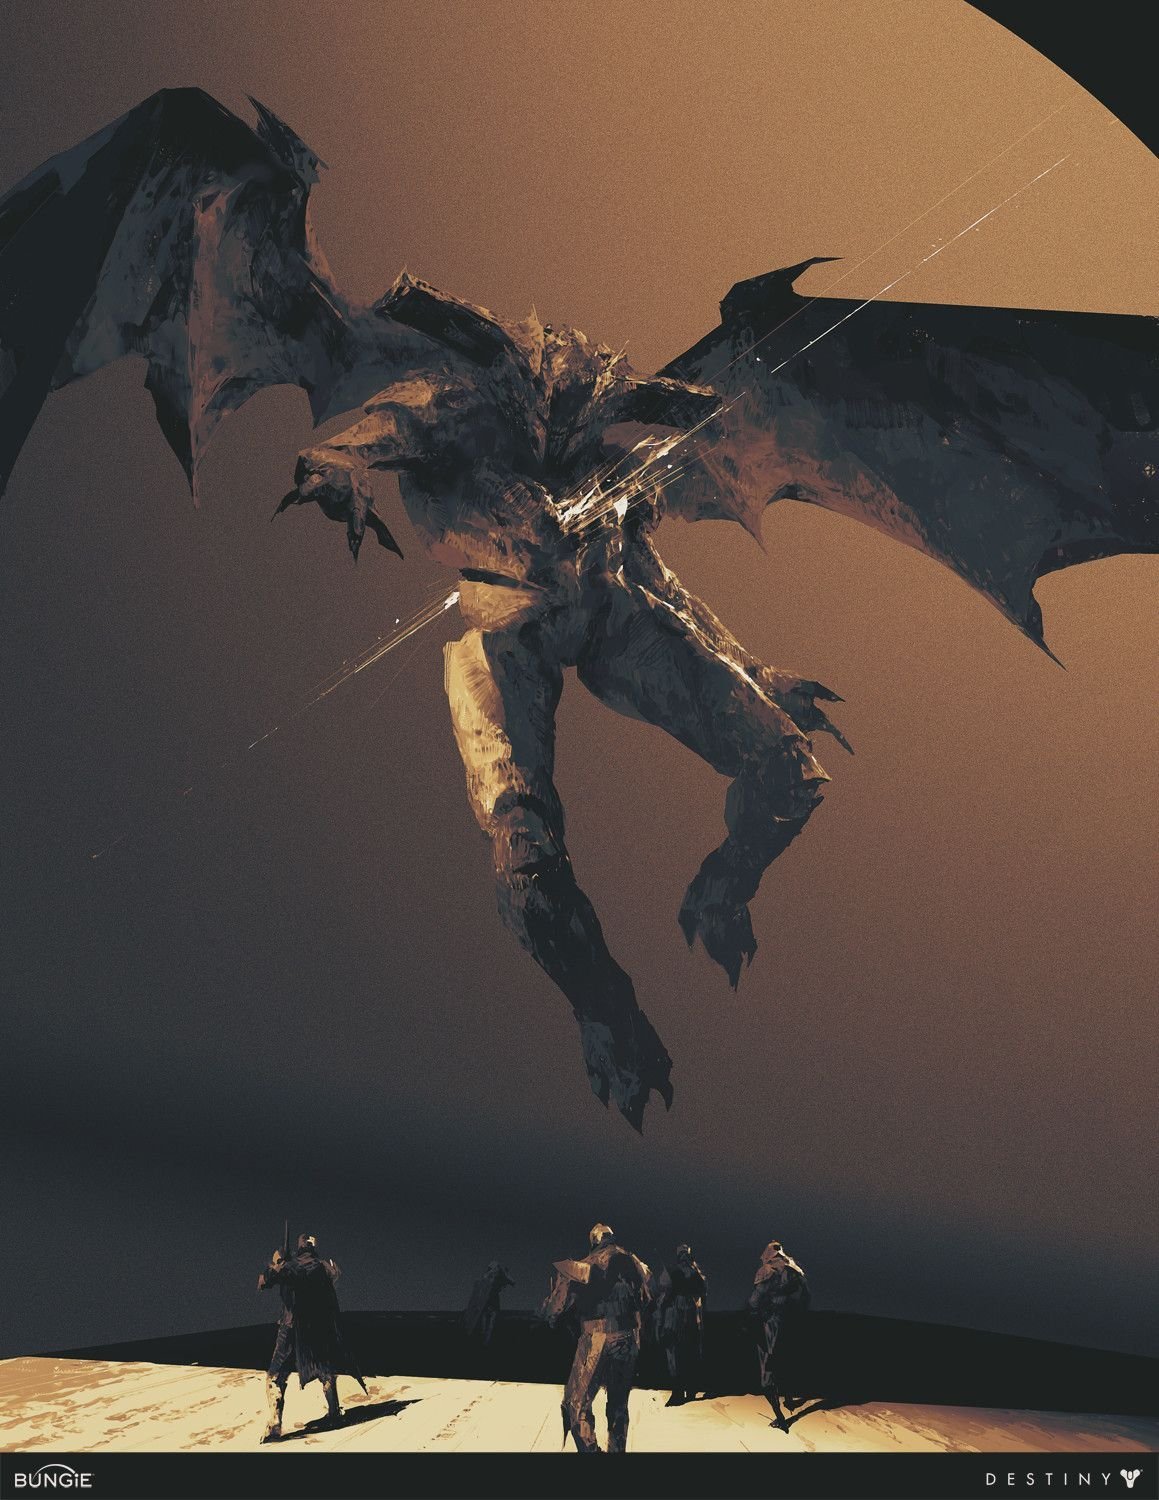
The big baddie, Oryx, is the final boss of King’s Fall, and by big, we mean really big. The giant will show up to trigger the encounter, slamming one of the platforms to make it glow green. From that moment on, it’s all pretty much similar to the daughters’ mechanics.
The platform that’s caught up in green flames is always your starting point. The assigned player jumps on it to reveal and call out the second one, then another player jumps on the called-out platform to trigger the Torn effect, and the Torn player journeys from one point to another to collect a Blightguard piece. Been here, done that.
The juiciest part goes to those who are not involved with the platform mechanic.
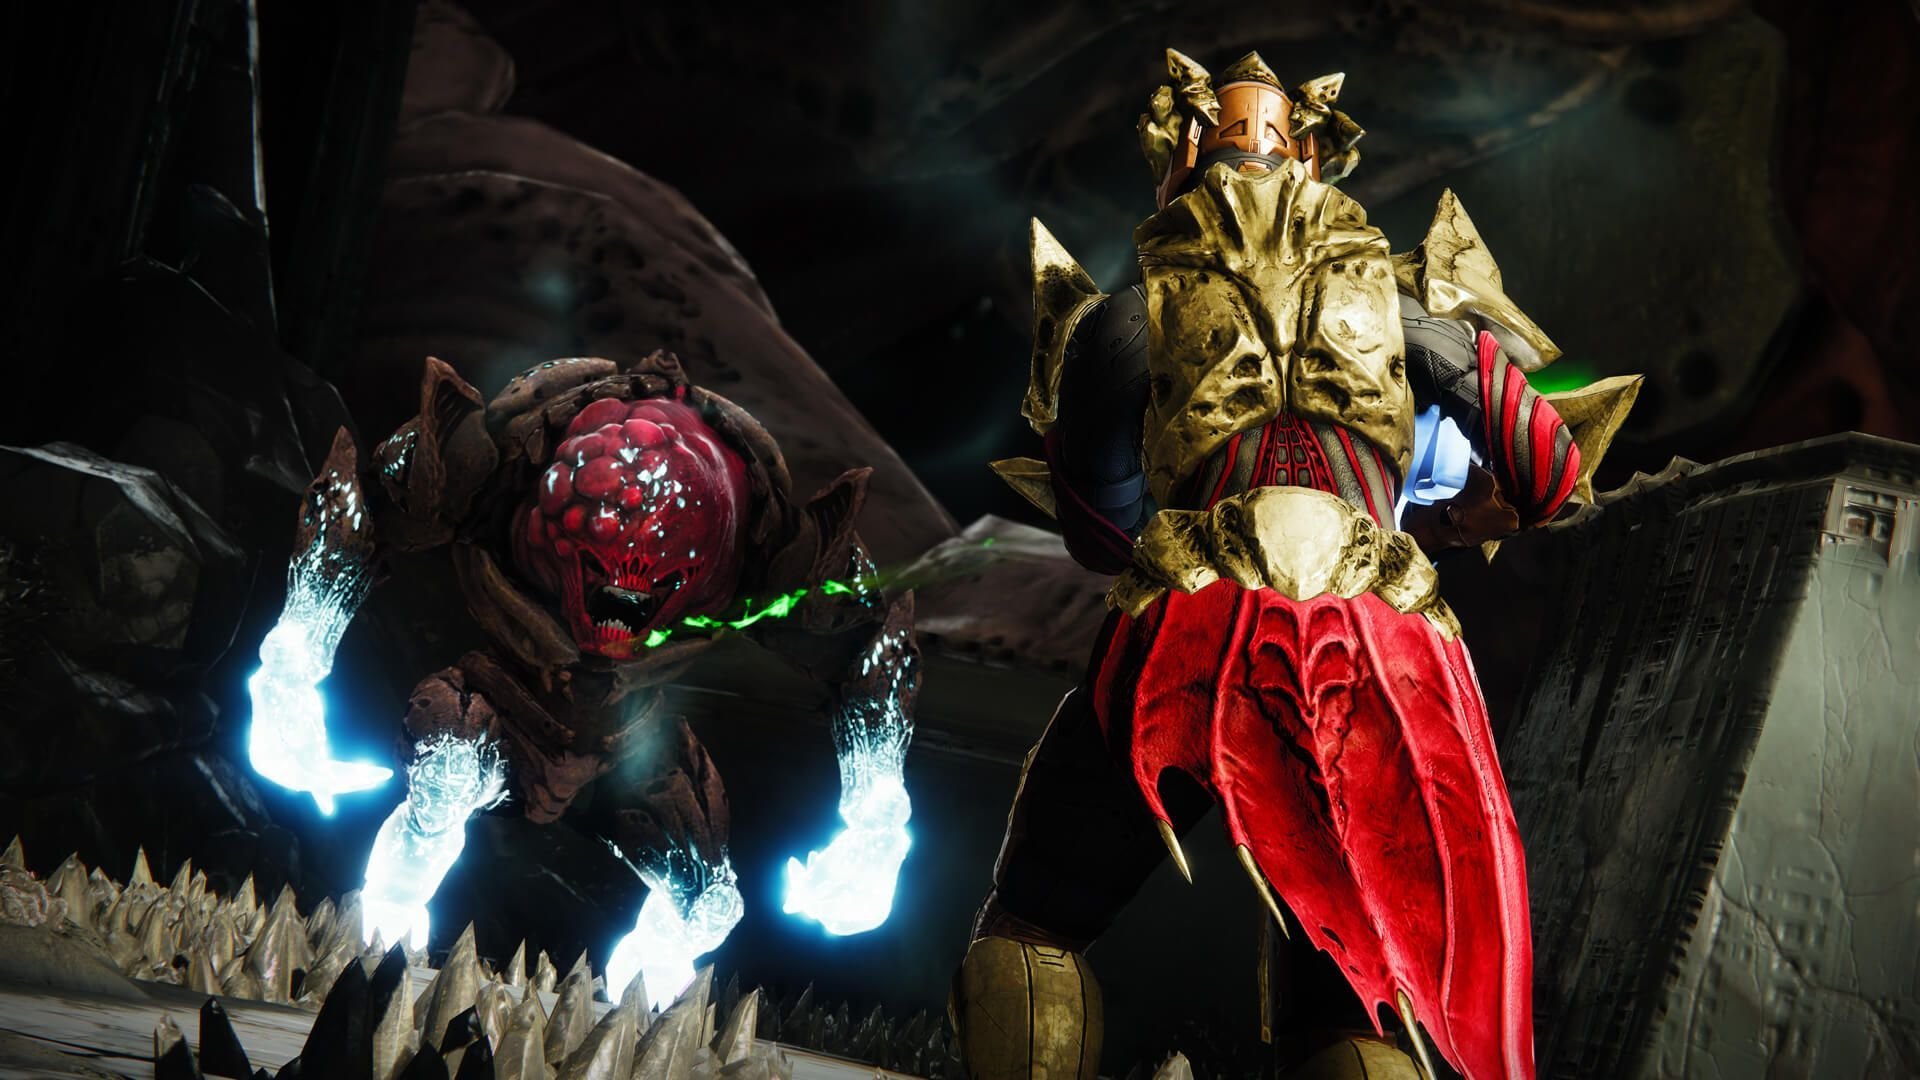
First of all, they need to fight adds. But that’s not all. There’ll be ogre enemies spawning from time to time. They’re quite bulky compared to regular adds, but it’s vital you get rid of them as fast as you can. Once you’ve killed an ogre, a new Light Eater Knight enemy will spawn. This guy will head towards the Blight orb dropped by the ogre, and your job is to not let him destroy it. However, apart from protecting the orbs, you shouldn’t do anything else with them. At least, not at this point.
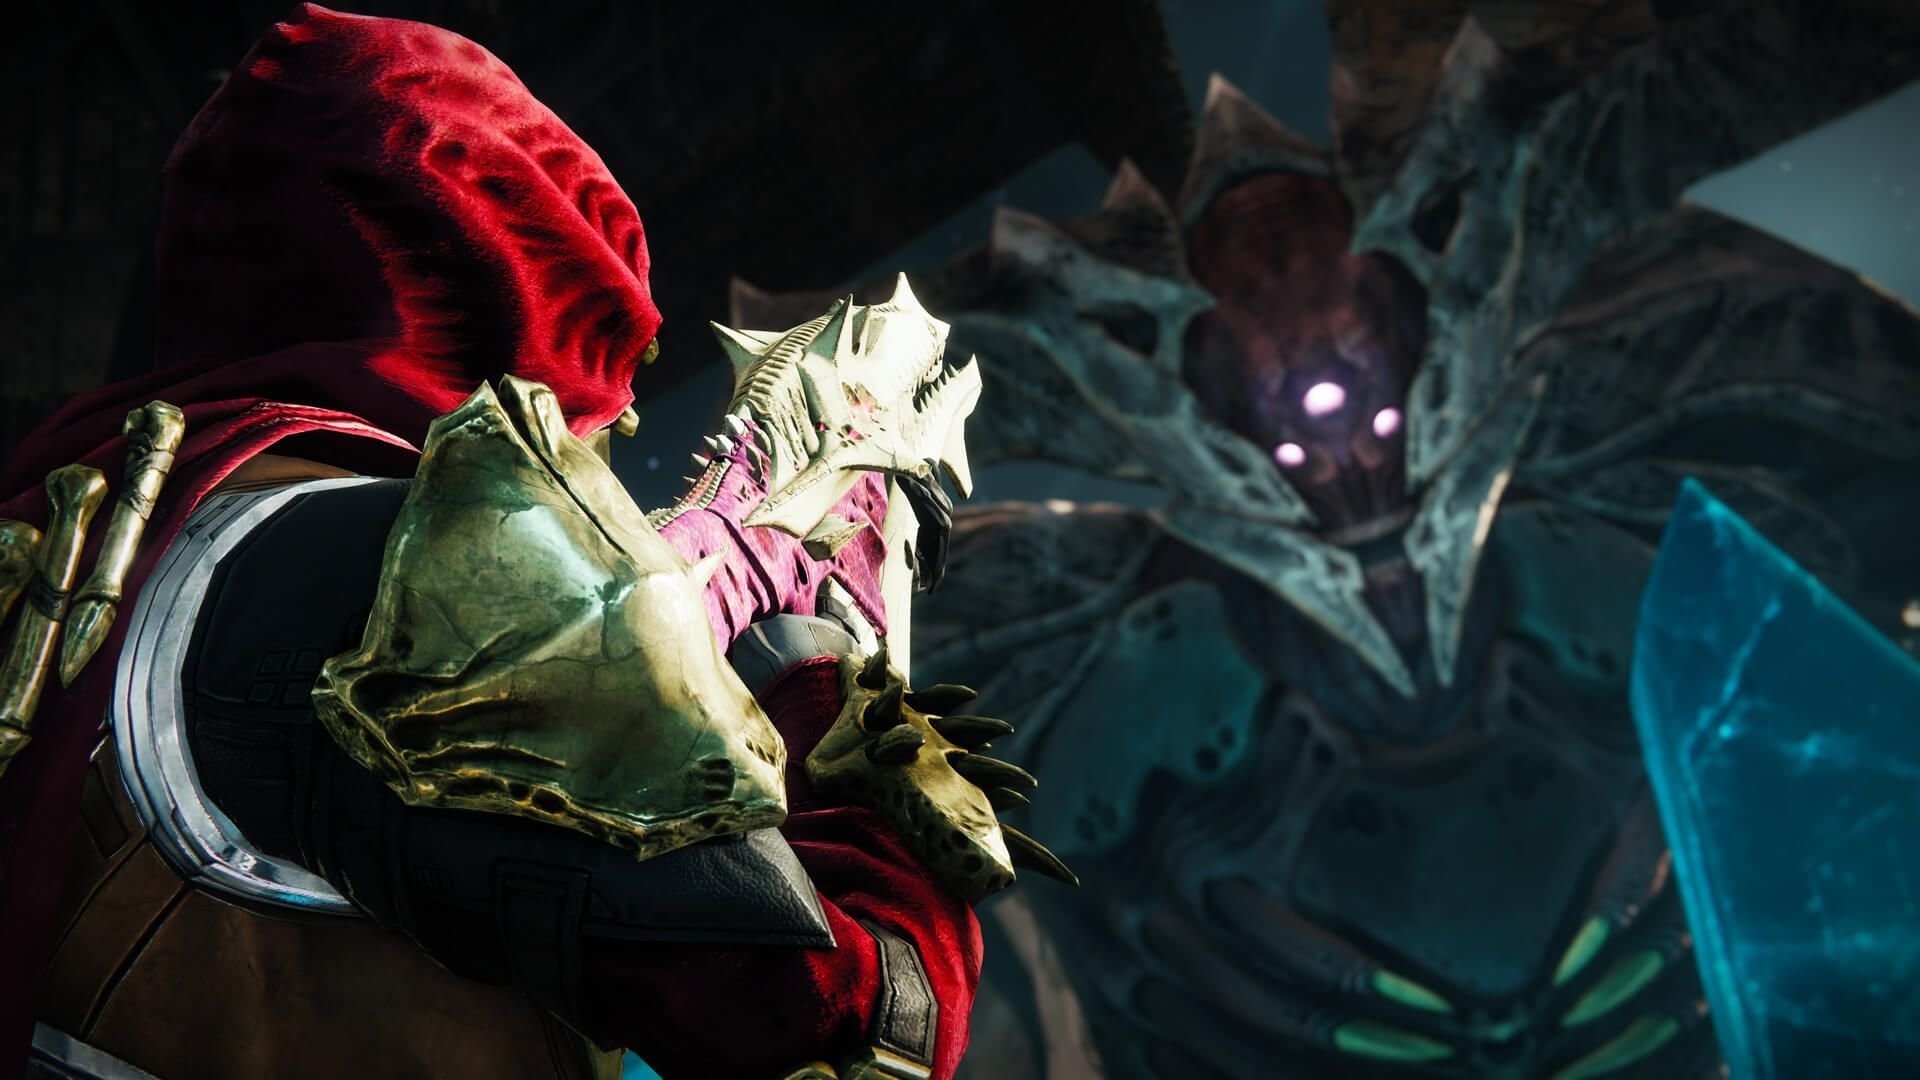
Meanwhile, the platform-jumping and piece-collecting mechanic goes on. Once three pieces of the Blightguard are gathered, the Vessel enemy shows up with a shield similar to that of one of the daughters from the previous fight. Just like you did before, the Torn player with the last piece has to steal the shield, make the Vessel guy vulnerable, and kill him really quickly.
Then, Oryx summons the Darkness. Every player needs to run to the Taken Blight orbs – those dropped by the ogres, remember? – to activate them. Once the ‘detonated the Corrupted Light‘ messages start popping up, rush to the protective bubble at the center of the arena. Oryx will shoot energy beams and vaporize anyone who’s not covered by the shield. If you survive the wipe, a crit spot in Oryx’s chest will be revealed. That’s where you have to pour all your damage into.
Then, one of the two possible scenarios might unfold:
- Taken Knight spawn on the platforms. If that happens, you have to start sprinting non-stop around the platform you’re assigned to, dodging the explosions all around you. If you’re on crowd control duty and don’t have a platform to run around, then start running in circles somewhere else. Just don’t stop, and make sure you don’t cross paths with anyone else on your team. When the explosion sequence comes to an end, Oryx will slam one of the platforms once again, and the cycle starts over.
- If the knights don’t show up, Oryx will summon a big Taken Blight orb and start randomly teleporting your team into it. There’ll be a mini-arena with a version of Oryx who’ll attack players trapped inside. It’s imperative that you join forces to kill him unless you want your whole squad to get wiped. If you’re not dragged into the orb arena, just kill mobs spawning in the main location to help those on the inside. Once mini-Oryx is defeated, things get back to normal, and the usual mechanics go on.
Eventually, the final stand will begin, and you absolutely must secure that Oryx the Taken King kill in this last cycle if you want to successfully finish the raid.
Things need to be done super fast. Two ogres will show up, dropping spheres once killed. When Oryx summons the Darkness, you have to activate the spheres and then run like hell into the protective bubble in the center of the location to survive Oryx’s devastating blow. And when you’re inside your shiny little hideout, fire all weapons you have until Oryx is dead.
King’s Fall is indeed one of the toughest Destiny 2 raids, and we hope our guides helped you get through it. In case you haven’t read the whole series, we’ll leave all the links right here: Opening & Totems, Warpriest, Golgoroth, and Oryx’s Daughters.
If you’re still struggling with some of the bosses or simply don’t have enough time to do the raid, feel free to get a King’s Fall boost at WowVendor. Our professional players will gladly carry you through all the encounters or take care of the whole instance for you so that you can enjoy the rewards with no effort at all. Place your order now and stay tuned for more Destiny 2 guides and news on our blog.
Thank you for stopping by, and see you all at the Tower!


")


Comments