The War Within 11.1.7 Dastardly Duos boss guide: Tips and tactics
Master every Dastardly Duos bosses in WoW with this guide—dungeon locations, mechanics, and pro tips to help you defeat each villain with ease.

Table of Contents
Key takeaways:
- Dastardly Duos bosses span multiple dungeons: Each boss offers unique mechanics and requires specific strategies depending on their dungeon setting.
- Team coordination is essential: Many fights demand positioning, interrupts, and quick reactions—especially when mechanics overlap.
- The mode is designed to be approachable: While some bosses are more complex, the event is meant to be fun and rewarding without high pressure.
The Dastardly Duos event consist of a series of bosses scattered across various dungeons in World of Warcraft. These bosses are known not only for their unique mechanics but also for their wicked collaborations, making them formidable opponents. Defeating these enemies requires coordination, strategic planning, and a good understanding of each boss’s strengths and weaknesses.
Related posts:


This guide will help you navigate through each of these villains, providing an overview and giving you insights into their mechanics. Whether you’re preparing for a dungeon run or simply curious about their backstories, this guide will serve as your essential reference.
Dastardly Duos bosses roster

Here is a table summarizing all of the Dastardly Duos bosses and their respective dungeon locations:
| Boss Name | Location |
|---|---|
| Baron Silverlaine | Shadowfang Keep |
| Broggok | Blood Furnace |
| Chrono-Lord Epoch | Culling of Stratholme |
| Foe Reaper 5000 | The Deadmines |
| Glubtok | The Deadmines |
| Hydromancer Thespia | Steamvault |
| Lord Walden | Shadowfang Keep |
| Mekgineer Steamrigger | The Steamvault |
| Rattlegore | Scholomance |
| Watchkeeper Gargolmar | Hellfire Ramparts |
Baron Silverlaine
Starting with Baron Silverlaine, his mechanics are fairly simple. His only notable ability, Veil of Shadow, reduces healing received by 75%. However, this debuff can be dispelled, making it manageable. Overall, Baron Silverlaine is relatively straightforward and is likely the easiest boss in this lineup.
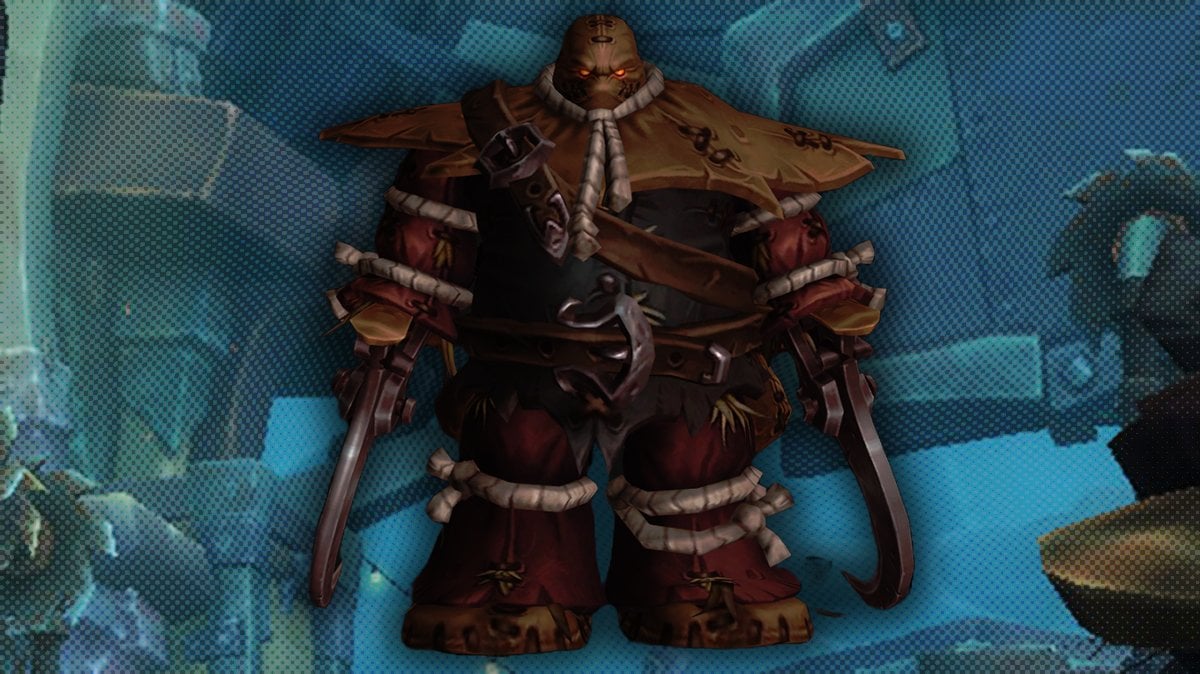
Broggok
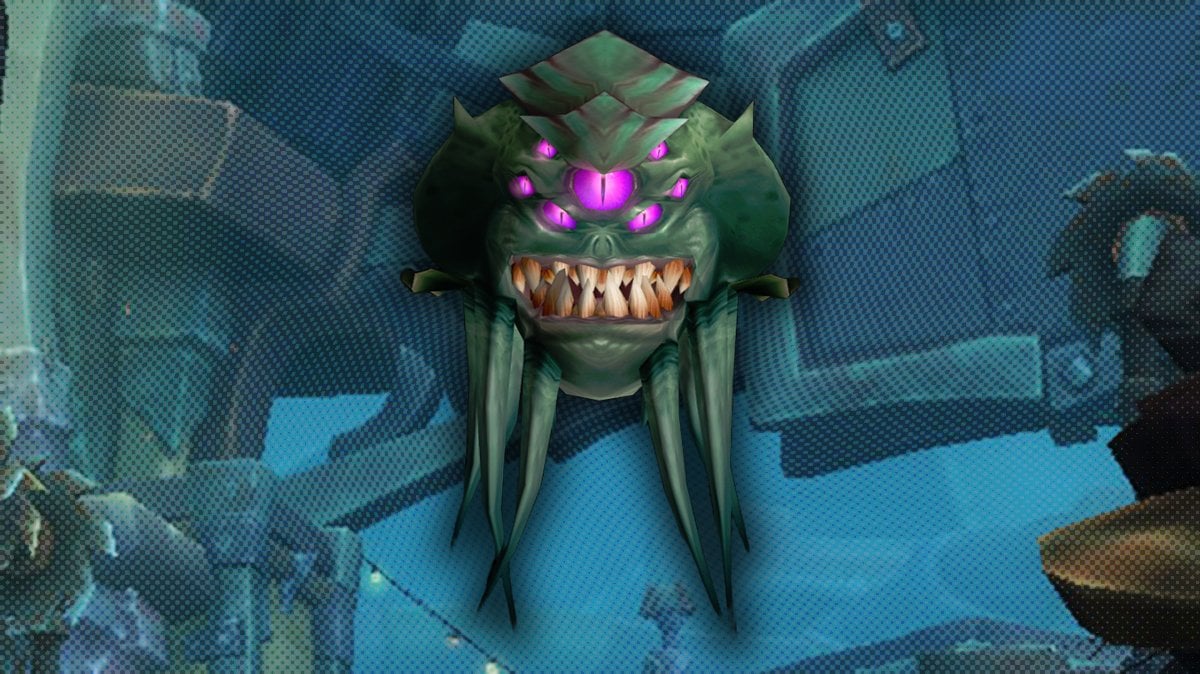
Broggok is a Burning Crusade boss coming from The Blood Furnace dungeon. He is infamous for his poison clouds which he places with Poison Cloud, his other mechanics are Slime Spray which tank should mitigate by turning the boss on him (this ability deals damage in front of boss), and Poison Bolt which is a poison that should be healed.
Broggok, a boss from The Blood Furnace dungeon in The Burning Crusade, is known for his dangerous poison-related abilities. His Poison Cloud ability creates toxic clouds that deal significant damage over time. Another key mechanic is Slime Spray, which the tank should mitigate by positioning Broggok to face away from the group, as this ability deals damage in a cone in front of the boss.
Lastly, Poison Bolt is a poison attack that should be promptly healed to prevent significant damage to the affected player.
Note:
Remember, Broggok leaves a Poison Cloud upon death, so looting his gear shouldn’t be your first priority. It’s best to wait for the Poison Cloud to dissipate (which takes about 10 seconds) before collecting the gear for extra time.
Chrono-Lord Epoch
Chrono-Lord Epoch, the third boss in The Culling of Stratholme dungeon, is a formidable agent of the Infinite Dragonflight. Though fully manageable in Dastardly Duos, players must remain vigilant against his suite of time-warping abilities that can quickly turn the tide of battle.
Time Warp dramatically slows the pace of combat, reducing melee, casting, and movement speeds by 70% for 6 seconds. This can severely hinder group performance, so players should anticipate the debuff and adjust their actions accordingly.
Time Step causes Chrono-Lord Epoch to phase through time and charge a random player, dealing Physical damage. To minimize the risk of group-wide damage, players should remain spread out and react quickly to avoid overlapping targets.
Wounding Strike inflicts heavy Physical damage on a single player and reduces their healing received by 25%. The attack is followed by additional ticking Physical damage over 4 seconds. Healers must prioritize the affected target to prevent them from falling during the damage-over-time effect.
Curse of Exertion doubles the mana or energy cost of a player’s spells and abilities for 10 seconds. Players hit by this curse should conserve their resources and avoid using high-cost abilities during its duration.
Time Stop freezes all players in place for 2 seconds, stunning them briefly. Though short, this stun window can disrupt coordination, so players should be ready to resume their roles immediately once the effect ends.
Chrono-Lord Epoch is much more complicated than regular bosses, but still fully manageable, although can be problematic for some boss pairings.
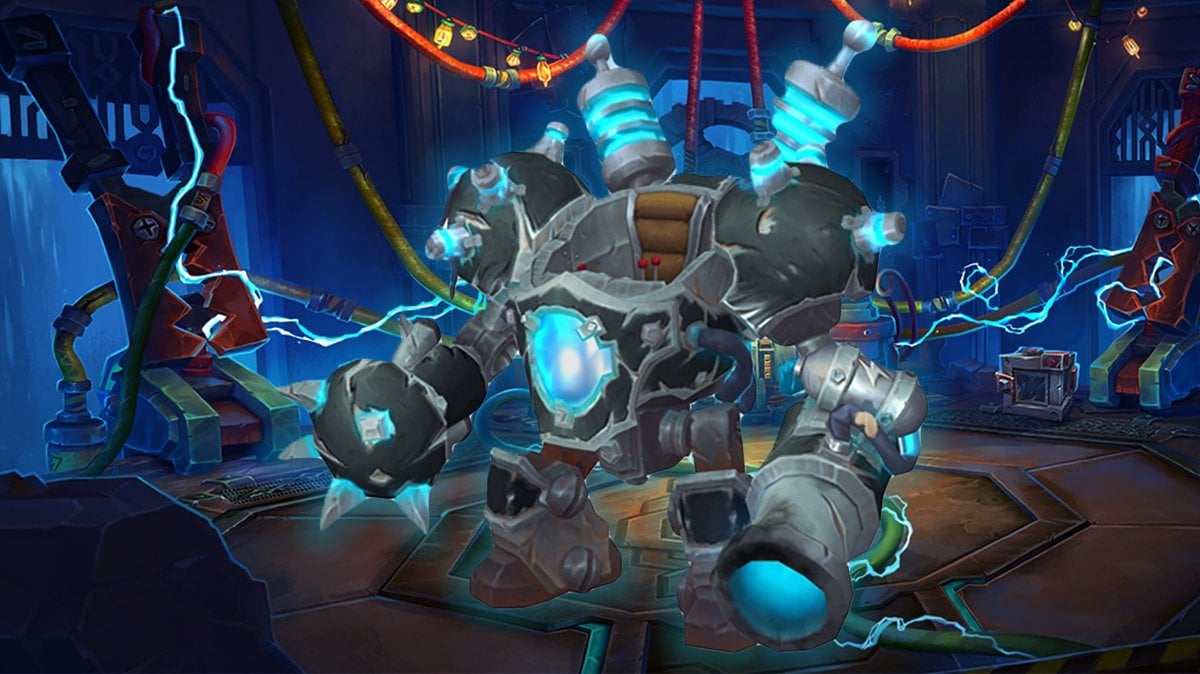
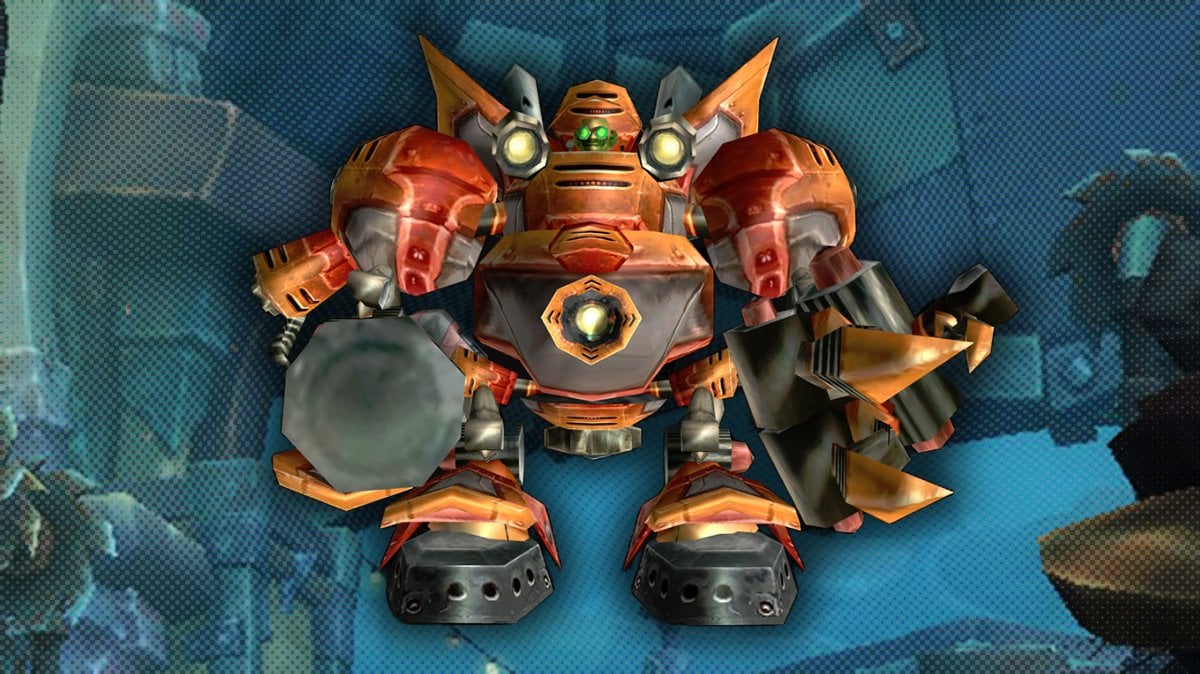
Foe Reaper 5000
Foe Reaper 5000 is the third boss in The Deadmines dungeon (Cataclysm version), originally a rare spawn harvest golem in Westfall, now guarding the Goblin Foundry. As an intimidating mechanical foe, the Foe Reaper 5000 requires precise positioning and coordination to defeat.
- Positioning: Pull the Foe Reaper close to the top of the ramp. Casters should position themselves at the very top, at least 20-30 yards away from the boss. The Prototype Reaper should be placed near the Molten Slags that will spawn.
- Overdrive: Foe Reaper’s first ability is Overdrive, a moving whirlwind. While it doesn’t deal significant damage, it’s important to avoid it to prevent unnecessary damage.
- Harvest: This is the deadly ability to watch out for. After a 5-second cast, Foe Reaper marks an area on the ground, and anything in its path will be destroyed. If you’re tanking him on the ramp, the key is to have the casters run up the ramp and the melee run down when the cast is about halfway finished. Keep moving until you see the mark, then position yourself away from it.
With proper positioning, avoiding the deadly Harvest, and managing the Molten Slags, Foe Reaper 5000 will fall with ease.
Glubtok

Glubtok, the first boss in The Deadmines dungeon (Cataclysm version), is a two-headed ogre mage who tests players with elemental chaos and disruptive movement. While not overly complex, his fight requires awareness of positioning, visual cues, and phase transitions—especially on Heroic difficulty.
Phase 1
As the fight begins, Glubtok alternates between Fists of Flame and Fists of Frost, empowering his melee attacks with elemental effects. Players should avoid standing near the tank to reduce splash damage and be ready to reposition, as Glubtok will Blink randomly and drop all threat multiple times throughout this phase.
Once reduced to 50% health, Glubtok retreats to a nearby platform and enters the next phase of the encounter.
Phase 2
Glubtok begins Phase 2 by casting Arcane Power, launching twisting beams of fire and frost to either side. He remains stationary during this cast, so players should quickly reposition to stand either in front of or behind him to avoid being hit by the sweeping beams.
Shortly after, he summons a rotating Fire Wall around himself. A warning marker—a line of faint fiery spheres—appears 2–3 seconds before the wall spawns. Spot this visual cue and move accordingly to avoid the wall as it rotates.
As Glubtok nears death, he unleashes another round of twisting elemental beams, but this time the Fire Wall remains active, reducing safe zones drastically. This final moment is a DPS check—burn him down quickly before the area becomes too hazardous to navigate.
Glubtok technically has a handful of abilities, but let’s be honest—you probably don’t even remember most of them. The fight is so short and straightforward that he usually goes down before any mechanics really come into play. Just burst him down and move on.
Hydromancer Thespia
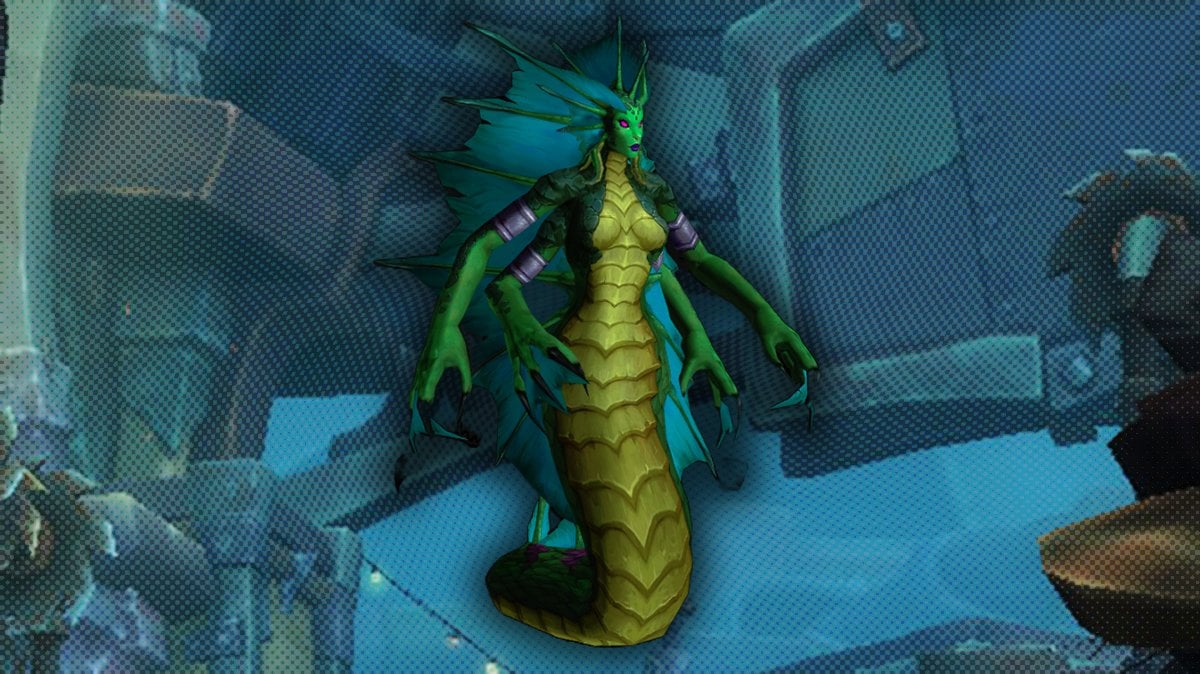
Hydromancer Thespia, the first boss in The Steamvault within Coilfang Reservoir, wields the power of water and storms to disrupt and pressure players. Her fight features a mix of AoE damage, stuns, and adds that must be handled efficiently, especially on Heroic difficulty.
Enveloping Winds stuns a random player in a cyclone for 6 seconds, temporarily removing them from the fight. While this can’t be interrupted, it should be healed through if it targets someone in danger, especially a healer.
Lightning Cloud targets a player’s location, creating a damaging field that lasts for 14 seconds. Anyone standing inside will take Nature damage every 2 seconds, so all players must stay mobile and immediately move out of these zones to avoid unnecessary damage.
Lung Burst applies a physical DoT that ticks every 2 seconds for 10 seconds. While not lethal on its own, it adds up quickly—healers should keep an eye on affected players and top them off.
With timely interrupts, good positioning, and awareness of Thespia’s ground effects and stuns, this elemental encounter can be handled with confidence.
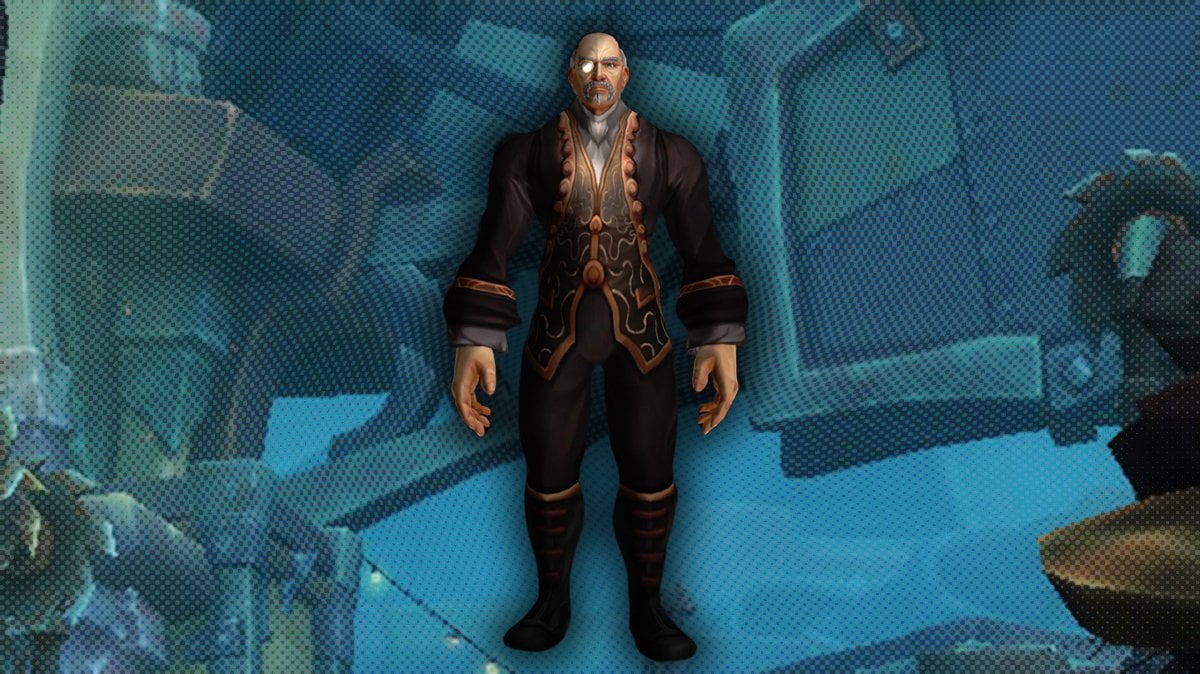
Lord Walden
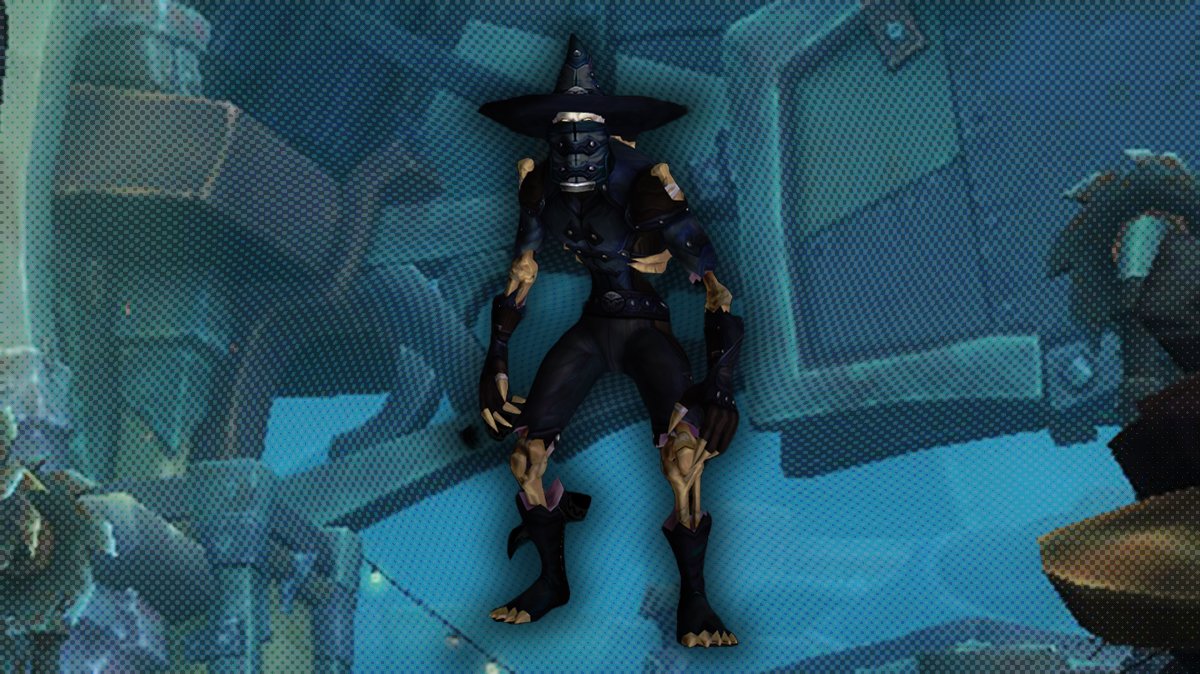
Lord Walden, a sinister alchemist found in Shadowfang Keep, relies on deadly mixtures and chaotic environmental effects to challenge players. His fight emphasizes quick movement, spatial awareness, and reacting to visual cues—especially on Heroic difficulty.
Ice Shards causes shards to rain down across the lab for 5 seconds. Each shard arcs visibly before landing, dealing Frost damage to anyone within 2 yards of impact. Players must stay alert and move continuously to avoid being hit.
Conjure Poisonous Mixture targets a random player and throws a bottle of poison at their location. Upon impact, the mixture explodes, dealing Nature damage in a 4-yard radius. The resulting poison lingers for 15 seconds, dealing additional Nature damage every second and slowing movement speed by 40%. Players must quickly move out of the green pool to avoid stacking damage and slow effects.
Conjure Frost Mixture is a dangerous room-wide Frost AoE that damages all players within 45 yards. This ability cannot be avoided, so healers should be prepared to top off the group immediately after it hits.
Lord Walden’s chaotic use of elemental chemistry demands mobility and awareness. With careful movement, proper positioning, and reactive healing, groups can survive his volatile lab and bring the alchemist to justice.
Mekgineer Steamrigger
Mekgineer Steamrigger, the second boss in The Steamvault within Coilfang Reservoir, brings mechanical mayhem and a team of repair bots to the fight. Defeating him is necessary to unlock access to the final boss, Warlord Kalithresh. The encounter is all about managing adds and avoiding damage-increasing mechanics.
Electrified Net targets a random player, immobilizing them and dealing Nature damage every 2 seconds for 6 seconds. The affected player should be quickly healed, and any lingering damage effects monitored by the healer.
Super Shrink Ray is a frontal cone attack that reduces the damage output of all players hit by 35% for 15 seconds. To avoid unnecessary group DPS loss, only the tank should be in front of the boss, and the rest of the group should stay behind or to the sides.
Saw Blade is a direct single-target ability that deals Physical damage. While not avoidable, it’s predictable, and healers should keep an eye on the player targeted.
At 75%, 50%, and 25% health, Steamrigger summons Steamrigger Mechanics—small adds that rush to Repair him, healing him for 10% of his health every 2 seconds. These adds should be quickly focused down or crowd-controlled to prevent them from restoring too much health to the boss.
Interrupting the healing phase and managing positioning around the Shrink Ray are key to keeping this fight under control. With add priority and smart positioning, Mekgineer Steamrigger can be dismantled with minimal resistance.
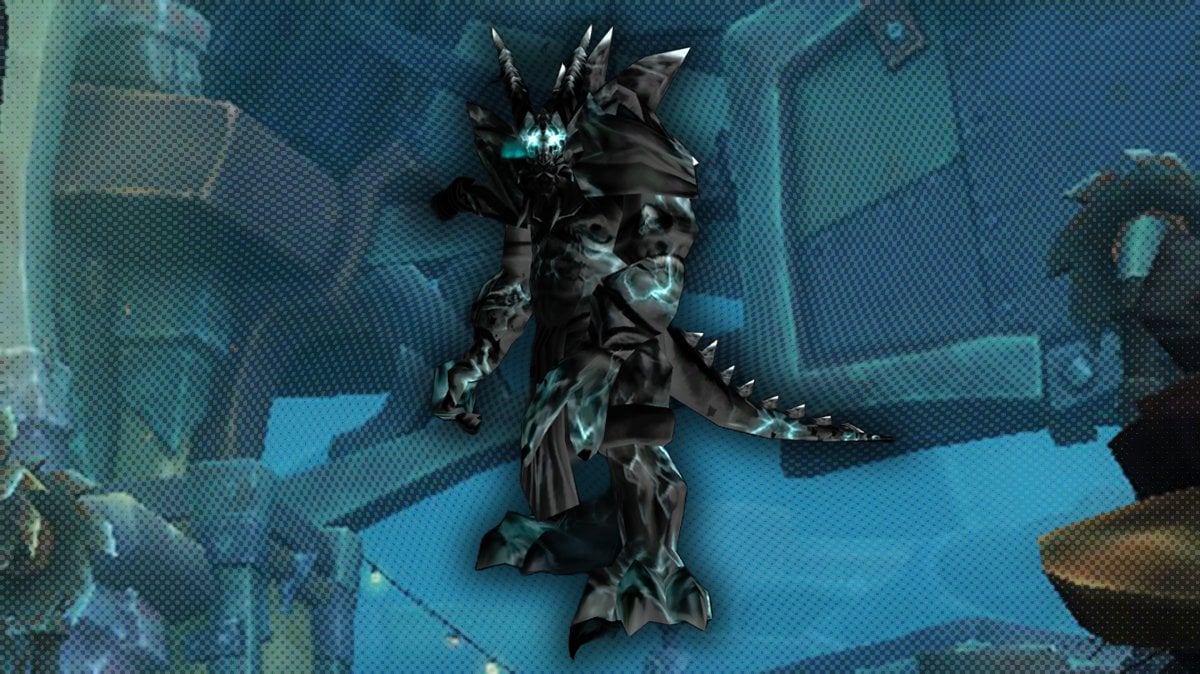
Rattlegore
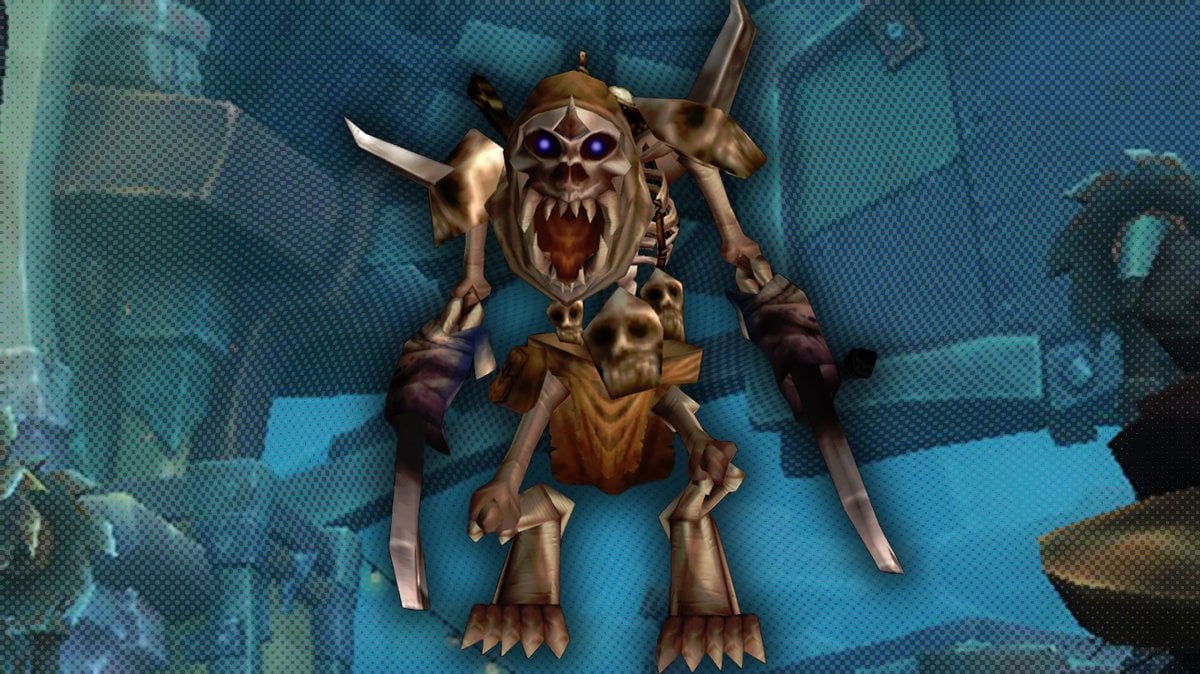
Rattlegore, found in the Chamber of Summoning in Scholomance, is a towering undead monstrosity armed with decaying blades and devastating bone magic. This encounter emphasizes movement, defensive timing, and intelligent use of Bone Piles to survive his powerful abilities—especially on Heroic difficulty.
Rusting is a stacking effect tied to Rattlegore’s melee swings. Each successful hit increases his damage by 25%, but slows his attack and movement speed by 5% for 15 seconds. Tanks should be prepared for heavy damage as the fight goes on and use defensive cooldowns accordingly.
Bone Spike targets a random player, dealing significant Physical damage and launching them across the room. However, Bone Armor, granted by Bone Piles, will absorb Bone Spike entirely. Players should keep an eye on their Bone Armor charges and refresh them when safe to do so.
Soulflame is a dangerous environmental hazard that periodically engulfs sections of the room in fire. The flame ticks rapidly and grows over time, so players must reposition quickly to avoid heavy Fire damage.
Watchkeeper Gargolmar

Watchkeeper Gargolmar, the first boss of Hellfire Ramparts in Hellfire Citadel, leads the vanguard of the Fel Horde with brute strength and a pair of healing attendants. Though not overly complex, this fight demands control of his supporting mobs and awareness of his heavy-hitting melee abilities.
Overpower punishes dodging by immediately striking back with Physical damage. Tanks should avoid using dodge-heavy abilities and be ready for sudden spikes in damage.
Mortal Wound is a stacking debuff that reduces healing received by 10% per stack for 30 seconds. This makes prolonged fights dangerous for the tank—healers should keep them topped off and cooldowns should be used proactively if stacks begin to build up.
Surge is a charge attack that targets a random player, dealing AoE Physical damage and knocking back all players within 10 yards of the impact. Players should spread out to reduce the chance of multiple people getting hit, and be mindful of positioning to avoid being knocked into patrols or other hazards.
Most dangerous pairings
Some pairing might be particularly tricky on rare occurences. These combinations either stack damage types, movement-disruption, healing reduction, or overwhelm with AoE effects and add control issues. Here are all potentially dangerous combinations:
Broggok + Chrono-Lord Epoch
Why it’s dangerous:
- Poison Clouds left by Broggok clutter the arena and deal constant AoE damage.
- Time Warp from Epoch slows all movement, casting, and melee by 70%, making it extremely hard to escape poison zones in time.
- Time Stop (stun) can trap players inside Broggok’s clouds or Slime Spray cone.
- Poison Bolt + Wounding Strike can stack unhealable debuffs on one player, stressing healers hard.
- Summary: Movement slowdown + high sustained AoE = recipe for wipe.
Glubtok + Foe Reaper 5000
Why it’s dangerous:
- Glubtok’s random Blinks and threat drops can make it hard to keep bosses controlled near safe positions.
- Foe Reaper’s Harvest needs careful positioning and precise movement—chaotic when Glubtok keeps jumping around.
- Glubtok’s Phase 2 beams + Fire Wall restrict safe zones just as players need to avoid Harvest zones.
- Summary: Both fights rely on correct positioning and dodging. Chaos from Blink ruins this, turning it into a mobility nightmare.
Lord Walden + Hydromancer Thespia
Why it’s dangerous:
- Walden’s Poisonous Mixture leaves poison pools that stack slow and damage.
- Thespia’s Lightning Clouds also leave AoEs that must be moved out of.
- Lung Burst + Frost Mixture causes ticking DoT combined with full-party damage, straining healing throughput.
- Enveloping Winds disables one player during this chaos—often a healer.
- Summary: AoE overlaps, slows, and disables create chaos. One misstep or stunned healer can collapse the run.
Conclusion
As you’ve likely noticed, Dastardly Duos bosses aren’t too challenging—most encounters feature straightforward mechanics, especially outside of Cataclysm dungeons, where the design started shifting toward more complexity. This mode is meant to be more relaxed, so don’t stress about min-maxing or perfect scores. The real reward is simply participating—guaranteed loot means you’re winning just by showing up.
Looking to keep things chill and fun? Consider grabbing a WoW boost to skip the grind and dive straight into the content you actually enjoy.
Happy grinding—and enjoy your week!


Comments