Amirdrassil, the Dream’s Hope Bosses Quick Guide

Dragonflight’s third raid, Amirdrassil, the Dream’s Hope, has opened. The heroes of Azeroth must venture into the verdant realm of the Emerald Dream to protect the new World Tree, forge the new legendary axe Fyr’alath the Dream Render, and get the next raid tier sets. Nine bosses may present a significant challenge. That’s why we’ve prepared a thorough Amirdrassil raid guide to help you deal with each one of the Amirdrassil, the Dream’s Hope bosses.
Please keep in mind that the bosses presented in the article are arranged in the sequence you might encounter them during the raid. This is not an Amirdrassil, the Dream’s Hope boss difficulty ranking.
Gnarlroot

Once a devoted protector, now, the former ancient Gnarlroot is basically a big blazing tree, so you won’t have a lot of problems cutting it down. Watch your feet and make sure to avoid Flaming Pestilence and Shadowflame Cleave, which is a powerful frontal cleave ability. If you’re marked with Controlled Burn, spread out. Defeat the Lashes adds ASAP.
During the first encounter in Amirdrassil, the Dream’s Hope,Tanks need to swap to avoid getting too many stacks of Dreadfire Barrage. As for Healers, they need to watch out for Tortured Scream to get the raid group up in time. Raiders should also save bursts and Bloodlust for the last phase and use them when Uprooted Agony is activated to defeat Amirdrassil, the Dream’s Hope first boss quickly.
Igira the Cruel

For the second one of the Dream’s Hope raid bosses, Irigra the Cruel, DPS should switch targets and attack the spears created by the Blistering Spear ability to set the chained players free. Watch the boss and dodge Twisting Blades. Upon getting maximum energy, the boss will use Marked for Torment, targeting the devastating weapons lying on the ground. The group should soak the effect on one of them to avoid deadly raid-wide damage. There are also a lot of swirlies throughout the fight. Be sure to avoid them all.
This encounter should also involve Tank swap to deal with the Drenched Blades DoT. This is applied by the Vicious Swing ability, which strikes Igira’s primary target and the one closest to them. Therefore, Tanks should stay together and face the boss away from the raid. Healers must pay attention to the targets with the Heart Stopper debuff.
The Council of Dreams

Next is the trio of molten allies of The Council of Dreams. Pip employs lethal trickery, confounding the victims. Urctos, on the other hand, relies on brute strength, using formidable power to demolish enemies. Aerwynn, employing her wisdom and cunning, takes charge of the battlefield, guiding her fellow council members. Defeating these three Amirdrassil bosses is crucial within a 10-second window to prevent the resurrection of fellow council members. Only Urctos is tankable.
Make sure to go through Noxious Blossoms whenever you’re forced into the duck form. Duck players can remove these green toxic flowers, significantly reducing the damage taken by the raid group. Raiders should also soak the special abilities cast by the bosses at 100 energy.
Most of the individual abilities of each boss are not that deadly. However, many of them inflict raid-wide damage, so the encounter is kind of a HPS check. Tanks should swap after each cast of Agonizing Claws. Urctos relies on his Barreling Charge: use it and direct it through Aerwynn to interrupt her Constricting Thicket.
Nymue, Weaver of Cycles

The battlefield is divided into several chunks via green lines glowing on the ground. Crossing them will put the Verdant Matrix debuff on you, dealing nature damage that stacks. If you have to cross a line, pop a defensive beforehand.
There will be times when you won’t be able to avoid crossing the lines: the green swirlies in the fight are big and dangerous. Besides, the Threads of Life ability will inflict massive damage on the raid. You have to cross a line to reduce it.
Nearly every boss ability deals raid-wide damage, so Healers should pay attention. Mind the Viridian Rain ability and heal through it. Tanks must prepare to deal with a lot of nature damage and pay attention to Weaver’s Burden to get it out of the raid timely. When the second phase of the fight starts, Tanks must soak the Full Bloom ability. Meanwhile, raiders should divide into two groups to deal with two Cycle Warden adds, which spawn shortly afterward.
Volcoross

This one is just a big lava serpent. Watch your feet and avoid all the swirlies and puddles. Pay attention to the big dark shadow on the ground as it indicates where the gargantuan viper is going to strike with his tail. If you’re tanking, taunt the boss of the current Tank right before he casts Cataclysm Jaws. Otherwise, the other Tank may not survive it due to the Molten Venom stacks. If you’re a Healer, prepare to outheal the Serpent’s Fury ability, which inflicts massive raid-wide damage.
Upon reaching full energy, Volcoross will cast Flood of the Firelands, creating two big soak circles. The raid must be divided in half for them. The spell creates burning pools that flood the arena continuously, so you will want to finish the fight as fast as possible.
Larodar, Keeper of the Flame

Larodar used to be a faithful protector of the grove. However, he has now succumbed to the power of the flame. The boss constantly leaves a patch of Burning Ground behind him, so Tanks shouldn’t move him unless they have to. Tanks should swap after each Furious Charge whilst other players aren’t supposed to get in its way to avoid extra damage. The Treant adds that appear during the fight must be burned down ASAP, but mind the explosion that occurs when they die. The treants must be then healed to full health to empower the Seed of Life in the room’s center and cleanse the burning ground.
The same “defeat-then-heal” strategy should be applied to the Scorching Roots so they could form green circles of barriers. These barriers can protect the players from the Raging Inferno ability, which Larodar casts upon reaching max energy. At 40% boss health, the second phase starts, which is both a DPS race and a HPS check. Remember to soak Falling Embers. Keep nuking down the adds and swap Tanks for Smoldering Backdraft.
Smolderon

Spread out if you’ve been Overheated by this twisted guardian. If not, help Tanks soak Brand of Damnation. Upon reaching max energy, Smolderon will cast World in Flames. Try to avoid the blast and the lava puddles it creates. If you’ve been previously debuffed with Emberscar’s Mark, collect the Living Flames to increase your damage and not allow the boss to increase his. Keep doing all this and pop your bursts to defeat Smolderon before he casts Encroaching Destruction.
Tindral Sageswift, Seer of the Flame

The next one on the Amirdrassil, the Dream’s Hope boss list, is a flame-obsessed seer. Stack up for Mass Entanglement and burn down all the roots before they explode. Avoid all the swirlies and puddles, dodge Fire Beams, and get Falling Stars out of the raid if you’re marked with one. Healers should dispel the Fiery Growth debuff, but do it cautiously since it will create a large scorching puddle. The Blazing Mushroom circles must be soaked by Tanks only.
When the intermission occurs, Tindral will fly up, leaving feathers that need to be soaked in order to be able to enter the dragonriding encounter. Fly up to the next platform, dodging lava spheres and collecting the green ones for a damage increase. The boss will use the same abilities from the first phase. Burn Tindral down to not let him cast Supernova and soak the seeds created by Flaming Germination. After the final intermission, you will dragonride once more and defeat Tindral in his full power on the last platform.
Fyrakk the Blazing
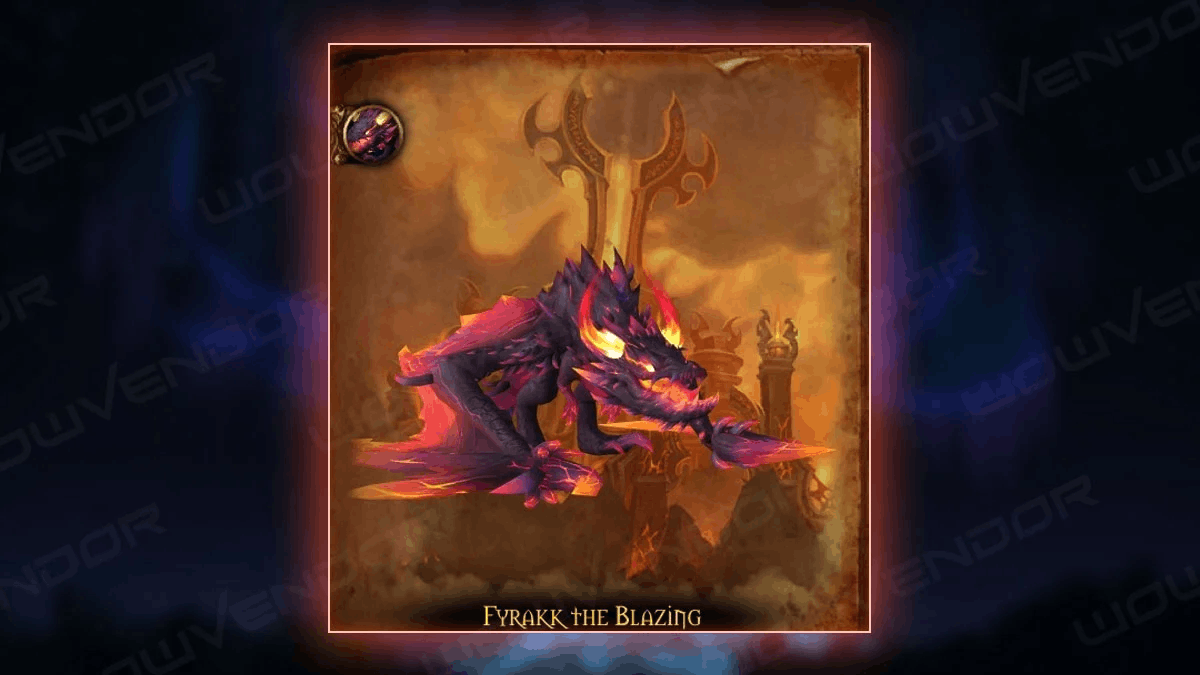
For the Amirdrassil, the Dream’s Hope final boss, be sure to stay away from the Roots of Amirdrassil. Dodge Firestorm meteors and be as far away from the Dream Rend portals as possible. Break the Corrupt shield during the first intermission ASAP. During the second phase, dodge the meteors, kill adds, and avoid the Flamefall and Shadowflame Devastation strikes. In the final phase, keep dodging everything you see and collect Seeds of Amirdrassil. Use them to cast Bloom right before Fyrakk casts Apocalypse Roar.
Tanks must always face the boss away from the raid. Healers should keep the party members up and healthy during the Dream Rend, and the Spirits of Kaldorei must be fully healed during the second phase. DPS should hold their offensives ready for Supernovas after each intermission. On Heroic difficulty, run away from the group members if you have Blaze.
Conclusion
We hope this Amirdrassil, the Dream’s Hope raid guide will help you clear Dragonflight’s latest instance and prevent Fyrakk’s victory. In case you are wondering about the current meta, we also have an article about Dragonflight raid class rankings: Amirdrassil, The Dream’s Hope. Be sure to check it out!
However, if you don’t have much time and find yourself in need of swift, safe, and secure boosting services, feel free to check our Amirdrassil boost offer. You will find everything you need there, from the coveted tier sets to the Fire Owl mount Anu’relos, Flame Guidance, and more.

Meanwhile, for esports lovers, the Amirdrassil, the Dream’s Hope Race to World First is in full swing. You may want to check out our live coverage here:


Comments
Great guide