Destiny 2 Pyramid Ship Guide: Vow of the Disciple Full Walkthrough
The Witch Queen is already rendered as one of the best Destiny expansions to date with its solid storyline, epic battles, and a teasing cliffhanger that gets us one step closer to the Light and Darkness Saga grand finale. Delivering perfectly on both lore and playable content, TWQ introduces the new Vow of the Disciple raid in the depths of a Destiny 2 Pyramid Ship where we have to battle the formidable Rhulk.
To beat the Witness’s loyal follower and get some sweet shiny loot, join us now as we break down all the encounters and give out useful tips in this fresh Destiny 2 new raid guide.
Intro
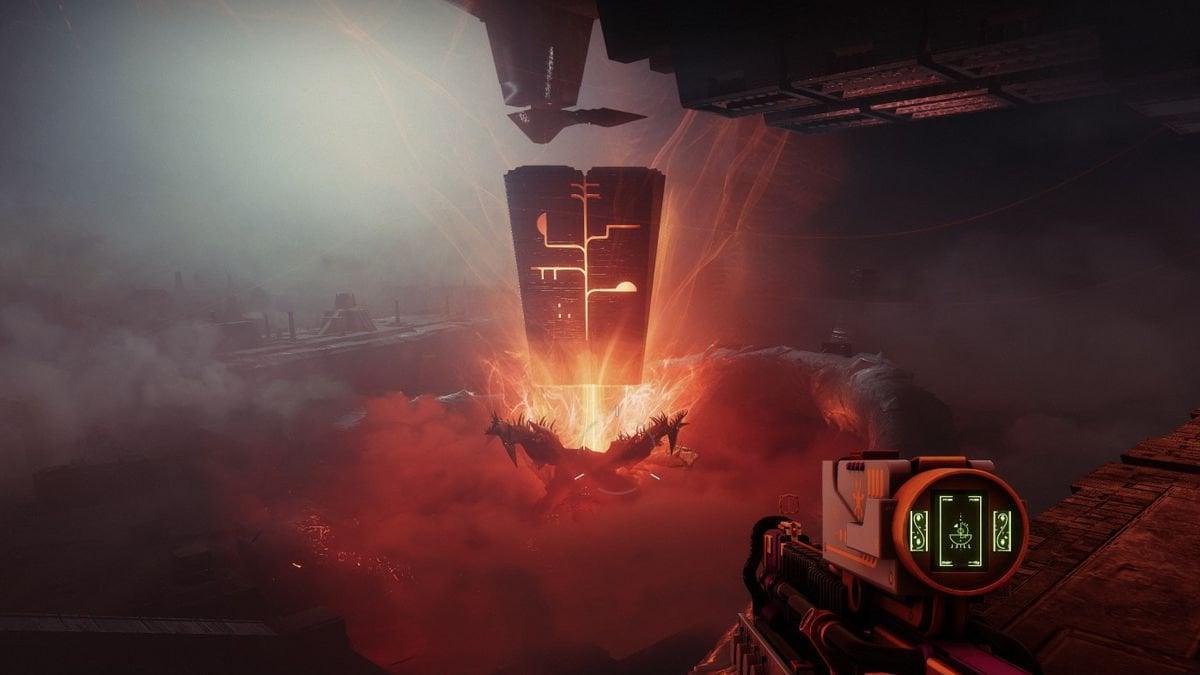
The party kicks off the second your fireteam spawns in the initial location. Defeat Savathûn’s reflection and shoot your way through Hive enemies to the Disciple’s Bog gates. Once you’re there, find a boat and take it to the Pyramid. The trick here is that your vehicle will stop from time to time, and to make it to the next checkpoint, you’ll have to pick up and deposit Knowledge buffs. No wonder they say that knowledge is power, huh?
Buffs drop from adds and are scattered all around the area. A Guardian only needs three at a time, but don’t take too long: the farther you are from the boat, the more Darkness debuffs you get. It blinds you and eventually kills at x10 but is easily removed by staying closer to the vehicle and delivering Knowledge.
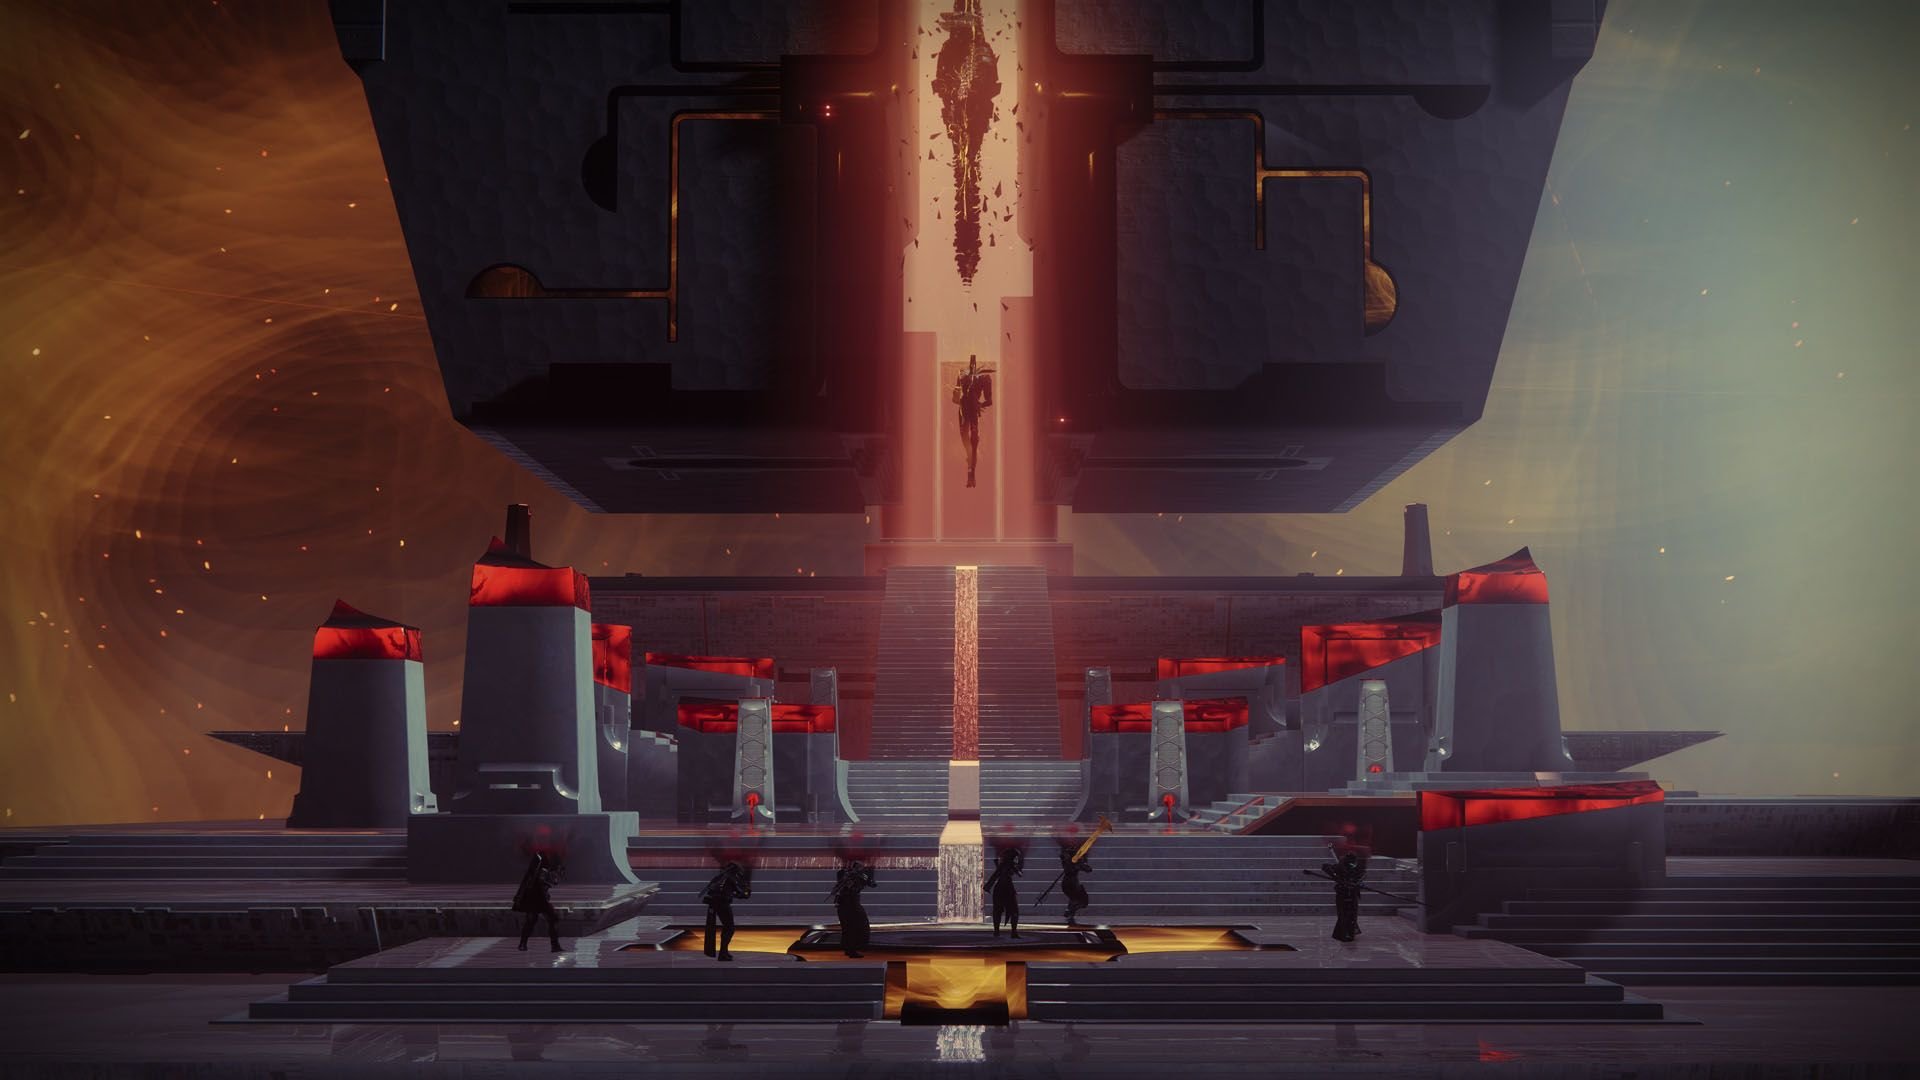
First Encounter
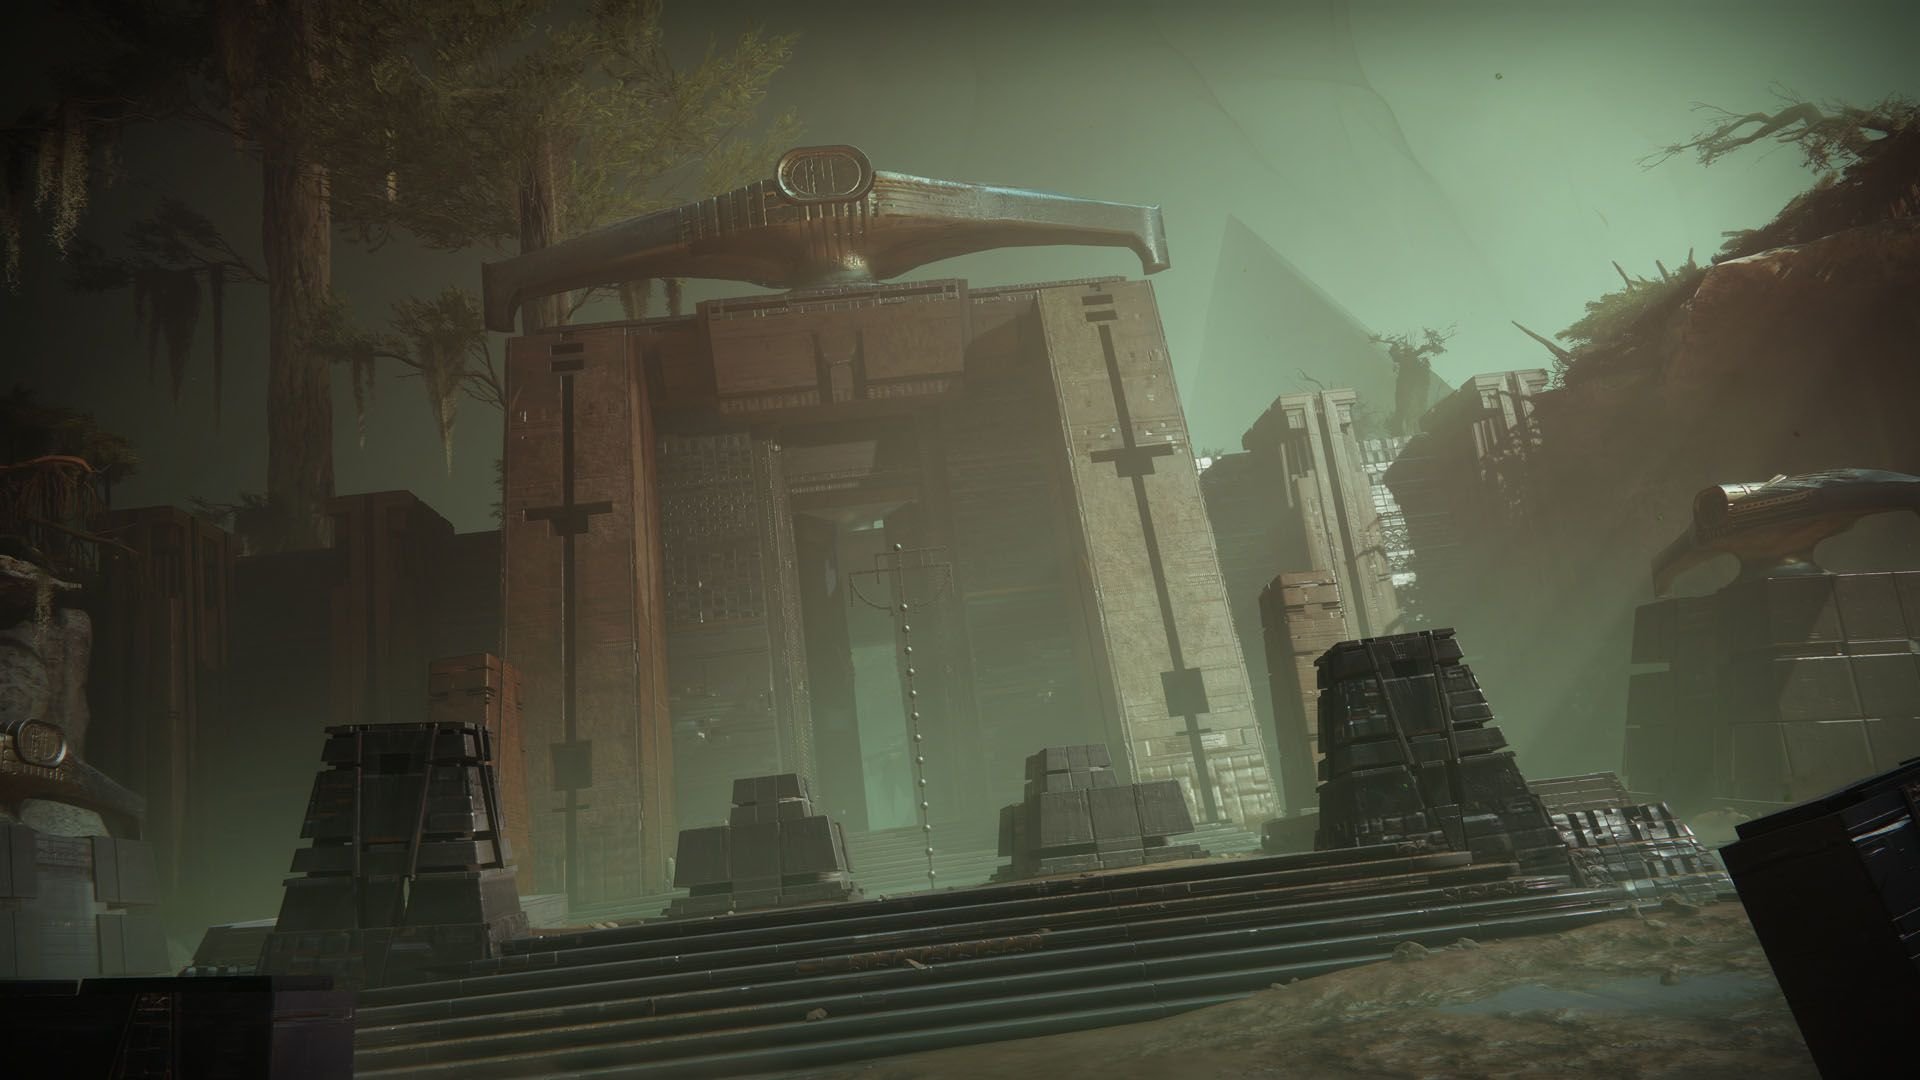
Yay, you made it to the Ship! Stay sharp and get ready for the core mechanic you’ll probably hate by the end of this instance.
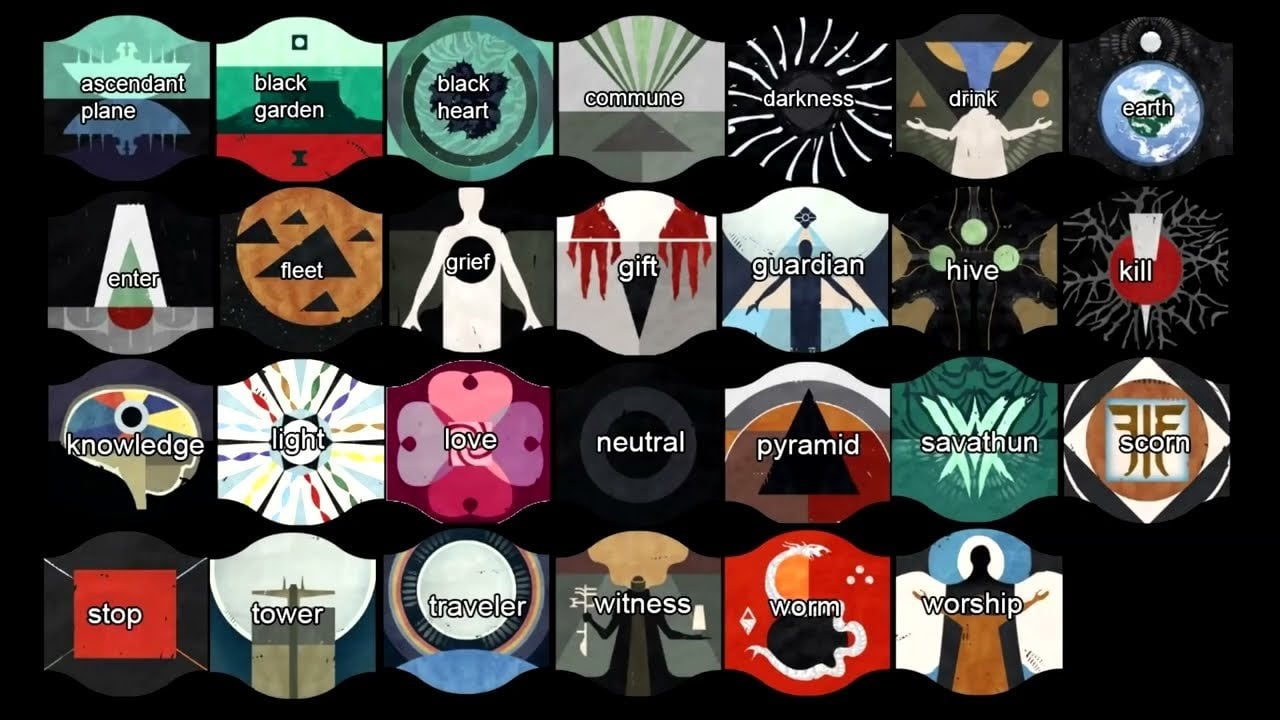
Glyphs are the main pillars of VoD, and team communication is outright vital. Symbolic images are a common theme in Destiny-verse, not new to its raids either – remember the Destiny Power the Glyph part of the King’s Fall raid, or the Last Wish callout mechanic, for instance – but here Bungie really took it to the next level.
All in all, 27 glyphs are present, and every member of your squad needs to know them. The picture below shows the whole roster with the names offered by the devs, but you are free to call the glyphs whatever you want. Just make sure everyone’s on the same page, and it’ll all be peachy.
The location itself is divided into two parts and has nine doors with some of the icons you’re already familiar with.
Split your group into pairs, with each – a runner and a guard – assigned to a certain obelisk. To get the show started, shoot the crux and be ready to fight off the adds, stopping them from reaching the obelisks.
After a while the first glyph will show up on a pillar, pointing at one of the two arena sides where a Knight will arrive. The runners in the vicinity take on the Knight to reveal the second glyph, which leads you to one of the nine doors we mentioned above. To open it, shoot the same object you used to trigger the encounter.
One runner is enough for one room, as the guards need to, well, keep guarding the obelisks. The rooms, just like the arena, are divided into the Light and Darkness zones, each having their own Glyphkeeper (later just «Keeper» for short) and a myriad of adds. You need to defeat only one Keeper. Which one is determined by the third glyph on the pillar, so your guard partner outside the room will have to call it out as soon as it appears. Killing the right Keeper will show you – guess what? – another glyph to memorize or better write down in your team chat. Two other pairs of Guardians do the same thing, so your fireteam will have a total of three glyphs to operate with. In the meantime, the obelisks awaken, waiting for your offerings.
To make sure the offerings are accepted, you have to find an obelisk with all of the collected glyphs. Next up, you need to shoot the corresponding icons almost simultaneously, so unless you are the West’s greatest gunslinger, it’s most likely a two-man job. But be extra careful: shooting the wrong symbol or being too slow to land your shots will ruin it all. The obelisk will reject your offerings, shuffle the glyphs, and you’ll have to waste time finding another one with all thrеe of them present. What’s more, obelisks can fill up and wipe your team, so try to avoid mistakes and keep those adds away. Got it right? Perfect! Now it’s a rinse-repeat kind of thing. Find a Knight, kill it, open the door with the revealed symbol, find out which Keeper you need, kill it, write down the next symbol, and fire some shots on the obelisk. Repeating the sequence three times will do the trick and lead you to the next stage.
Yeah, the raid is no piece of cake. Why don’t you get a Destiny 2 raid carry to team up with pro gamers and beat Vow of the Disciple fast and easily?
Second Encounter
Now when you’ve got acquainted with the Vow of the Disciple Destiny 2 symbol mechanic, the first boss fight is a lot easier to explain and get through.
Once again, your go-to split is three teams of two. The boss team will stun the Caretaker and make sure he keeps his ugly dirty hands off the obelisk and doesn’t wipe the whole squad. The stunning job is pretty simple: one player is always in front of the boss, firing shots at his head when it glows, and another player is doing the same with the crit spot on the back as soon as it appears. The boss also sends out projectiles, so the first team better deal with them before they hit somebody and chop off a chunk of their HP.
The mob-clearing team’s name is quite self-explanatory, with the only side task to be on the lookout for those projectiles too. Better safe than sorry, right?
The remaining Guardians – the runners – collect the glyphs that are displayed on the obelisk. There is a couple of ways you can go around this quest, but we recommend the following Destiny 2 strategy:
- Leave a Guardian (A) at the door, ready to open it and help with mobs and projectiles if needed;
- Another Guardian (B) enters a room and collects any three glyphs;
- Guardian B exits to shoot the collected glyphs, and Guardian A rushes inside the room;
- The pair swaps roles, opening the door, collecting those glyphs and filling the obelisk.
This is the most effective technique, not to mention the safest: while in the room, a player gets that nasty I-will-kill-you-at-10-stacks Darkness buff, and changing places with someone else will help clear it. Another thing worth mentioning are the habitants of the room – super-bulky mobs with tons of health and devastating blows. You’ll just waste time and ammo trying to kill them as your shots will barely leave a scratch, so just ignore the bastards and mind your own glyph-collecting business.
Taking Care of the Caretaker
When the obelisk is complete with all nine Vow of the Disciple symbols, it’s time for you to blow the boss to kingdom come.
Here it’s all about platforms. Keep your eyes peeled for the one to light up, jump on it, and start kicking the Caretaker’s butt. You’ll basically be hopping from one platform to another until our big baddie disappears to open a passage up to another room.
The higher you ascend, the larger the locations get, but everything else stays the same. The final battle with the Caretaker is a bit tricky as you have to go all in ‘cause if he’s still alive by the time the last platform is disabled, your team will wipe.
For this fight we’d recommend Izanagi’s Burden and linear fusions with Triple Tap and Firing Line. Having someone with Divinity to debuff the boss and increase your team’s DPS is also a great idea.
Enjoying this Destiny 2 VoD guide? Subscribe to our blog for more Destiny content and visit wowvendor.com to get a nice Vow of the Disciple carry to beat the raid with flying colors!
Third Encounter
After a short jumping puzzle your squad will be warmly greeted at the Exhibition stage of the raid. The Artifacts will be the cornerstone here, and our favorite symbol mechanic will also come into play.
Your goals can be boiled down to four main objectives:
- Carrying artifacts;
- Killing adds and Keepers;
- Deducing matching symbols to open doors;
- Clearing debuffs.
Defeat the Keepers to view sets of glyphs, some visible only to relic holders. Your job is to deduce the matching ones, find them on the plates around the door and shoot them out to move to the next room.
Sounds easy? Well, don’t get too comfy. There is a bunch of nasty mechanics to spice things up and give you a headache. The Terminal Resonance (TR) timer will ominously count seconds till you get wiped, Curbed Resonance (CR) won’t let you pick up a relic if you’ve already held it, and our favorite Darkness debuff will breathe down your neck with its pesky stacks. But hey, it’s not all grim and dim. The relics will help you as each of them has a role to play:
- The Seed makes Shielded Knights vulnerable. Killing a Knight adds 40 sec to the TR timer. Depositing artifacts into the slots in the rooms between locations also gives you +40 on that timer.
- The Shield resets the Darkness count.
- The Eye destroys Taken orbs.
This pretty much covers all the debuffs, and CR is barely a thing as long as you keep tossing the relics between the members of your squad. Relic holders do their parts, the rest deal with adds, and everyone just sticks to the plan, making their way to the final room.
In terms of Destiny 2 raid tips on loadouts, roaming Supers and weapons with a solid blast radius are your best friends here. Overload mods are great against Hobgoblins, and blinding grenades do a terrific job with Taken adds, even if they’re still immune.
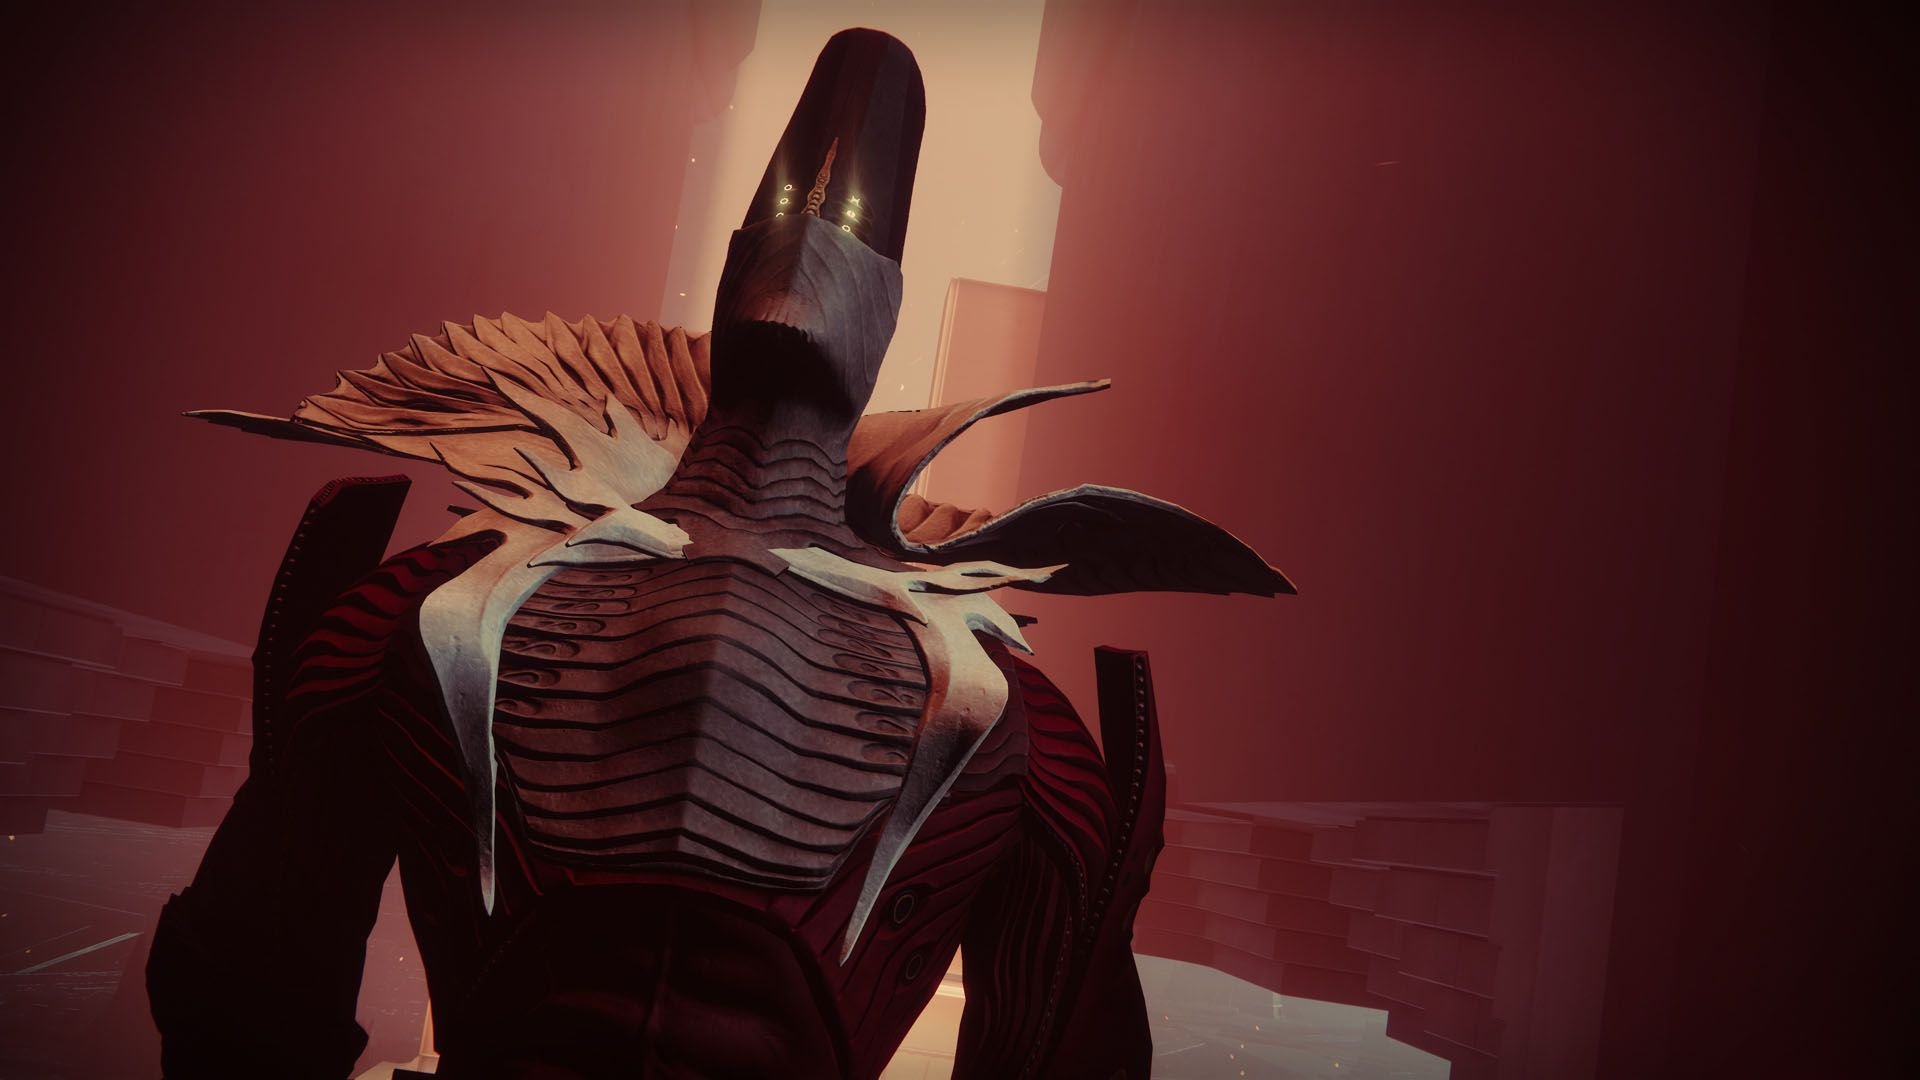
Final Encounter — Rhulk Boss Fight
Another jumping puzzle quickly leads your team to the battle with Rhulk, the Disciple of the Witness – the final Destiny 2 raid boss in VoD.
Two trios are needed – the Buff team and the Mob team. A Buff group Guardian starts the encounter by shooting the floating crystal and gaining the Leeching Force (LF) buff that needs to be transferred to two other players from the group. How to do that? The first Guardian stands on the glowing platform and spawns two smaller crystals. The rest of the Buff group shoots them – one crystal for each Guardian – and shares LF, which now has to be further upgraded to Emanating Force (EF) by jumping into the beam of Darkness cast by Rhulk.
The Keepers, as usual, reveal symbols upon death, one set being seen only by LF carriers. Deduce the matching symbol, find the obelisk with the same icon; the Mob group will call it out to the EF player to let them deposit the buff to the needed obelisk. To weaken the energy field and move to the next phase, you’ll have to repeat the following sequence six times:
- Get the LF buff;
- Split it between two other players;
- Upgrade it to EF;
- Kill Keepers, find the matching symbol;
- Locate the obelisk with the same symbol;
- Bring EF to the right obelisk.
The boss will eventually teleport upstairs, and you will follow to finish him for good.
Damage Phase
The arena you’ll find yourself in will have four symboled pillars at each corner. A player responsible will have to deposit EF to the needed corner.
The Leeching-Emanating gain and upgrade is performed by breaking Rhulk’s glaive and getting hit by the energy beam. The broken glaive also reveals the glyph and the right pillar, so the team will have to call it out to the buff-bearer (who doesn’t see the glyphs) so that they can do their very important depositing job.
Once the buff is deposited, you’ll see crit spots on the boss. Shoot them to crack the armor and deal damage. Repeat the depositing mechanic four times to unlock the final damage phase.
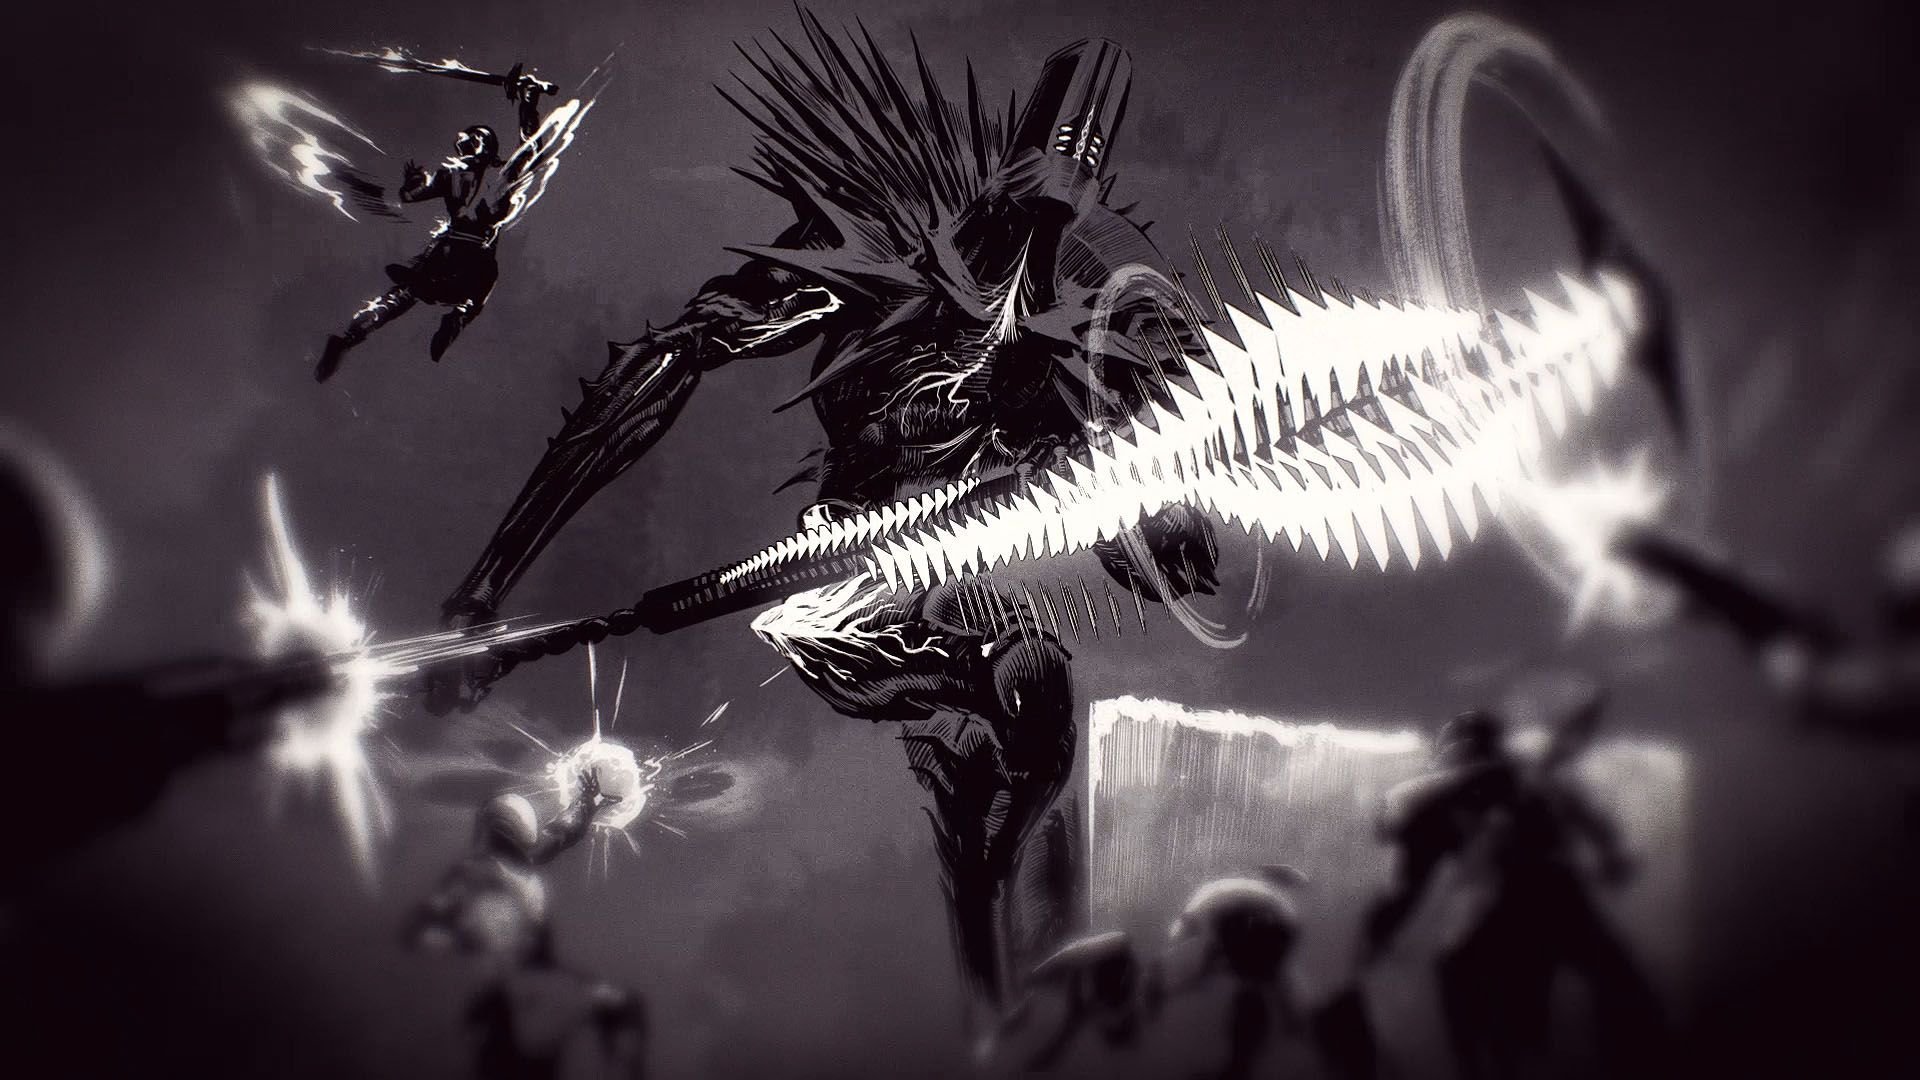
Rhulk is very mobile, moving around a lot, dashing and casting deadly blasts, so the two things you can and need to do is dodge and shoot. And watch out for those Darkness stacks during the last stand: you have to deal with Rhulk before the countdown hits ten unless you wanna die and start over.
Just like with the first Vow of the Disciple raid boss, Izanagi’s Burden and linear fusions will serve you well in the Rhulk fight. Rocket launchers with auto aim and tracking modules are also good. Don’t forget to stock up on ults and save them for the last stand: you’ll need as much damage as you can dash out ‘cause the time to finish the boss off will be extremely limited.
Once Rhulk takes his last breath, you can claim a well-deserved victory and bathe in the rays of ultimate glory.
The Vow of the Disciple loot table includes the Submission SMG, Deliverance fusion, Insidious pulse rifle, Forbearance grenade launcher, Lubrae’s Ruin glaive, fantastic armor pieces and many other goodies. The exclusive Destiny 2 Sun Ghost is locked behind an exotic raid puzzle, but this adventure calls for a standalone guide that we’re already working on.
Or, if you want to get straight to the reward part, simply treat yourself to a Witch Queen boost. Skip the tedious grind and let our professional team take care of your Destiny 2 progress. Be it a weapon unlock, a raid carry, or a Trials of Osiris boost, we at WowVendor are happy to make all of your in-game dreams come true. Don’t hesitate to visit our website and place your order. Your perfect gaming experience is just one click away!
As for our Destiny raid tutorial, that’s all for today. Thanks for reading and stay tuned for more walkthroughs and guides!
May the Light guide you, Guardians.


Comments