Destiny 2 Wolfsbane Exotic Axe: How to get, Catalysts, and Perks
Wolfsbane Exotic Axe arrived with Destiny 2 Ash and Iron update. Discover how to get Wolfsbane, Perks and Catalysts in Heliostat mission with our full guide.
Key takeaways
- Wolfsbane is a new Exotic Solar Axe from Destiny 2’s Ash and Iron update.
- It’s obtained by completing the Heliostat Exotic mission in Pinnacle Ops.
- Wolfsbane has 4 Catalysts: Attrition Orbs, Relentless Strike, Burning Ambition, and Subroutine Recursion.
- All Catalysts are unlocked through Datapad and Console puzzles in the Heliostat Exotic mission on Master difficulty.
Meet the Wolfsbane — the new Destiny 2 Exotic Axe in Ash and Iron. Let’s go over everything you need to know about this melee Solar weapon: how to get Wolfsbane, its Perks, Traits, and Catalyst.
Table of Contents


How to get Wolfsbane Destiny 2 Exotic Axe

To get Destiny 2 Exotic Axe Wolfsbane, you have to complete the new Heliostat Exotic mission, available now in Pinnacle Ops. This mission is fairly short and straightforward, so it shouldn’t pose much of a challenge for a Guardian.
Heliostat Psionic Protection buff
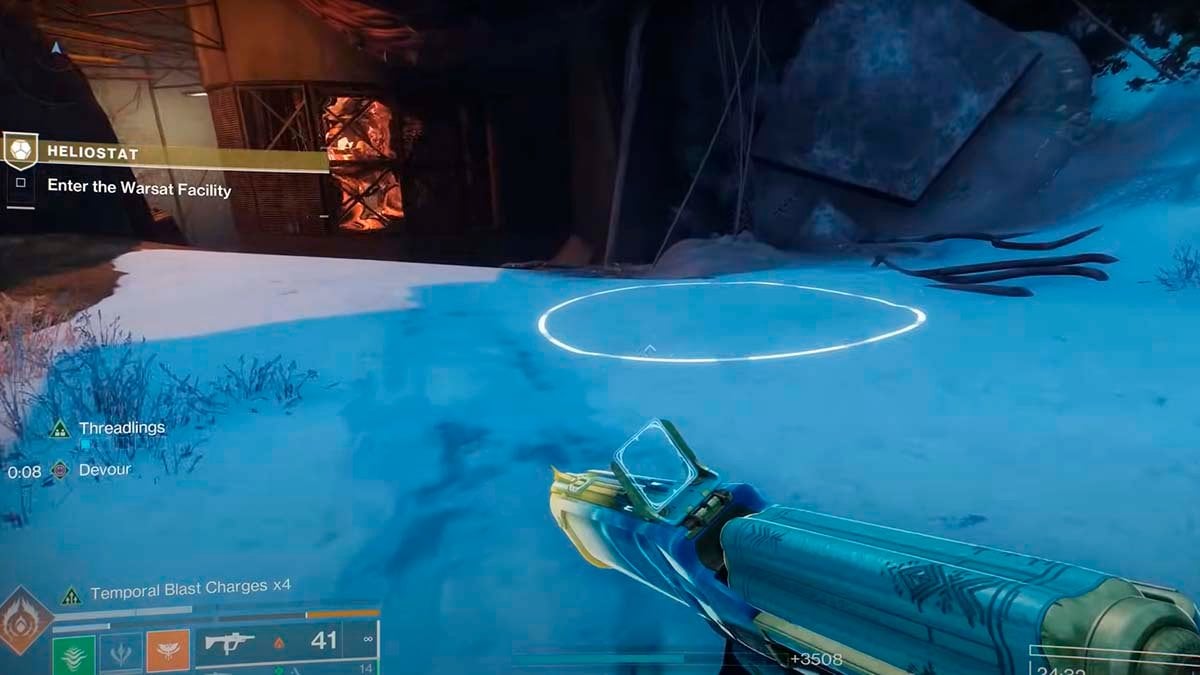
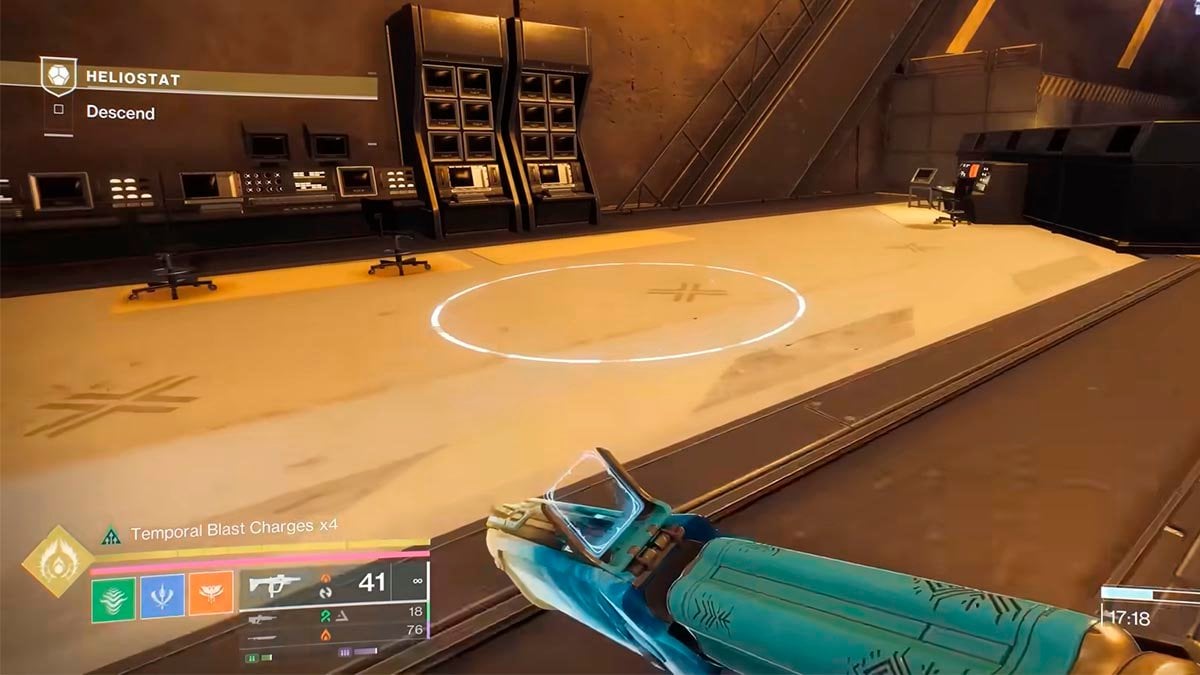
Once inside the Heliostat Exotic mission, eliminate the Cabal enemies until you come across a glowing orange device that emits damaging pulses. Standing in its wave without protection will quickly kill you. To survive, locate the rally flag–like circle nearby and get the Psionic Protection buff, allowing you to pass safely through the pulses.
Heliostat Radiolarian Fusion meter
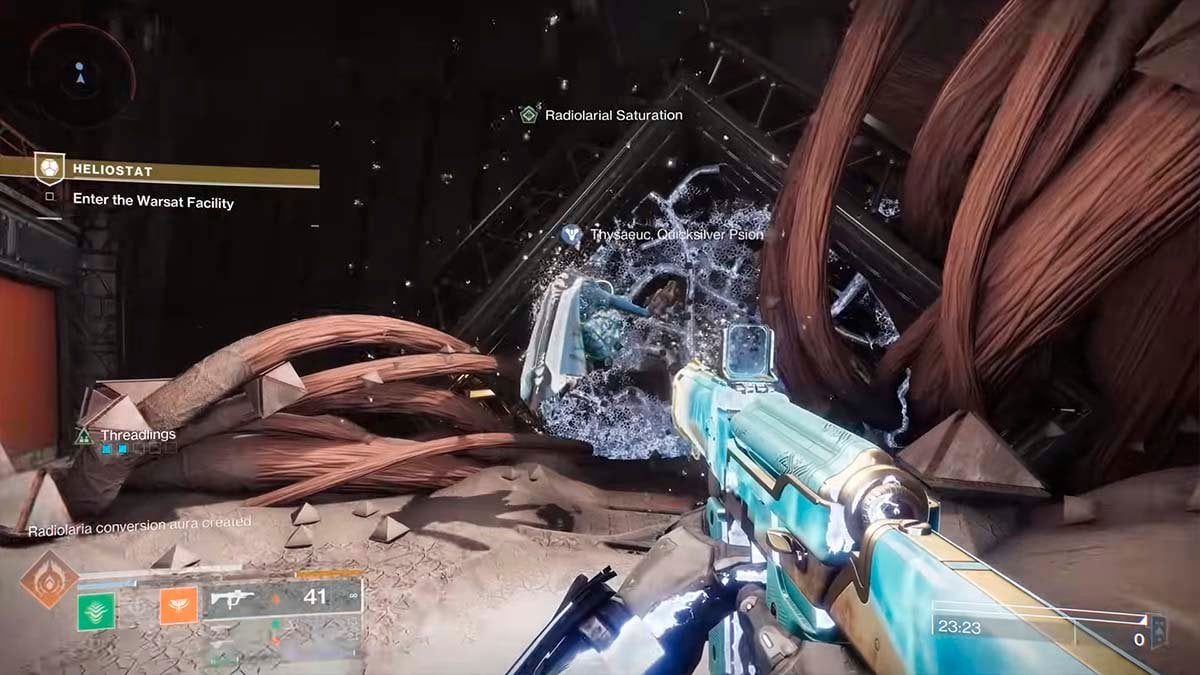
Proceed deeper into the structure. Along the way, you’ll encounter more summon points for additional Psionic Protection buffs. Eventually, a Minotaur will appear at the bottom of a staircase. Defeating it leaves a white zone on the ground, stand in it briefly to charge your Radiolarian Fusion meter. Once fully charged, follow Psion to a blocked doorway and use your charged fusion to open it.
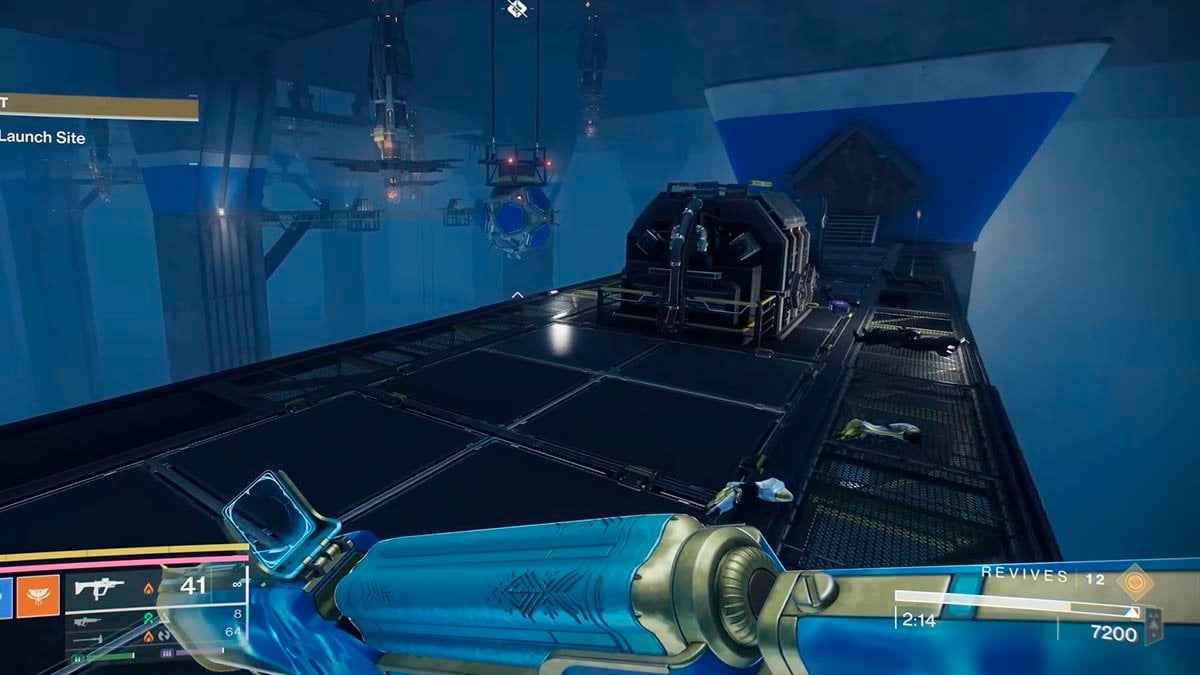
Heliostat Access the Bunker
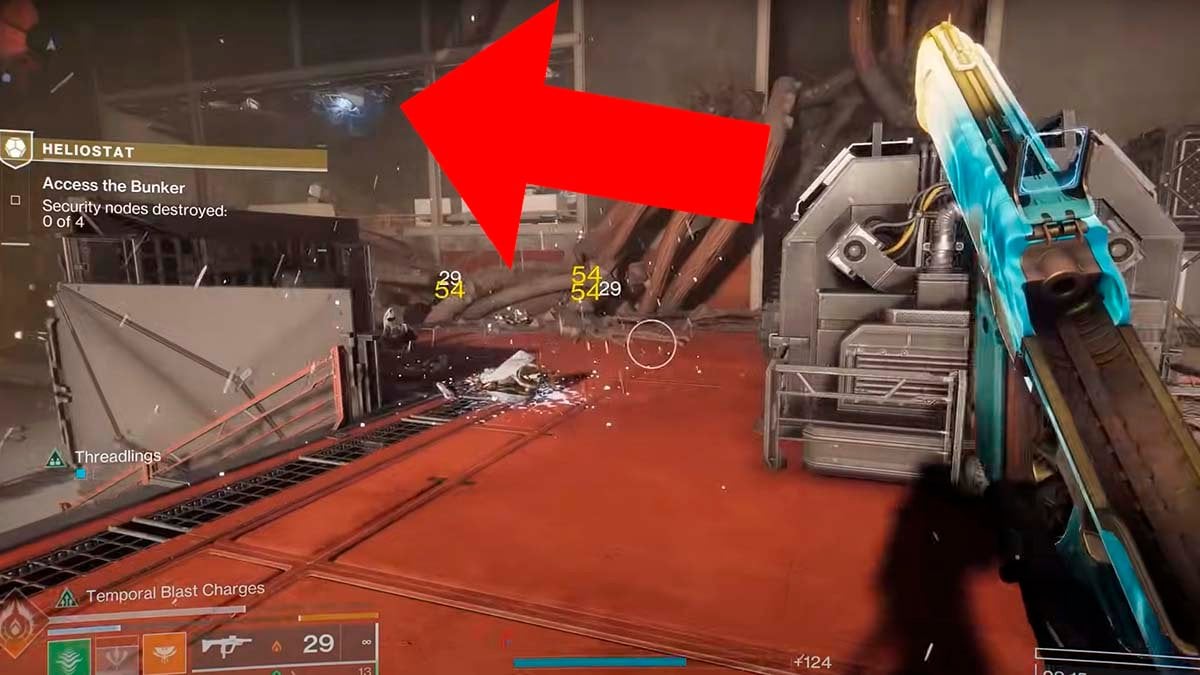
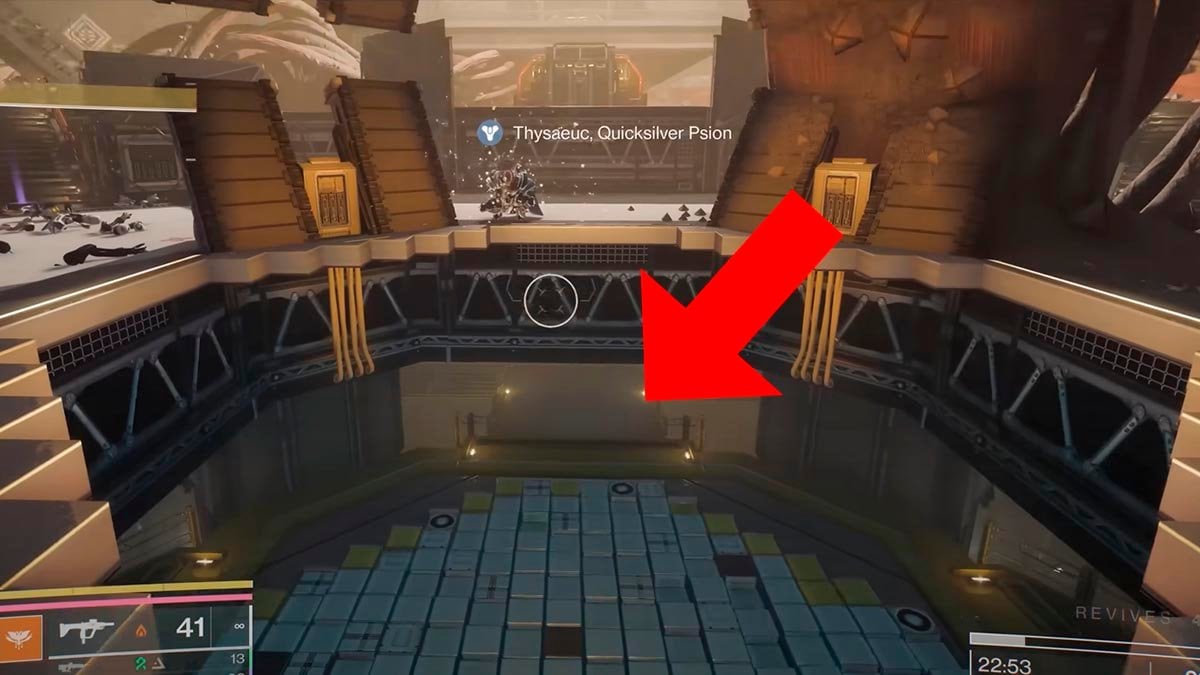
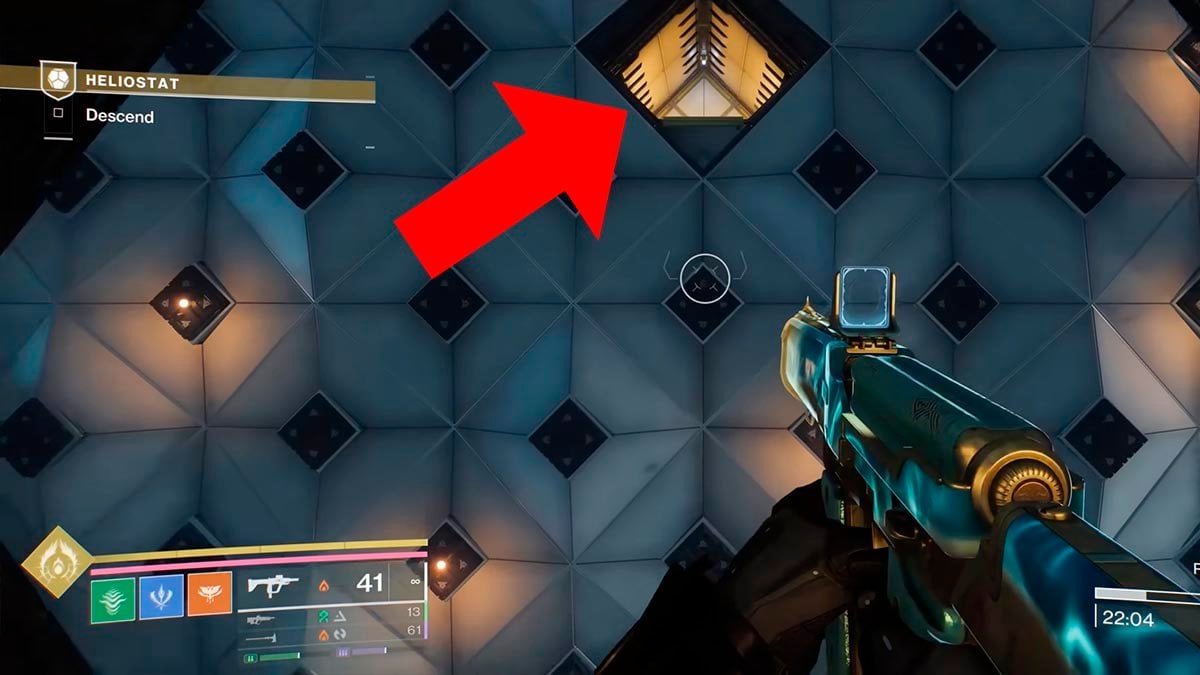
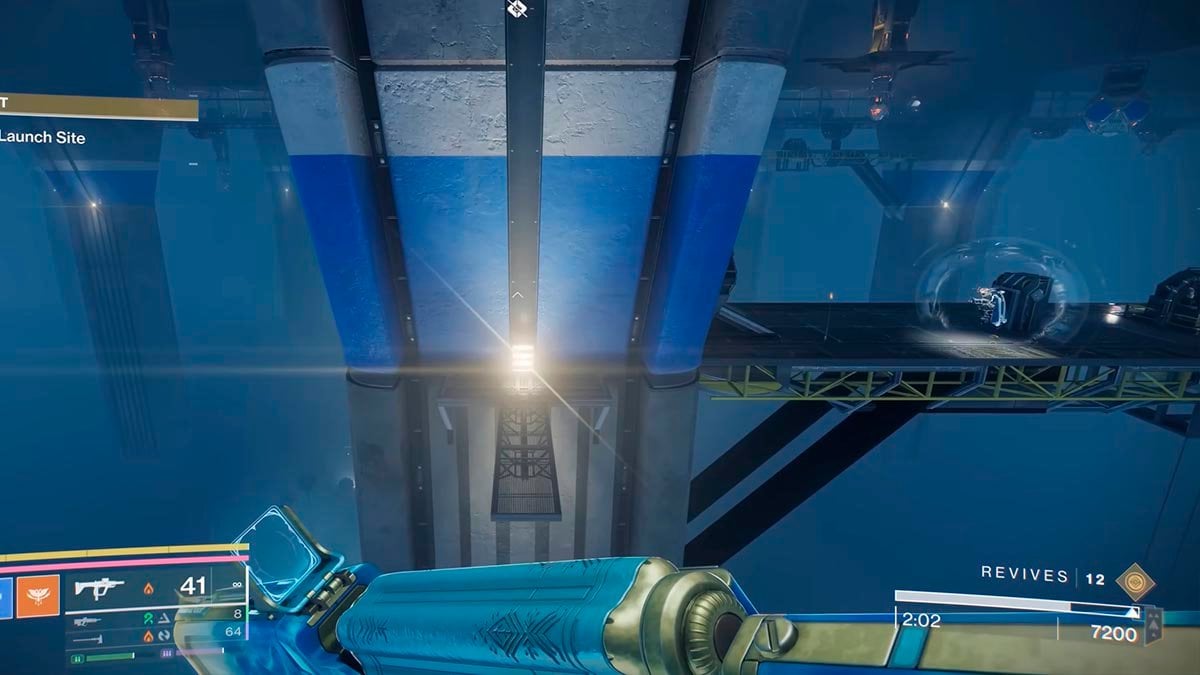
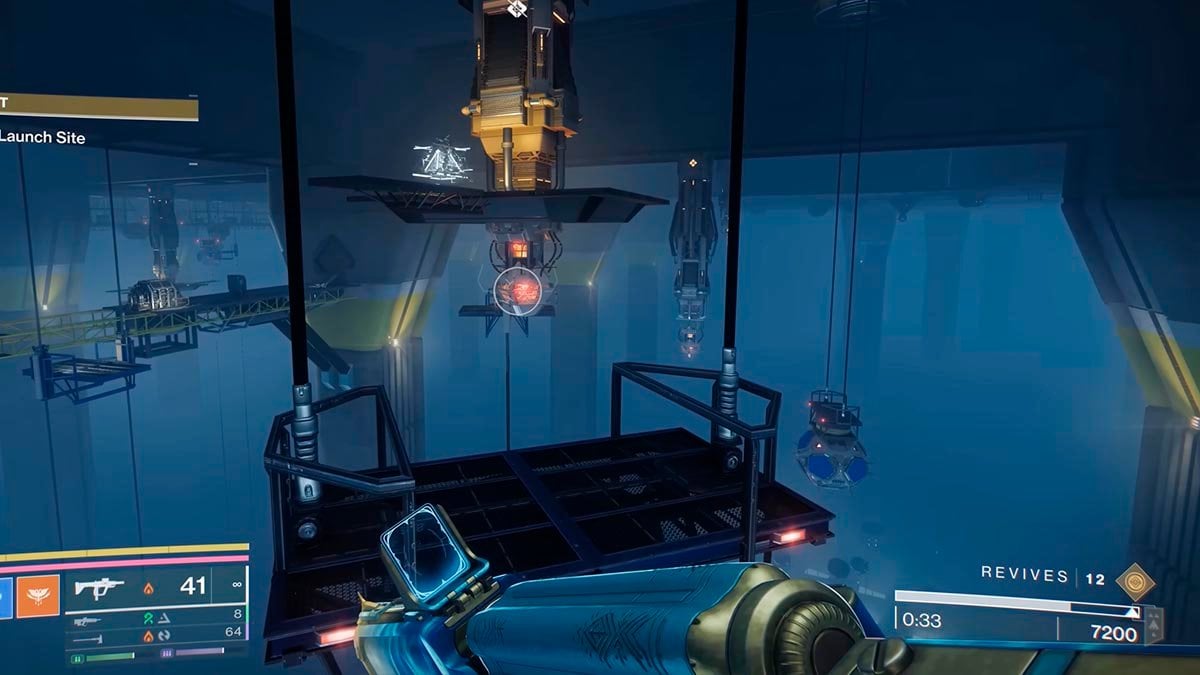
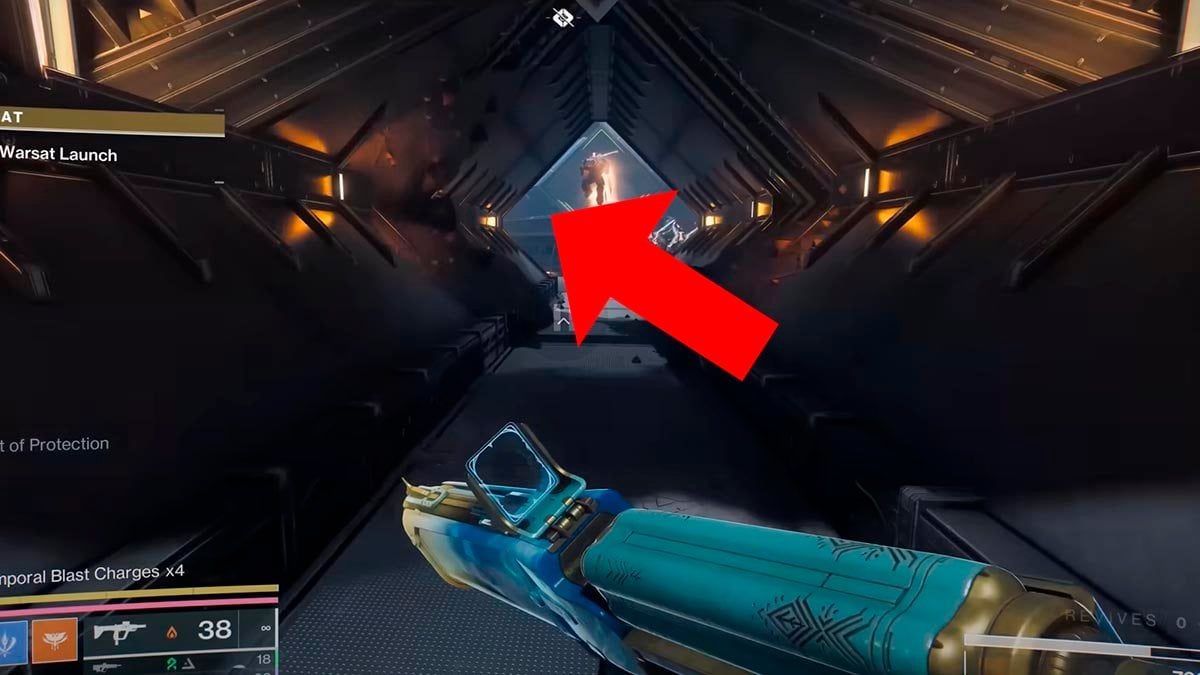
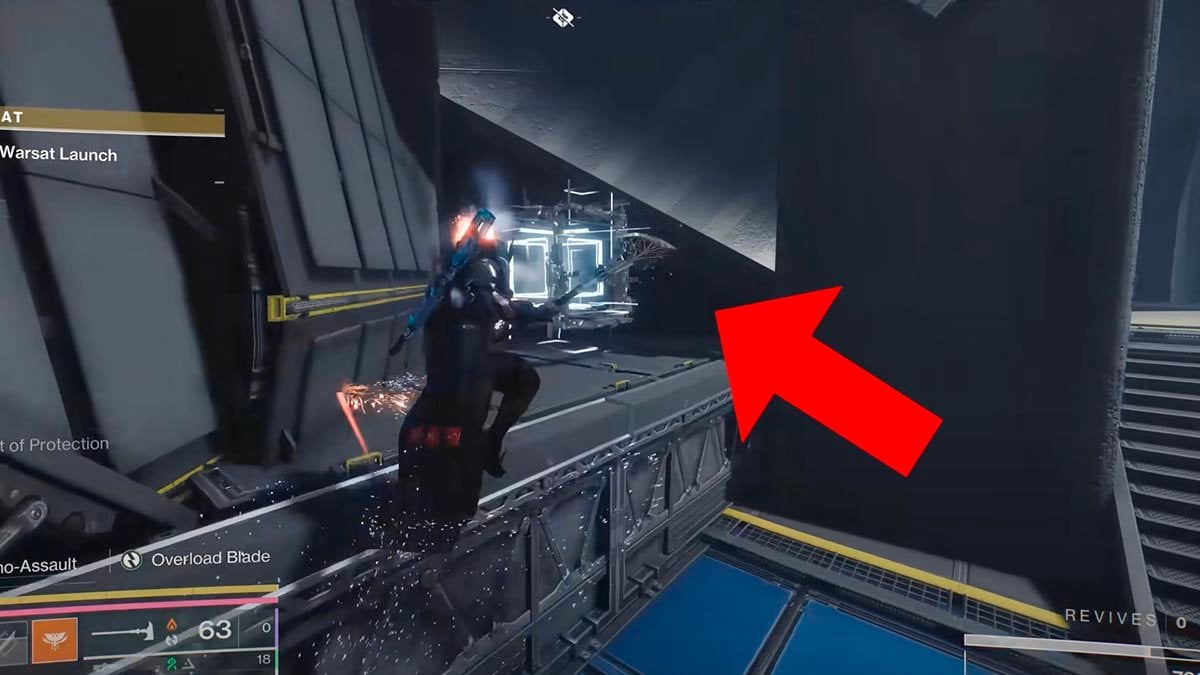
In the next chamber, your objective is to activate a set of glowing blue buttons. The first is located in the center of the ceiling. Defeat waves of enemies until Minotaurs appear, use their dropped white zones to recharge your Radiolarian Fusion, and then open each blocked doorway with your Psion’s help. Inside each new room, shoot the blue button on the ceiling to activate it. Repeat this sequence until all four buttons are triggered. One button is in the main room and three are in the side rooms.
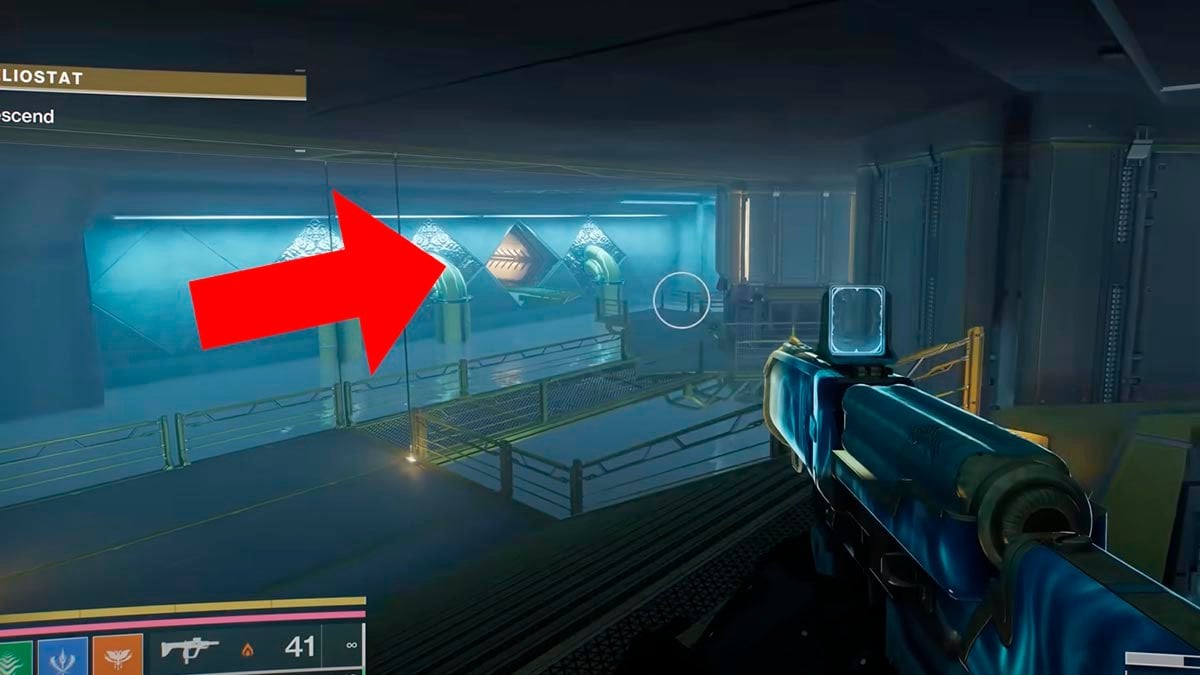
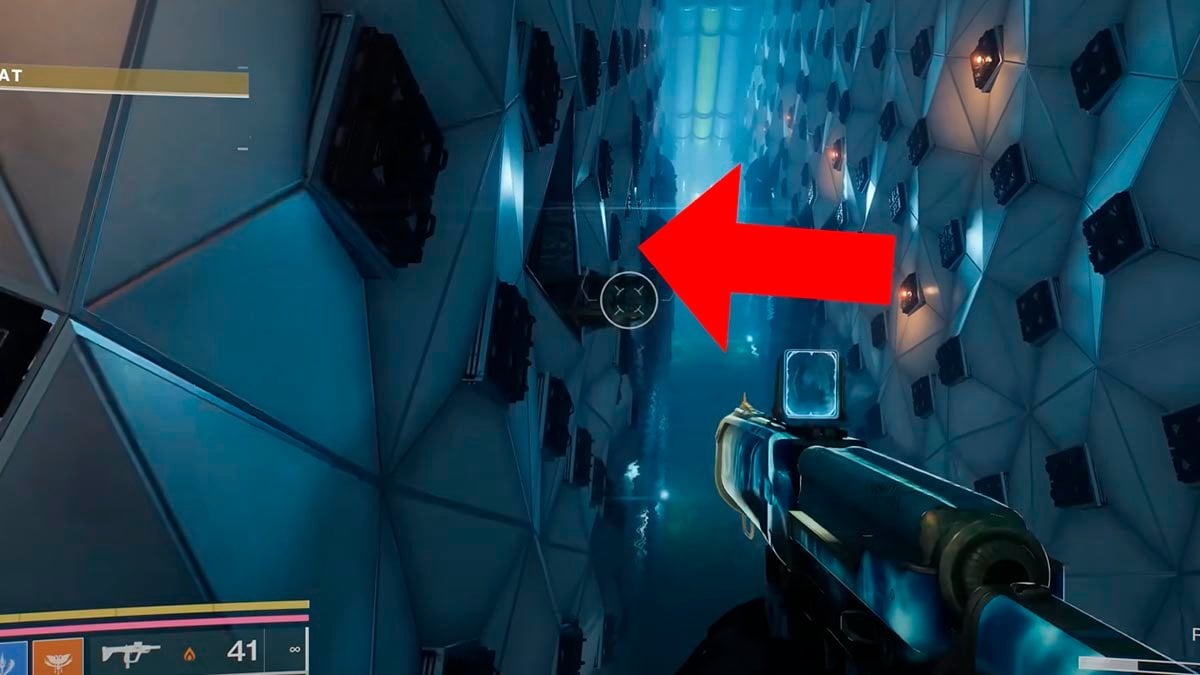
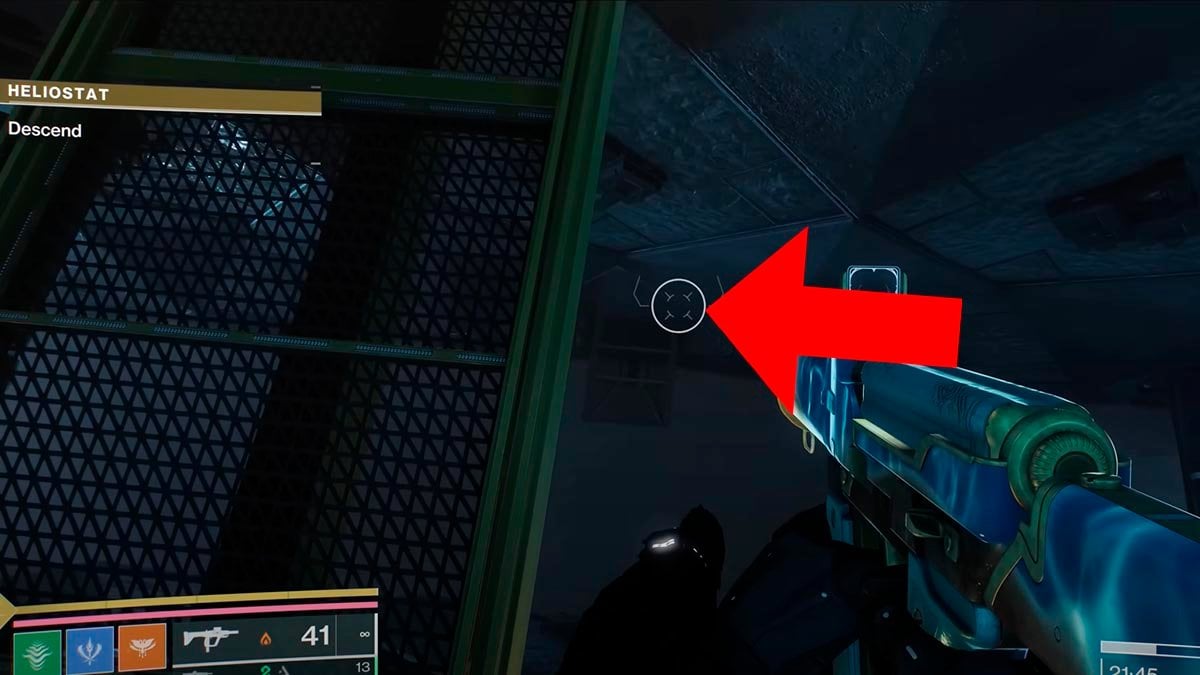
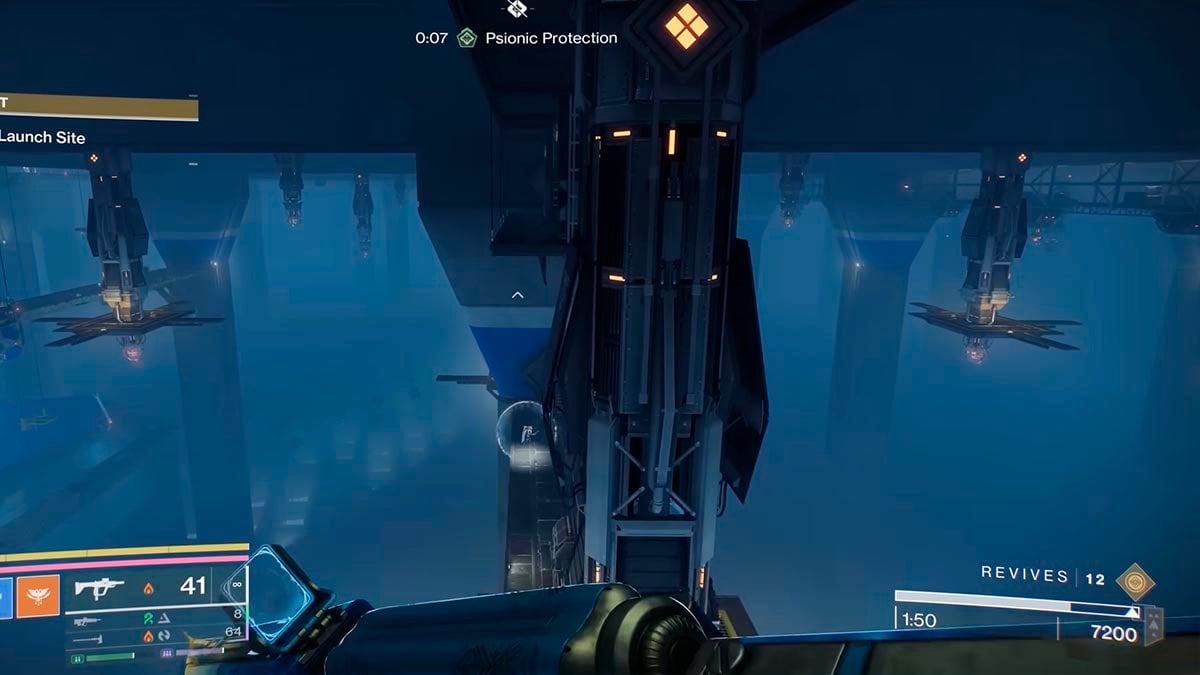
Heliostat Descend
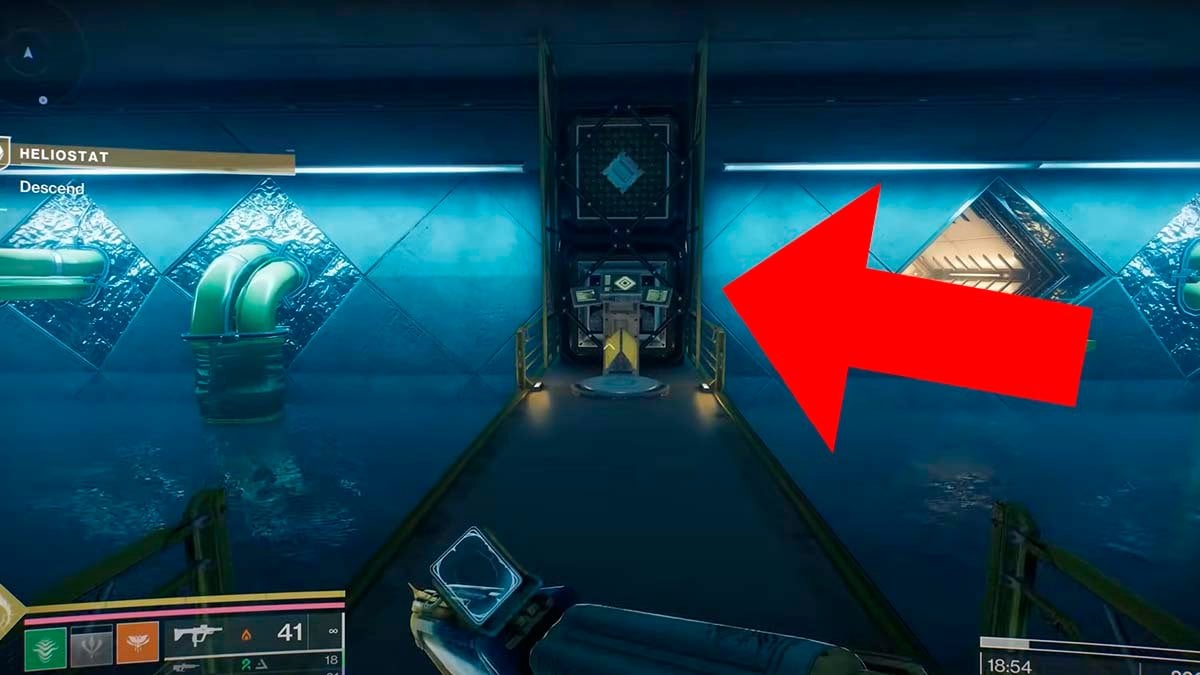
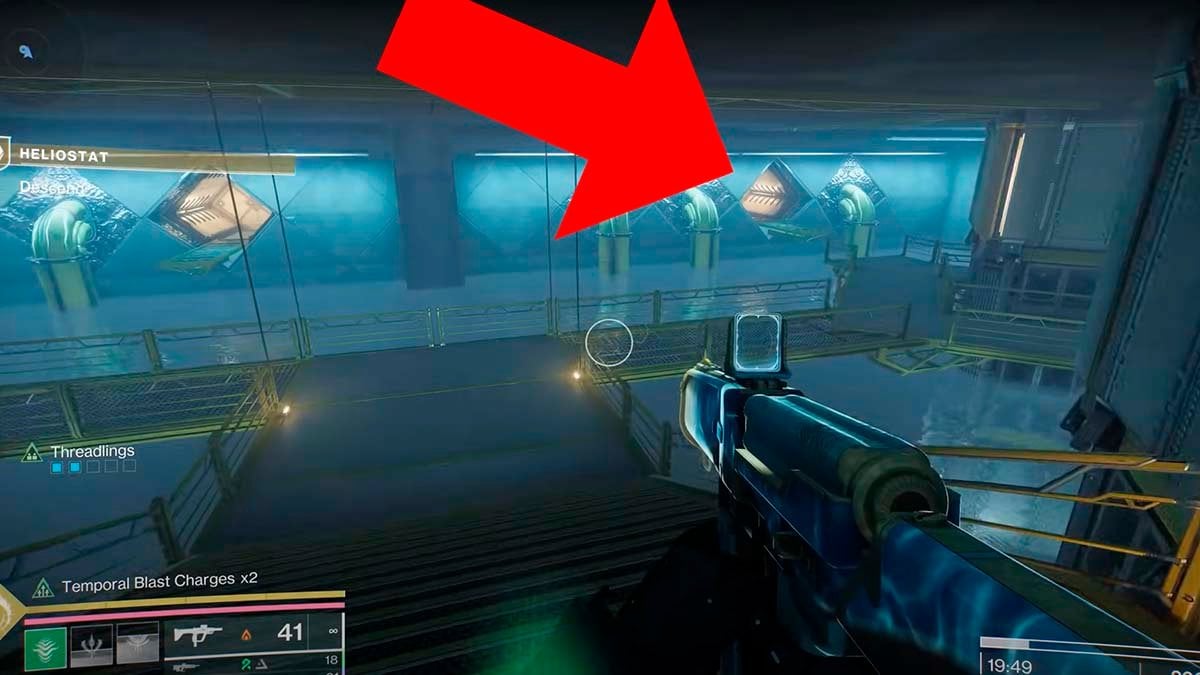
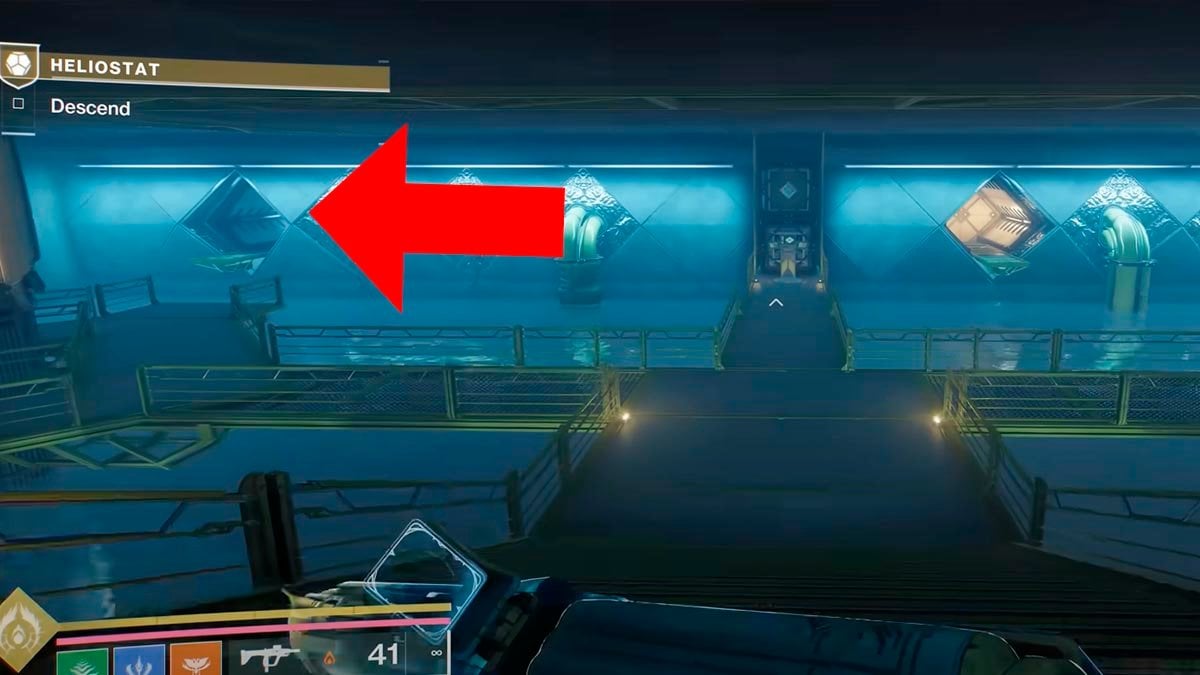
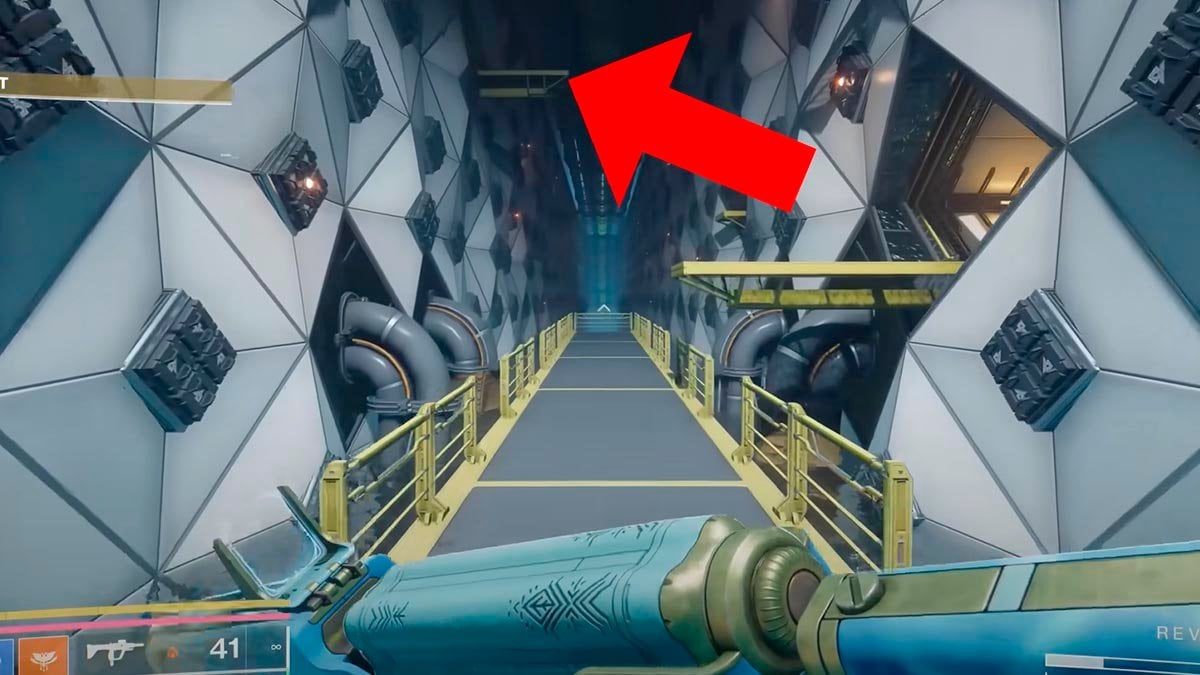
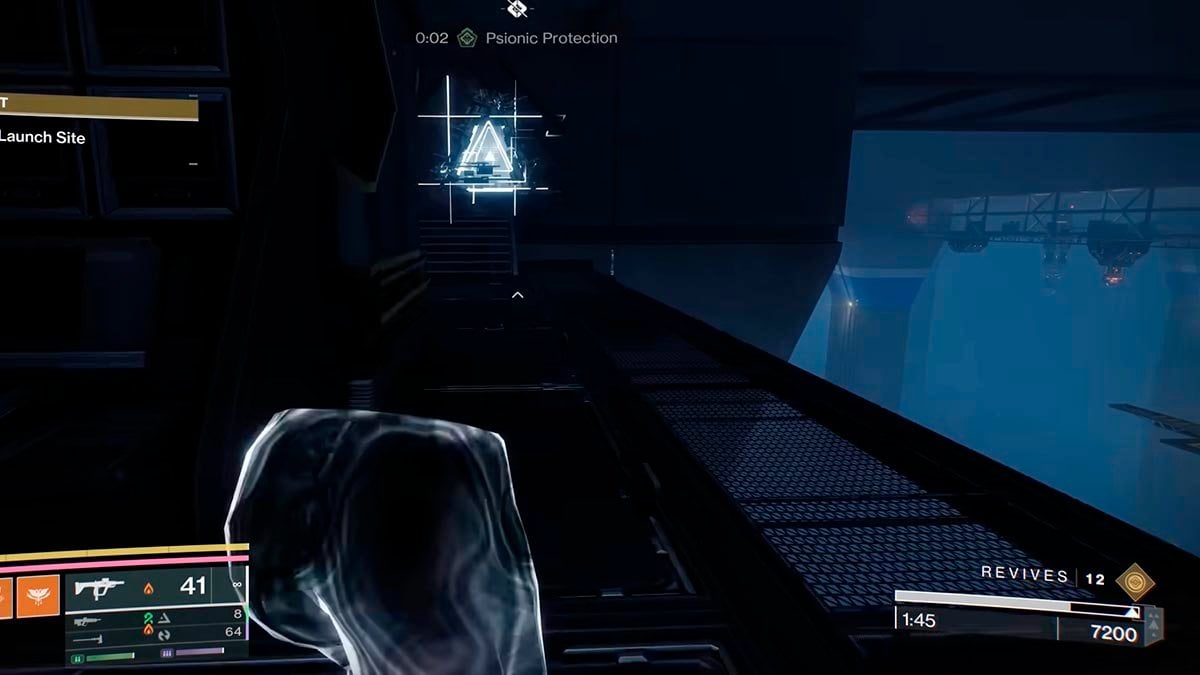
When finished, drop through the hole in the center of the room to a blue-lit water area. Find the nearby terminal glowing with green text and a green diamond, and activate it. Turn around and go through the diamond-marked door. It’s the only safe one, as the others are trapped. This leads to a long hallway with several platforms. Jump onto the third platform on the left wall to continue forward.
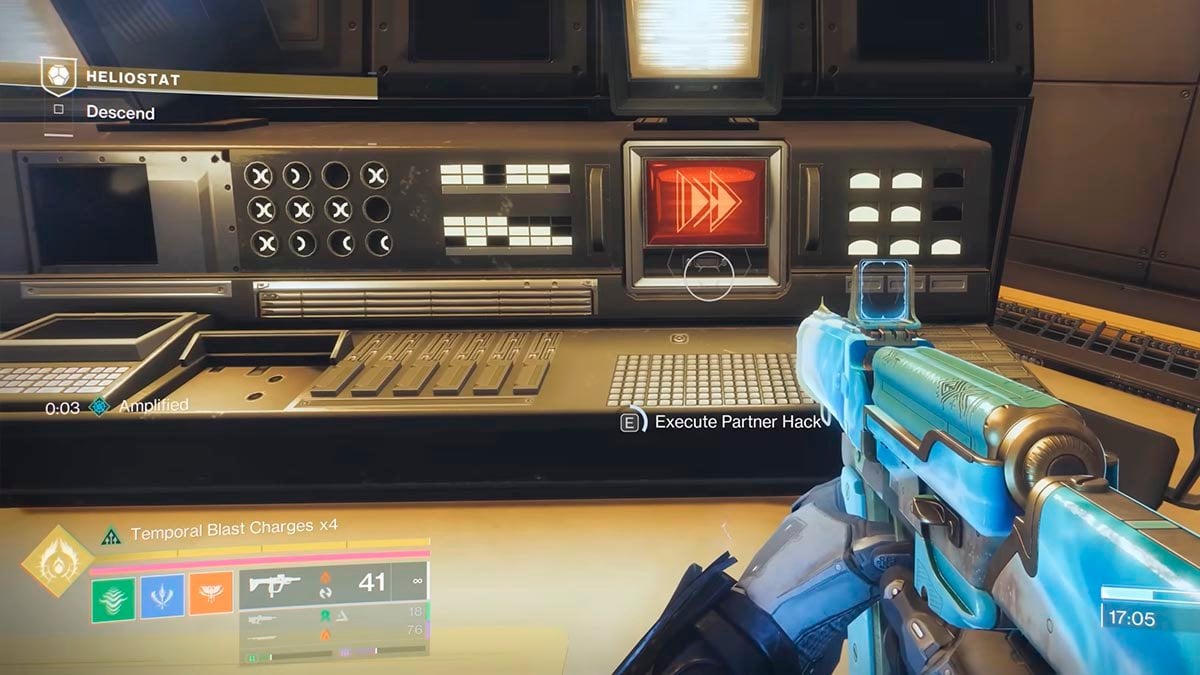
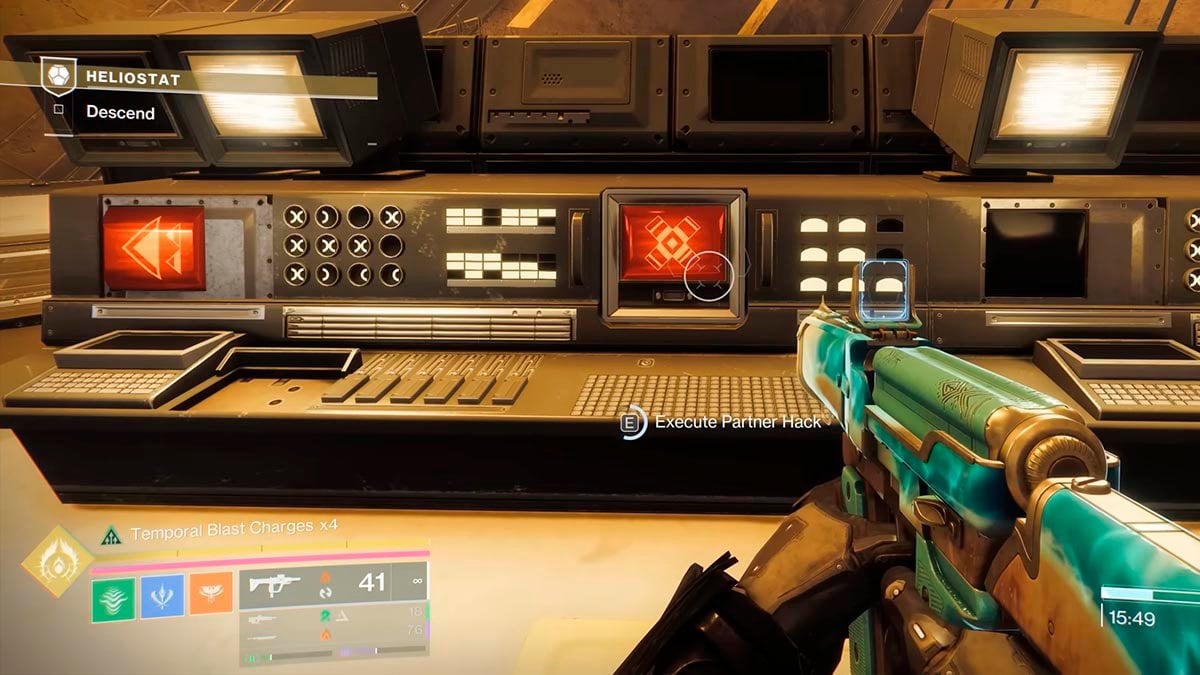
Soon, you’ll find two yellow platforms; jump to the longer one, enter the door, turn left, and drop down the hole. Inside, summon another Psion using the nearby terminal. Then, cross the corridor to another terminal and press Execute Partner Hack. A new room opens up — send your Psion to hack again and check the middle terminal to note a red symbol. Match this symbol on the terminal with three monitors and activate it. When complete, an elevator descends. Wait for it, then shoot four blue buttons as you fall to disable the electrical barriers.
Heliostat Enter the Security Code

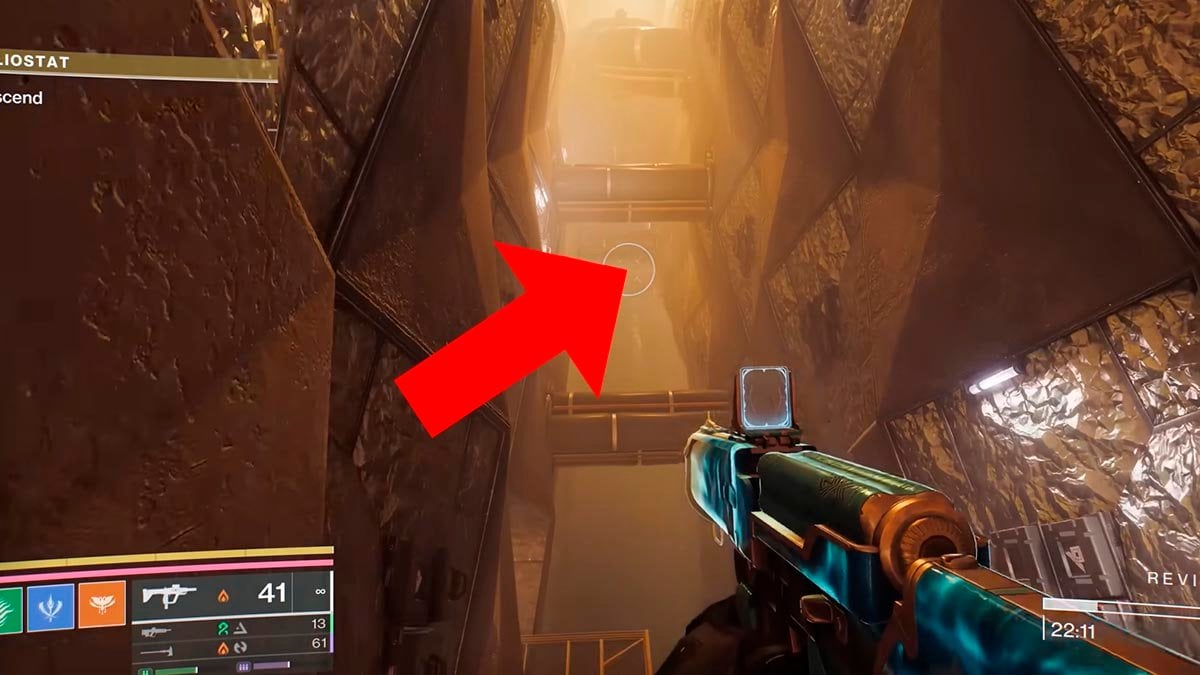
Defeat the Cabal and head inside the main building lined with red monitors. Memorize the three symbols shown from left to right. Around you are three side rooms, each containing similar monitors. Enter each room, summon your Psion to hack, and activate the matching symbols in the same sequence. Some rooms require shooting grates and navigating vents to reach the correct monitors. When you see “Security Code Fragment Accepted,” you’ve done it right. After completing all three, clear the new wave of Cabal enemies, open the chest that spawns, and activate the nearby green terminal to power the elevator.
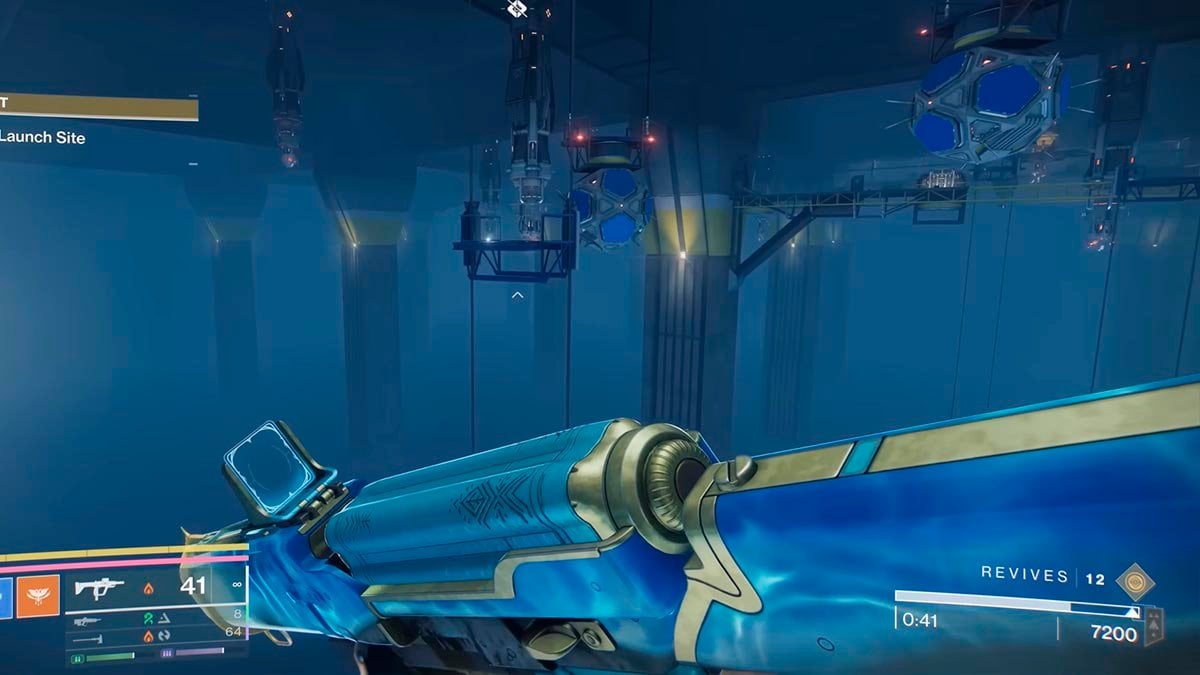
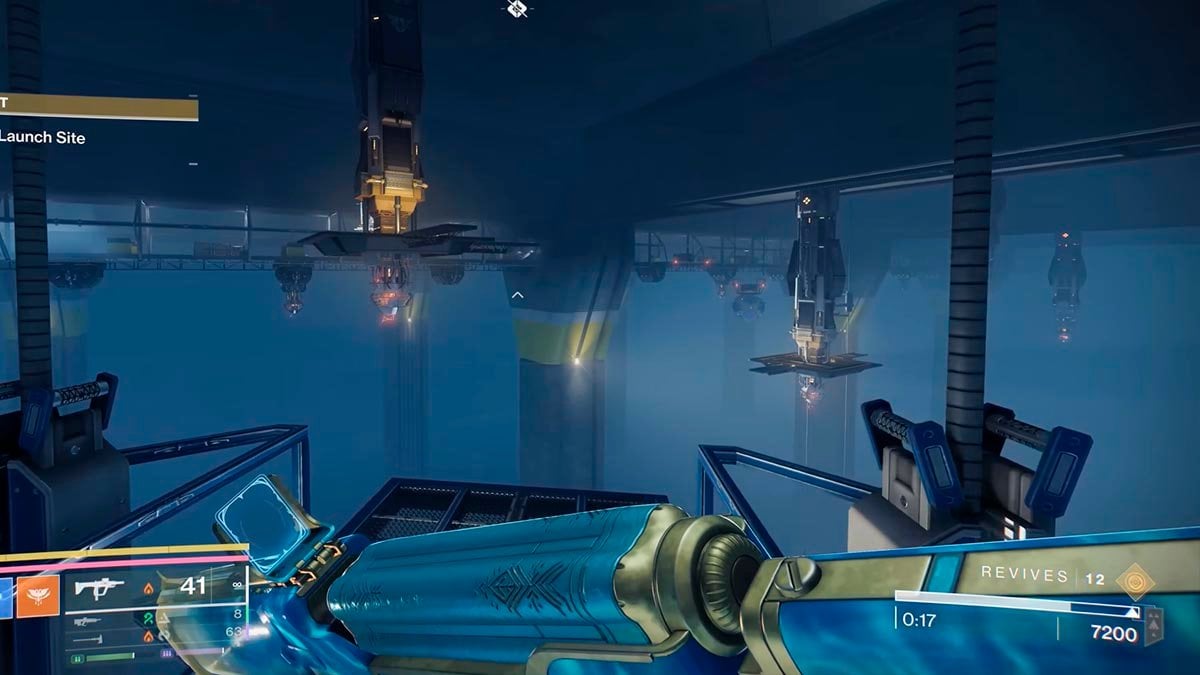
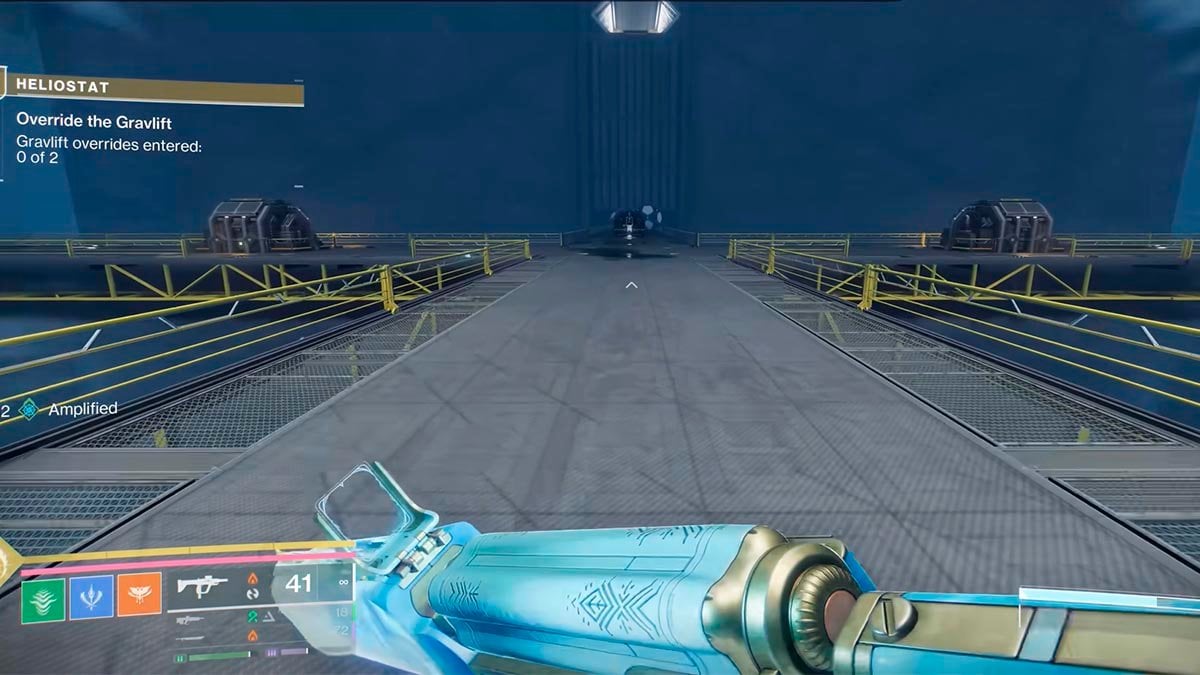
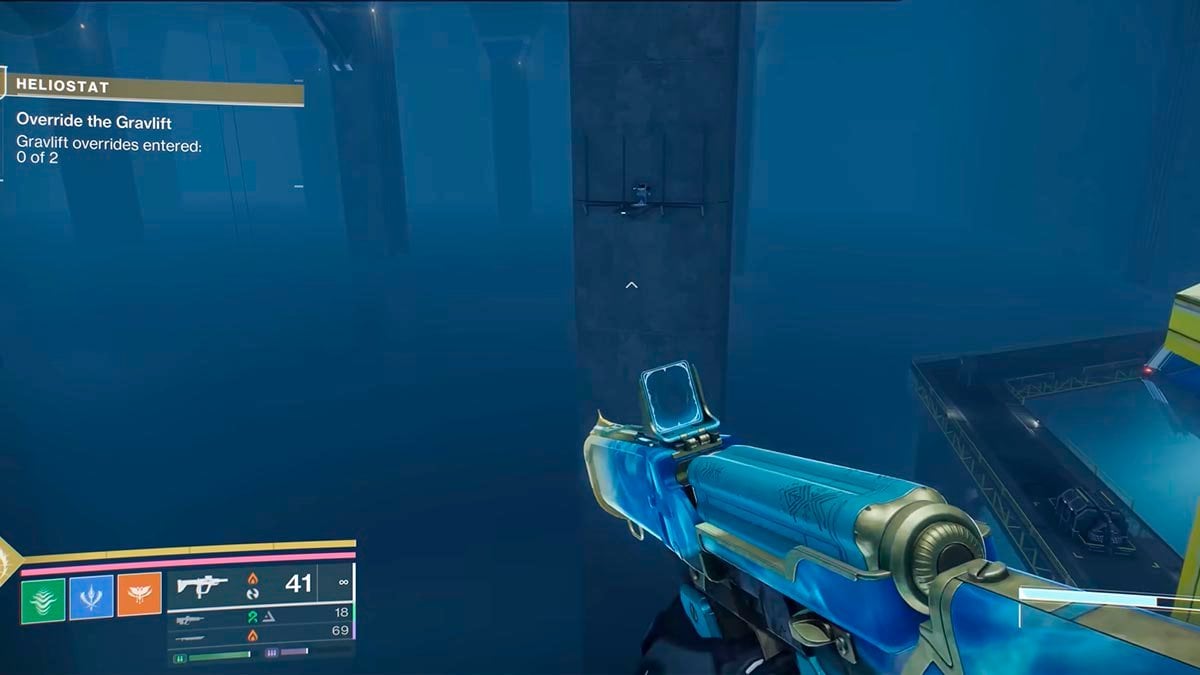
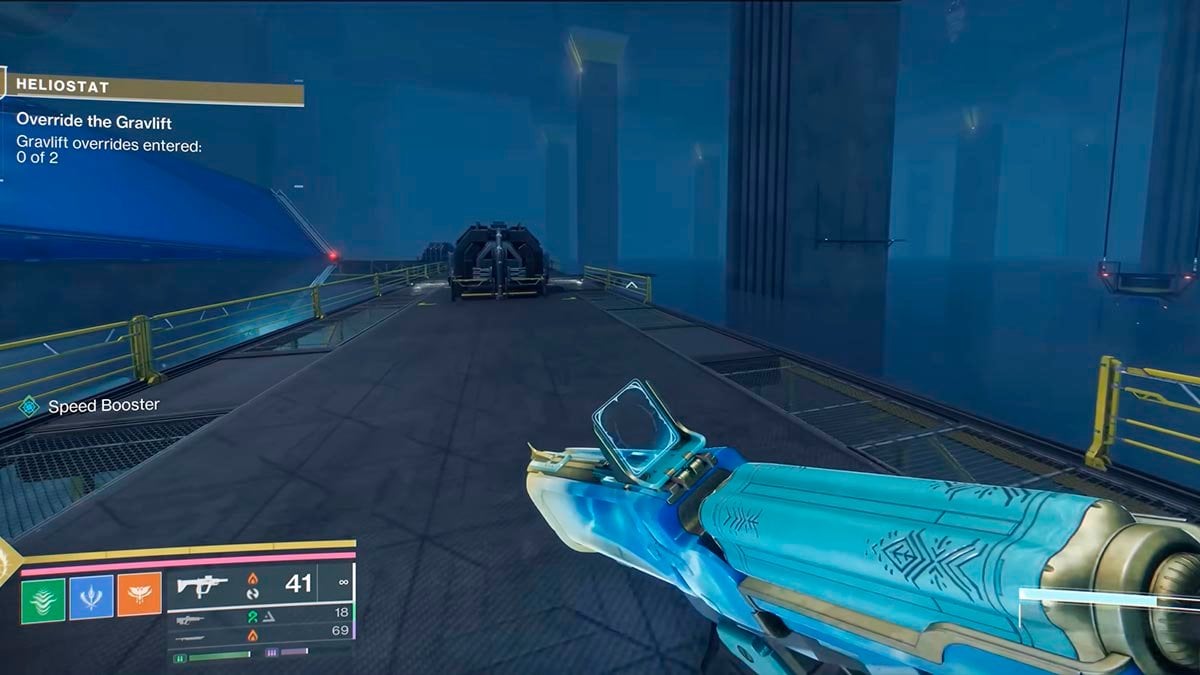
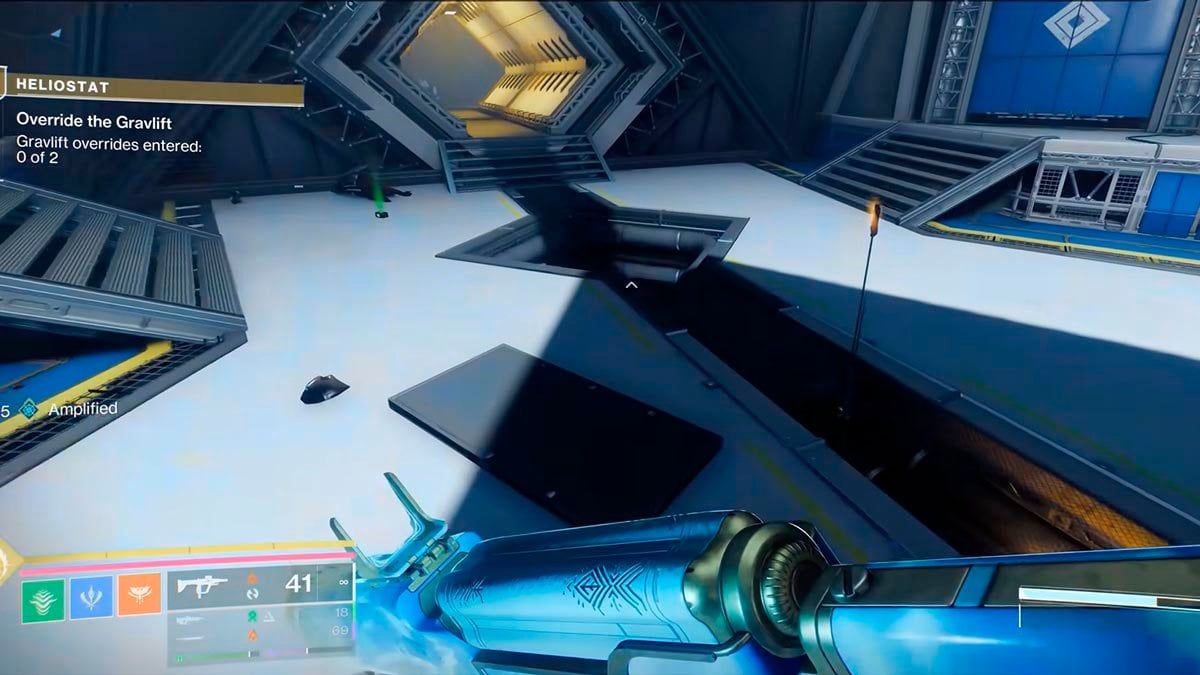
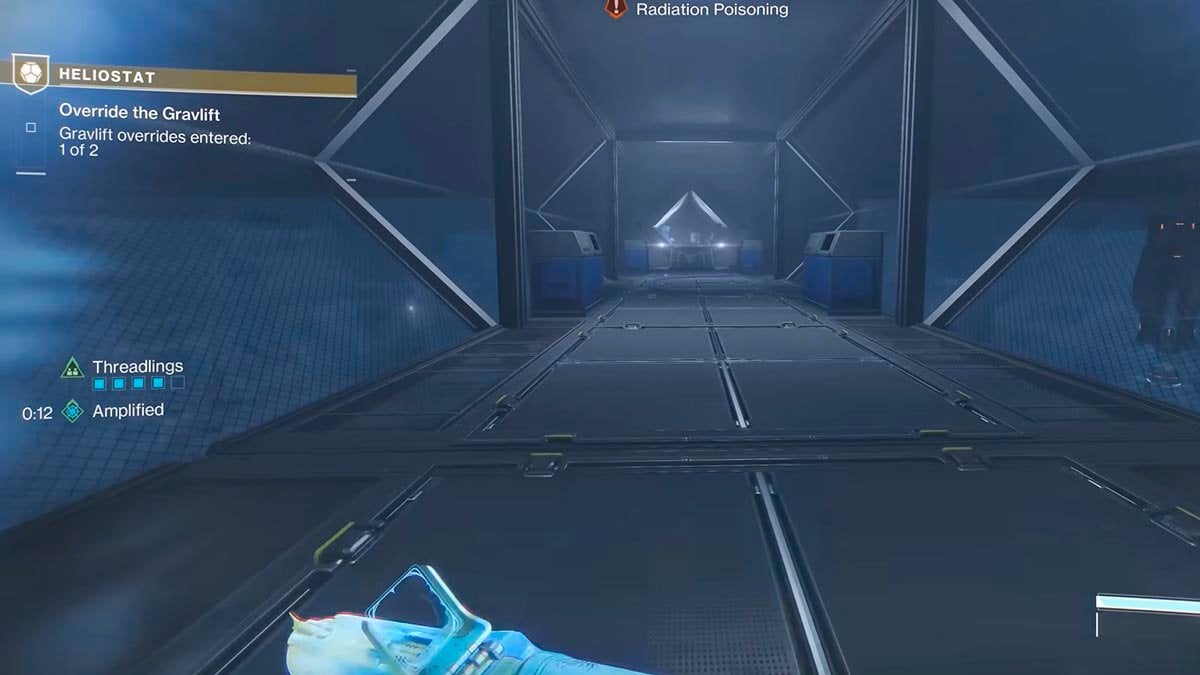
Heliostat Override the Gravlift
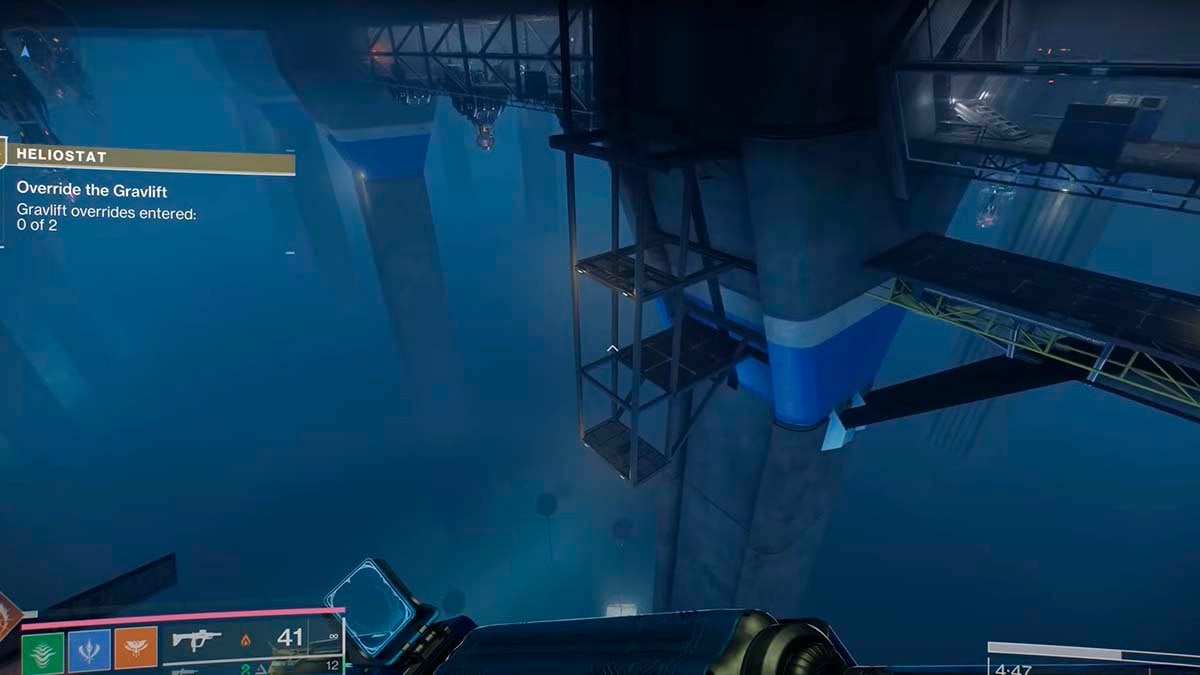
Take the elevator upward and navigate the jumping puzzle section. Summon Psion when needed to protect yourself from radiation. Progress through until you reach a glass hallway with two green terminals and orange teleporters. Activate both terminals, teleport through, and follow the green glow to the grav lift. Ride it up to reach the final boss room.
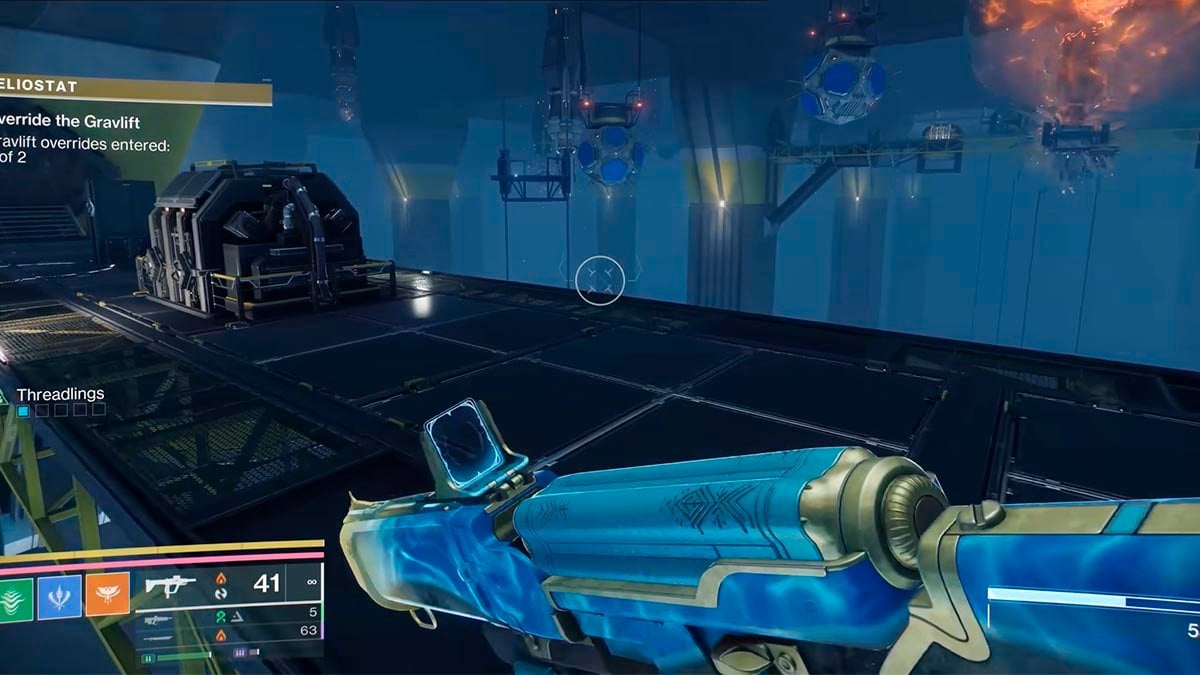
Heliostat final boss battle
During the fight, eliminate Vex and Minotaurs to recharge your Radiolarian Fusion. Use the energy to open side rooms where Psions can hack terminals. Once both hacks are done, start dealing damage to the Cabal boss. When it becomes immune, find and kill the Vex Wyvern to remove the damage shield. If you’re hit with radiation damage, stay close to the Psions for protection. Continue cycling through this process until the boss is defeated.
For more details check out this Heliostat Exotic mission walkthrough by Esoterickk:
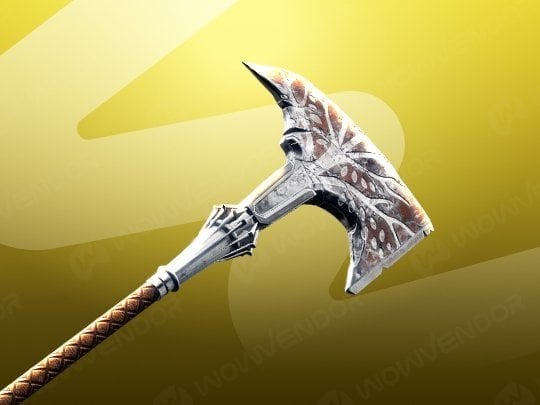
Wolfsbane Exotic Perks and Traits
- Ammo: Heavy
- Damage: Solar
- Craftable
Here’s all the key information about the Wolfsbane Exotic Axe, including its stats, perks, and traits.
- Exotic Perk: Resurgence Directive
- Light attacks generate Sword energy and have the chance to spawn seeking Quicksilver nanites that heal the wielder upon attaching.
- Upgradable to Resurgence Directive IV (increased Impact, Stability, Guard Resistance, Ammo Capacity, Guard Endurance, Ammo Generation)
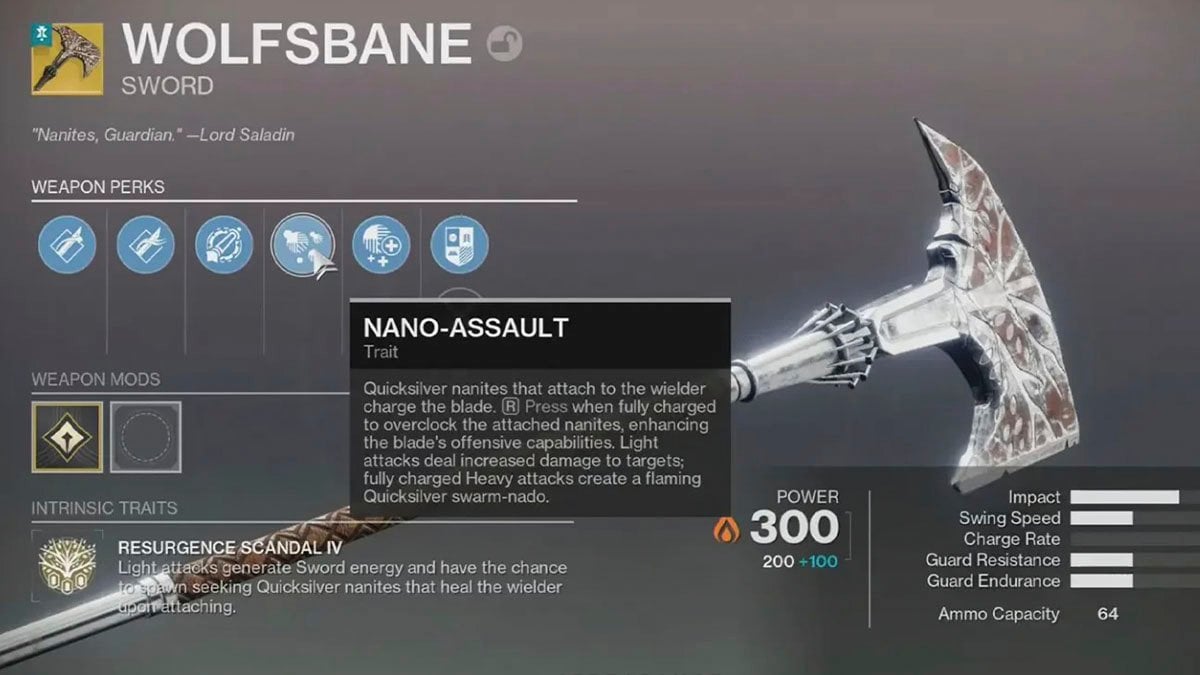
- Exotic Trait: Nano-Assault
- Quicksilver nanites that attach to the wielder charge the blade. Press R when fully charged to overclock the attached nanites, enhancing the blade’s offensive capabilities. Light attacks deal increased damage to targets; fully charged Heavy attacks create a flaming Quicksilver swarm-nado.
| Column 1 | Column 2 | Column 3 | Column 4 (Guard Socket) | Column 5 |
|---|---|---|---|---|
| Honed Edge | Jagged Edge | Nano-Assault Exotic Trait | Tenacious Handle | Attrition Orbs Refit |
| Tempered Edge | Enduring Blade | Rampager’s Handle | Relentless Strike Refit | |
| Hungry Edge | Unyielding Handle | Burning Ambition Refit | ||
| Subroutine: ~ Recursion |
How to get Resurgence Directive 2 for Wolfsbane
To get Resurgence Directive 2, start Heliostat Exotic mission and after the first main encounter go to traversal section. Destroy 3 Vex nodes with Wolfsbane.
How to get Resurgence Directive 3 for Wolfsbane
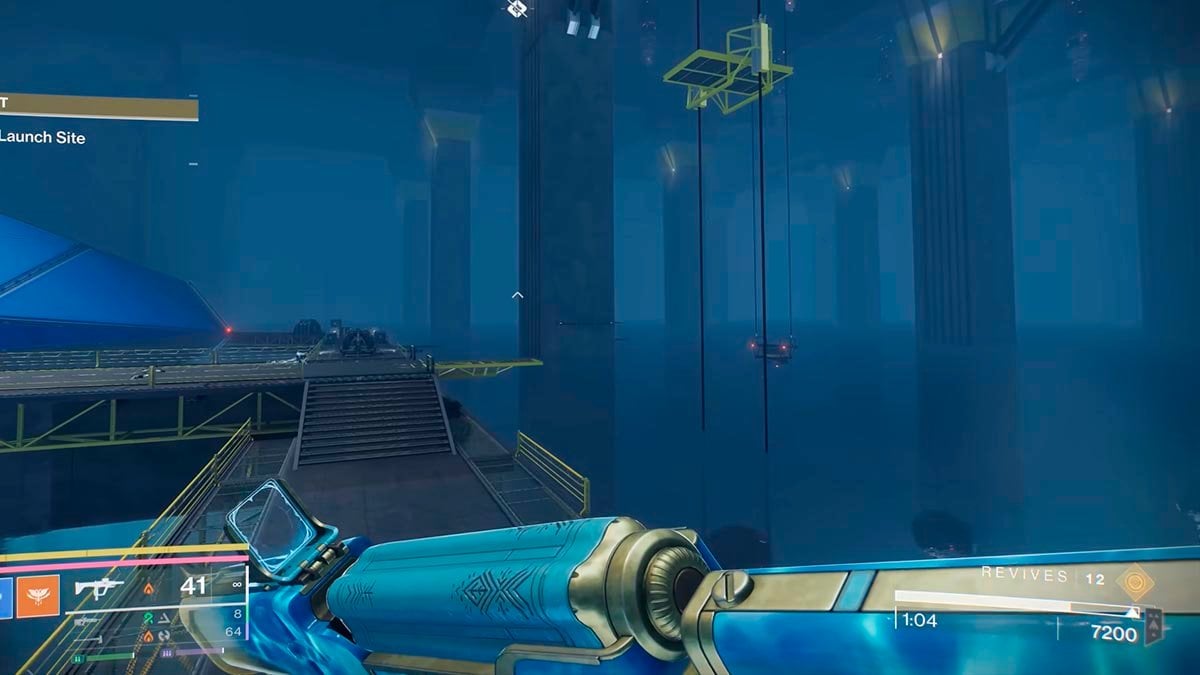
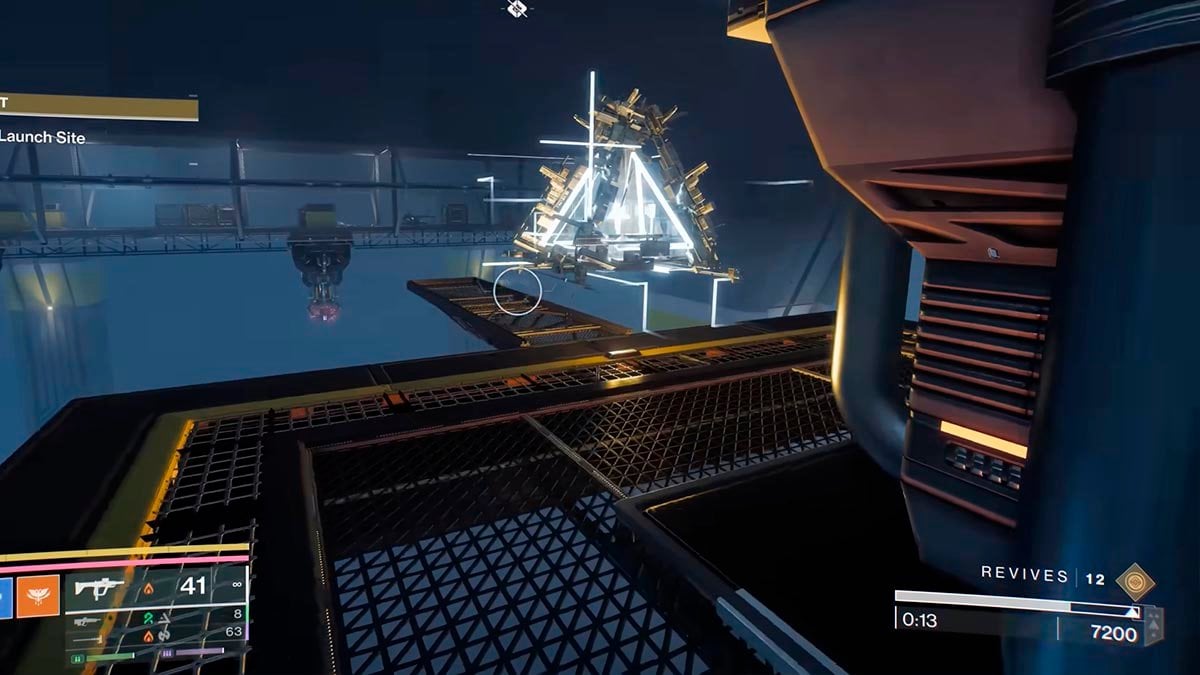
To get the Resurgence Directive 3 for Wolfsbane, complete the Heliostat Exotic Mission’s second main encounter. After that, head to the large platforming section and destroy three Vex nodes using Wolfsbane.
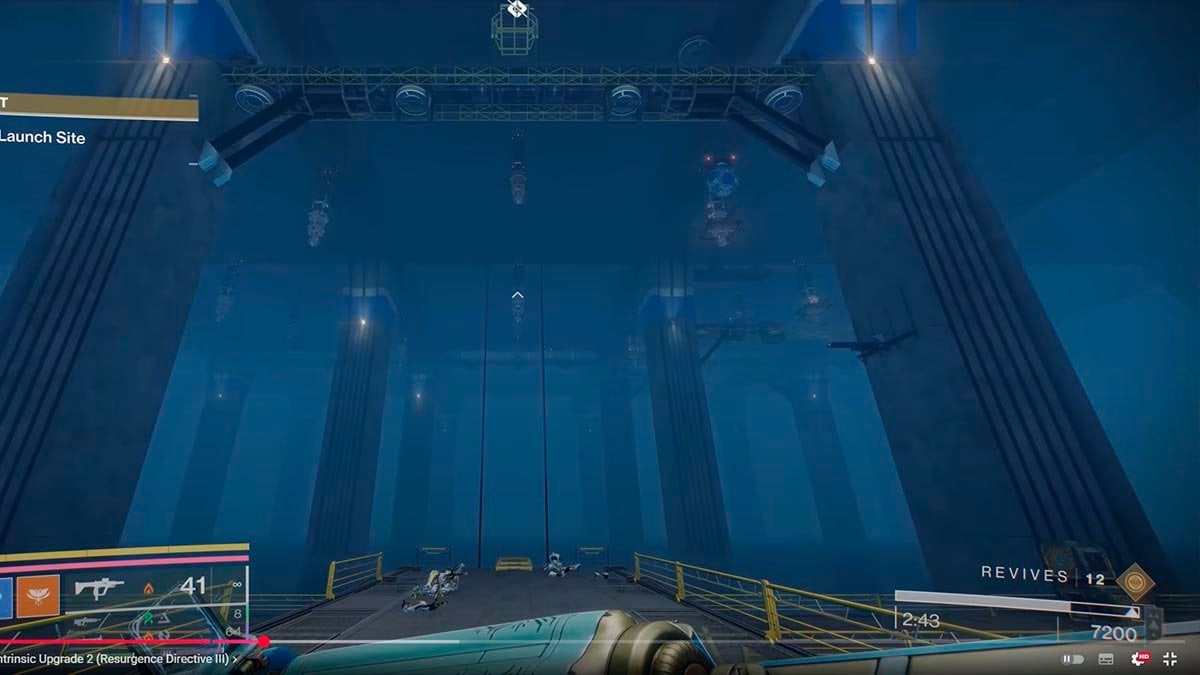
Use the gravlift to reach the higher level, where you’ll find three Vex nodes — one on the right and two on the left.
How to get Resurgence Directive 4 for Wolfsbane
To get the Resurgence Directive 4 for Wolfsbane, go to the final boss room of the Heliostat Exotic Mission. Destroy three Vex nodes using Wolfsbane.
Wolfsbane Catalysts guide
Here are Wolfsbane Exotic Catalysts:
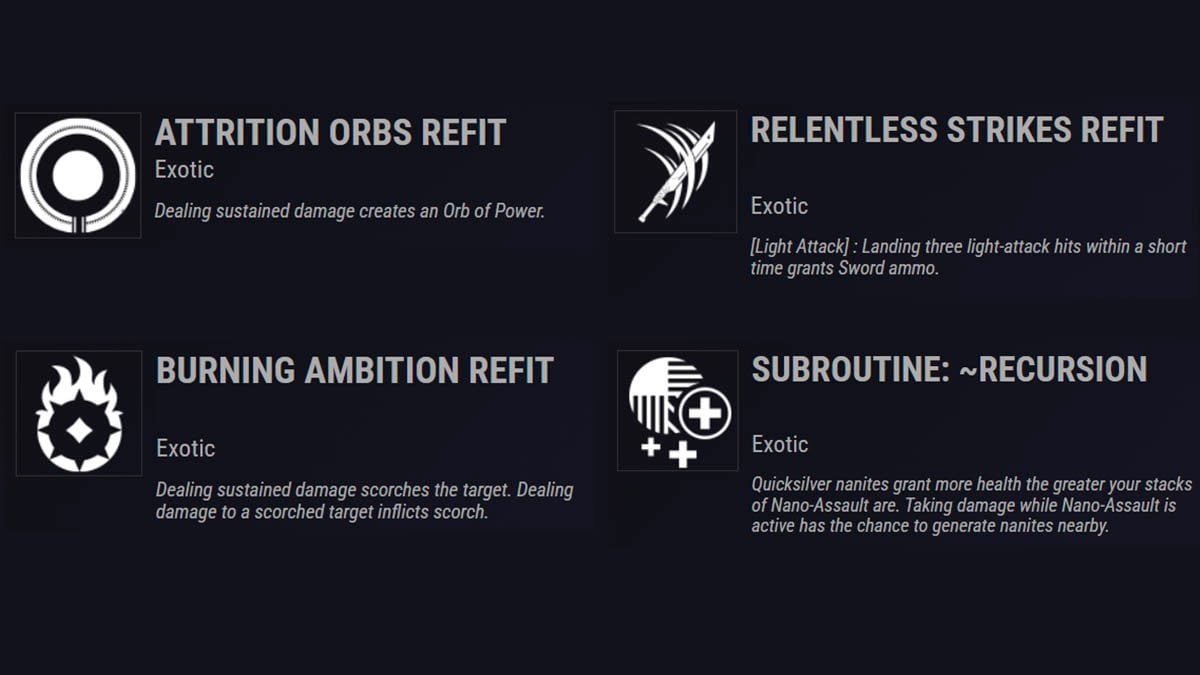
- Subroutine ~Recursion: Quicksilver nanites grant more health the greater your stacks of Nano-Assault are. Taking damage while Nano-Assault is active has the chance to generate nanites nearby.’
- Attrition Orbs Refit: Dealing sustained damage creates an Orb of Power.
- Relentless Strike Refit: Landing three light-attack hits within a short time grants Sword ammo.
- Burning Ambition Refit: Dealing sustained damage scorches the target. Dealing damage to a scorched target inflicts scorch.
How to get Attrition Orbs Catalyst Wolfsbane
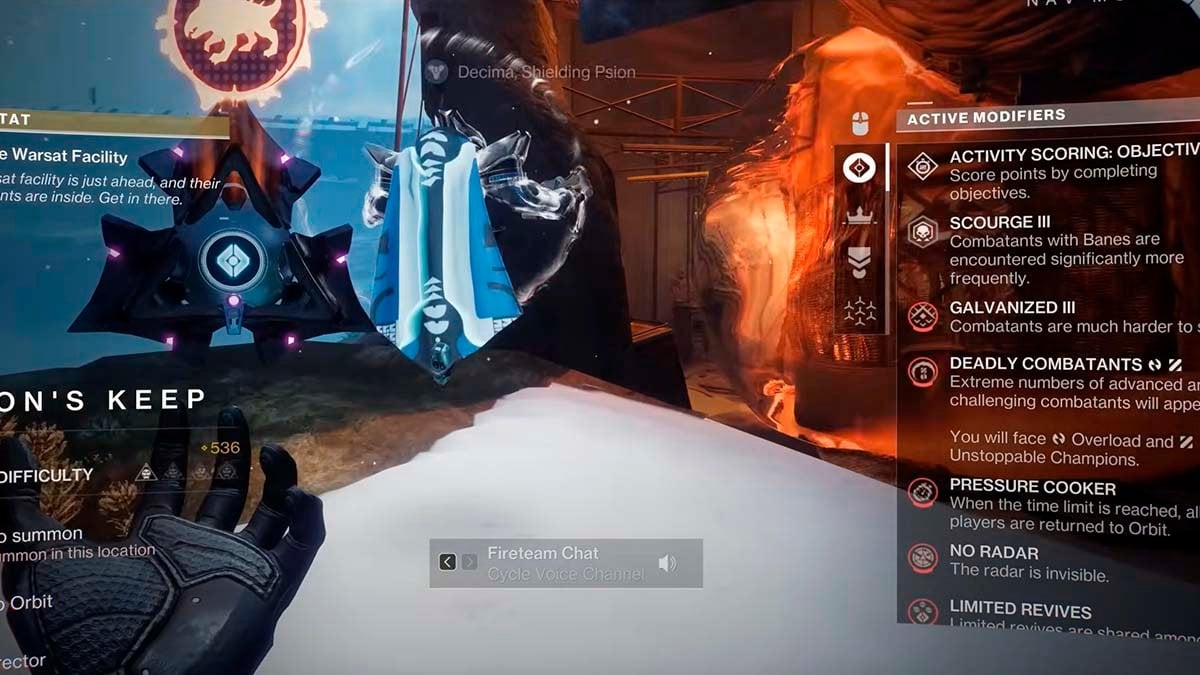
To get Attrition Orbs Catalyst for Wolfsbane Exotic, interact with data pad and console at the beginning of Heliostat Exotic mission on Master difficulty or higher. After that, complete the Heliostat Exotic mission to get Attrition Orbs Catalyst.
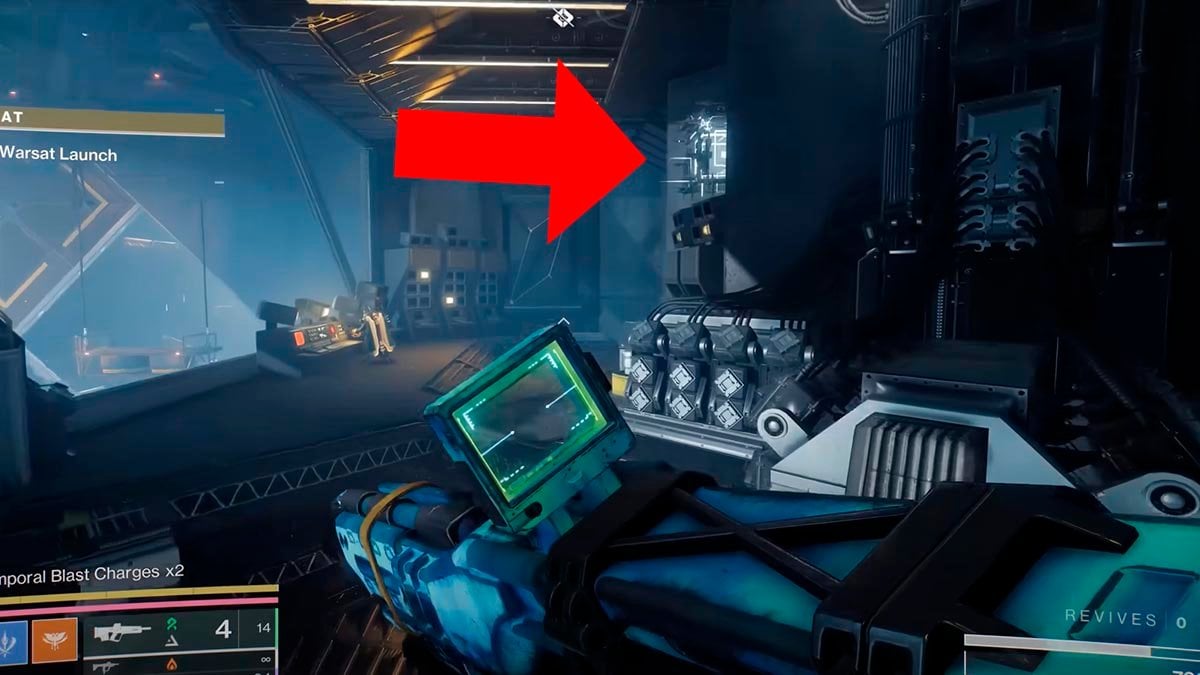
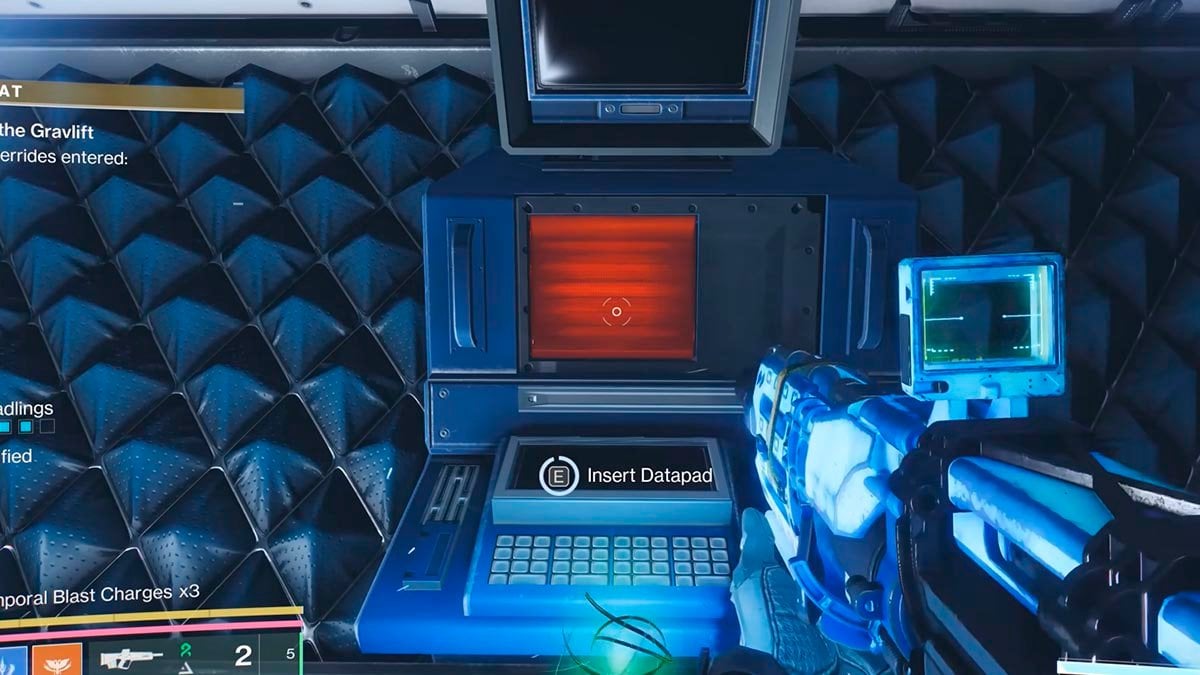
How to get Relentless Strike Catalyst Wolfsbane
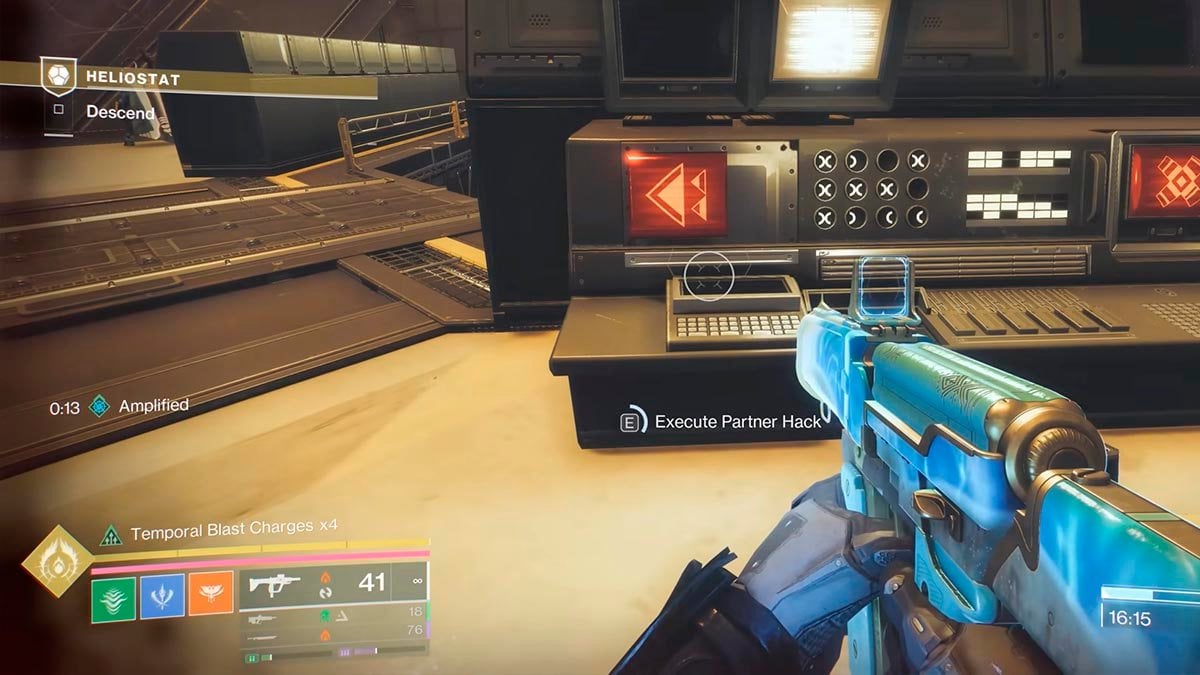
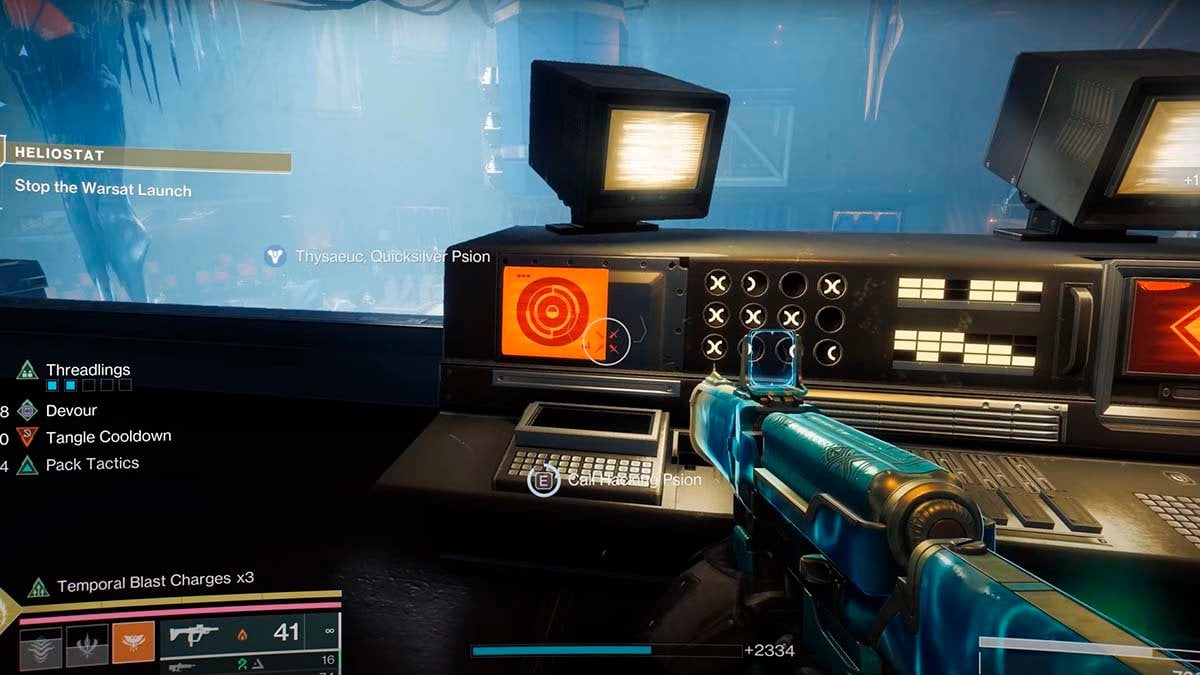
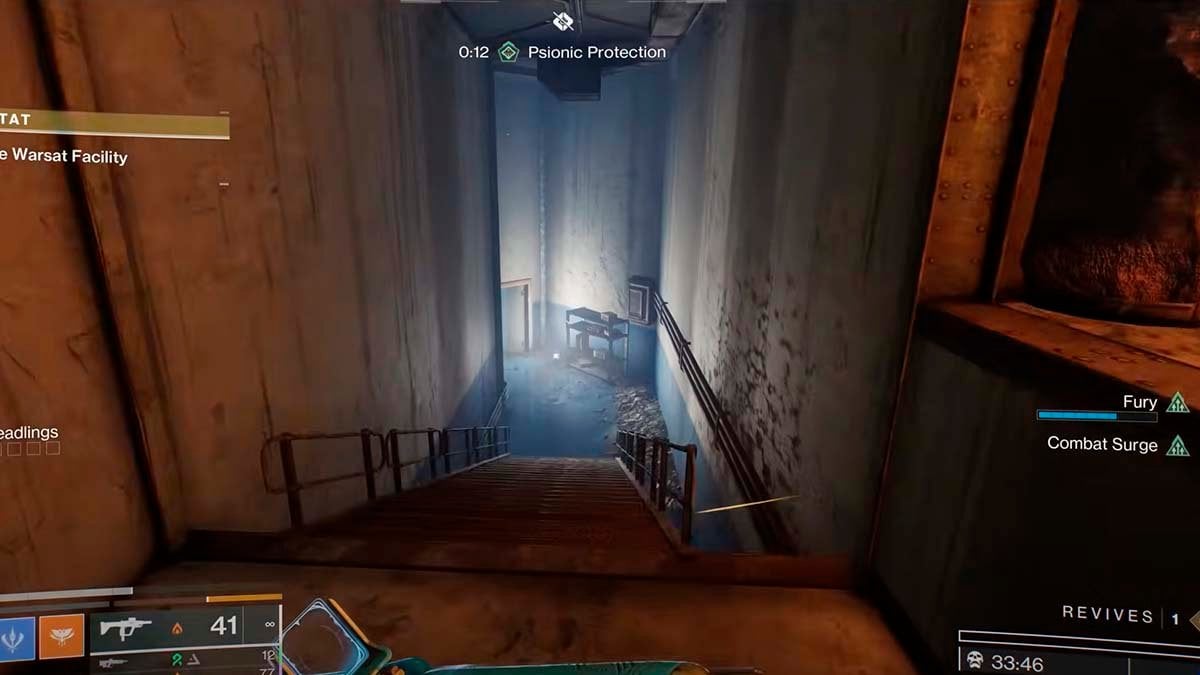
To get the Relentless Strike Catalyst for the Wolfsbane Exotic, you need to find the Datapad and consoles near the elevator location.
- Start Heliostat Exotic mission on Master difficulty or higher.
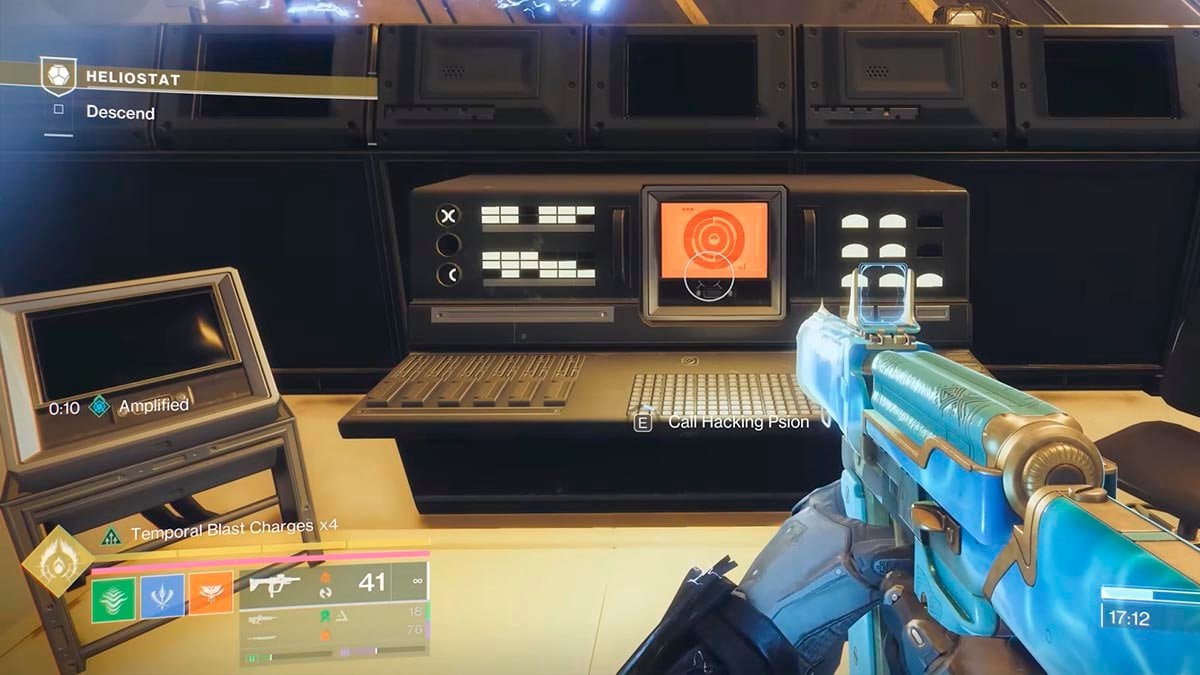
- At the lower level of the shaft, locate the area where you can summon a Psion and Call Hacking Psion nearby.
- Interact with the right console.
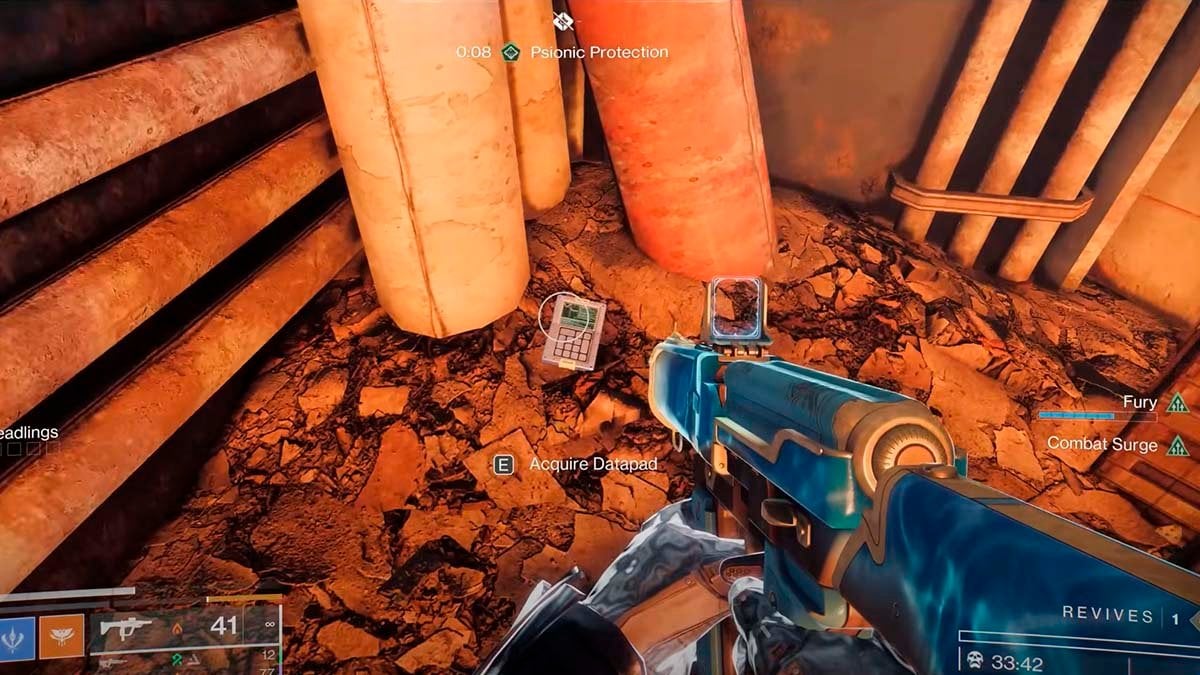
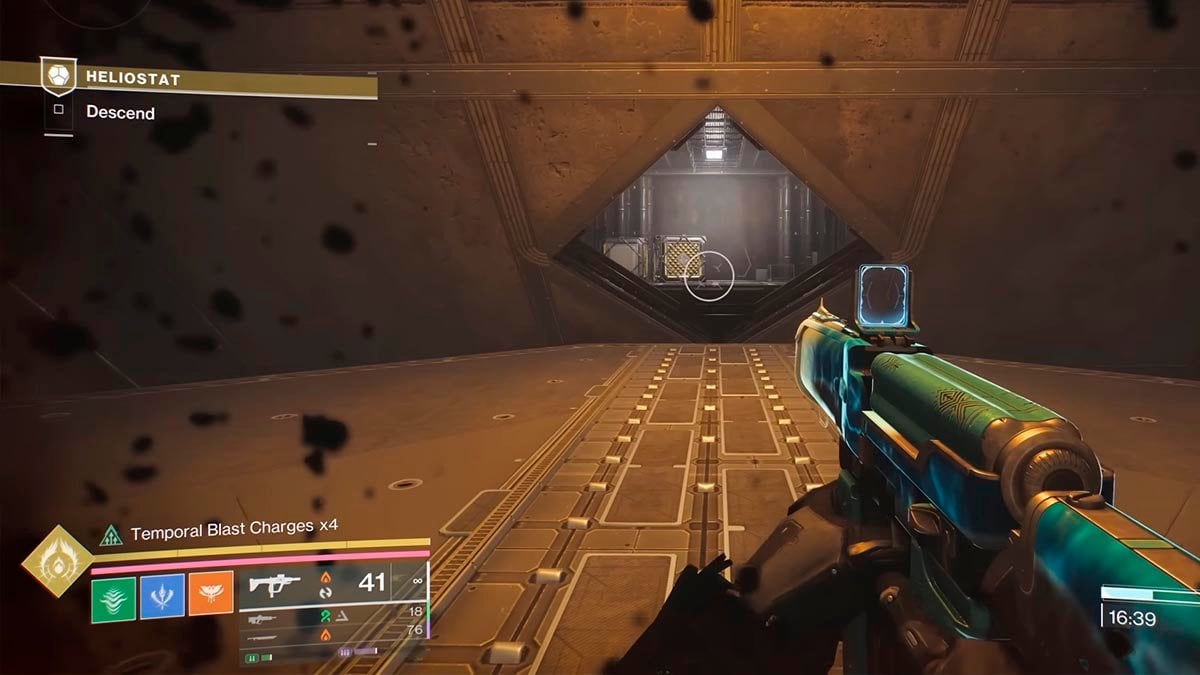
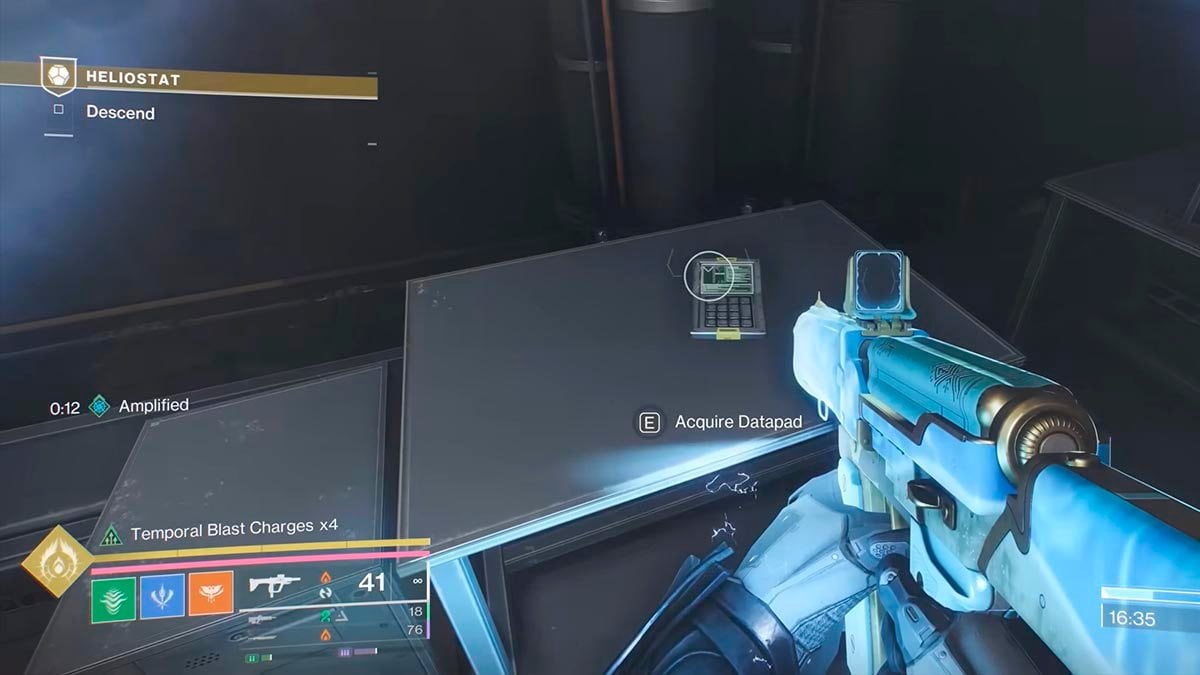
- Jump onto the elevator and enter the opened room to collect the Datapad.
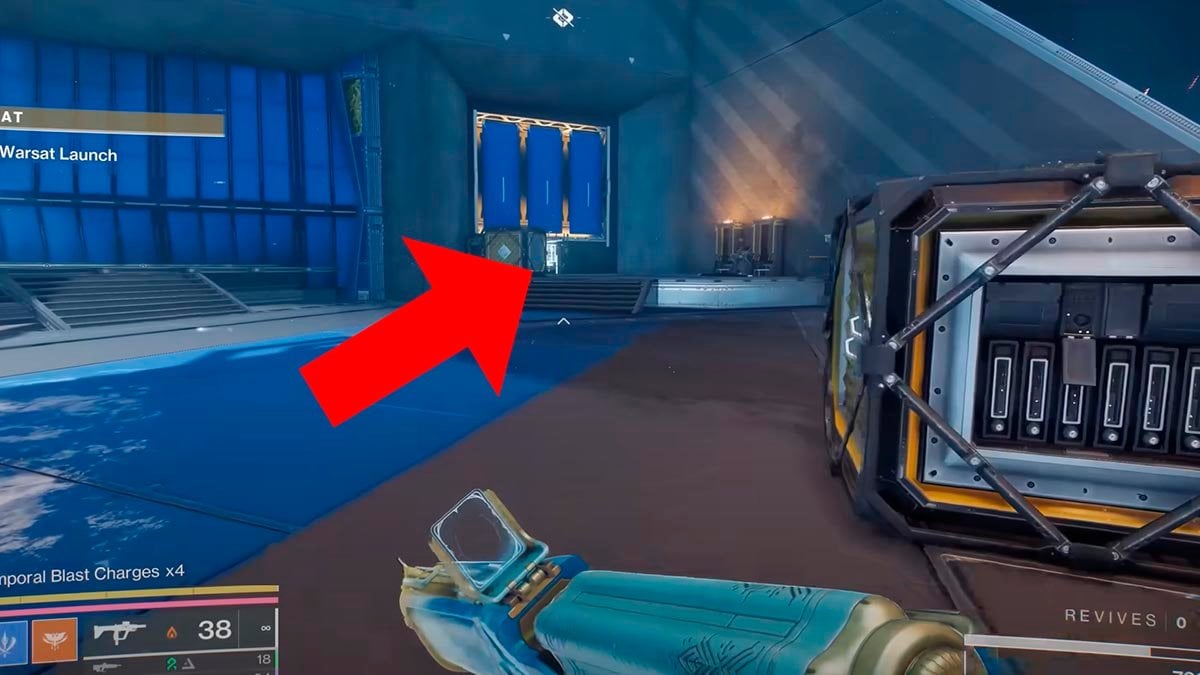
- Jump down and call the elevator, by interacting with the left console.
- Interact with the middle console.
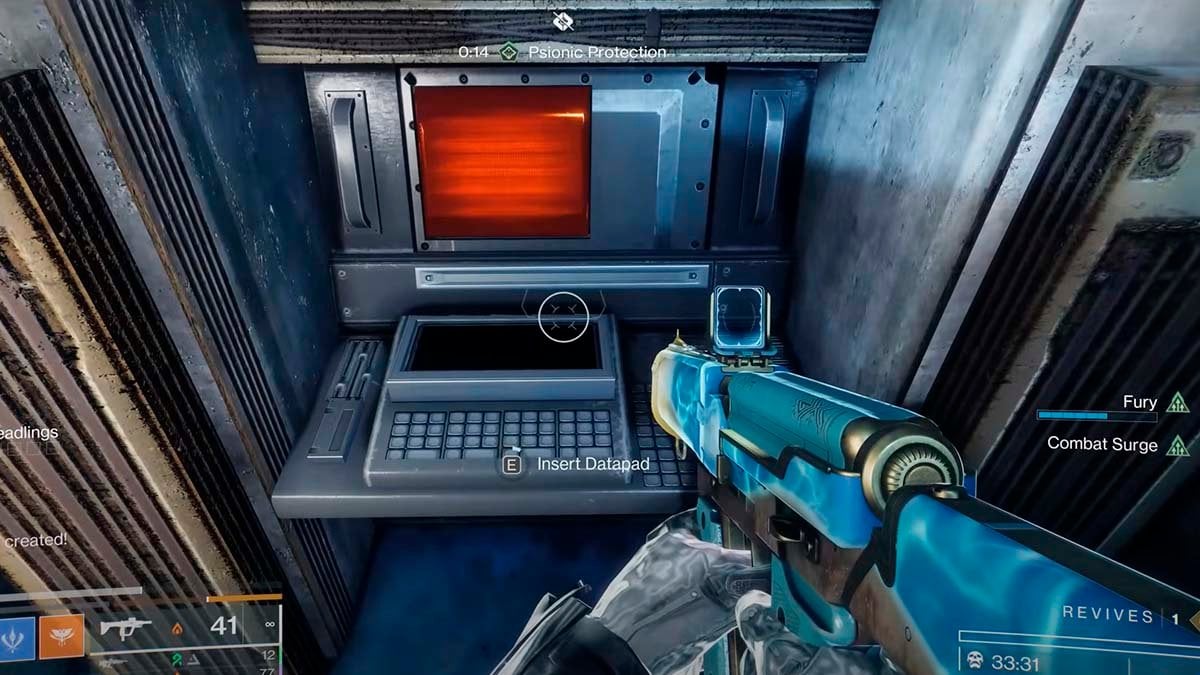
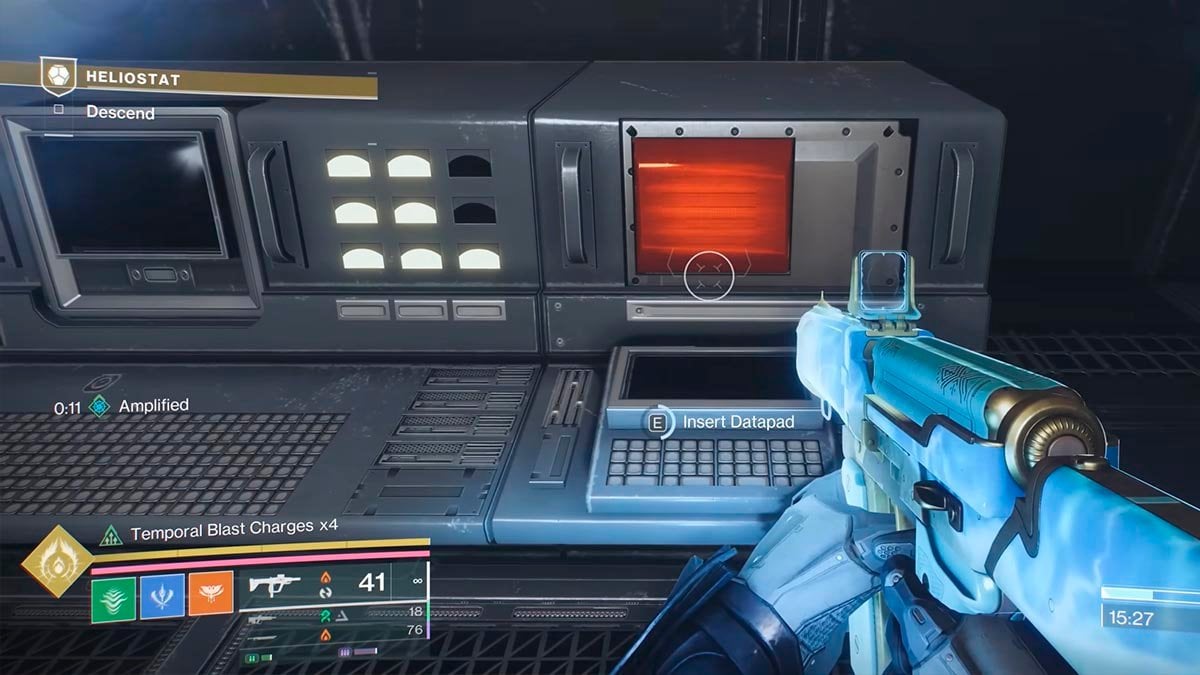
- Then, jump back on the elevator and go into the opened rooms again to insert the Datapad.
- You will get Relentless Strike Catalyst at the end of the mission.
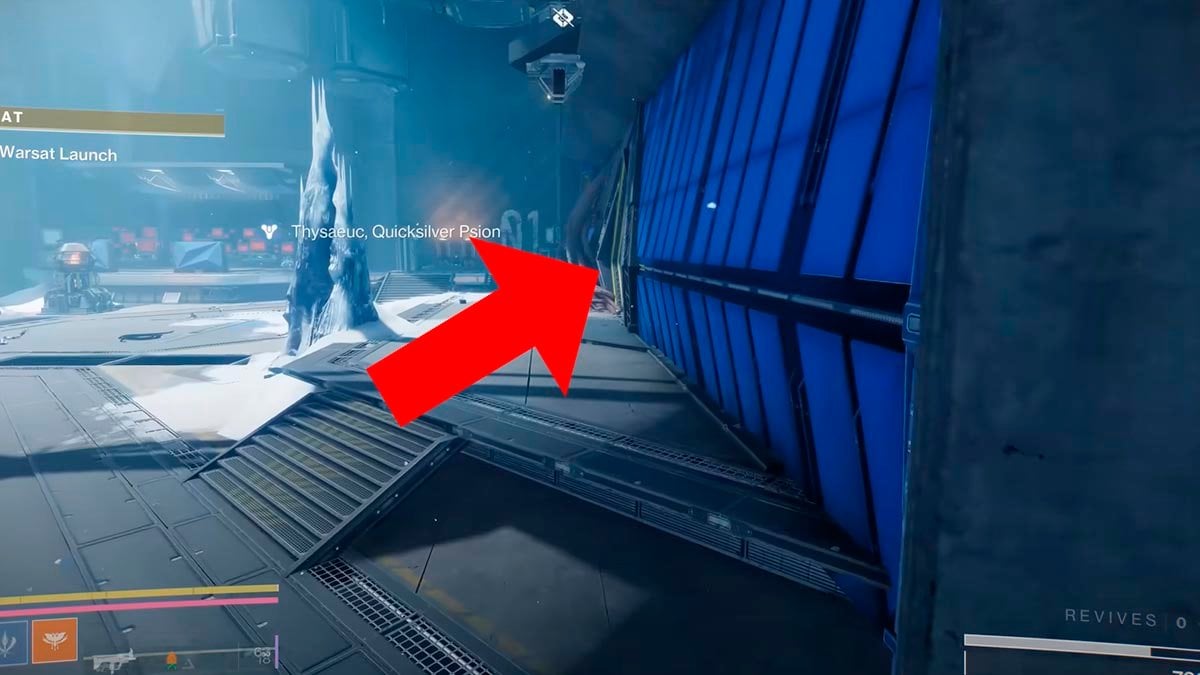
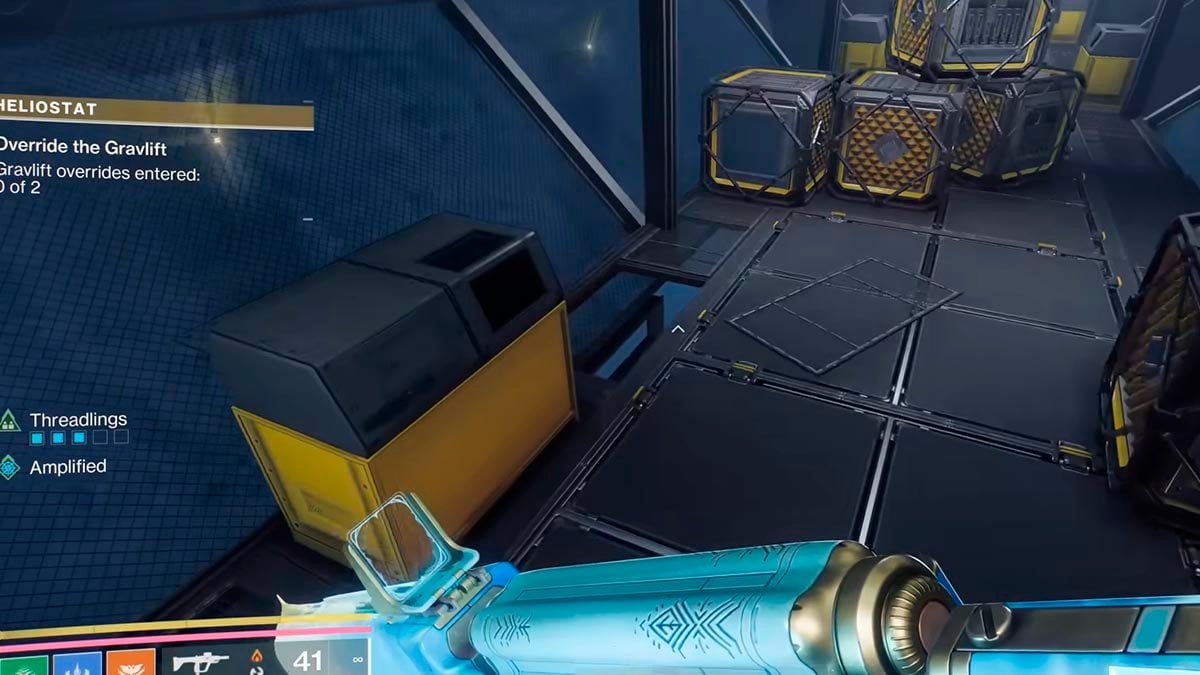
How to get Burning Ambition Catalyst Wolfsbane
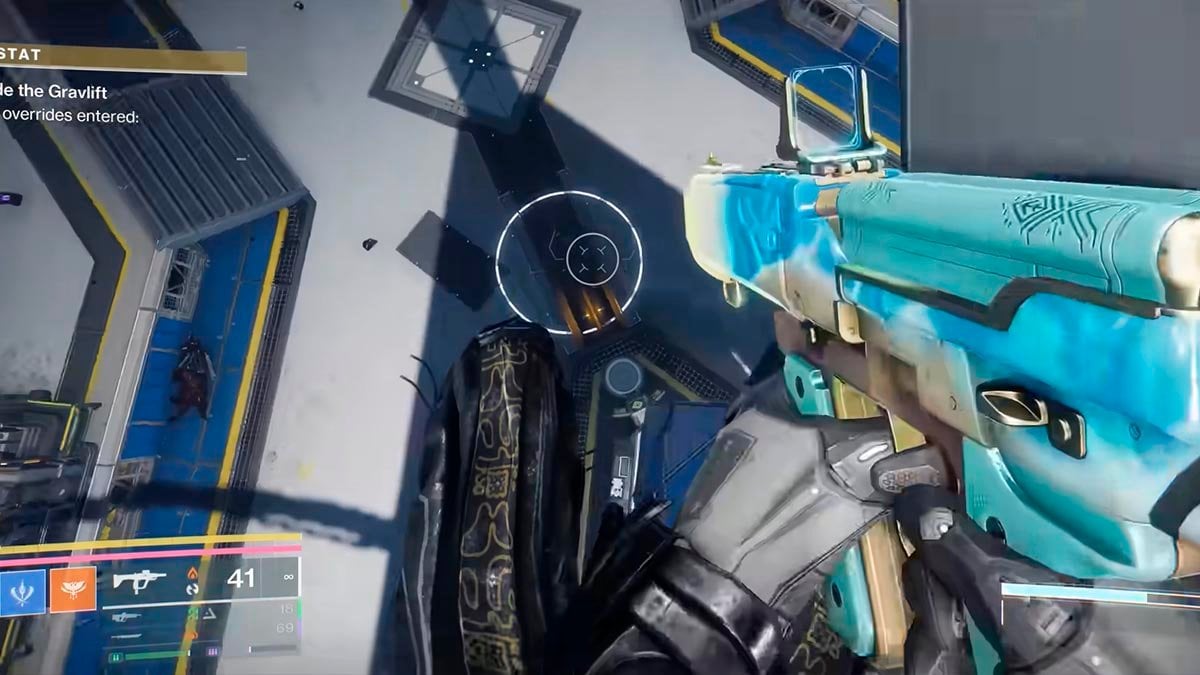
To get the Burning Ambition Catalyst for the Wolfsbane Exotic, you need to find the Datapad and consoles in the large platforming location.
- Start the Heliostat Exotic mission on Master difficulty or higher.
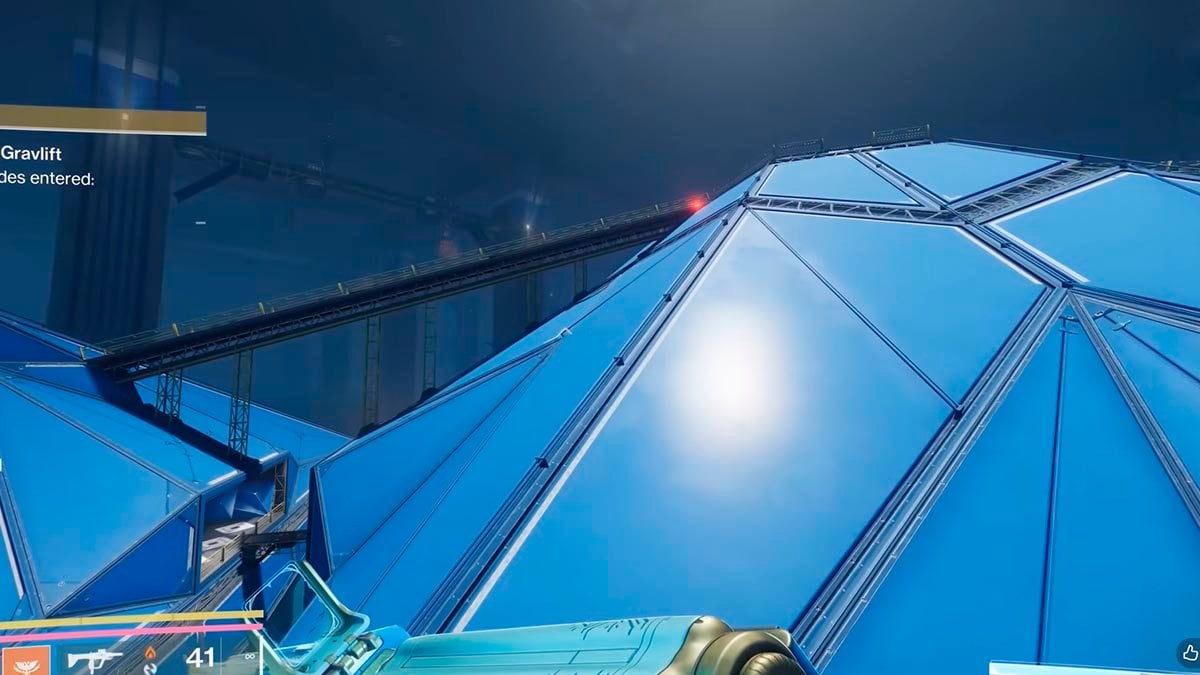
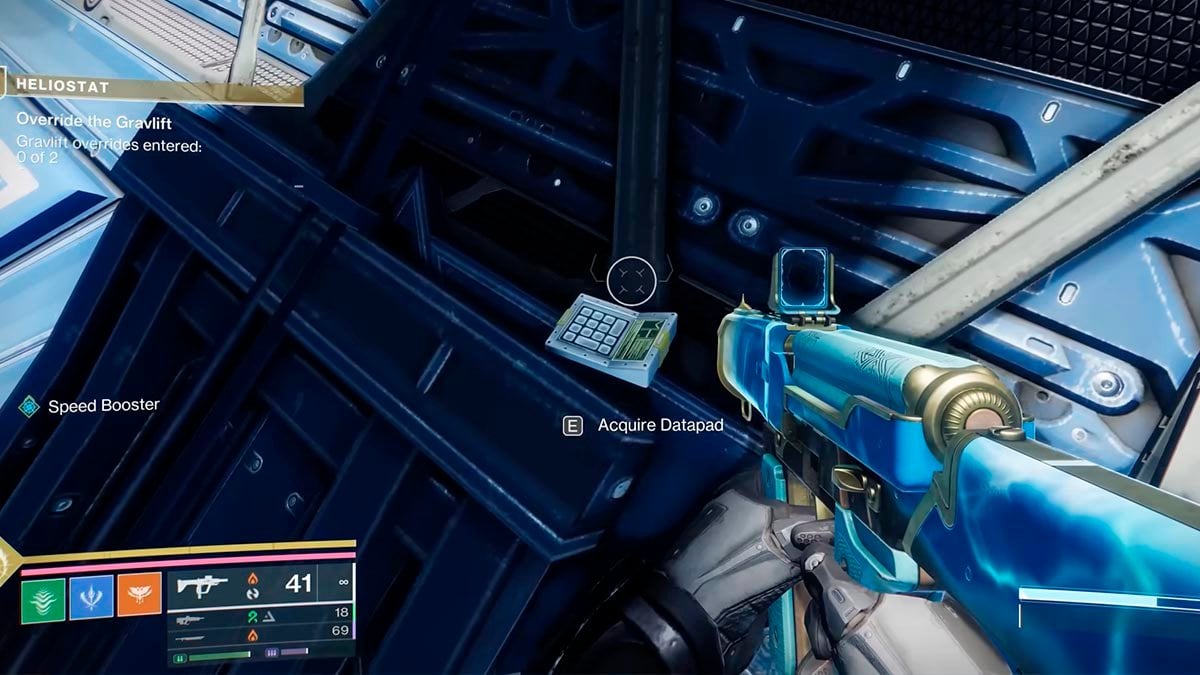
- Activate three panels in the Gravlift area.
- Take the Datapad.
- Summon the new Psion in the middle building.
- Continue solving the puzzle in this area as usual.
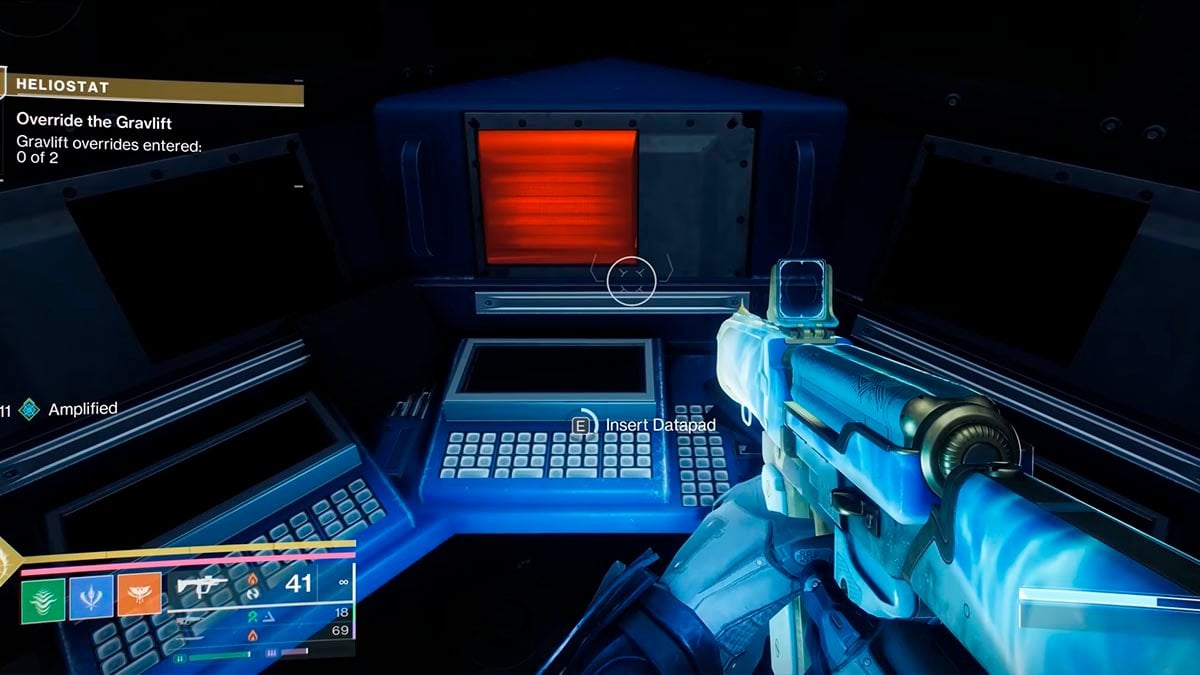
- At the end of the puzzle, return to the middle building and look for a new door that has opened in the floor.
- Insert the Datapad into the panel inside.
- You will get Burning Ambition Catalyst at the end of the mission.
How to get Subroutine Recursion Catalyst Wolfsbane
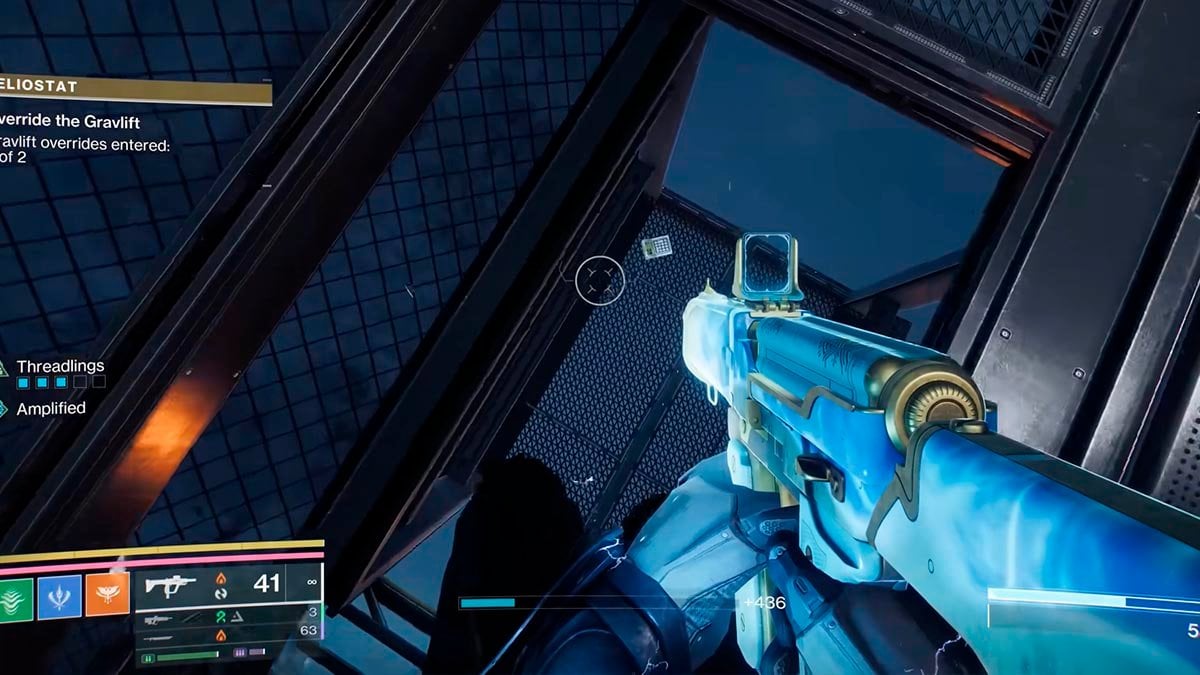
To get Subroutine Recursion Catalyst for the Wolfsbane Exotic, you need to find the Datapad and consoles in the large platforming location.
- Start the Heliostat Exotic mission on Master difficulty or higher.
- Ride up the Gravlift as you would when completing the mission normally, but take the left path first.
- Find the Datapad at the end of the left path and complete the objective there.
- Then, go through the portal and begin the right path.
- At the end of the right path, find the panel and insert the Datapad into it.
- You will receive the Subroutine Recursion Catalyst at the end of the mission.
Need a hand in Desert Perpetual? Check out our Destiny 2 raid carry service!


Comments
Esotrerrick. Did you get the catalyst? If so, where and how?
not Esoterickk here, but we re on the case and will update the post asap 🙂