Destiny 2 Mods: Armor, Weapon, and Ghost Modifications
Every MMO has deep systems that players get to know over the years and experiment with. Specifically, in Destiny, there is a mod system. It is divided into several categories, each of which is useful in certain situations. We know how difficult it can be to dive into any live-service game, and that’s why you came across our article to get answers to all your questions.
We studied this system for many months and now decided to compile the perfect guide, which will be constantly updated to comply with the current game sandbox. As an example, with the release of Lightfall, Bungie introduced Destiny 2 mods 2.0 for armor, which they rebuilt and simplified so even newcomers could understand it. If modifications 3.0 is released, we’ll do an update where we explain everything again. At the same time, weaponry and ghosts also have their special modifiers, which we’ll also discuss in this guide.
So, sit back comfortably. We have a lot to explain, and you need to remember or note at least part of the available information. Let’s begin!
Destiny 2 Armor Mods Guide
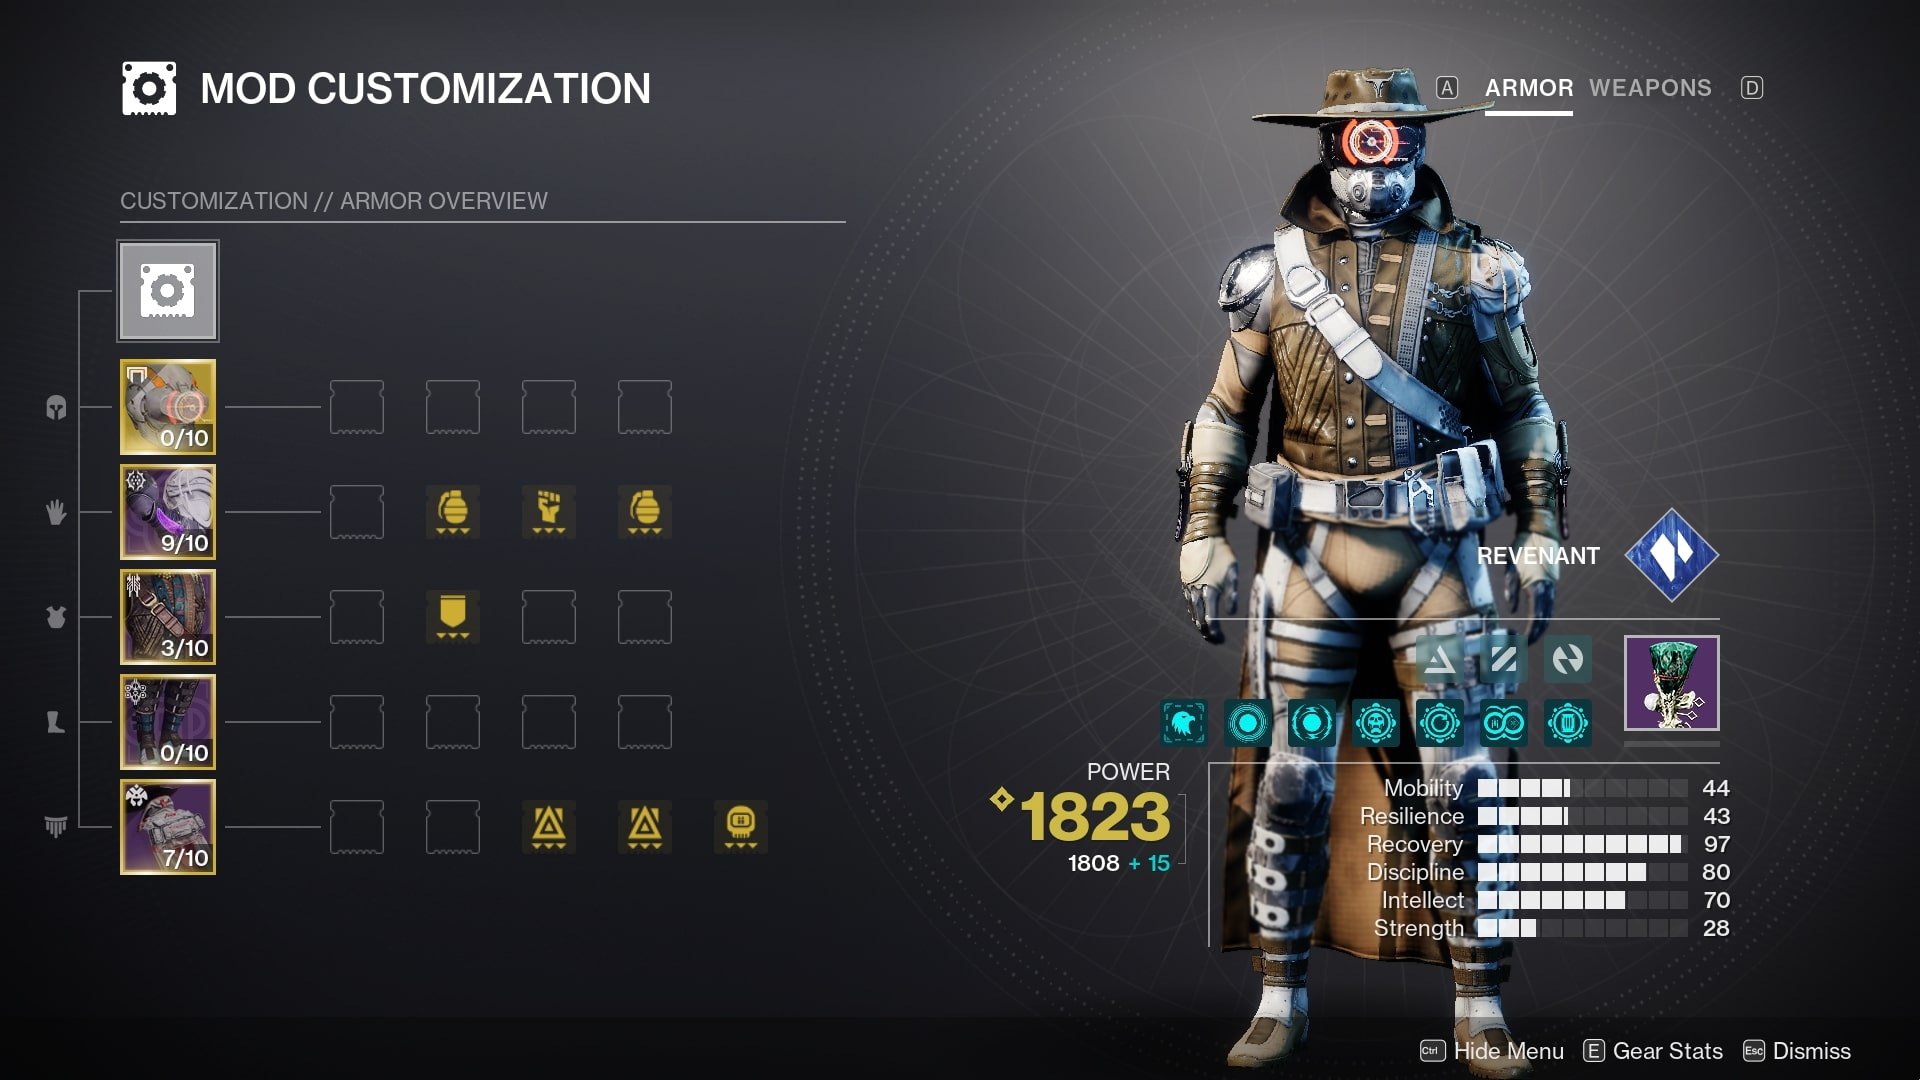
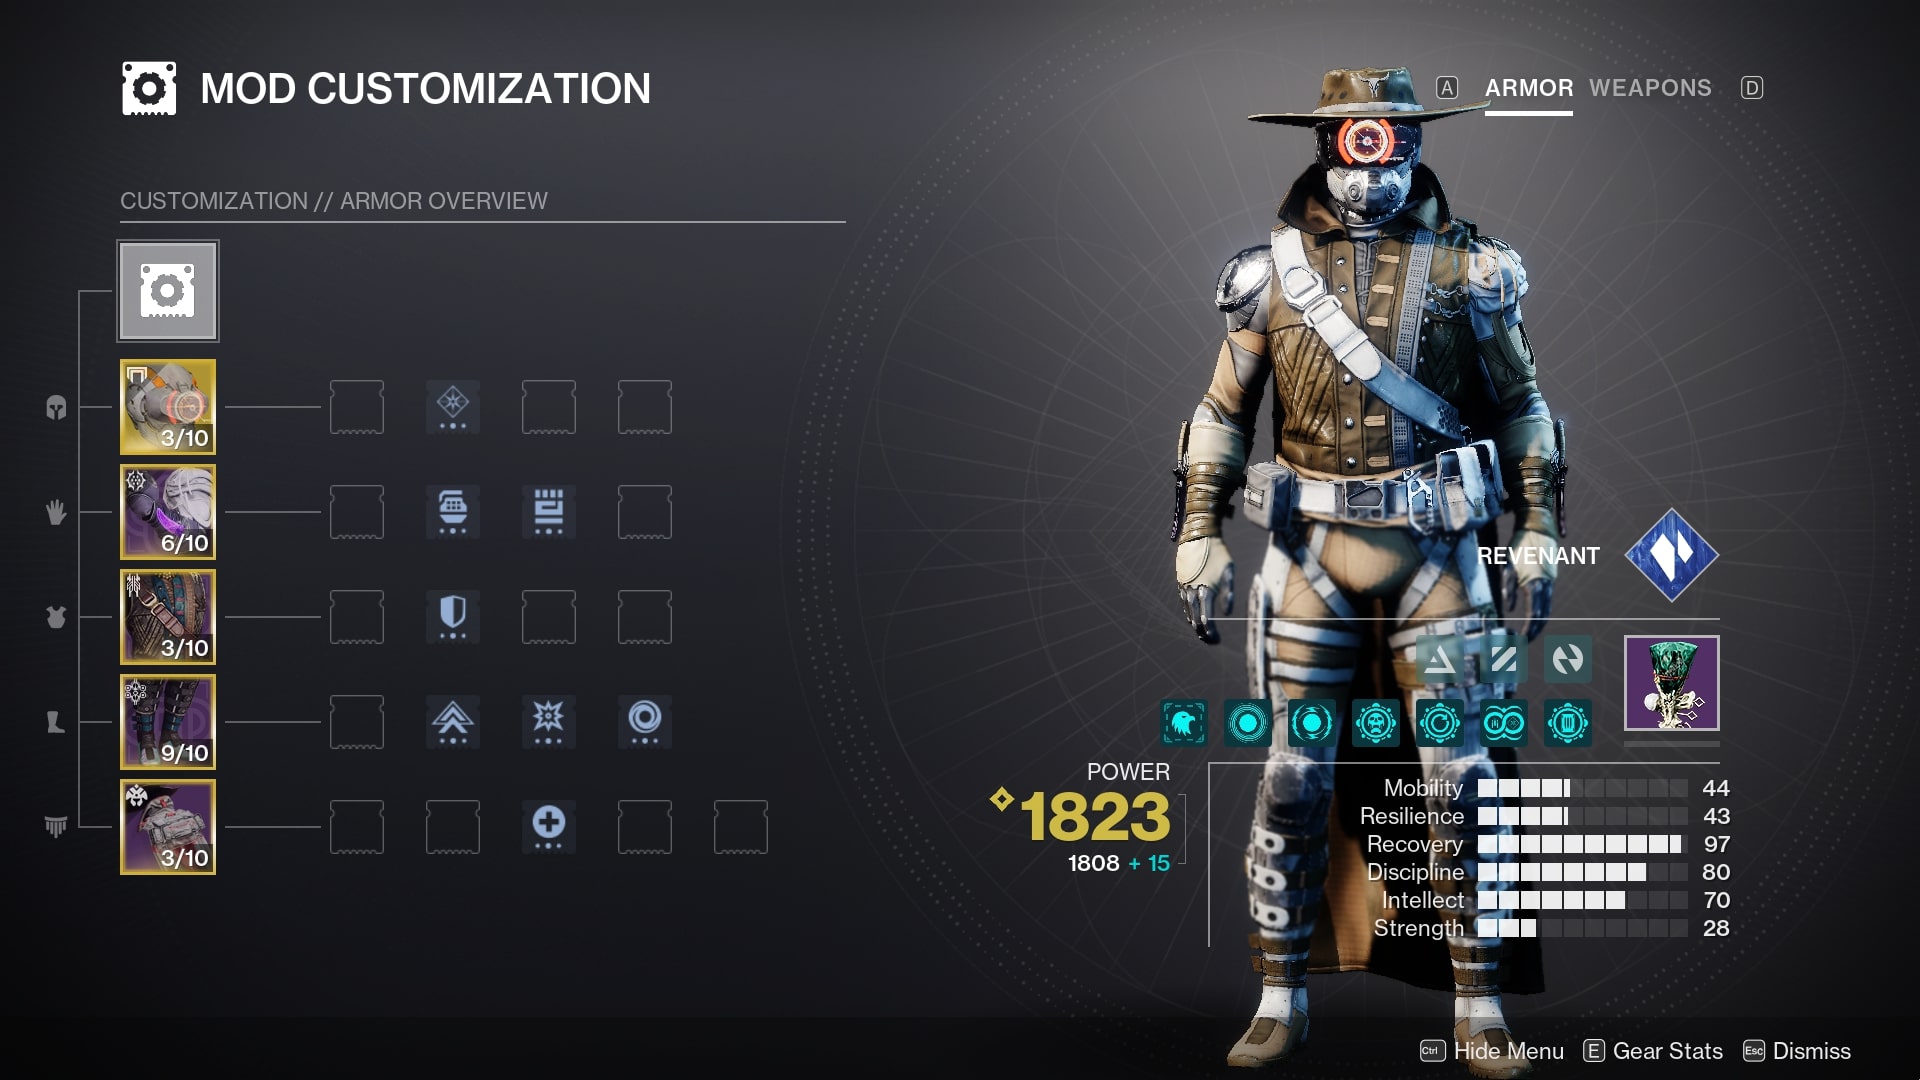
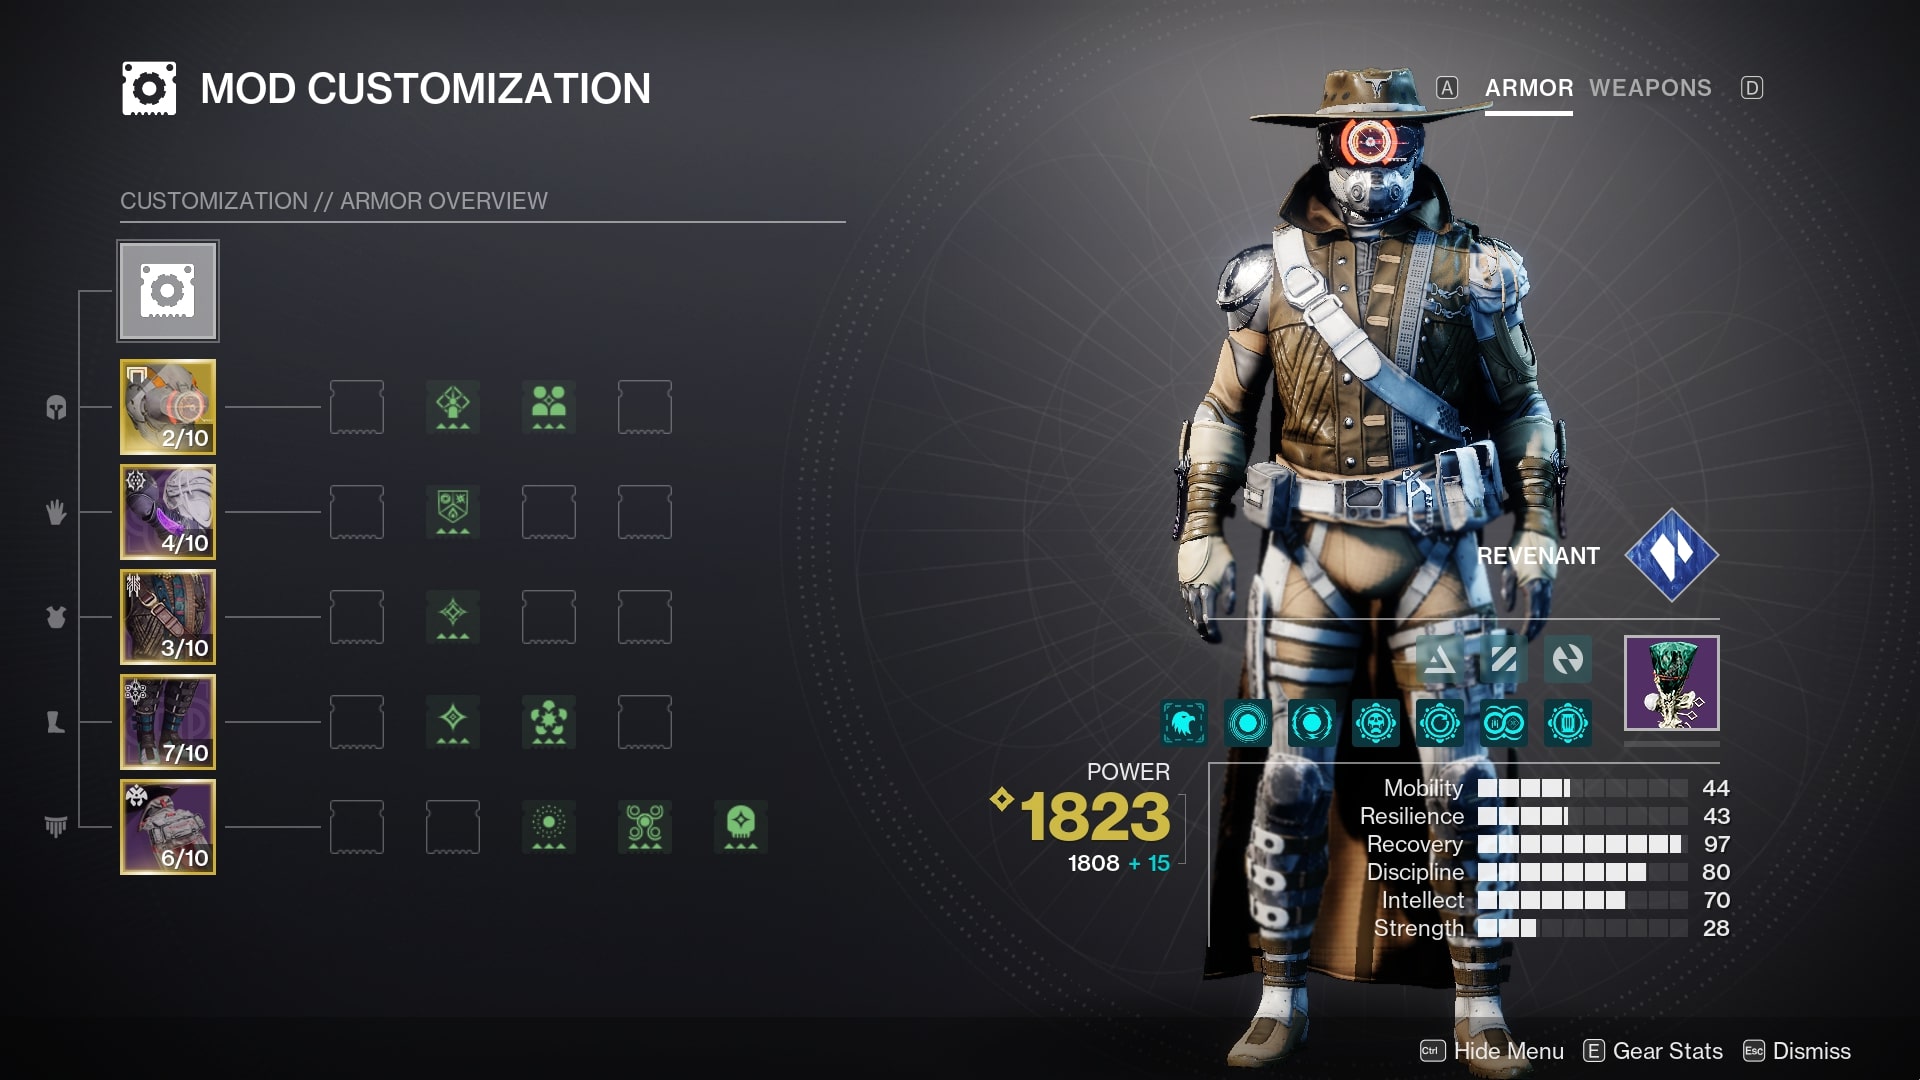
We’re starting with why you might have visited this article in the first place — Armor. Each gear piece is essential as each has its remarkable modifications, enhancing your gameplay and build to different degrees. If you want to create a build with infinite grenades, modifications are able to help you with that.
It’s essential to know that the more copies of modifiers you have, the stronger the influence will be. However, the effect with three copies often isn’t much different from two, so there’s no need to overdo it.
How to Get Armor Mods in Destiny 2
If you played D2 before the Lightfall’s release, all modifications (except Adepts) are available right away without the requirement to unlock them, as you immediately receive a Veteran rank.
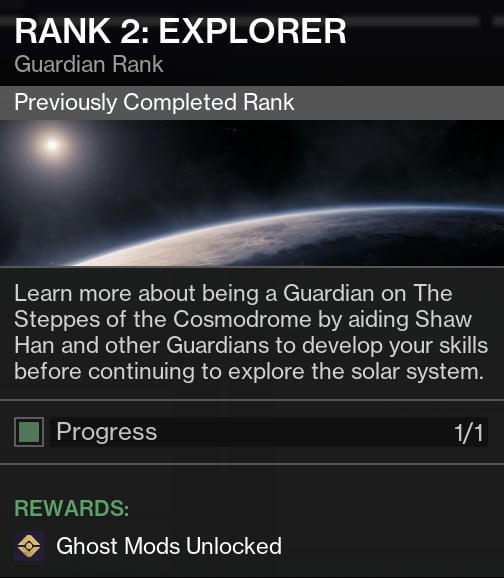
If you’re still asking this question, it means you’ve just started playing, and they are still unavailable. For this reason, pay attention to the Guardian Ranks in the Journey tab, which helps you discover the purpose of your adventures in D2.
First of all, complete all objectives from Ranks 1 up to 4. After fully completing Rank 4, you’ll be rewarded with Foundational Armor mods, which include Armor Stats modifications and some Passive ones. Once challenges on Rank 5 become available, check the Gear Progression and Power tab, where you can find two essential challenges to meet to upgrade your gear:
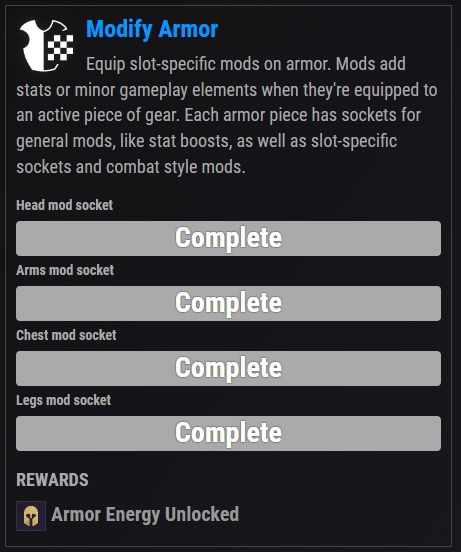
- The Modify Armor objective is quite simple, as you must equip one modifier to the head, hands, chest, and legs. Completing it unlocks Armor Energy, allowing you to upgrade your gear and install more modifications
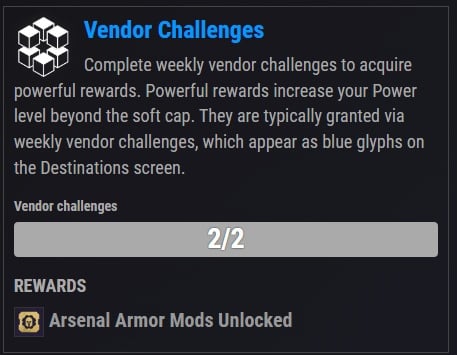
- Vendor Challenges require you to complete two weekly challenges from a vendor. After successful completion, you’ll obtain Arsenal Armor mods, which enhance your guns in various aspects
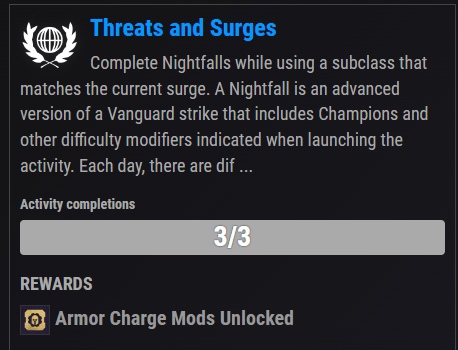
Moving on to challenges on Rank 6, the Threats and Surges objective will be available, granting Armor Charge mods unlock (yellow, blue, and green ones). Completing this task may take some time, as you need to pass Nightfalls three times by using a subclass with a matching surge of the current day.
How Do Armor Mods Work in Destiny 2 Lightfall?
Now you know how to obtain them, so it’s time to understand what they are all about. Every one of them plays an important role, like helping gain additional Melee energy, making Grenade throw distance greater, increasing your stats, or assisting in forgetting about Melee cooldown. But let’s discuss everything step by step.
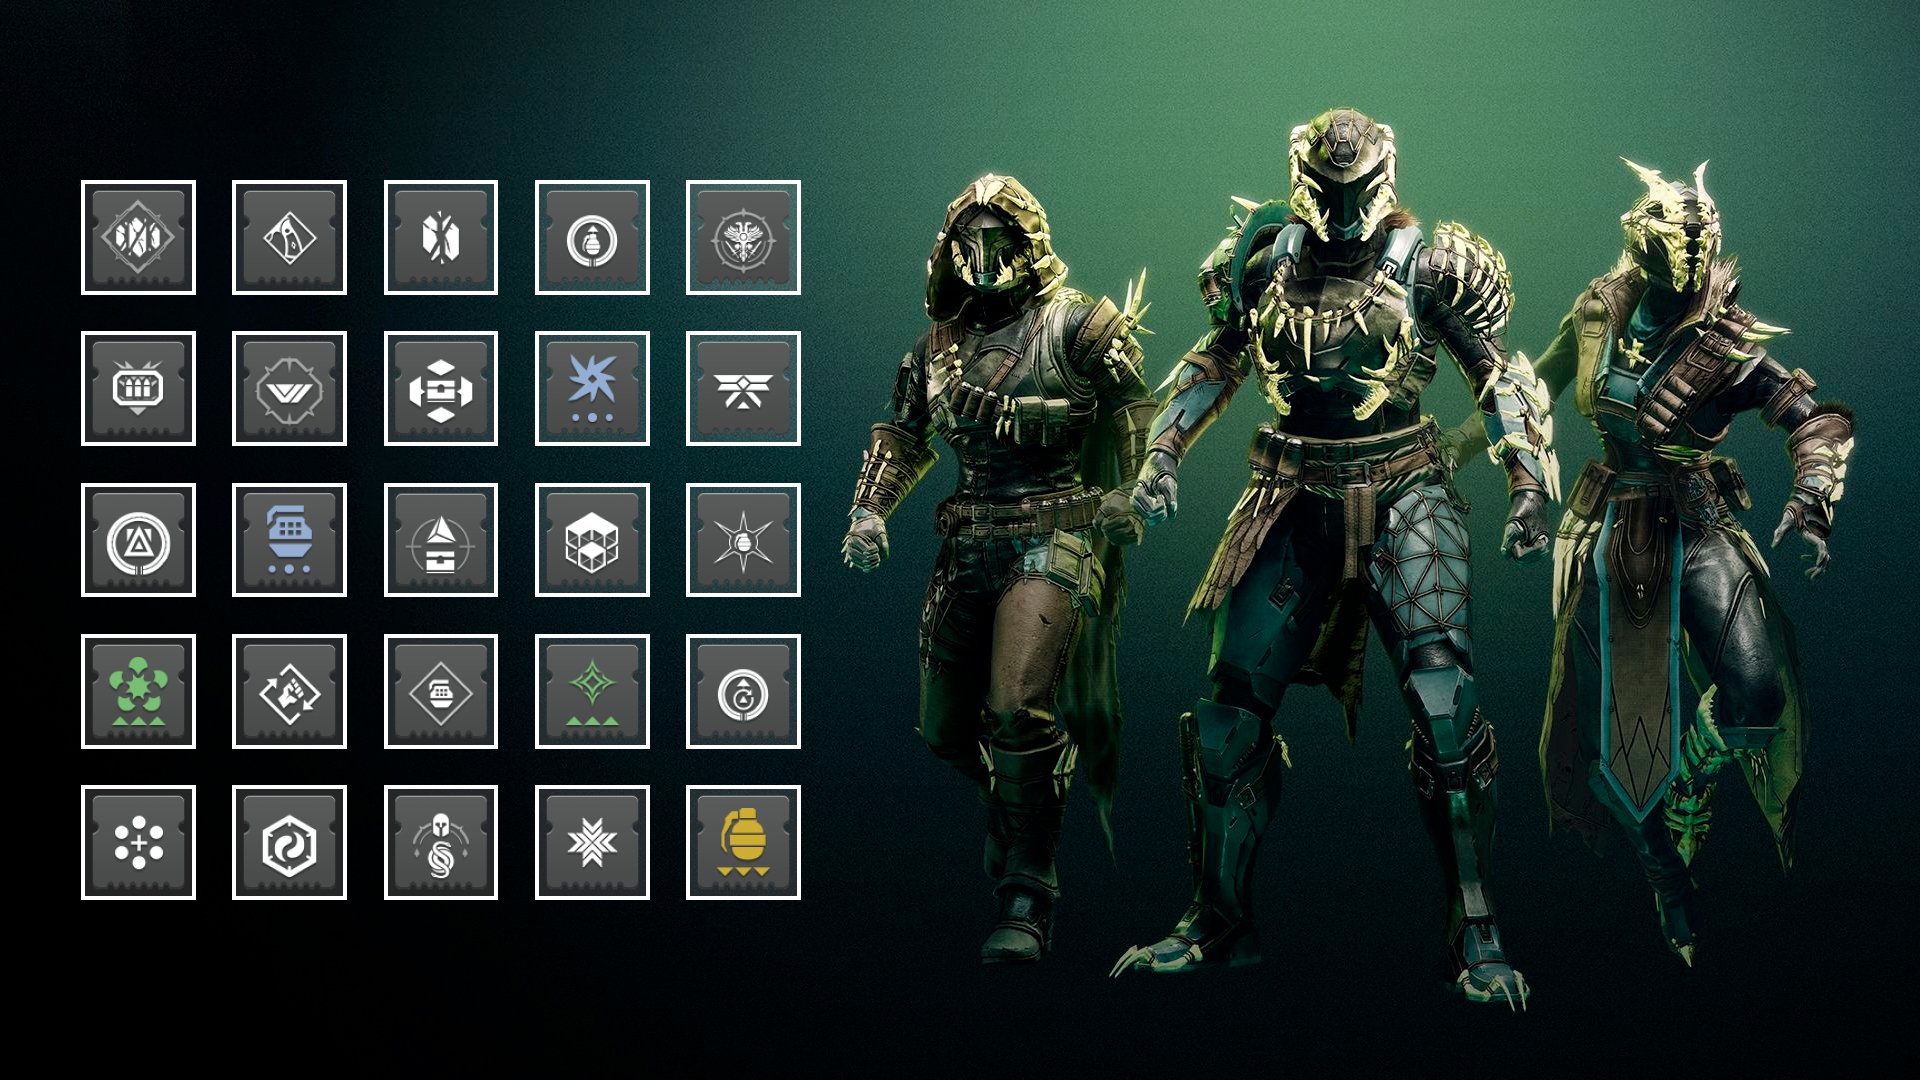
Stat Mods
The very first type of modifications you’ll encounter is the simplest to understand because they influence your character’s characteristics. They are divided into two kinds: Minor and Normal. The former gives +5 stat and costs 1 or 2 energy, while the latter provides +10 stat, but they consume 3 or 4 energy. They are available in one copy for each piece of gear, so in total, you can gain up to +50 to specific stats.
Passive Modifications
Moving on to the modifiers that can be placed in 2-4 slots. First up, we have Passive ones with a white-colored icon. Their properties vary drastically; some provide bonuses to weapons, while others enhance your Abilities. However, all these upgrades are tied to specific gear parts, so you can’t use Targeting on a Class Item. To make it easier, we’ve created a Destiny 2 Armor Mod List that details the best Passive Modifiers.
| Helmet | Gauntlets | Chest | Leg | Class Item |
|---|---|---|---|---|
| Special / Heavy Ammo Finder Perks (creates more of specific ammo) | Firepower / Heavy Handed (Generates Orbs of Power on Grenade/Powered Melee Final Blows) | Resistance (Reduces damage taken from enemies) | Innervation / Invigoration / Insulation / Absolution (Orb of Power grants energy to certain Abilities by picking up it) | Destiny 2 Reaper Mod (After using Class Ability, your next Weapon Final Blow spawns an Orb of Power) |
| Siphon (Creates Orbs of Power on Rapid Weapon Final Blows) | Bolstering Detonation / Focusing Strike (Gain Class Ability energy on Grenade/Melee damage) | Unflinching Aim (Reduces gun’s flinching) | Recuperation / Better Already (Heals you after picking up Orbs of Power) | Bomber / Outreach (Gain Grenade energy or Gain Melee energy if you activate Class Ability) |
| Ashes to Assets / Hands On Mod Destiny 2 (Provides Super energy on Grenade/Melee takedown) | Loader (Improves gun’s reload speed) | Reserves (Increases weapon’s reserves) | Scavenger (You get more ammo when picking them up) | Distribution (Gives energy to all Abilities after using Class Ability close to enemies) |
| Targeting (Boosts gun’s Aim Assist) | Dexterity (Accelerates ready and stow speed of weapons) | Lucent Blades (Increases energy recharge time of Swords. Raises energy gained from dealing Glaive damage) | Holster (Automatically refills your gun’s magazine over time) | Proximity Ward (Grants 200 HP Overshield during finisher usage) |
Yellow Modifications
It’s time to delve into the most complex but exciting sections dedicated to Destiny 2 Armor Charge Mods. They are divided into three different types, each with a unique operating principle and icon color.
First, let’s look at Yellow ones, also known as Triggers. They activate under certain conditions, consuming your Armor Charges in the process. You can only discover them in Gauntlets, Chests, and Class Items.
Obviously, not all of them are good. Grenade/Melee/Utility Kickstart can be considered one of the best Armor Mods Destiny 2. They grant you an energy of a particular Ability after its use (bye-bye class, melee, or grenade cooldown). The more Armor Charges you have, the more you’ll receive.
Special Finisher in Class Item is also noteworthy, as it’s often seen in the best Raid Builds. We recently wrote about them, covering all classes: Hunters, Warlocks, and even Titans.
Blue Modifications
Blue, or Timer modifications, consume your Armor Charge stack every 10 seconds. You may extend the time in exchange for specific bonuses, but more on that later. They are divided into two types: Font and Surge. Fonts provide bonuses to specific character characteristics, while Surges increase damage from your kinetic or elemental guns (hence, they are considered the best Armor Charge mods). Also, you can find Fonts on any body part, but Surges are only in Legs.
Green Modifications
The most intricate type of the three is the Green one. Each offers a specific bonus related to the Armor Charge system. It could be an additional source of these charges or something entirely unique. For example, Powerful Attraction gathers Orbs of Power around you after using a Class Ability. Unlike Trigger adjustments, all here are helpful in their own right and can be useful in specific Builds. However, three of them stand out the most.
In almost any Loadout, you will find a combination of Stacks on Stacks and Charged Up, especially in builds with Firepower mod in Destiny 2. The former gives you an extra Armor Charge after acquiring it, and the latter increases their maximum count (+1 for each copy). If you’re using any Timer modifier, you should have at least one copy of Time Dilation, as it extends the timer by a full 5 seconds.
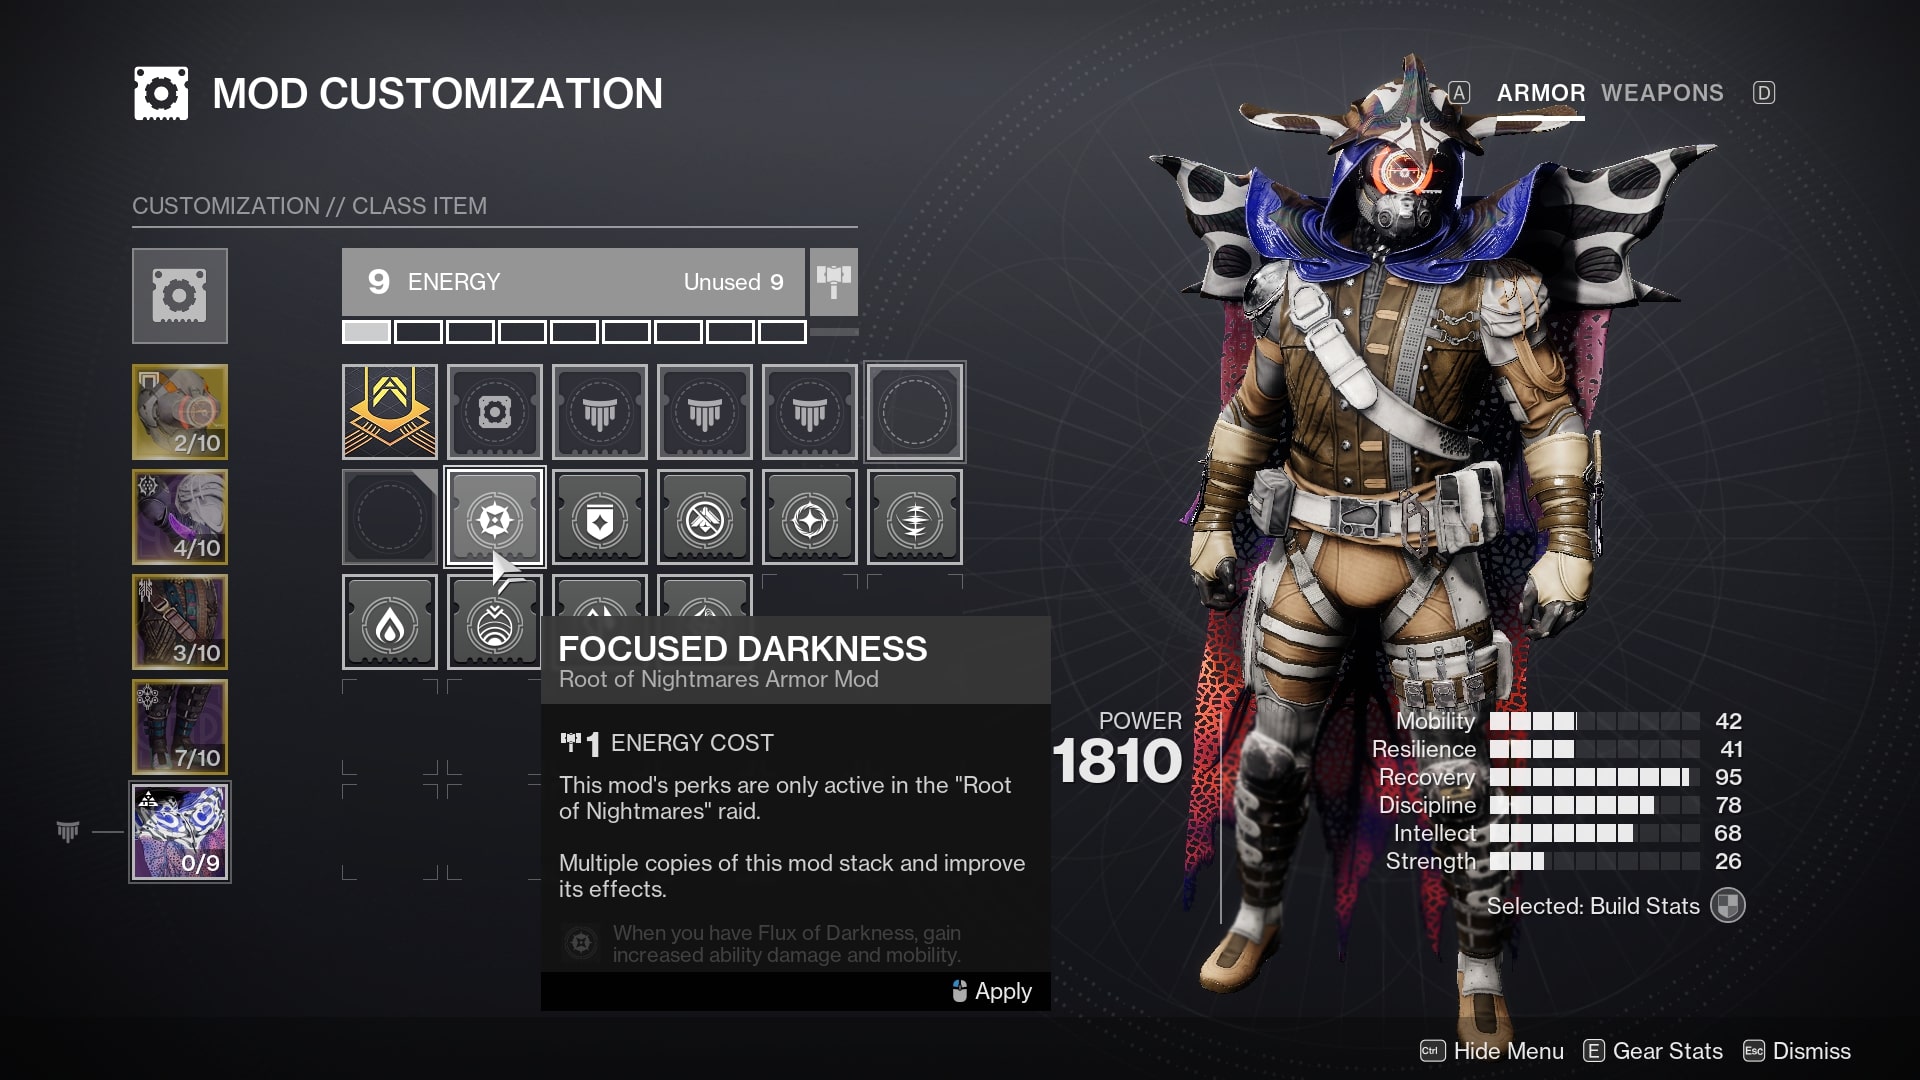
Artifice Armor Mods
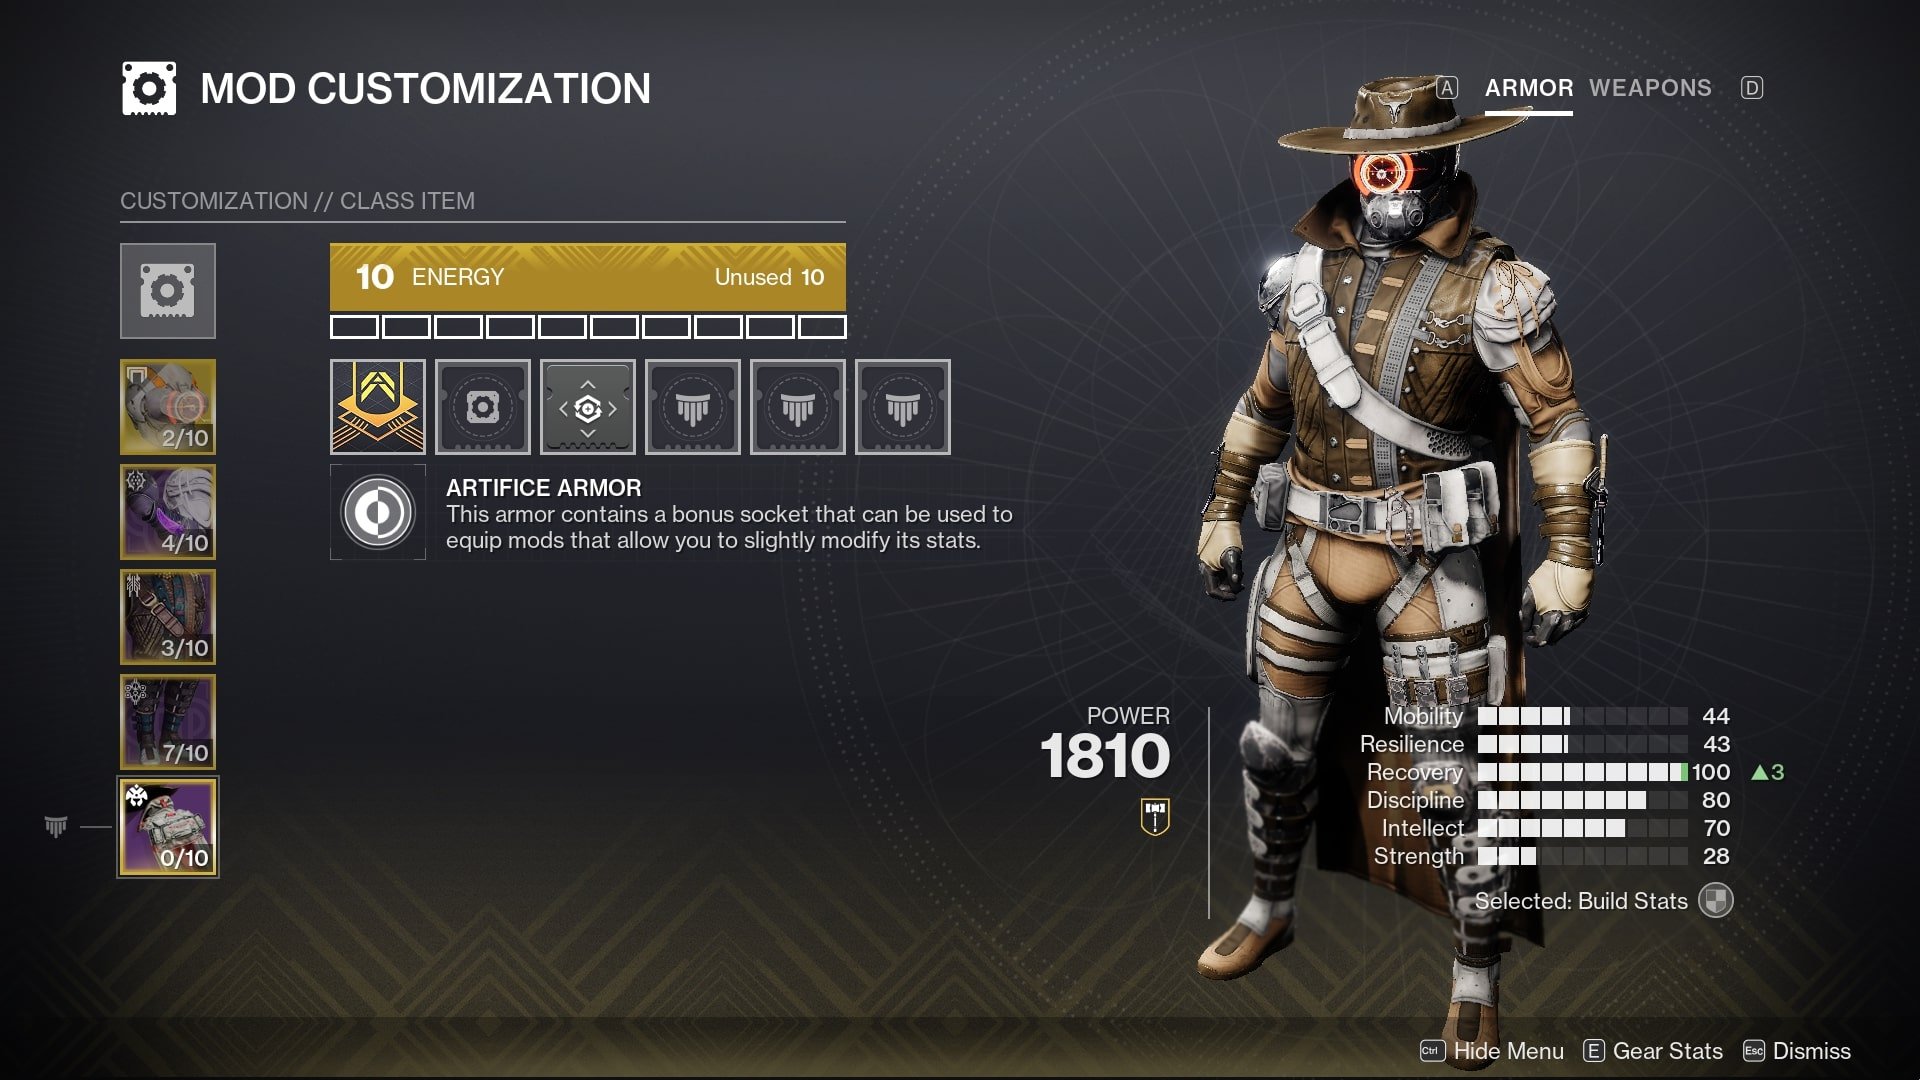
Many beginners may find it confusing when viewing builds created by popular content creators that include a free +3 stat modification slot. It’s only available on Artifice Gear, obtainable solely from Master Dungeons, which is no easy feat. If you don’t want to grind extensively, you could simply acquire an Artifice Bond, Cloak, or Mark. This way, you could use these +3 stats among other Class Item Mods Destiny 2.
Raid Mods
Every Raid has unique modifiers that interact with its mechanics, making them useless outside those activities. However, to utilize them, you need gear from the corresponding Raid, as it has a fifth socket for them. You can obtain these modifications when opening Secret Chests. Even though they can be handy, especially on Master difficulty or when completing Triumphs, farming high-stat armor from Raids isn’t worth your time in most cases.
Weapon Modifications
Customization doesn’t end with your gear since you have trusty guns in your hands! Your legendaries, along with their Adept versions, will shine brighter than ever. Unfortunately, this doesn’t apply to your Exotics, as they lack a special socket for modifications.
How to Unlock Destiny 2 Weapon Mods
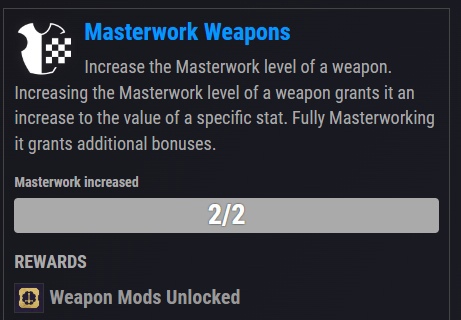
We must return to the Guardian Rank because that’s where you should have completed the “Masterwork Weapons” challenge at Rank 5, which grants access to the desired additional arsenal enhancements. To achieve it, you have to increase the Masterwork level of a weapon two times.
If you wish to unlock specific Adept modifiers, you’ll have to complete a GM Nightfall, Master Raids encounters, or earn Flawless in Trials of Osiris and enter the Lighthouse.
How Do Weapon Mods Work in Destiny 2 Lightfall?
Now that we’ve discussed obtaining them, it’s time to delve into the modifications themselves. Destroy a combatant’s shield in a matter of seconds? Easy! Better aim down sights speed? Not a problem! Making your void weapons or stasis weapons better in some ways? Piece of Cake! These modifications can make everything for your gun!
Normal Modifiers
First and foremost, allow us to look into the most common ones. There are plenty in the game, and we’ll guide you on which is best to use and where:
- Minor/Major/Boss Spec: Improves weapon damage against Minor/Elite and Minibosses/Bosses and Vehicles by 7.77%. It is recommended to use the first one on your Primaries, the second on Specials, and the third on Heavy weapons, respectively. These are considered the best weapon mods for Destiny 2 in PvE
- Taken Spec: Increases damage against Taken enemies by 10%. Recommended for activities with this type of enemies, such as Last Wish or Shattered Throne
- Backup Mag: Enhances magazine
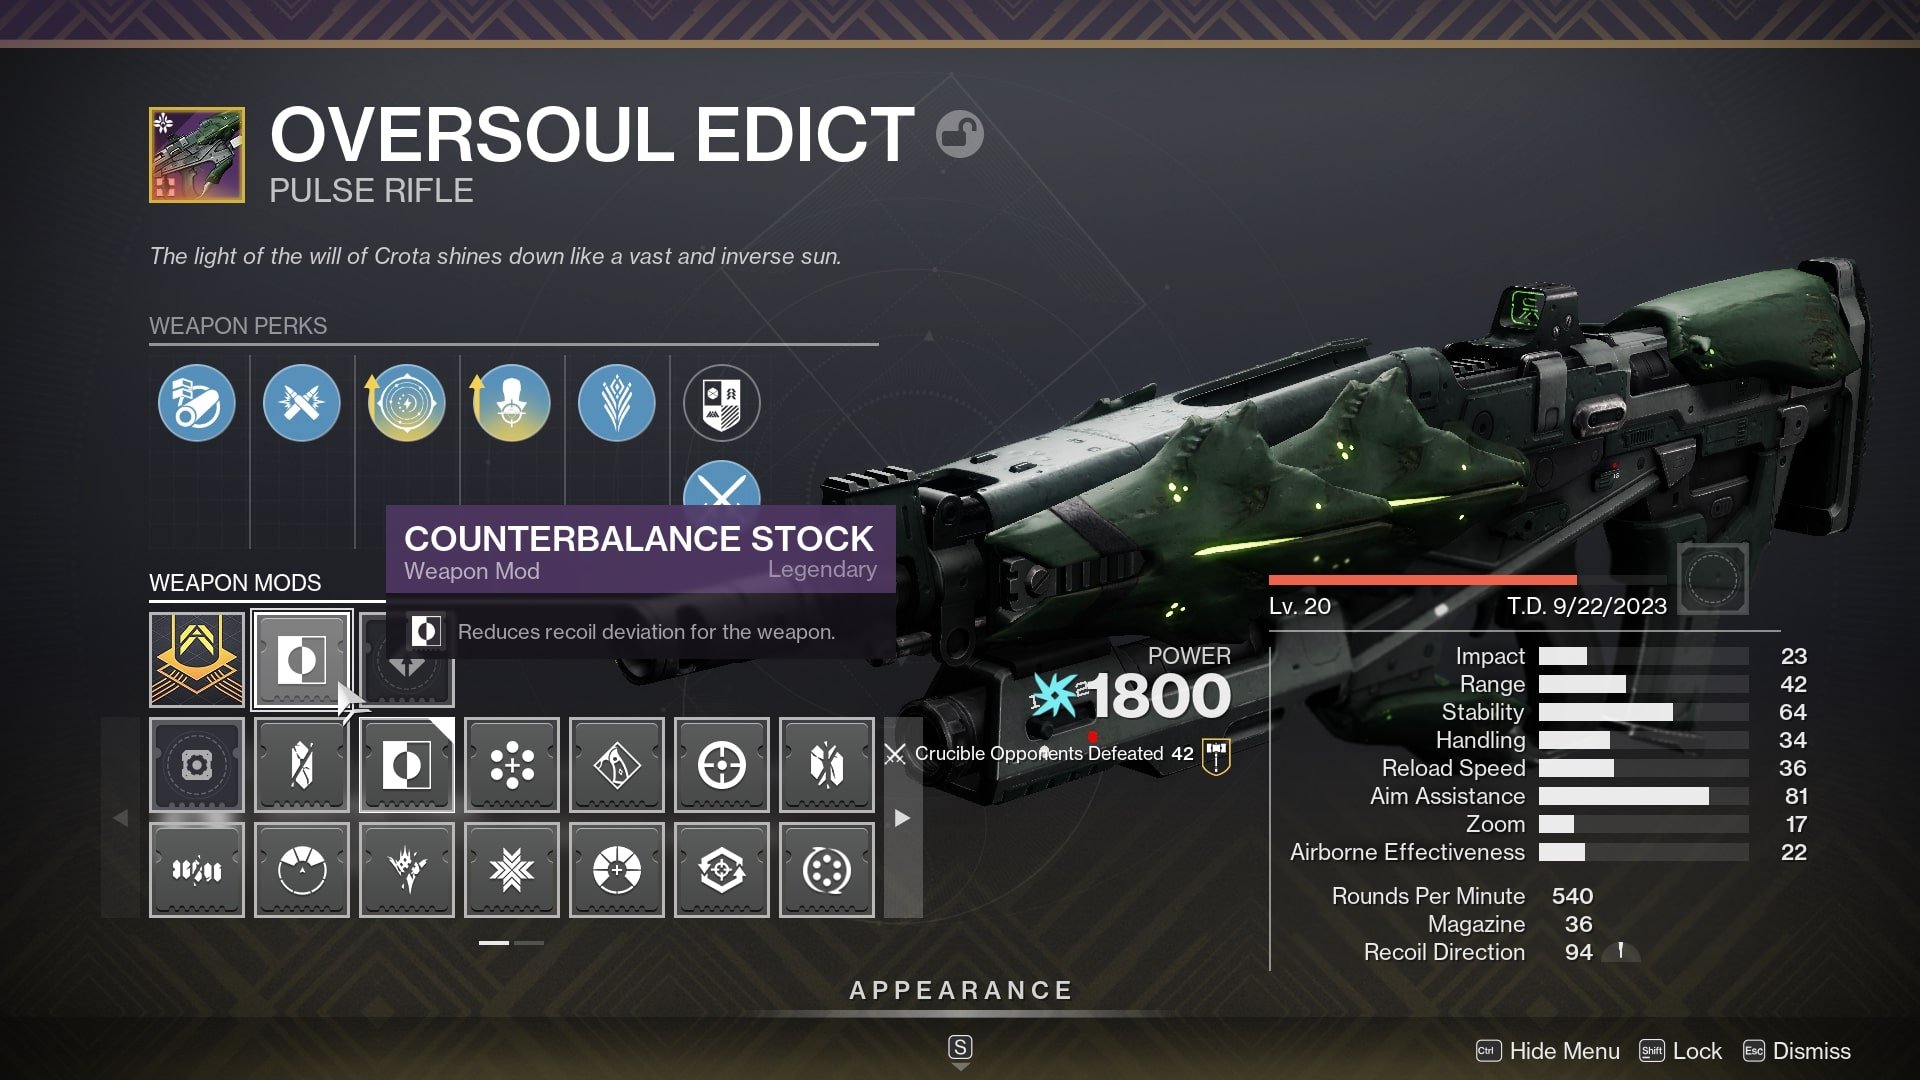
- Counterbalance Stock: Adds +15 to Recoil Direction
- Freehand Grip: Improves accuracy and ready speed when hip-firing
- Full Auto: Allows the gun to shoot in automatic mode. We don’t recommend using it, as you can simply enable the same thing in the game settings
- Icarus Grip: Adds +15 to Airborne Effectiveness, which improves accuracy while you’re in the air
- Quick Access Sling: Speeds up Ready/Stow animation. We recommend it on guns with low Handling, as well as on Shotguns
- Radar Booster: Expands the Range of your Radar
- Radar Tuner: Radar appears instantly after ceasing to aim
- Sprint Grip: Increases Handling for some time after starting to run. The effect is turned off after stopping the run
- Targeting Adjuster: Adds +5 to Aim Assistance. Suitable on almost any gun in PvP
Adept Mods Destiny 2
Regardless, as previously mentioned, aside from the standard, there are Adept Modifications. You may only use these on Adept (also Timelost and Harrowed) weapons, which are obtainable from Trials of Osiris, Grandmasters, and Master Raids:
- Big Ones Spec: Boosts damage against Elite, Minibosses, Bosses, and Vehicles by 7.77%. Extremely useful on any Special or Heavy Adept weapons
- Stat Modifications: Grants +10 to a specific Stat. There are versions for Impact (only Swords), Range, Handling, Stability, Reload Speed, Draw Time and Accuracy (only Bows), Charge Time (only Fusion and Linear Fusion Rifles), Velocity and Blast Radius (only Grenade and Rocket Launchers)
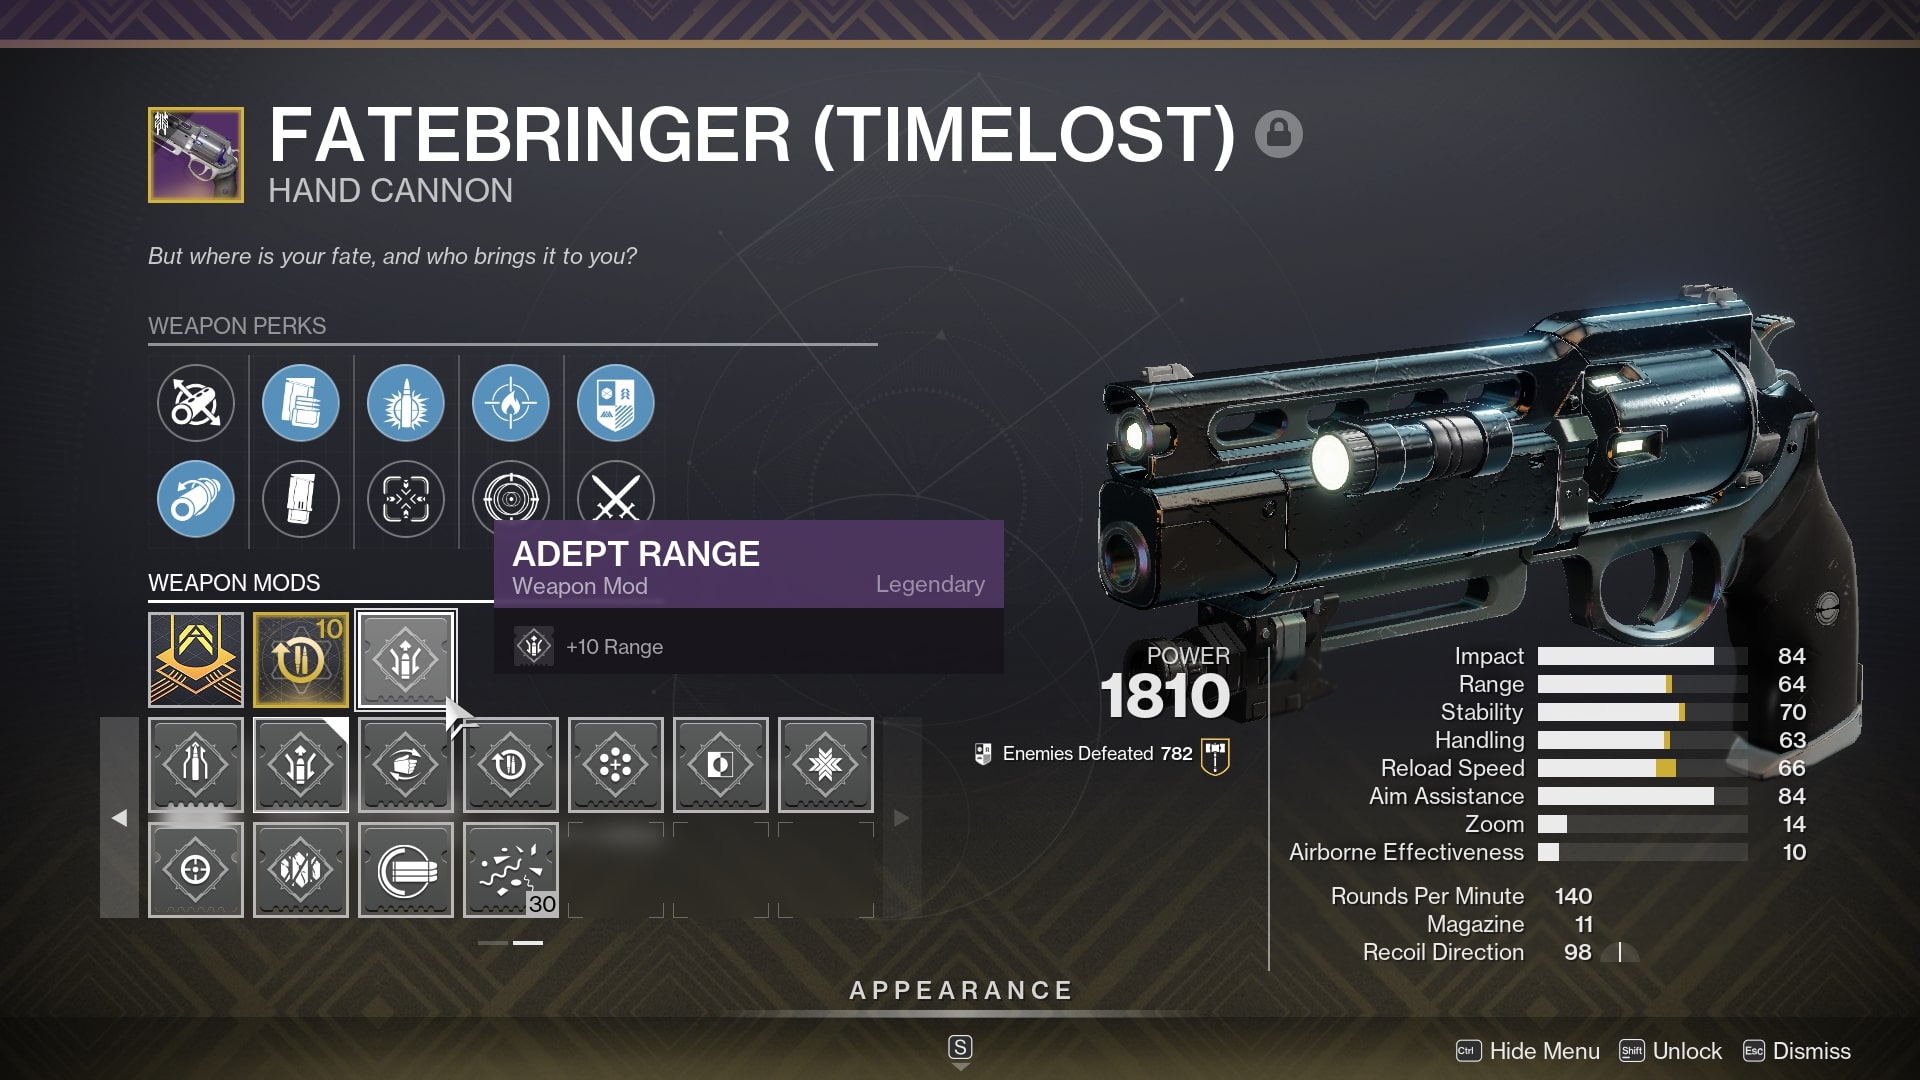
- Icarus Grip: Adds +15 to Airborne Effectiveness and +5 to Handling
- Counterbalance: Grants+25 to Recoil Direction but reduces Range by 10
- Targeting: Adds +10 to Aim Assistance but reduces Stability by 15
- Mag: Significantly improves the magazine but reduces Handling by 15
Destiny 2 Ghost Mods
We conclude our guide with modifications you might not even know about. Your Ghosts are your companions in the truest sense, assisting even in gaining more experience and loot. You’ll learn more about this shortly.
How to Unlock Ghost Mods
As in previous sections, open the Guardian Ranks. Your task is to complete “The Vanguard” objective at rank 1 to unlock Ghost’s enhancements. Just don’t forget to upgrade it, as it’s essential.
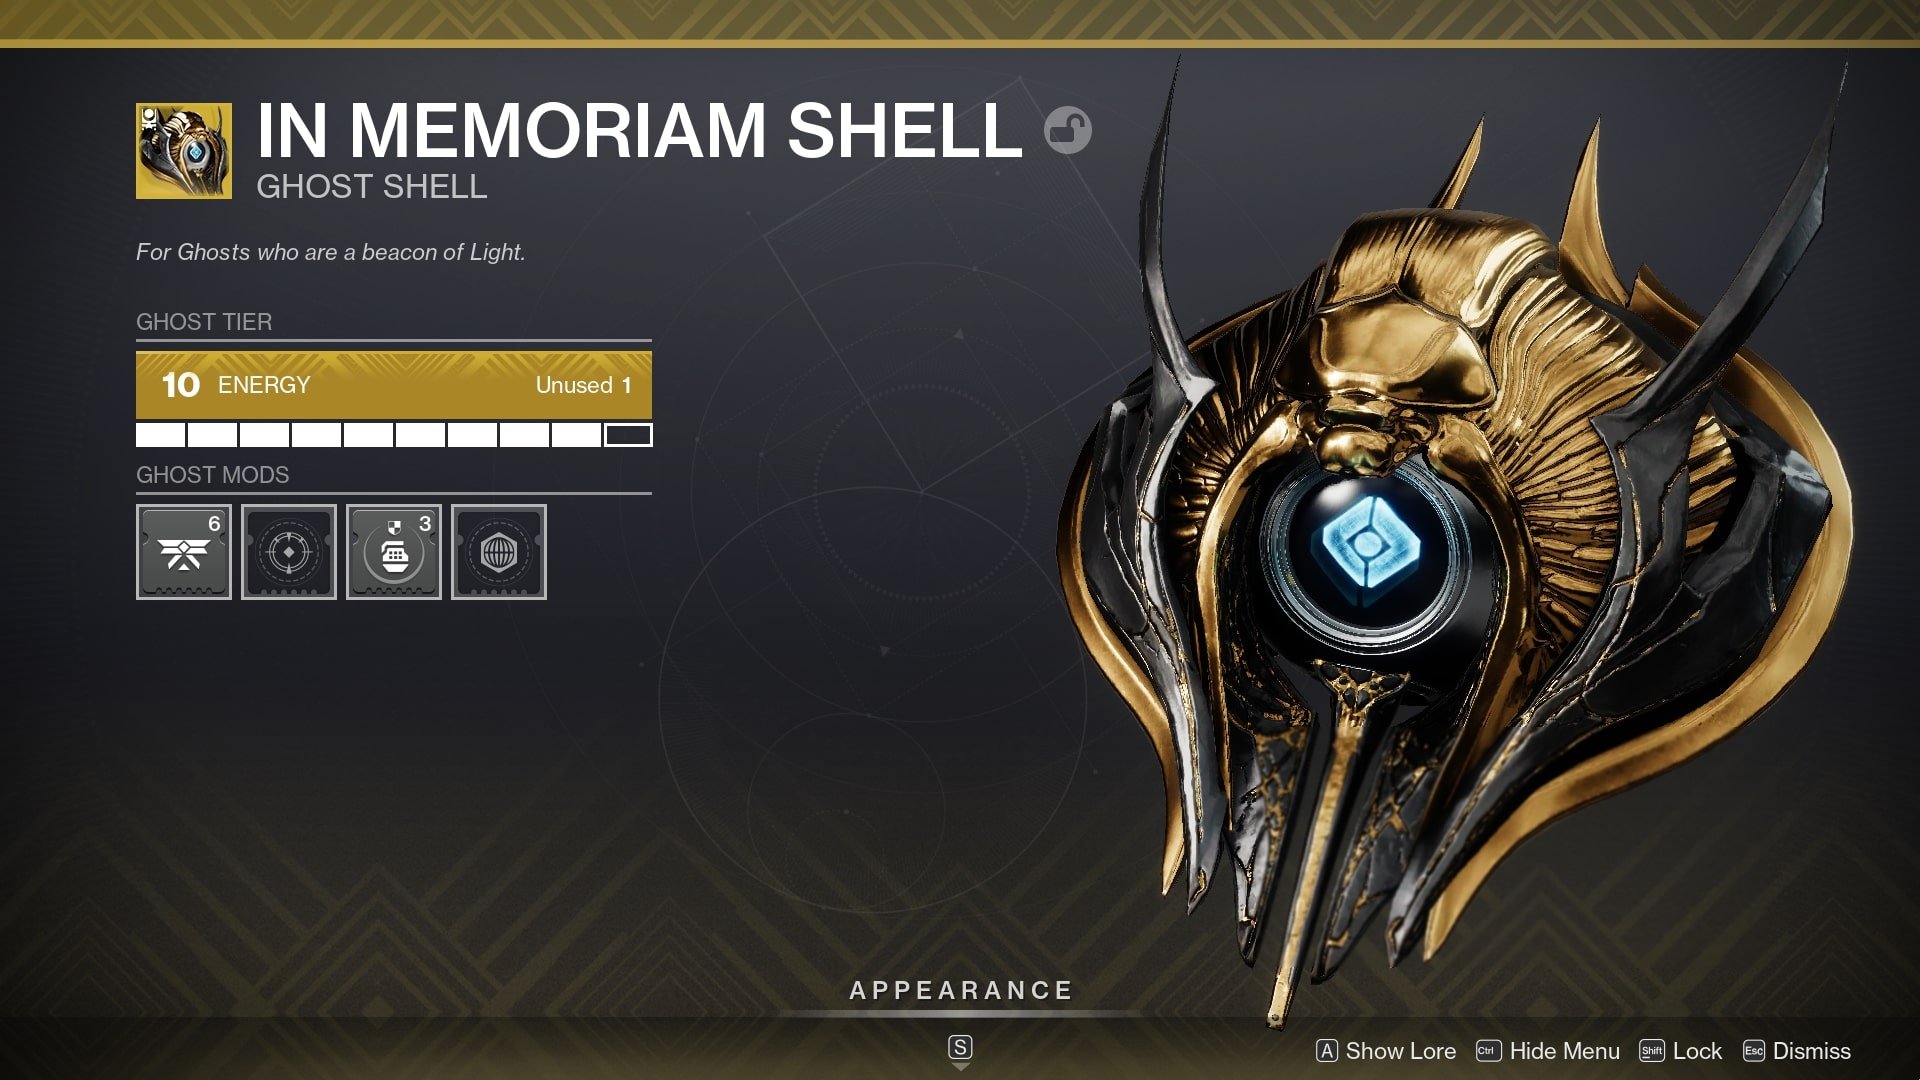
Ghost Destiny 2 Mods List
There are four sockets available with various improvements, some of which even cost six energy:
- The Experience Socket increases experience gained from completing any activities in the world. You may gain a boost from 2% to 12%
- The Tracking Socket is only reasonable if you are patrolling locations. Modifications here assist in finding Caches, Resources, or both within a certain number of meters
- The Economic Socket is crucial if you are farming anything for yourself. As an example, you have the capability to obtain a lot more Glimmer, loot from public events, or a gear piece with a guaranteed minimum of 10 points of the desired stats
- The Activity Socket gives a chance to receive Enhancement Core, Enhancement Prism, Upgrade Module, or Legendary Gear for performing specific actions in ritual activities (Gambit, Crucible, Vanguard)
And that’s all you need to know about the modifiers of your flying companions.
Final Words
Well, we can congratulate you because you are now a real expert in the field of Destiny 2 weapon and armor mods (with Ghosts, too)! If you still have questions, don’t worry; leave a comment, and we’ll reply. We always read them and are happy to help you find a solution. In the meantime, check out our other articles about how to choose the best class in Destiny and the best PvE guns to destroy opponents everywhere in the solar system.
Thanks for reading! Owl is Flying Away.


Comments