King’s Fall Raid Overview Guide
We were waiting for this. The fans have been waiting for this. Even at Bungie, everyone was waiting for this. The return of the best Raid from the original Destiny has finally happened. Let’s all say hello to King’s Fall, aka why every Guardian bought the original Destiny after the sequel’s release. After Savathun appeared in Destiny 2, it was only a matter of time before players were allowed to meet her brother Oryx. And now, the time has come. The most complete guide for dummies (like we are)!
A direct warning for Destiny veterans: the Raid has changed, and all the old guides are no longer relevant. In some places, you will be hit by nostalgia, but in others, you will trap yourself because of new mysteries. Unfortunately, the old-fashioned way to pass it will not work, but do not worry. It’s not for nothing that you stumbled upon this Kings Fall guide, and we are ready to help you solve this unpleasant problem. Sit down comfortably, call all your close friends to this King’s Fall overview and who are planning to go through this activity, and collect all the necessary gear to deal with the King once and for all.
Preparation
Each Raid in Destiny requires the most profound preparation, scrutiny and study. Of course, you can always rely on your teammates, but you can be the one on whom they will rely. Be sure to buy Raid Banners from Suraya Hawthorne in the Tower for ammo and abilities, and collect Raid bounties from her for more rewards. Of course, to successfully complete the Raid, you will need powerful guns for various stages. For example, you will need exotics such as Witherhoard for passive damage against bosses, Izanagi’s Burden for an additional source of damage, Divinity for debuff and a better crit spot. We also recommend Legendary Linear Fusion Rifles (for example – the new craftable Taipan-4FR) for major boss damage, Sniper Rifle and primary weapon, with which you can quickly kill red bar enemies.
If you are wondering what subclass is best for your Fireteam, then we can advise you on the following:
- For Warlock – The solar subclass with Well of Radiance will help you deal much more damage to bosses and increase your survivability during this time.
- For Titan – Solar subclass with Loreley Splendor Helm exotic helmet so you can survive almost any situation.
- For Hunter – Arc subclass with Gathering Storm and Star-Eater Scales exotic legs, because this is currently the strongest Super in the game if you have the maximum number of Overcharge Stacks. Void subclass with Deadfall will also work to weaken the bosses.
Don’t forget that the recommended power for King’s Fall is 1550.
KINGS FALL LOOT TABLE
1 Portal
- Doom of Chelchis (Void Scout Rifle)
- Class Item
2 Totems
- Doom of Chelchis (Void Scout Rifle)
- Qullim’s Terminus (Stasis Machine Gun)
- Chest
- Legs
- Class item
3 Warpiest
- Defiance of Yasmin (Kinetic Sniper Rifle)
- Smite of Merain (Kinetic Pulse Rifle)
- Chest
- Arms
4 Golgoroth
- Qullim’s Terminus (Stasis Machine Gun)
- Midha’s Reckoning (Arc Fusion Rifle)
- Zaouli’s Bane (Solar Hand Cannon)
- Helmet
- Legs
5 Daughters of Oryx
- Zaouli’s Bane (Solar Hand Cannon)
- Defiance of Yasmin (Kinetic Sniper Rifle)
- Smite of Merain (Kinetic Pulse Rifle)
- Chest
- Arms
6 Oryx, The Taken King
- Touch of Malice (Exotic Kinetic Scout Rifle)]
- All legendary Kings Fall armor
- All legendary Kings Fall weapons
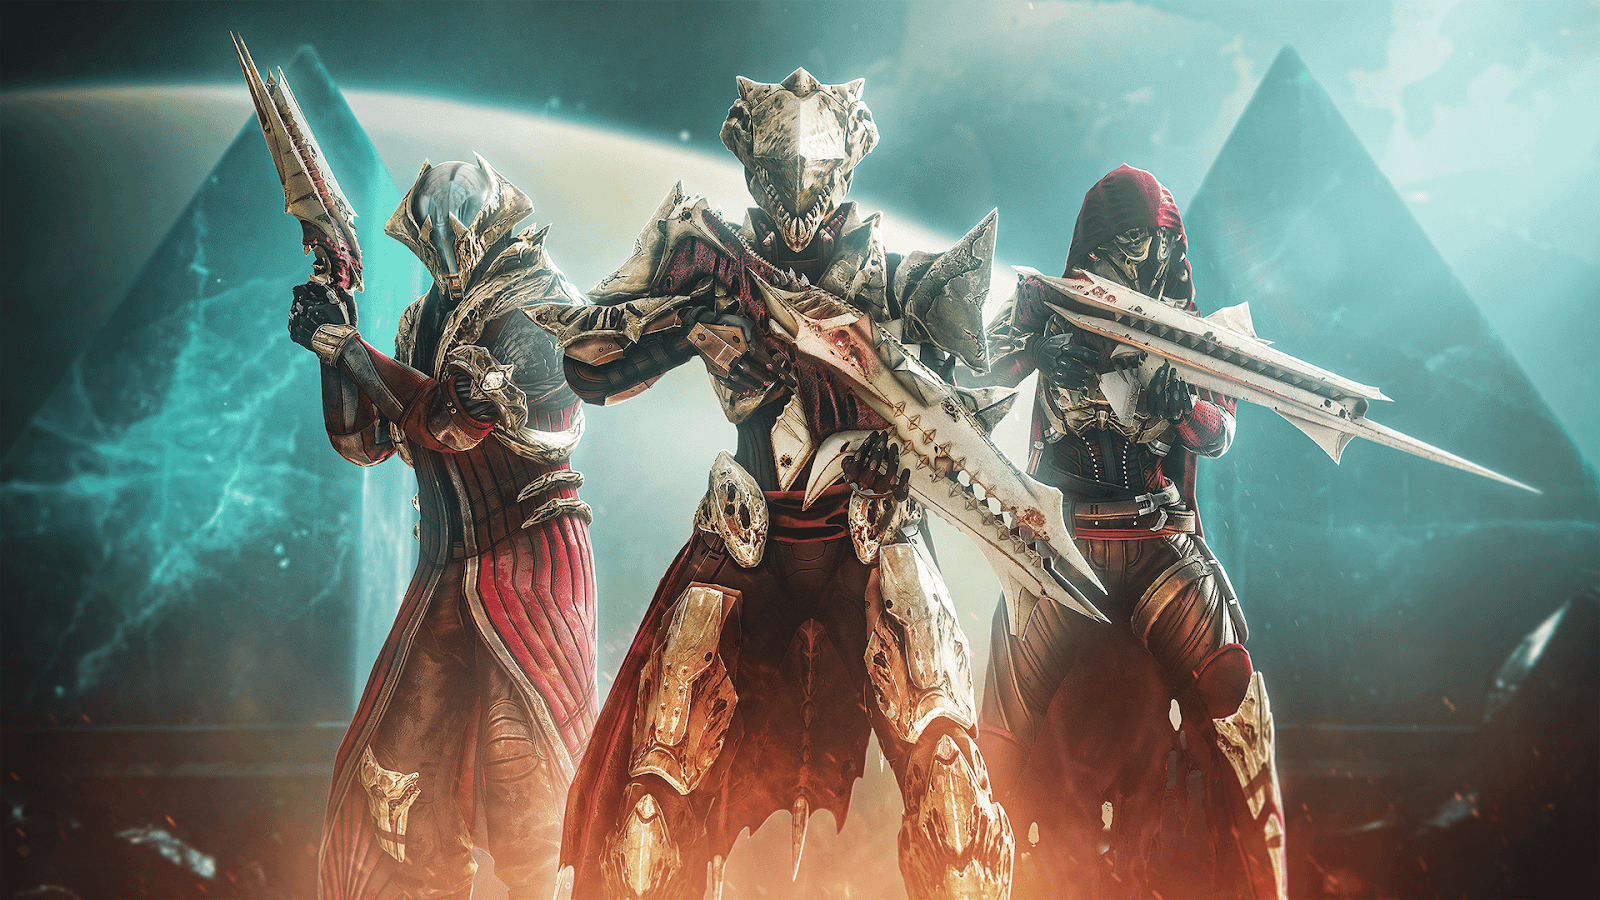
As you can see, the Kings Fall loot table is filled with the most varied and interesting loot, but Touch of Malice certainly stands out among it. Unfortunately, as before, this gun cannot be obtained through the quest. It drops randomly at the end of the Raid and only once a week, but there is an attempt on each of your characters. The gun itself has the following unique perks:
- Touch of Malice – the final round in the magazine deals bonus damage, drawing from the wielder’s life force, and then regenerates itself. Rapidly defeating three targets restores health;
- Charged with Blight – precision hits drain combatants’ life force and charge up a ball of darkness. Press [Alternate Weapon Action] and then fire to unleash the blight projectile, shrouding combatants in darkness and temporarily blinding them.
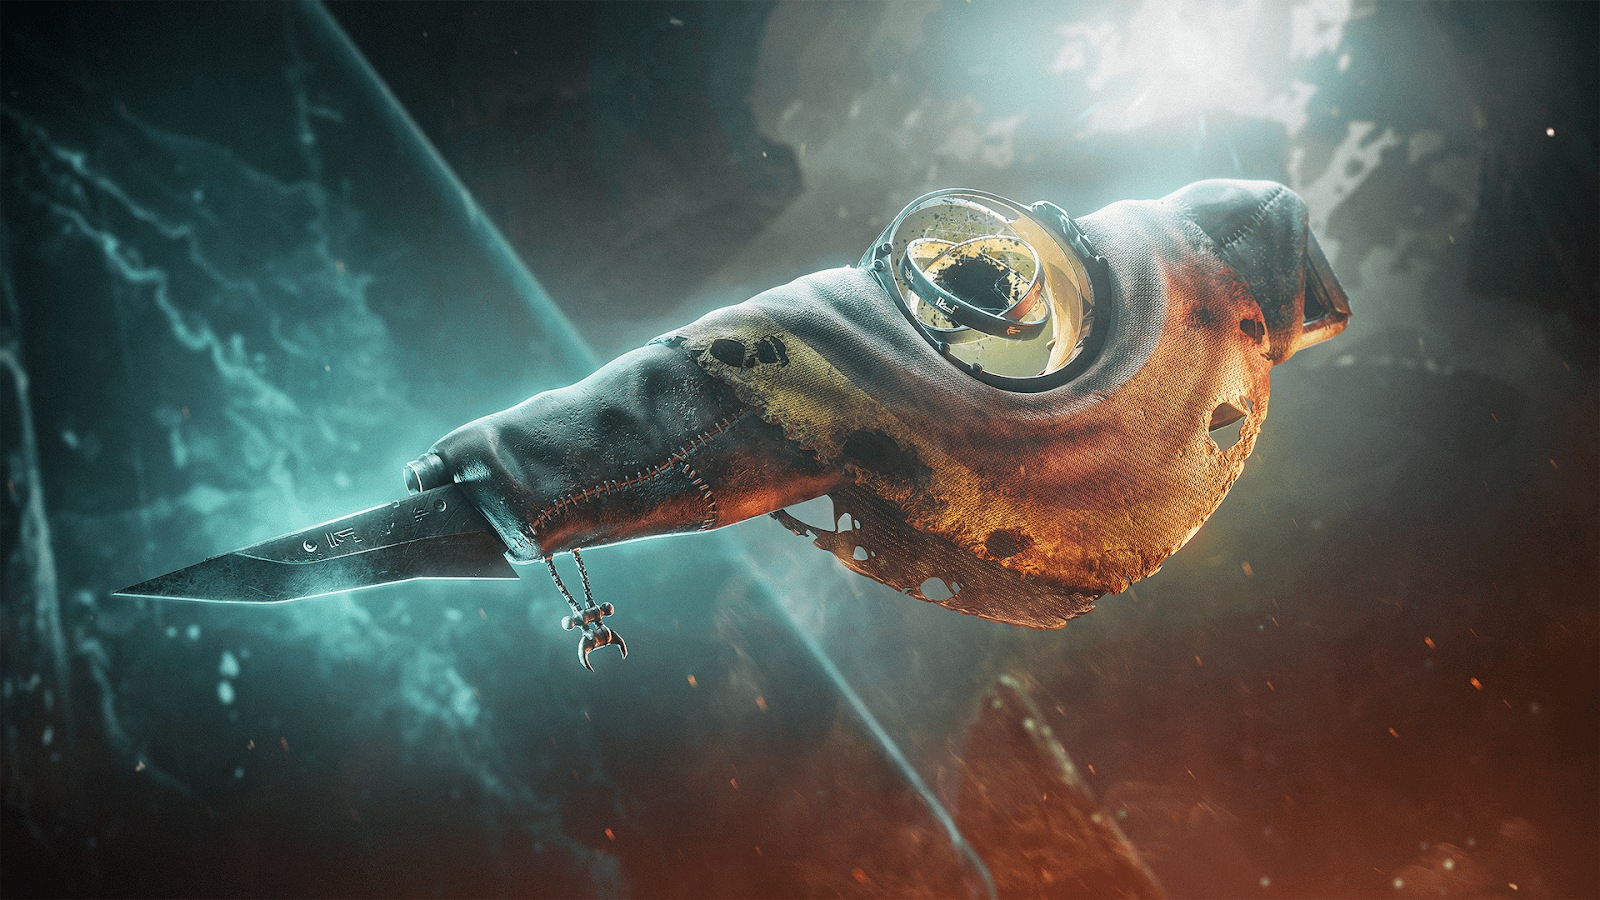
Surprisingly, these perks have made Touch of Malice one of the most powerful primary weapons. With Charged with Blight x10, you increase all Weapons of Sorrow damage by 50%, blinds and poisons targets for about 3 seconds. This applies to King’s Fall weapons too. If you manage to knock out the catalyst, it will give the rifle the Rapid Hit perk, allowing you to activate that alt fire mode faster to slightly increase DPS. Let’s say, in short, this King’s Fall exotic will never let you down.
We discussed the most important thing, and now we propose to fly to Destiny 2 since the King’s Fall return is a very significant event.
Opening – Portal
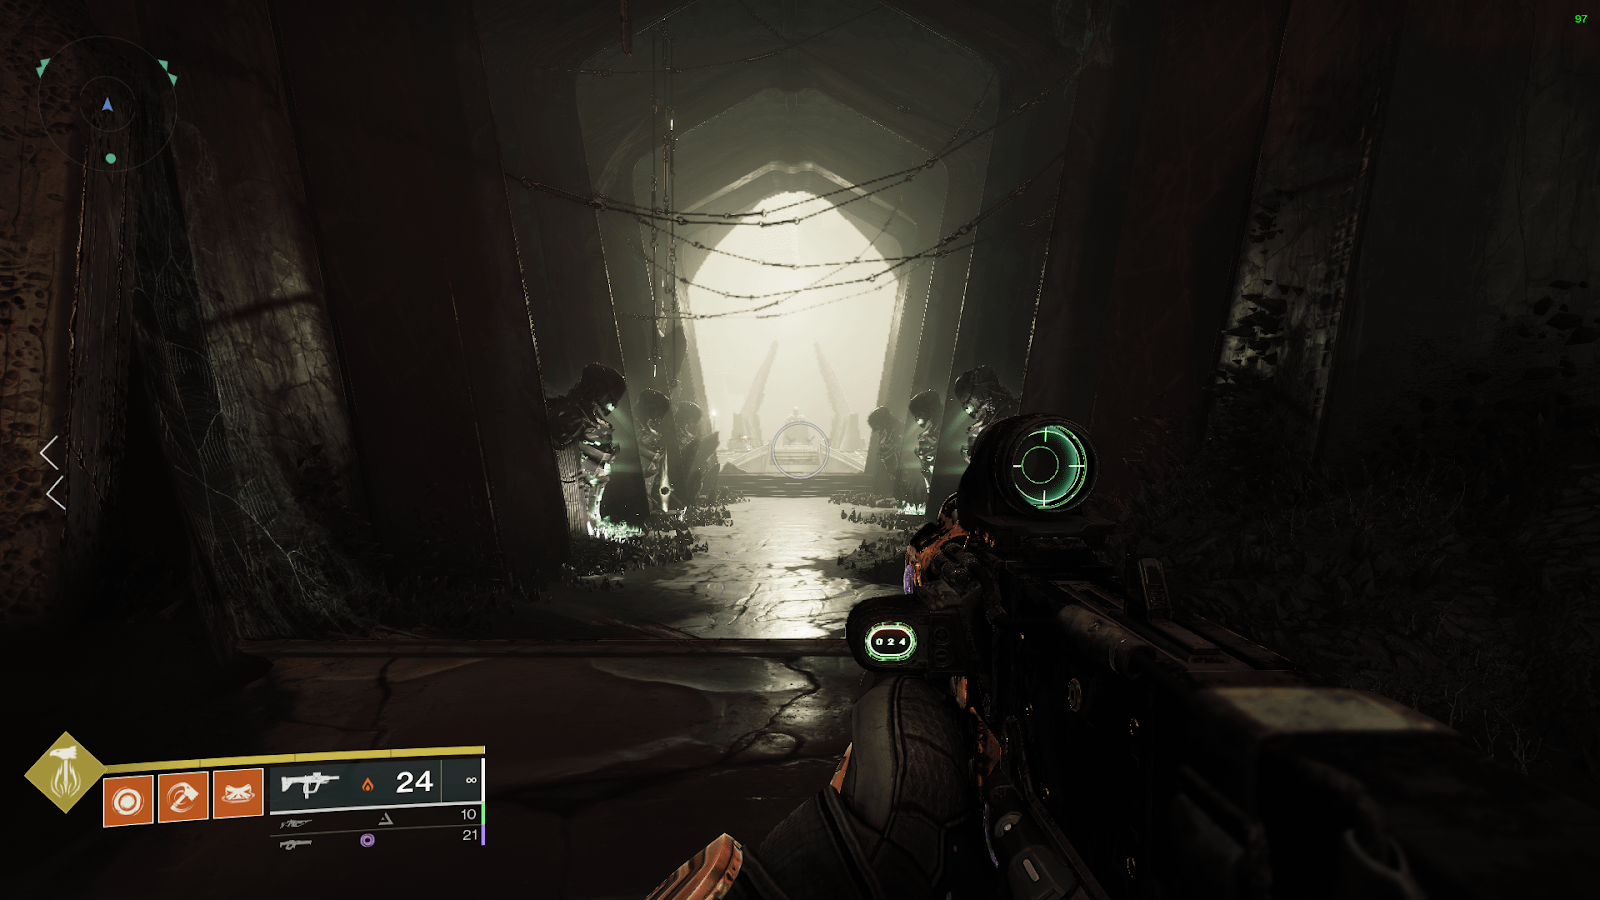
Almost every Raid in Destiny 2 has an opening. The Raid will begin with you appearing before the portal entrance, but it won’t appear until you deposit 12 orbs in 6 green statues. First, you have to divide your fireteam into three groups of two. The first team goes left, the second goes right, and the third remains in the center. You must determine who will look and carry orbs in the first and second teams. The second person will have to clear enemies and destroy walls. The third team just has to destroy walls. You must carry and deposit orbs in the statue almost at the same time. You have to repeat that six times only every time after the orb will be further and further. Then you will have to kill a couple of enemies, go into the portal and take your reward.
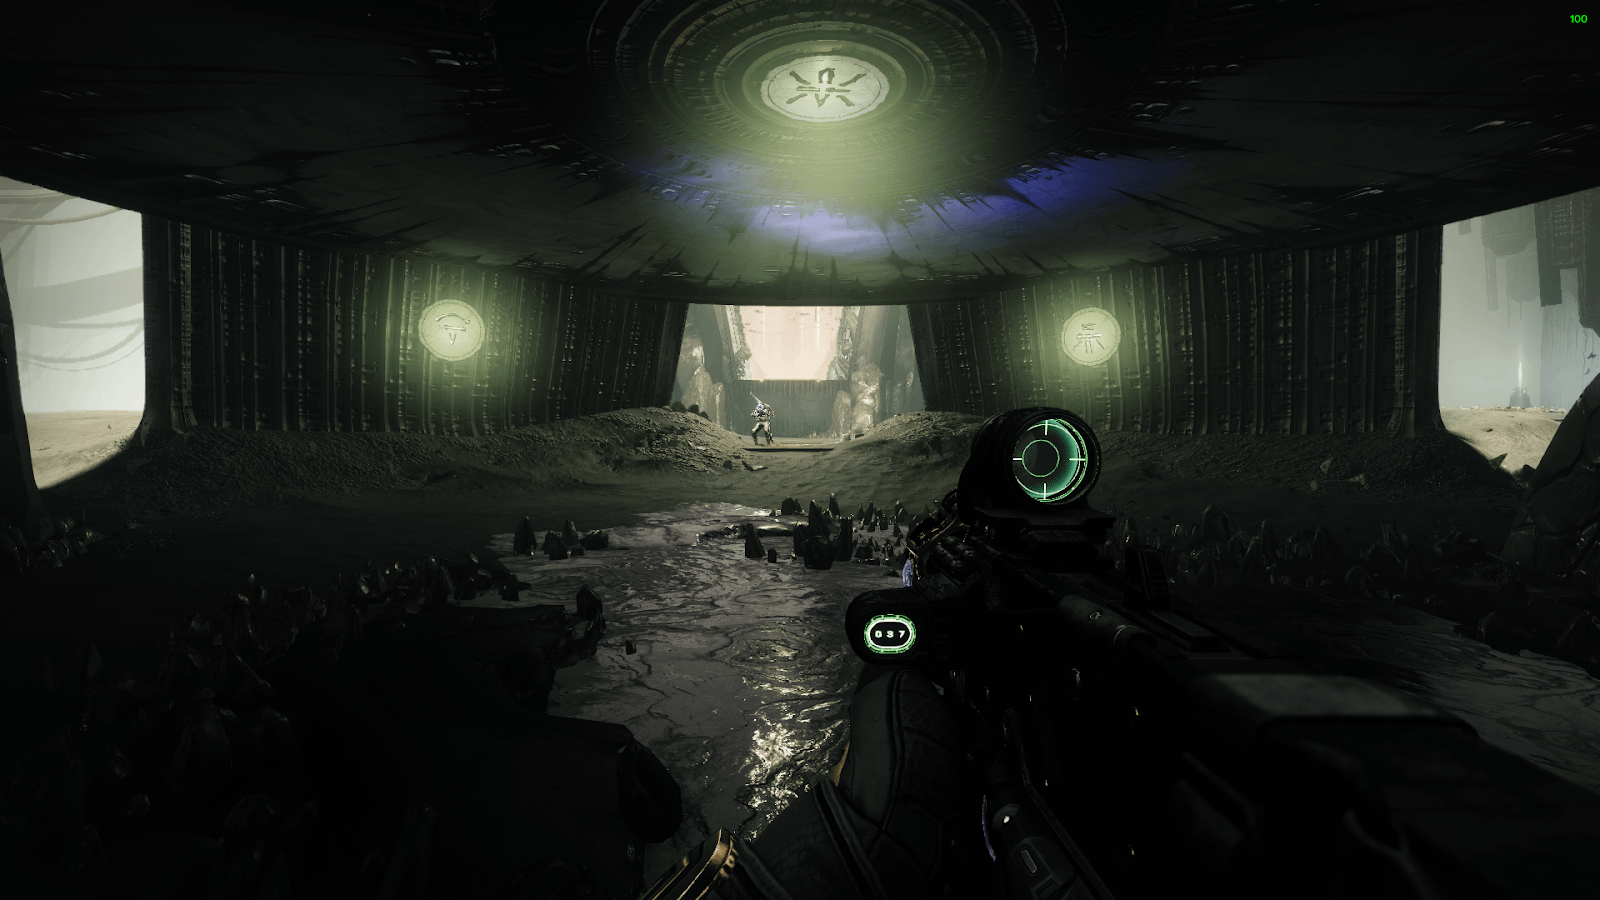
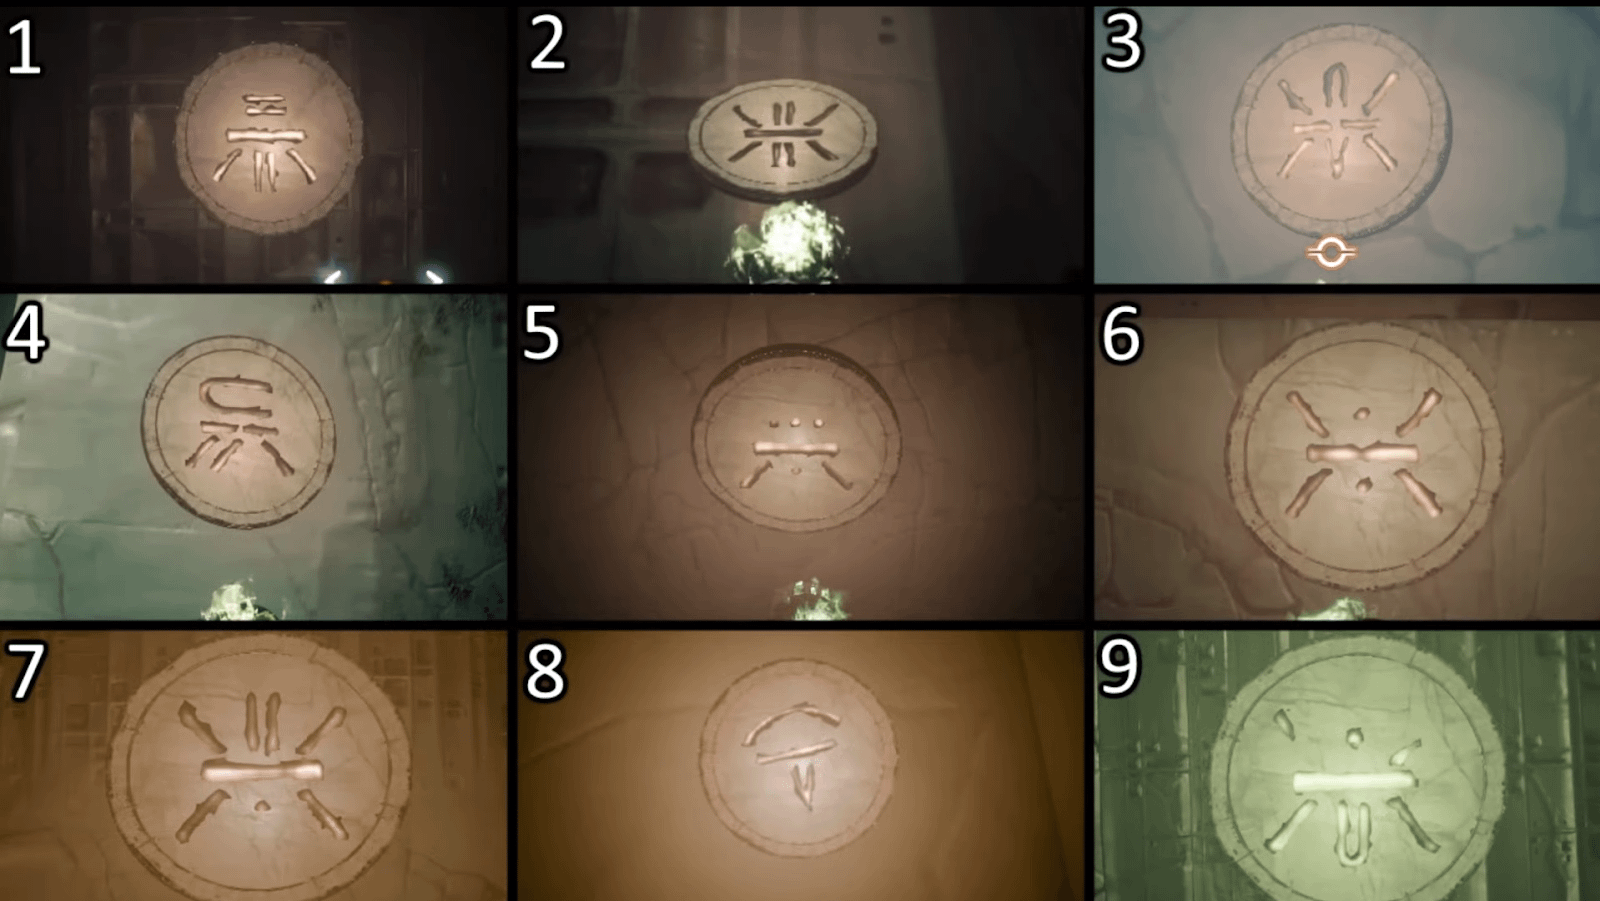
But don’t rush into the portal! Under the portal, there will be three symbols that you will have to find and shoot throughout the Raid. The game will reward you and your friends with a bonus chest for this.
After the opening, the fireteam must pass a challenging but interesting jump puzzle with floating ships. After that, two persons will have to stand on two plates to open a barrier. At the same time, four people get on the ship, but you can open the first secret chest right here. Your team must jump from the ship on the left to open a hidden chest along the wall.
First encounter – Totems
For the first stage, you need to split into two teams of three. The first team will be on the left, and the second will be on the right. The actions of these teams will be exactly the same and will not collide with the other. In advance, you must agree with your team partners who will follow whom. For illustration, we will talk about guardians like First, Second and Third. The encounter begins when the First Guardian takes the Taken Brand and runs to the Totem. Because if you don’t stand under it for a while, this will be a wipe. The player with the buff must kill as many enemies as possible to get Deathsinger’s Power buff. At this time, at the center on the upper ledge, Wizard will appear, and Taken Knight and buff with him will appear after her death. This buff will allow you to steal a brand. This is a job for Second Guardian, and he must run with the buff to the Totem, and as soon as the brand timer is around 2 seconds, he steals it, then First Guardian moves to the center plate to deposit their stacks. At this time, the Third Guardian kills Wizard and Knight.
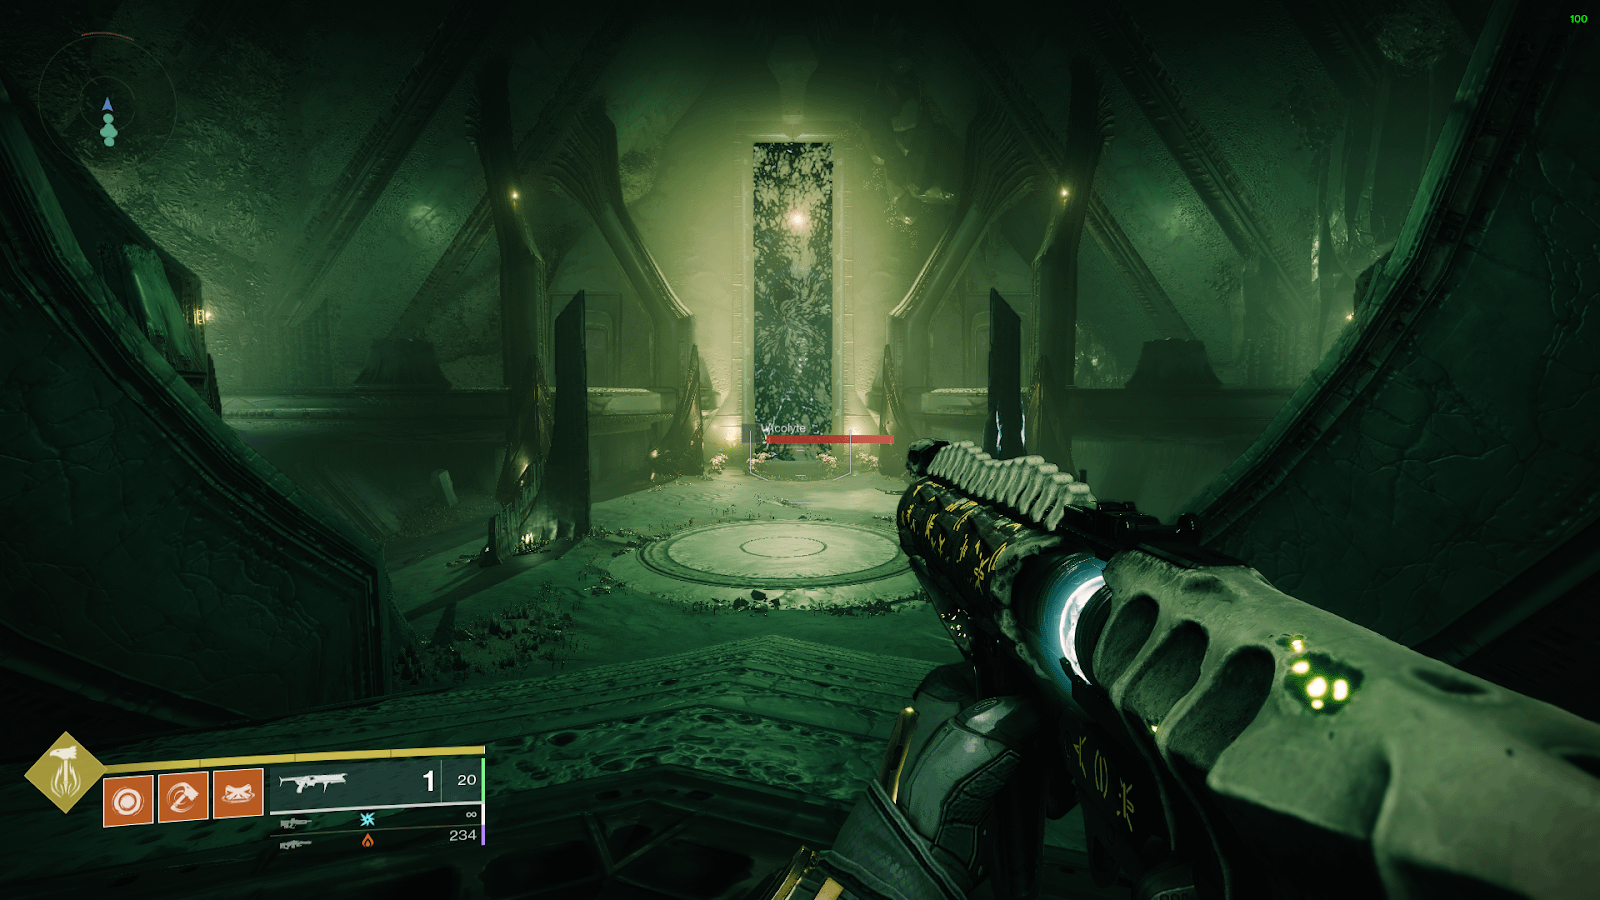
Thus, everything is repeating over and over again until 200 Deathsinger’s Power is contributed. Sometimes Unstoppable Champions spawn in the center, so be sure to put on mods against them. Immediately after the open passage, the next stage will be waiting for you.
Second encounter – Warpriest
The first King’s Fall Raid boss, where we must survive the meeting with Oryx’s defender – Warpriest. The team is divided into three groups of two players and occupies the plates in the arena in front of the boss. It all starts with a simple clearing mob, but at some point, Knights and Wizards will appear. It’s up to the entire Fireteam to find each one and kill them, as the stage won’t continue without it. After killing all the enemies, the inscription “Glyph reading sequence started” appears in the left corner of the screen. Three players must prepare and stand near plates (not in them, yet).
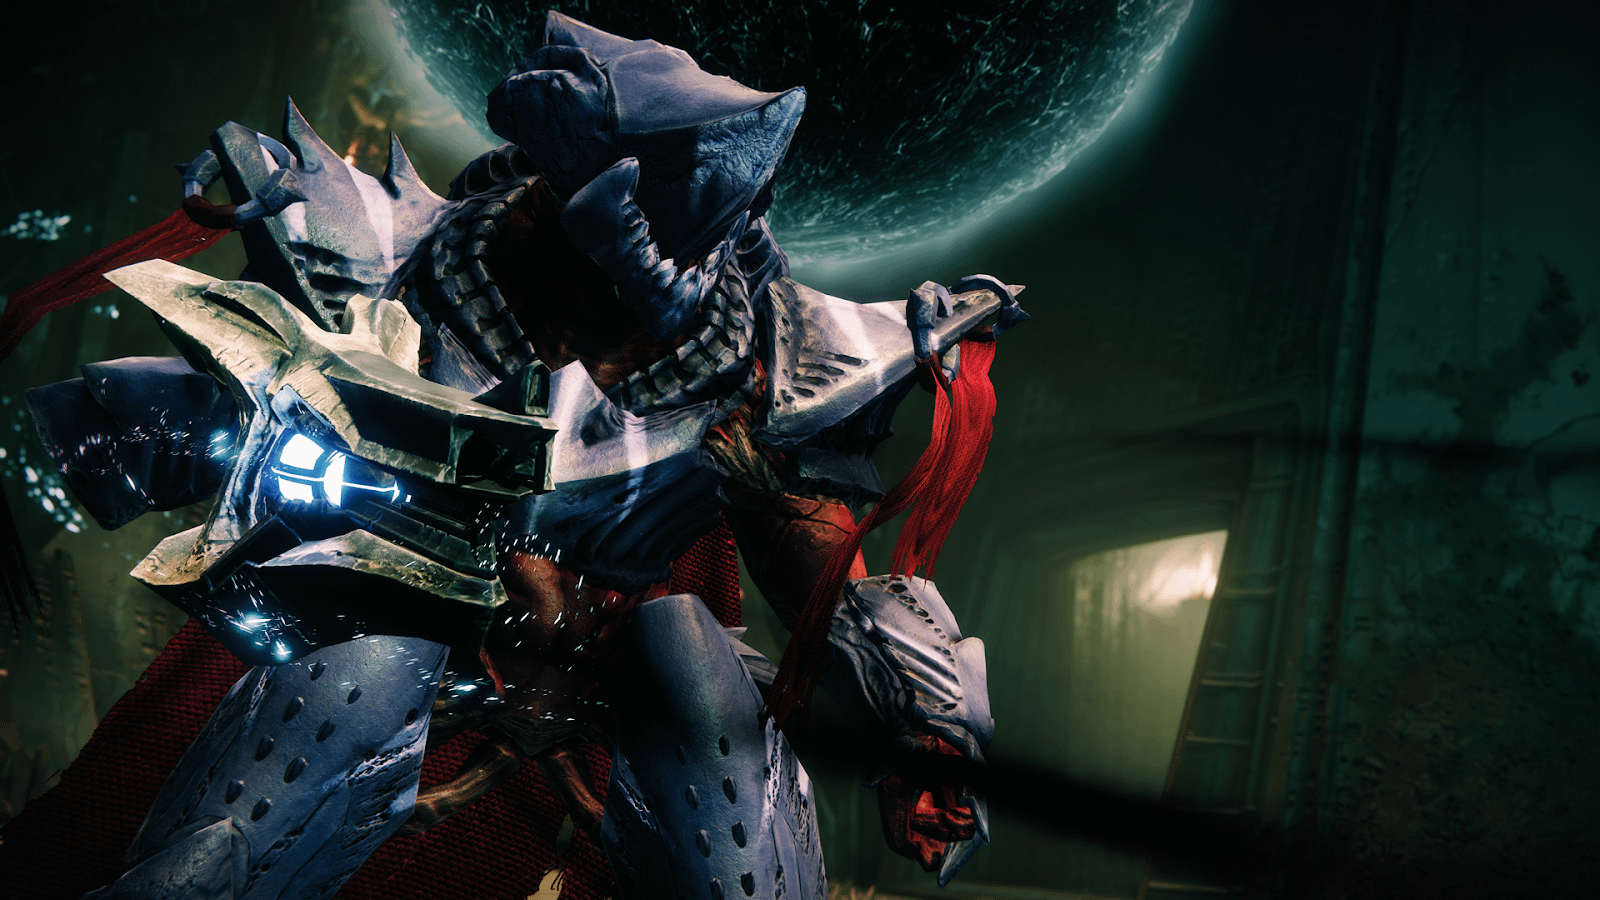
The first Guardian in the center enters the plate, and his task is to name the glyph that began to glow. For example, it will be left so as not to get confused. The central player leaves the plate, and the inscription “Glyph Sequence Started” appears. Next, the player on the left must stand on his plate and name another glyph (let’s say the right one), but this time the player must not get off it. And accordingly, the player on the right stands on the plate and then says to stand in the center since none of the glyphs is glowing. The third Guardian, who stands on the plate, gets a buff, and the damage phase begins. The “Brand of the Initiate” buff allows him and all nearby teammates to deal damage to the boss.
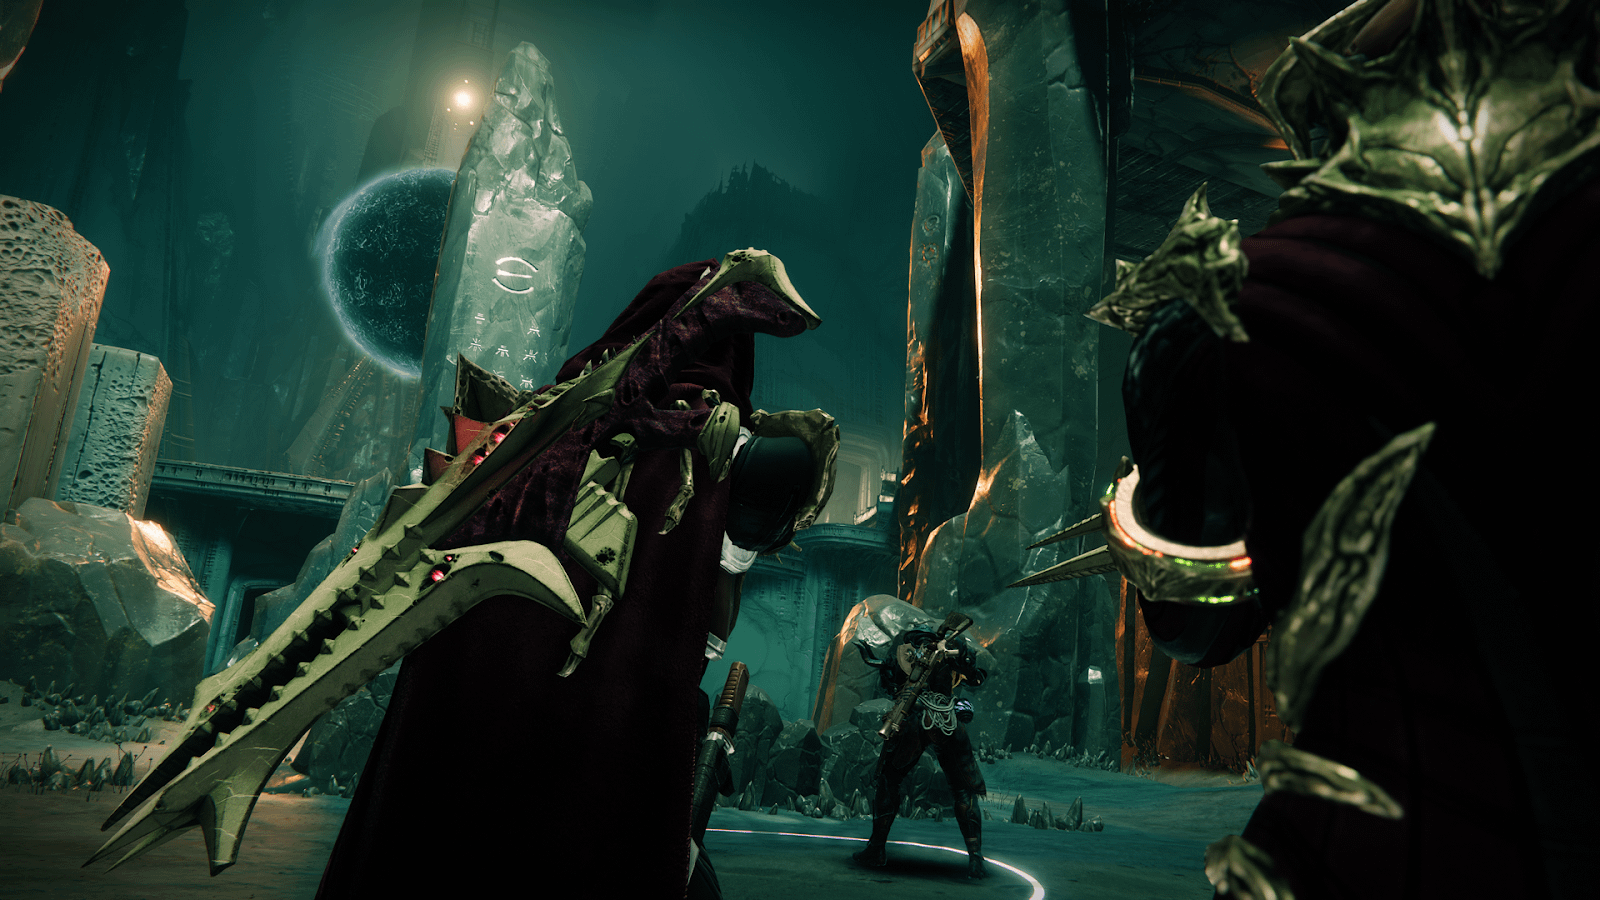
Now read carefully. While dealing damage to the boss, one player must find a knight that will spawn at that time. He should kill him and take the “Brand Cleaner” buff, allowing him to steal the “Brand of the Initiate” buff at the very last moment to extend the damage phase. After that, the other player must also find the knight, kill and get a buff from him, and then, in the same way, at the last moment, steal the damage buff to extend the phase once more. As soon as the damage buff starts to wear off, the whole team should hide in the shadow of one glyph to avoid mass deaths at the hands of the boss. After surviving his fiery eruption, your cover will break, which means your team will have only two more opportunities to take cover after the damage phase.
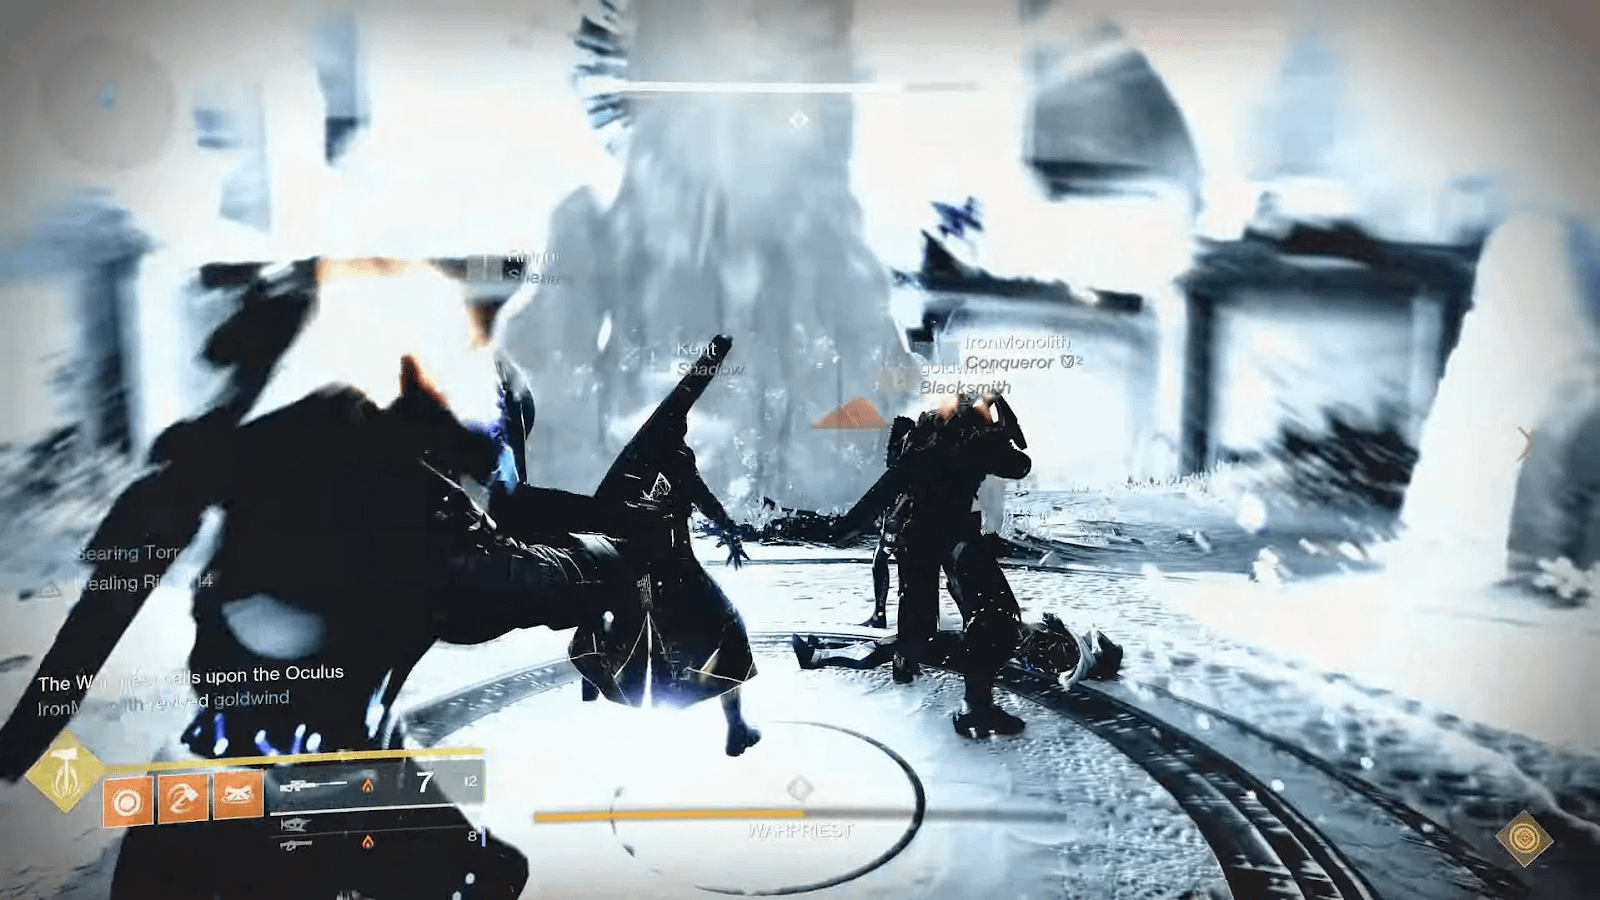
This is the best King Fall Raid strategy we could provide for this encounter. Therefore, use all the possibilities presented wisely, put as many support subclasses as possible to increase damage, and then your fireteam will be able to beat Warpriest to death.
Raid Chest #2
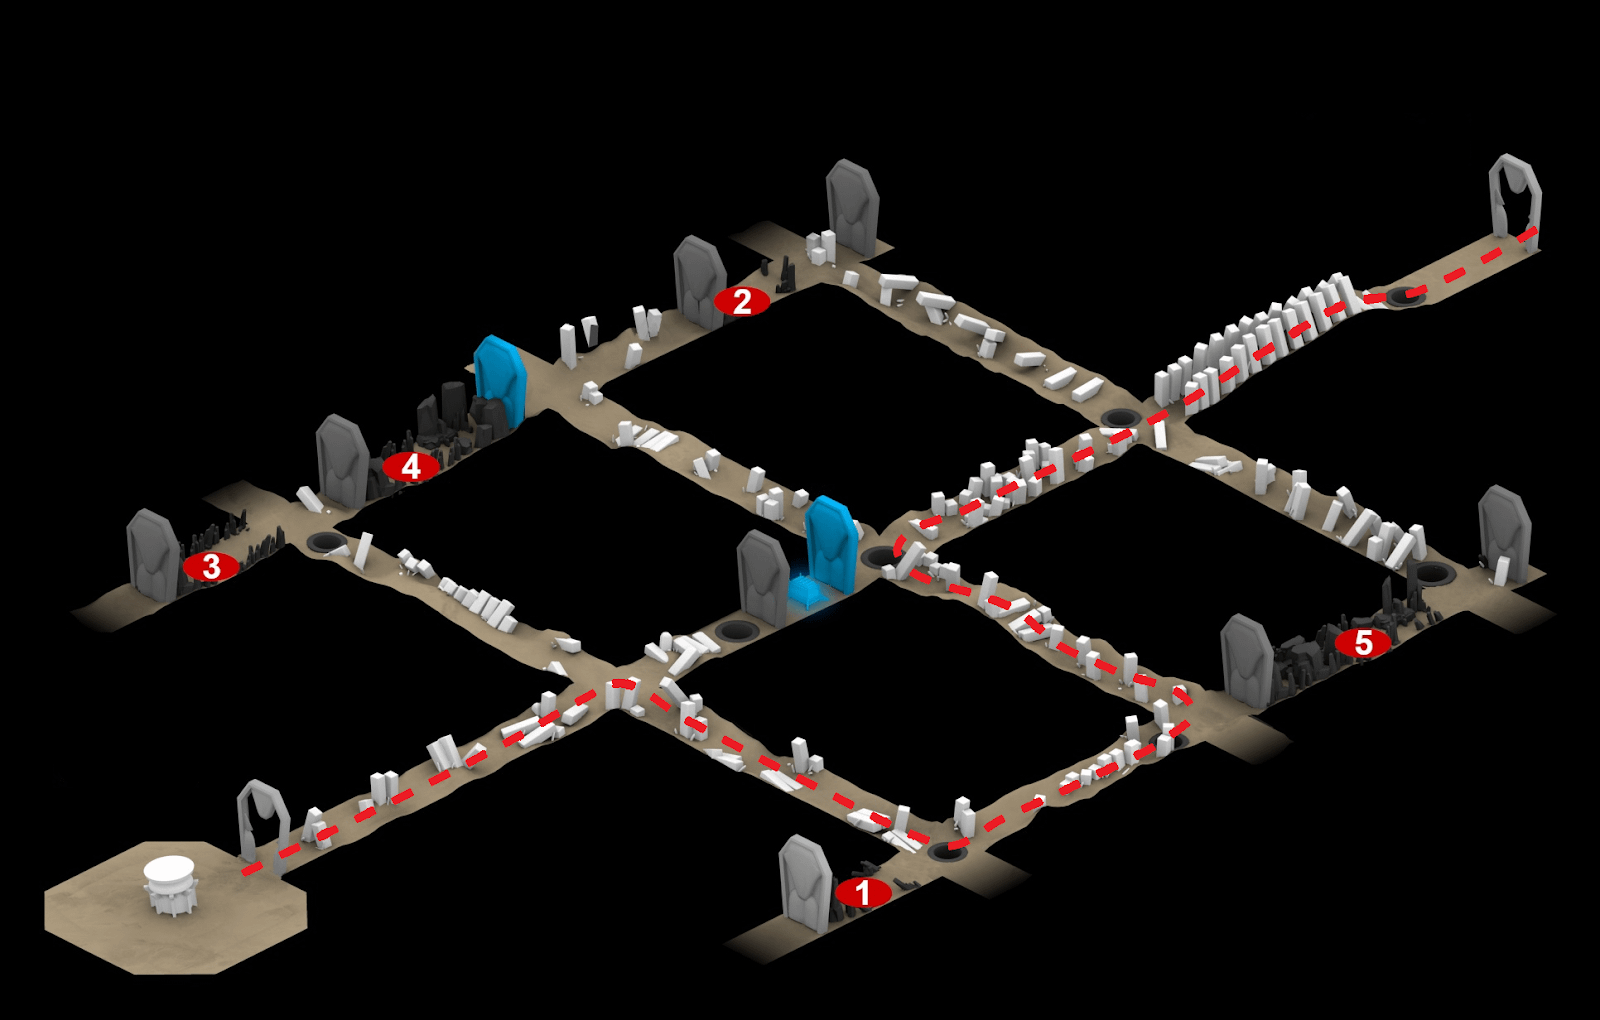
You will find yourself in Golgoroth’s Cellar when you run into the portal. Below we have left a map showing red circles with numbers. Your team must find the plates on this map alternately, get up on them, and stay on them until the last and fifth plate is activated. After that, a door will open in the center of the maze, which is marked in blue on the map. There you will find the treasured chest! The purpose of the map does not end there. This King’s Fall maze map shows you how to escape the labyrinth; follow the red stripes, and your team will be at the exit.
Third encounter – Golgoroth
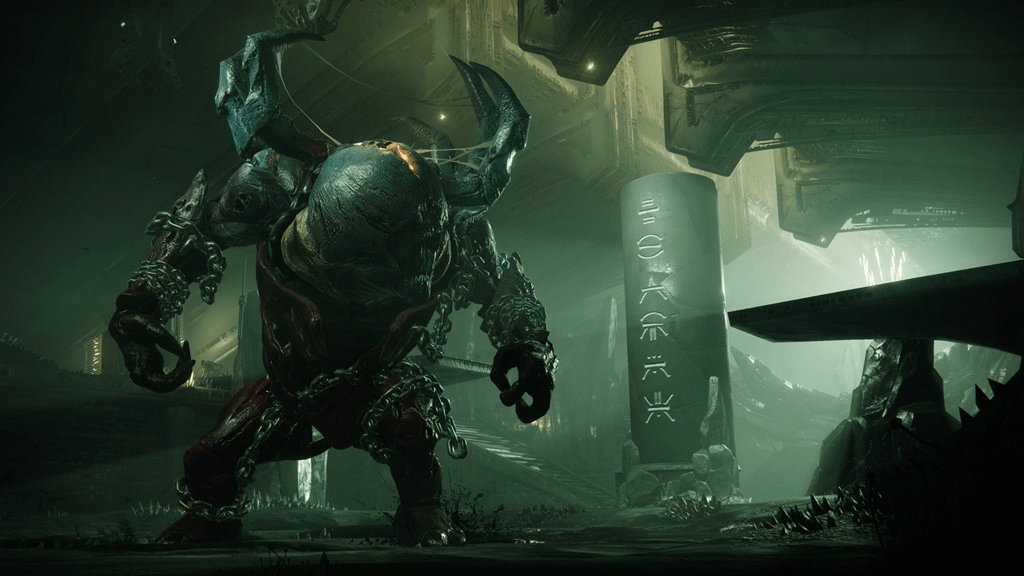
A relatively simple stage, but in the original Destiny, many people got stuck here. When entering the arena, you immediately choose which of you will attract the boss’s attention to yourself — two guardians are enough for this. When the right people are chosen, they need to start shooting at the orb, which is located in the center of the arena. This action leads to a battle with Golgoroth.
Clean the arena from small things which interfere since the boss will not immediately enter the active stage. After a certain amount of time, Golgoroth will stand up, and the players that attract attention should start shooting at his back, dealing as much damage as possible. After getting the “Golgoroth’s Gaze” buff, their main task — survive and shoot the orbs that fly at them, but there’s more. They need to turn the boss towards the DPS Team and run up to the first Droplet orb, which is located in the lower left part of the arena. Deal enough damage to the droplet, and the damage phase begins. At the same time, the second player from the attract team is preparing to deal damage to the back and replace the first player since the effect of “Golgoroth’s Gaze” only lasts 20 seconds. If this effect wears off, the phase will end, and the clearing part will begin again.
Meanwhile, the DPS Team should get under the falling droplet orb and start dealing damage to the boss. As soon as a player from the other team shouts that his effect ends, they need to run to the next droplet, remembering to break it. BUT BE CAREFUL, as one of the players can become infected with the “Unstable Light” debuff, which will undermine not only him but also the players closest to him. Therefore, a guardian with an explosive debuff in the last seconds should run up to the boss and explode next to him.
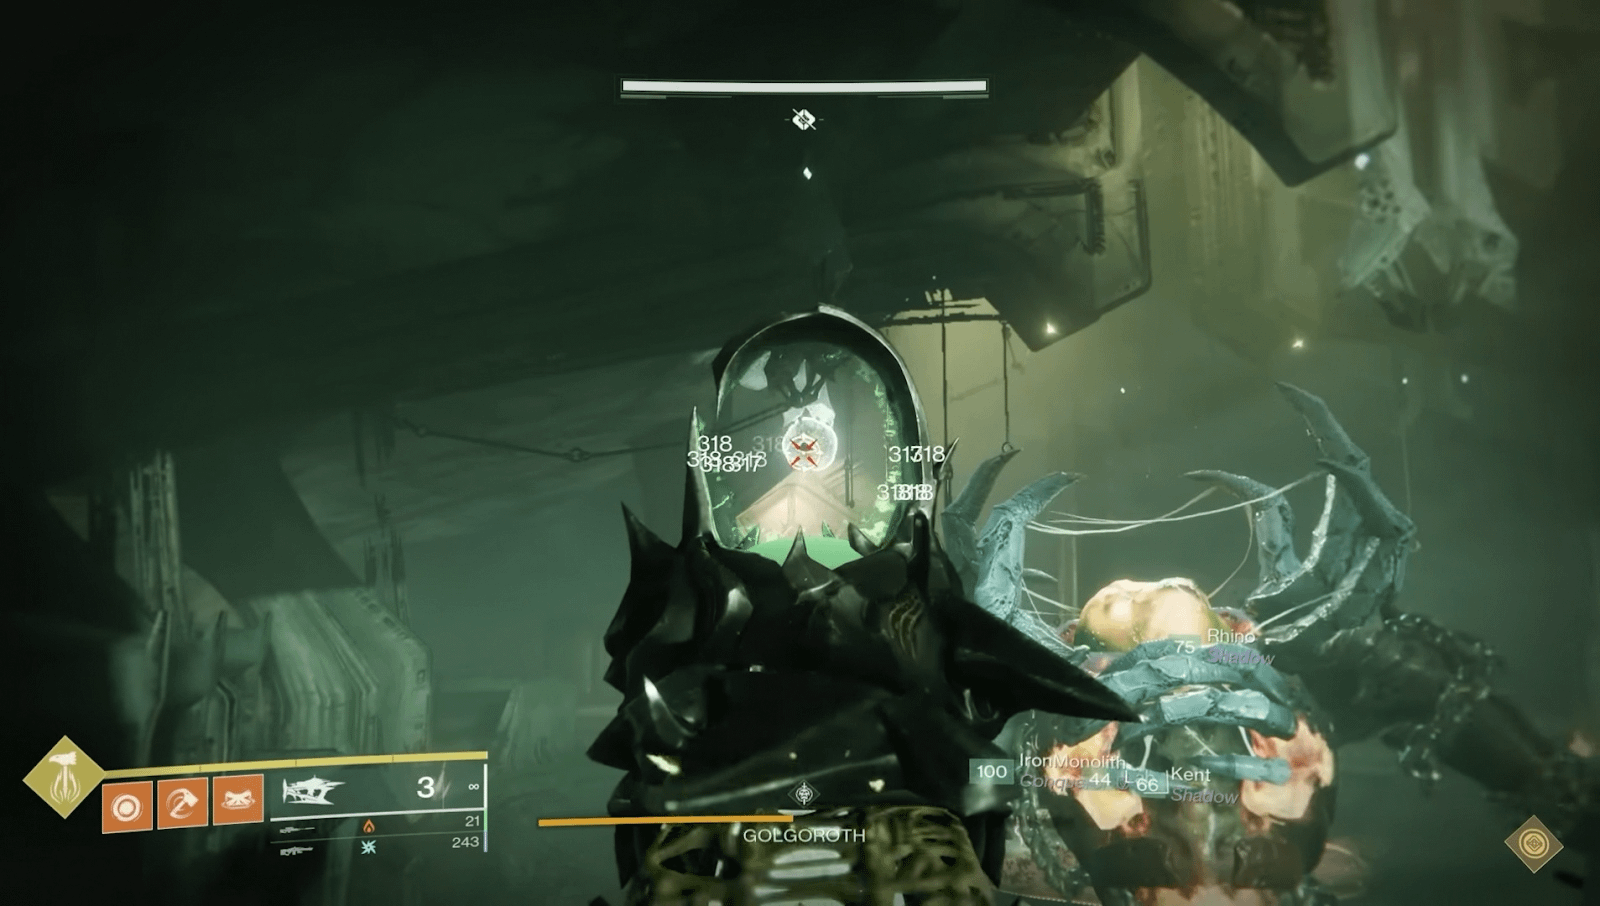
By the way, if you played the first Destiny and this Raid, you may remember that there is a totem with symbols behind the boss. It used to kill everyone in the room after six guardians died in a row, but now this mechanic has changed. This time it all depends on the distraction team. Once they lose the “Golgoroth’s Gaze” buff, the totem will flash as many glyphs as many droplets weren’t used during the damage phase. If their number exceeds six pieces, this is a wipe for the team. Just use our Kings Fall Raid tips above, and everything will be okay.
After six droplets, the information will appear that Golgoroth is tired, and the DPS phase ends. You start clearing the room again, which helps find ammo, and as soon as the boss gets up, repeat the above steps until your fireteam kills him.
Puzzle and Raid Chest #3
After defeating Golgoroth, you have to go through simple platform puzzles. At one point, a huge pillar will stand on the right side, with platforms on the sides. Jump in there and get your ghost to show you new platforms. That repeat until you reach the door, after which there is a chest with loot. We usually get Kings Fall armor from all chests, but maybe RNG will bless you with cool weapons.
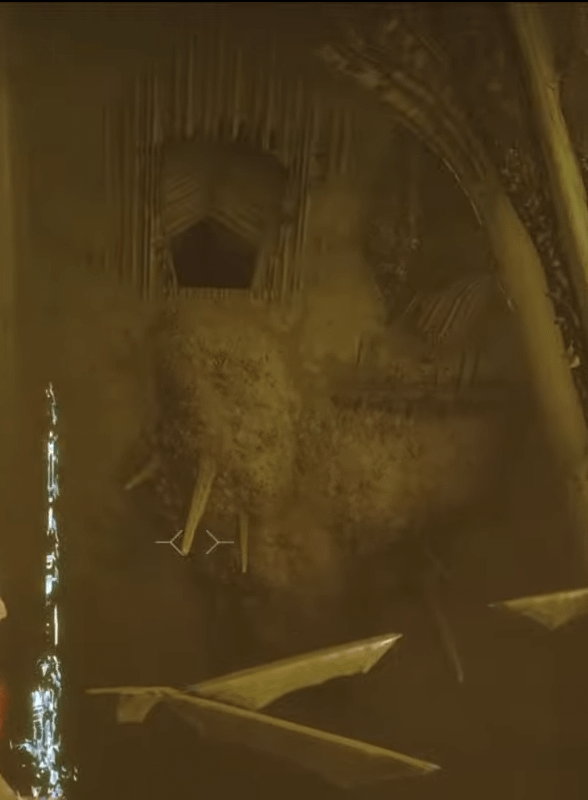
For the rest of the jumping puzzle, the player will need to stand on the slabs to create platforms before and after them to allow players to jump. You jump with your teammate on a plate in front of you to make sure everyone can cross the room.
Fourth encounter – Daughters of Oryx
In this section, everyone will have to take on a role. In front of you, you will see four plates – one per person. The stage begins with the death of the Knight standing on the plate, at which time a two-minute timer begins. The player who is in charge of this plate must kill him and stand on it, and he will be able to see which second plate the other player should stand on. At this time, a random player becomes torn (a Taken ghost). His goal is to run across the slabs that appear, reach the objective marker in the air and grab it. Once the message “A piece of the Blightguard is found” appears, players will have to jump off the platforms. But what to do if the player responsible for the desired platform becomes torn? That’s what the remaining two players are for. One of them must stand on the platform that this person occupied.
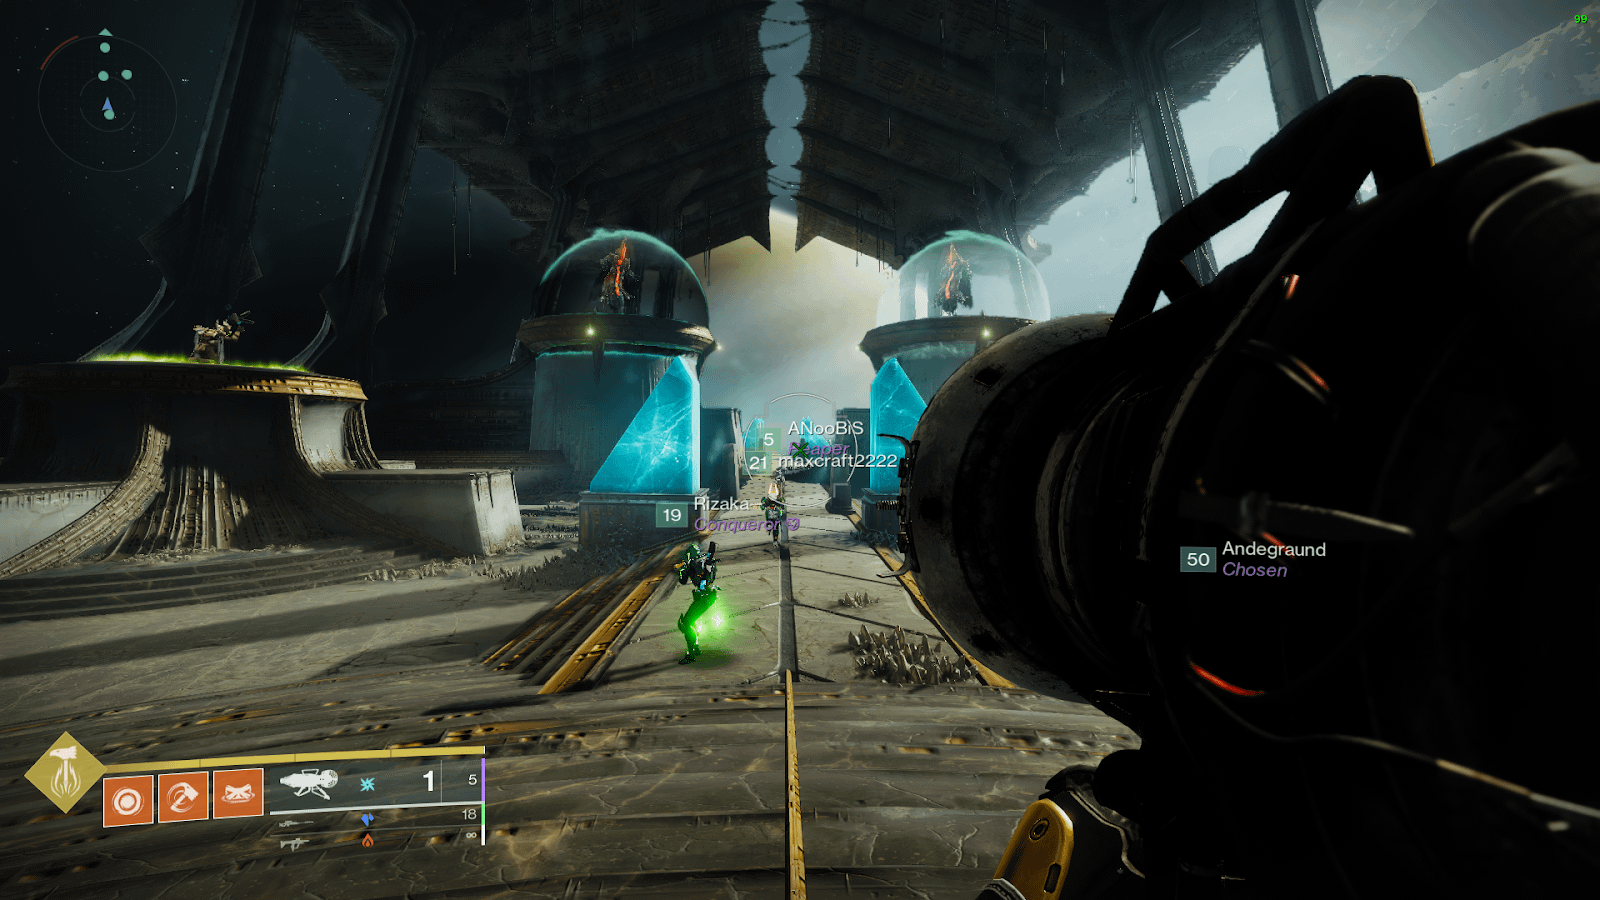
On the third time, you must pick up an objective marker instead of just interacting with it and fly up to one of the Daughters who will shoot at you. Her shield will disappear, and the damage phase will begin. At this time, the player who took the shield from Daughter will receive it, and he must stand next to his allies because when the two-minute timer ends, there will be a flash that will kill everyone behind the shield. If the Daughter was not killed, repeat the same steps. However, if you kill a Daughter, you must kill the other one the next time, or you will be dead.
Final encounter – Oryx, The Taken King
Finally, time for the last boss – Oryx! In the beginning, you will need to kill the four Taken Knights that spawn on plates. This encounter uses the same mechanics associated with plates; instead of killing Knight, Oryx will hit the plate, which you will need to stand on. After someone becomes a Taken ghost and jumps on the invisible platforms to climb up to the objective marker, four Ogres will spawn near each of the four plates. At the place of their death, the Taken sphere will appear, to which the Knights will go. They must be killed before they reach the orbs. You will also need to jump on the platforms three times and pick up the buff the third time, but this time you will need to pick up the shield from the Vessel of Oryx. If suddenly you do it for too long – you will wipe.
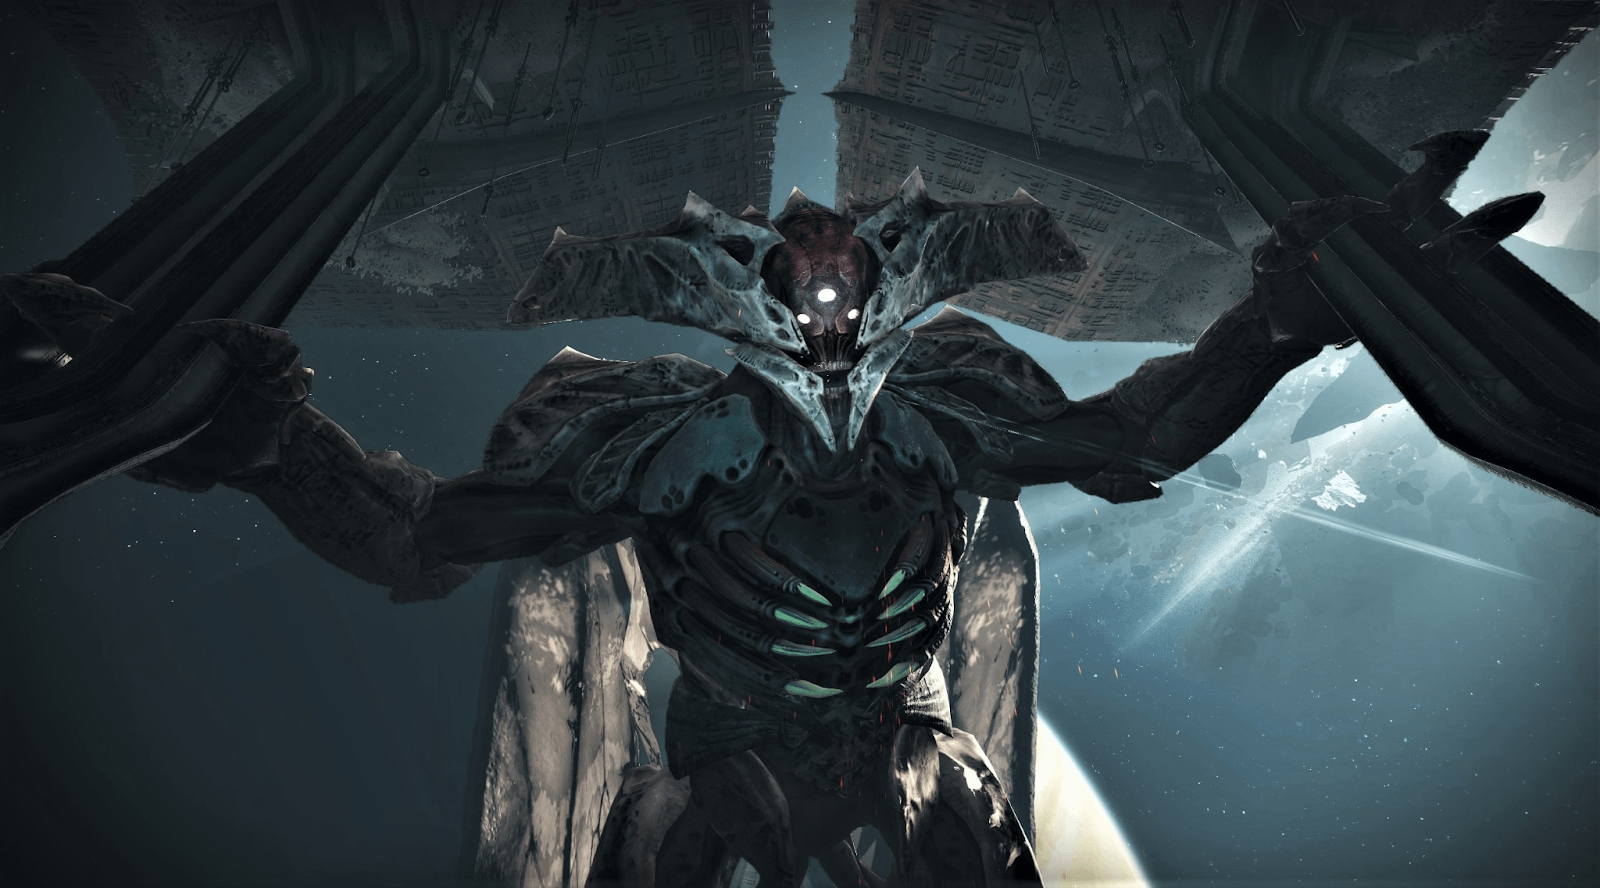
This is where the main differences from the previous stage begin. As soon as the message “Oryx calls upon the Darkness” appears, four players immediately stand in the Taken sphere and wait for the message “*Player Name* has detonated a Corrupted Light“. After that, everyone runs to the guardian with a shield to survive, and the DPS phase begins. After its completion, there will be one of two mechanics:
- A blue dome appears at the front of the arena, and Oryx will teleport random people inside it one by one. You will need to kill the Shade of Oryx in it as quickly as possible because if all six people were teleported, you would all die.
- Oryx will fly away from the arena, and explosions will spawn behind all players. To avoid them, you will need to run. The players tied to the plates run around them, while the other two run as they please. The most important thing is not to intersect with the players.
At this point, repeat everything you did before until you reach the Final Stand.
During Final Stand, Oryx moves to the center of the arena, and two Ogres will spawn on the left and right of the arena. You have to kill them quickly, and both players will have to stand in the Taken sphere as soon as “Oryx calls upon the Darkness” appears. At this time, the Guardians should already be shooting at Oryx. If you failed to kill Oryx during Final Stand – you would wipe.
Last words
Congratulations. If you’ve made it to the end of this Kings Fall overview, then you’ve clearly completed the Raid and are now having fun with your friends! Maybe you’ve been that lucky one who gets the exotic weapon Touch of Malice, and if so, at least applause. Be sure to tell your friends in Destiny 2 about this new Raid guide, as we put a lot of time and effort into it.
We hope you enjoyed the raid, and if you still need help with it or don’t have time for it, then we recommend using our Kings Fall Raid boost service. Overthrowing the king is not as easy as it might seem at first glance.
Thanks for Reading. Owl is flying away.


Comments