Destiny 2 Xenophage guide and overview: Can you still get it
Learn how to get Xenophage in Destiny 2 in 2024 and fast!
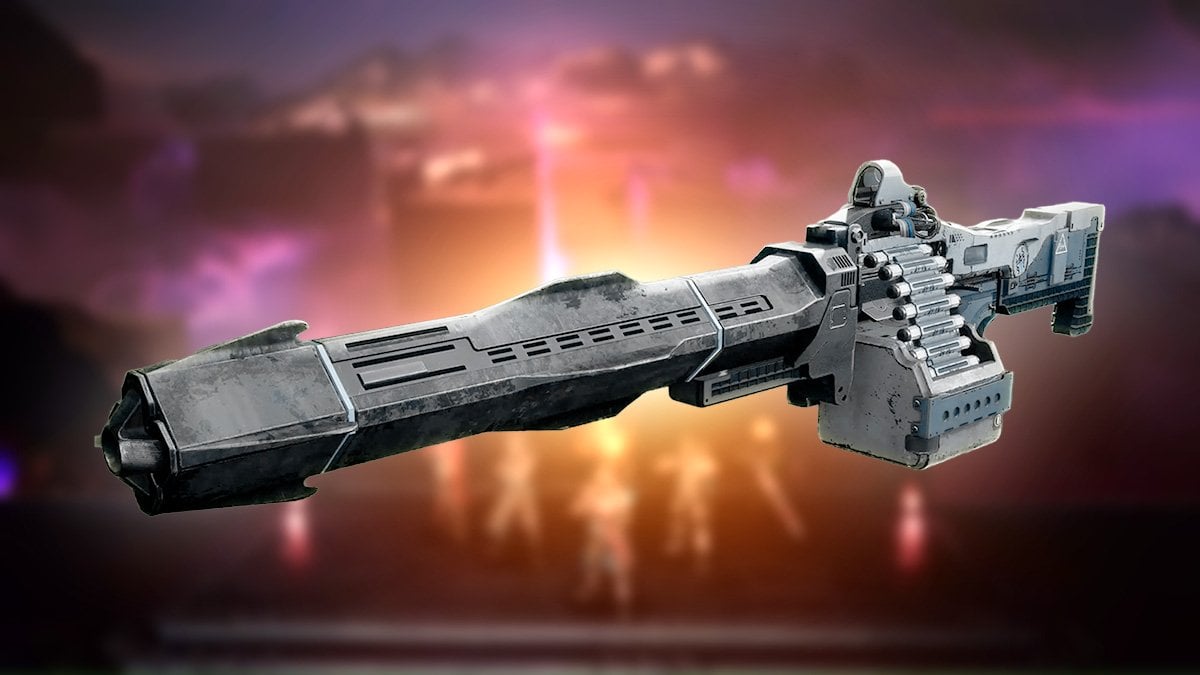
Table of Contents
Key takeaways:
- Xenophage is a must-have machine gun for Gambit, and you can get it from Shadowkeep DLC
- In this guide, we explain all the steps to get Xenophage with various videos and screenshots
- Also, you can check in this article if there is a Xenophage catalyst in Destiny 2
Did you miss Shadowkeep and want to finish all the quests? Well, you might have skipped the Xenophage quest, in which you have to get this machine gun by doing various secret tasks. We decided to recall how difficult the quest was and help complete it after so many years. So, let’s figure out if it’s worth getting Xenophage and, if so, how to do it.
Destiny 2 Xenophage overview
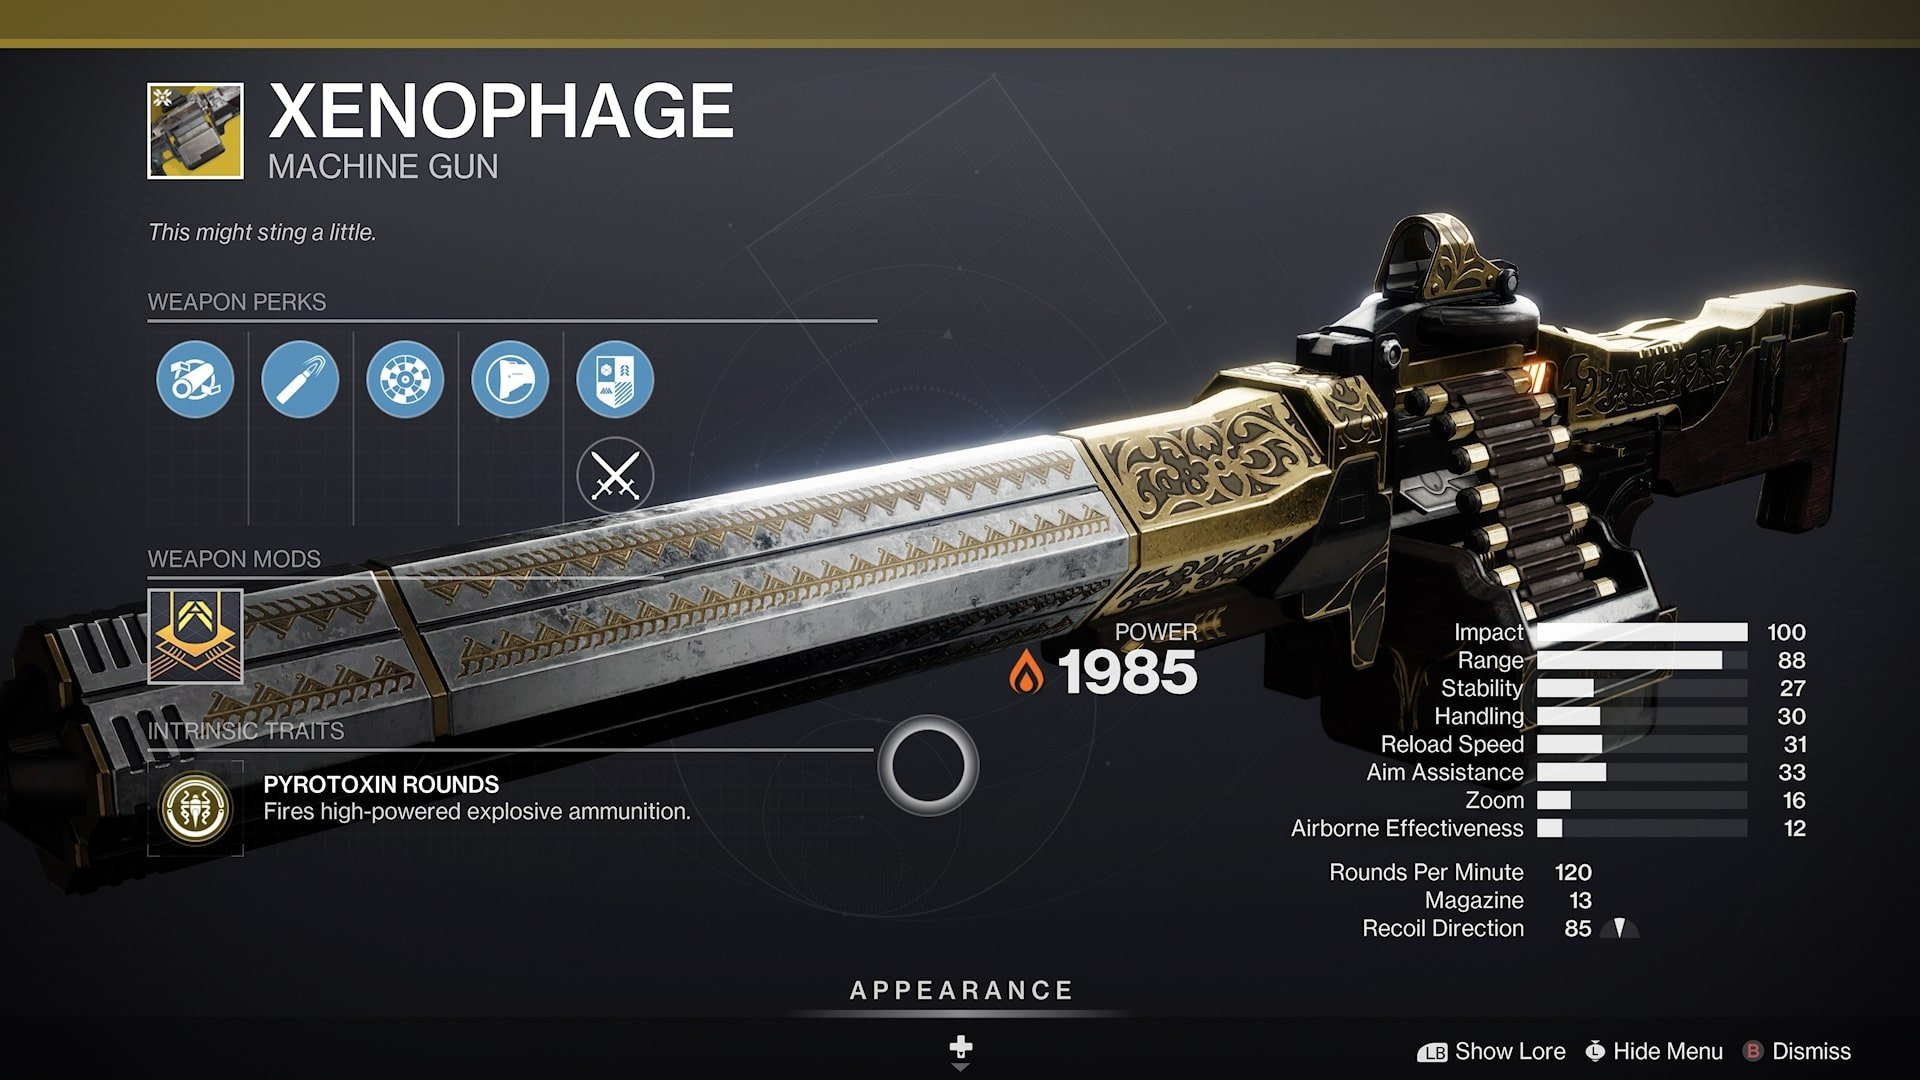
Xenophage is quite a versatile weapon suitable for many activities, all thanks to the Picrotoxin Rounds trait. This trait makes the shots of this Exotic explosive, meaning you don’t need to hit critical spots. Moreover, Xenophage has decent damage and reserves, even surpassing Sleeper Simulant.
If you’ve ever played Gambit, you know how good this machine gun is for this activity. Due to its good ammo economy and the ability to two-tap Guardians at any range, Xenophage is popular there.
How to get Xenophage in Destiny 2
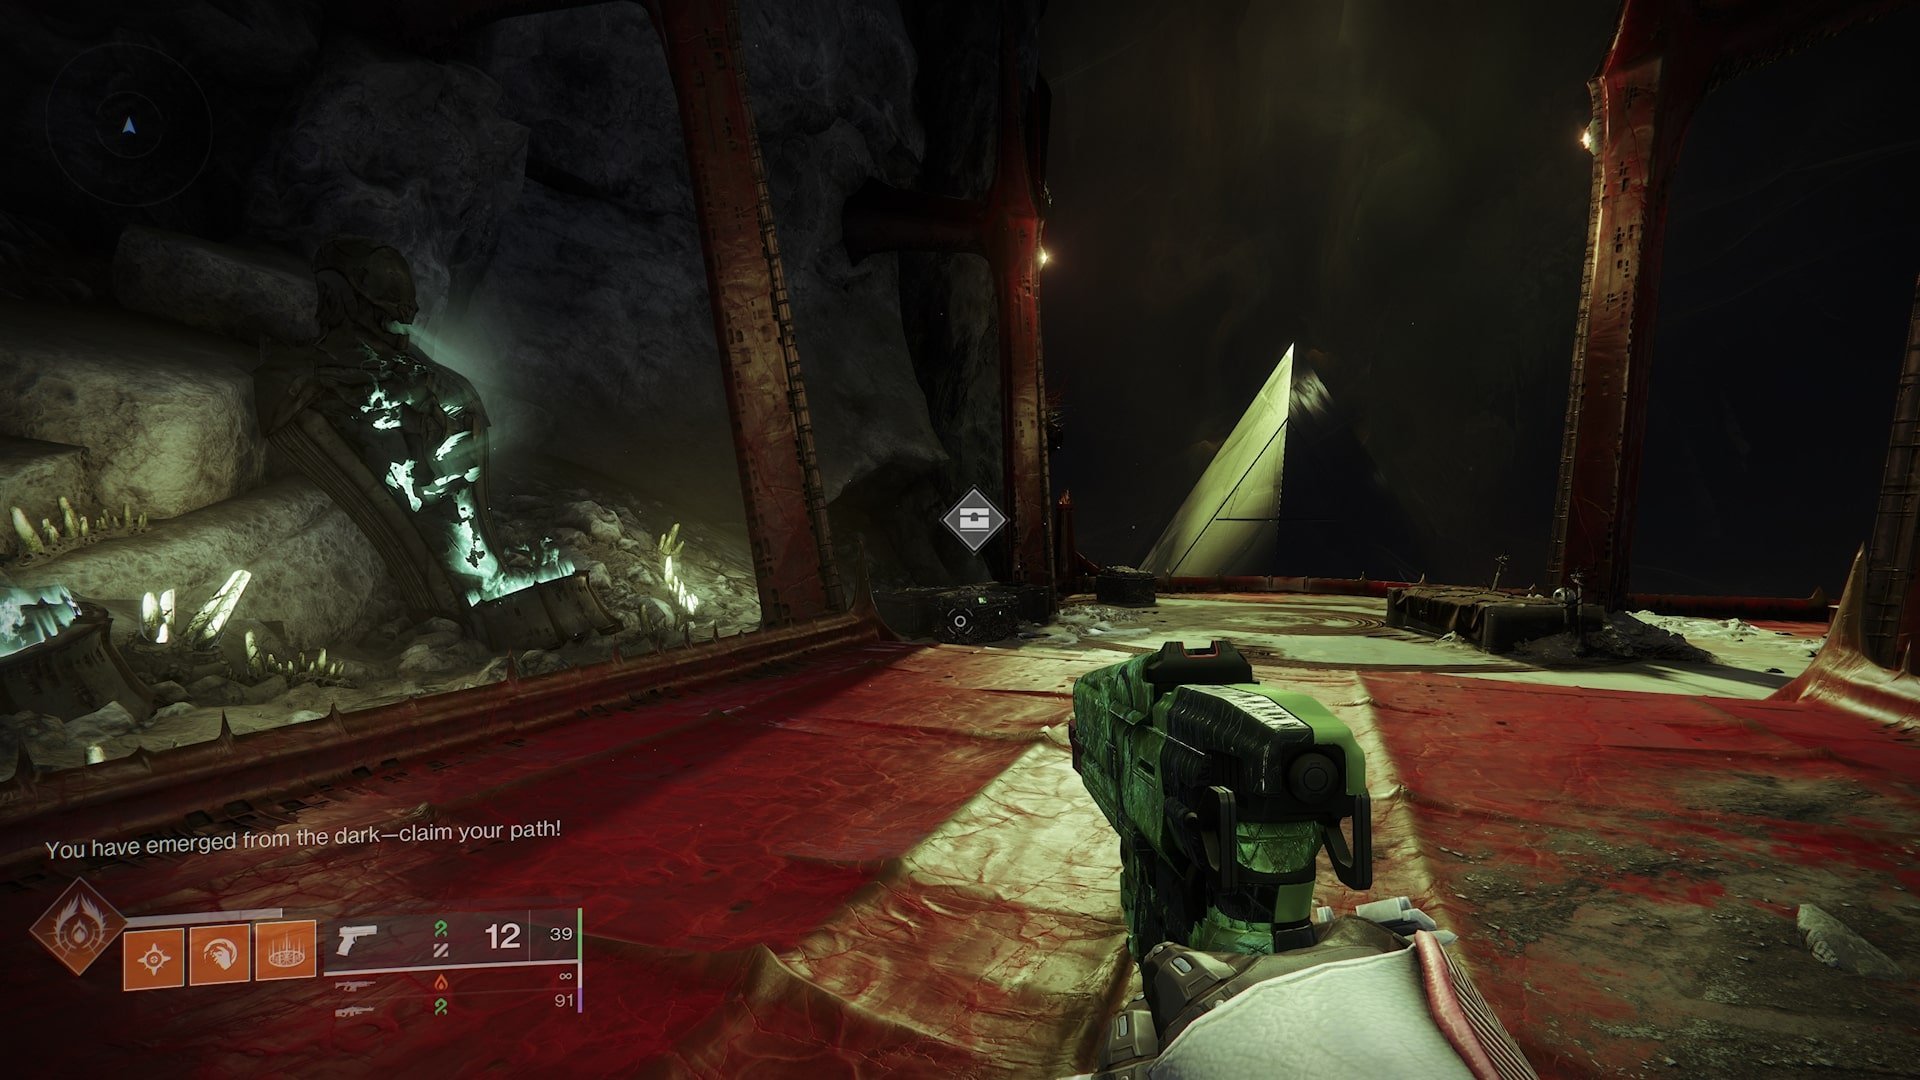
First of all, you have to buy the Shadowkeep package, which includes the Xenophage quest and the Pit of Heresy dungeon. To start this quest, the campaign should be completed, so make sure to do this (especially when the Shadowkeep campaign is free). After preparing, travel to Sorrow’s Harbor in the Enduring Abyss on the Moon.
For this quest, you must find a path to the right after the location title appears instead of going straight. There you are going to find four statues and a chest, which opens by lighting all four statues. This can be achieved with the following combination:
- Down right
- Upper left
- Upper right
- Down left
Thus, all four statues will be lit correctly, and you can get the Emergence quest in Destiny 2.

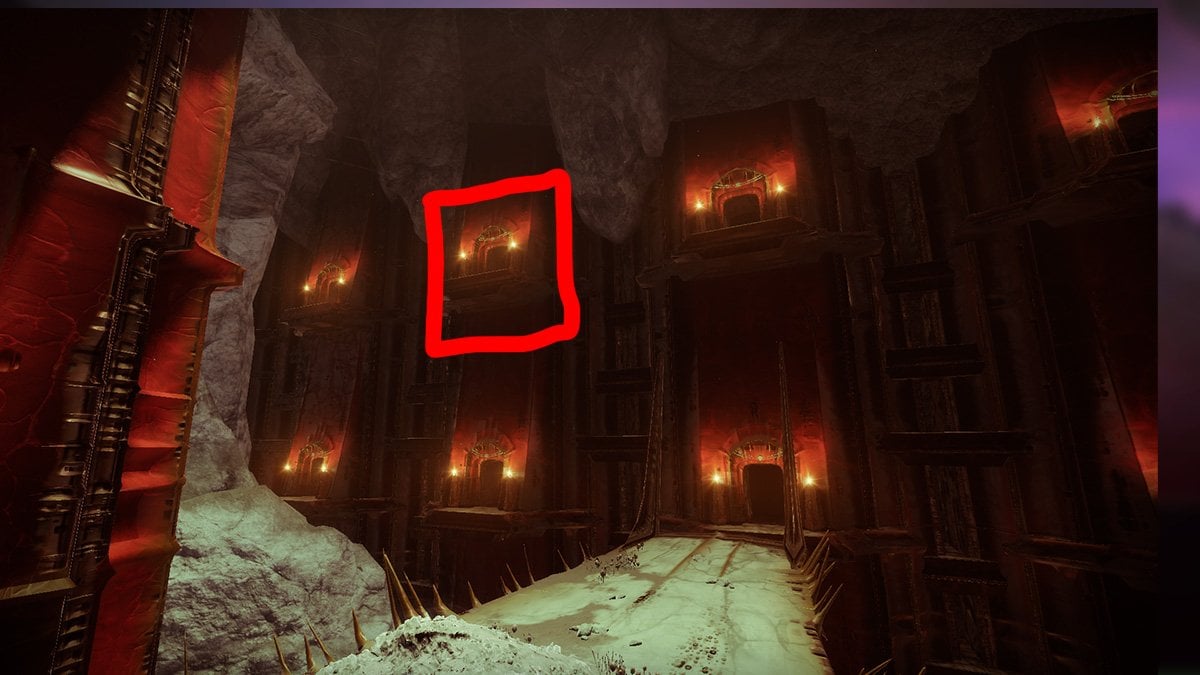
Once you’ve done this, head to Sanctuary and, from there, travel to Anchor of Light. In the far left yellow building, you are going to find a place with a Solar Orb that you need to carry over six different plates, light them in a specific order, and then insert it into a pillar. Below, we are going to leave a video that clearly shows all the locations. Note that you have one minute per plate, which is more than enough to reach each one, even slowly on foot.
If done correctly, you will get the Pathfinder quest step, and you will need to complete four Lost Sectors on the Moon. At the end of each sector, you will find a secret room with a puzzle. There are nine buttons (like a phone keypad) to shoot, and you have to collect all nine identical symbols displayed above the buttons. You can solve them yourself, but if you want to complete the Destiny 2 Xenophage quest in 2024 quickly, here are the solutions:
- K1 Logistics (Archer’s Light): 1 – 7 – 6 – 5
- K1 Communion (Anchor of Light): 7 – 9 – 2 – 2
- K1 Crew Quarters (Sorrow’s Harbor): 3 – 4 – 5 – 8 – 9 – 9 – 8 – 8
- K1 Revelation (Archer’s Light): 6 – 4 – 5 – 5 – 4 – 8 – 5 – 2

Next, in the Journey quest step, visit the Pit of Heresy, although you won’t need to complete it fully. Like in the Wish-Ender quest, find a couple of secrets and perform various actions to reach a secret boss and defeat them.
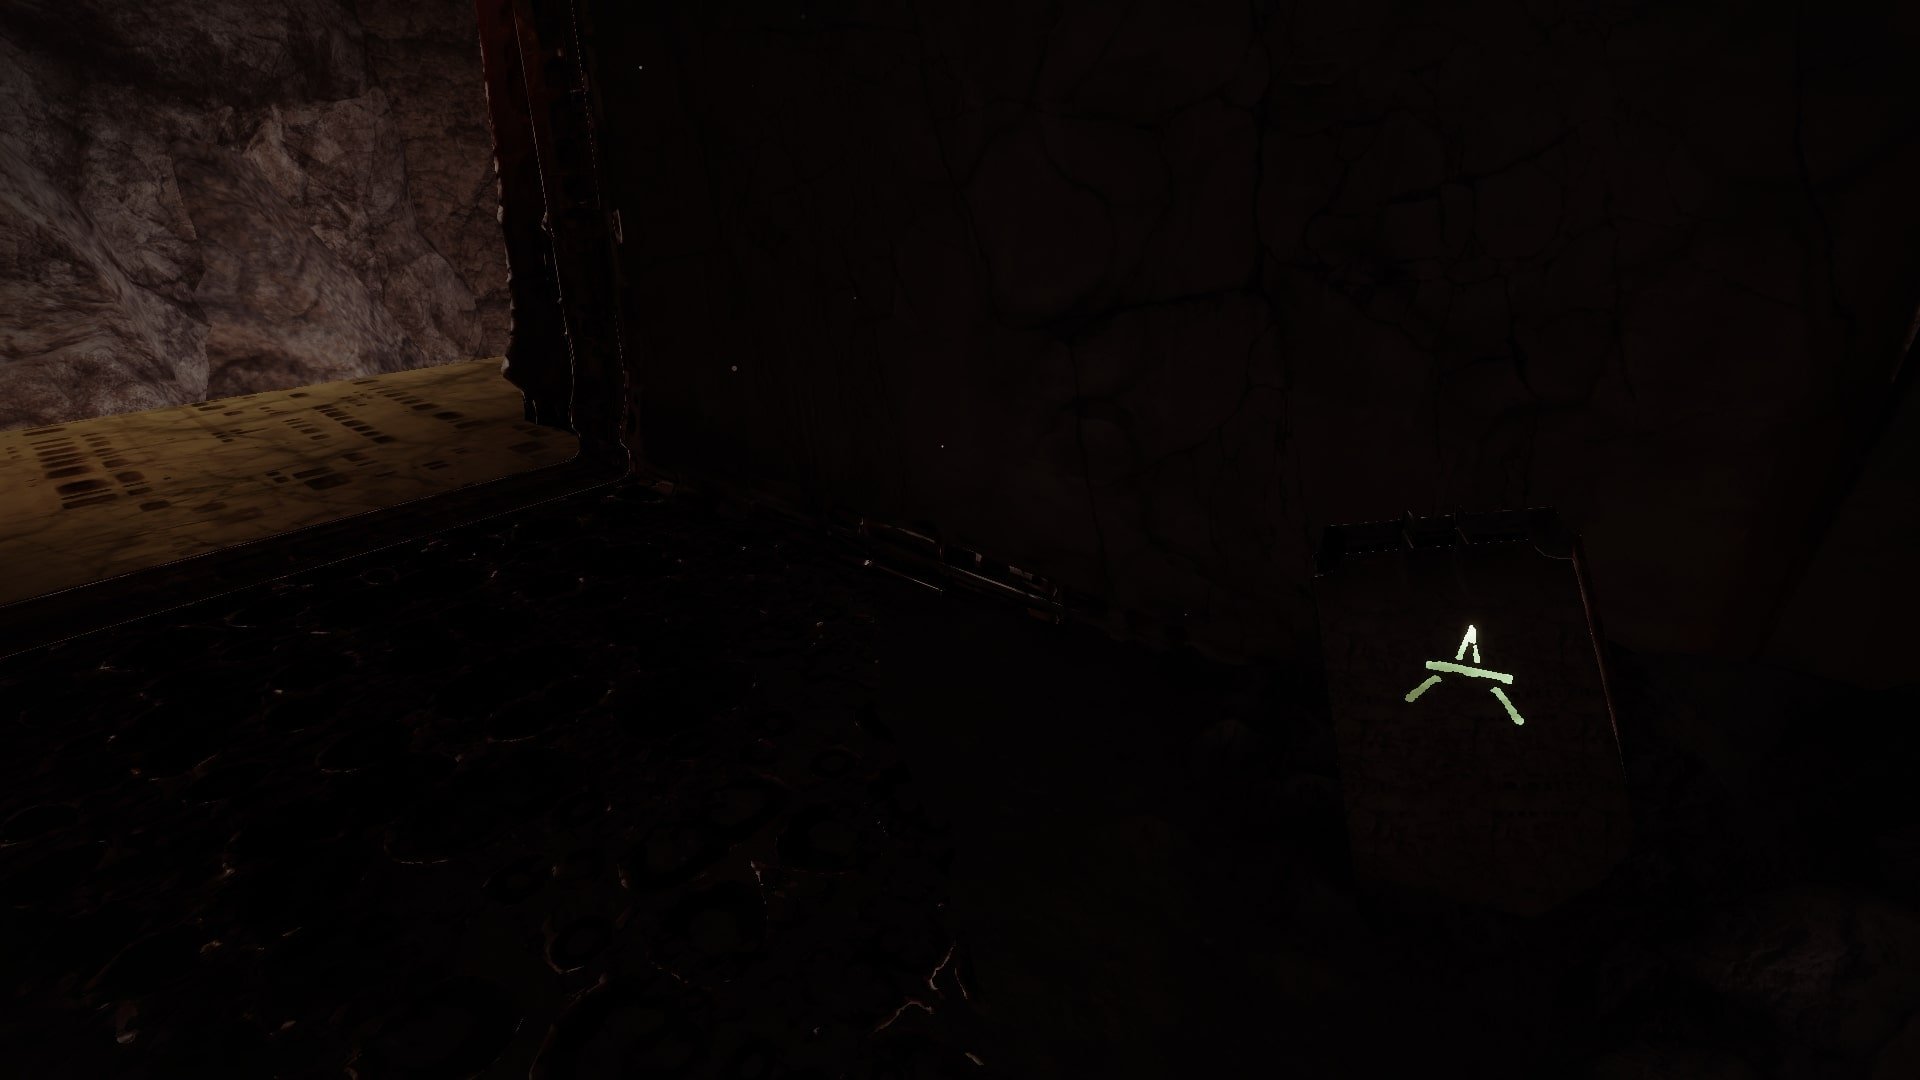
First, find the Path’s End symbol, which lies in a room with a bunch of red doors after the first encounter. You need to enter the one on the left:
Next, you will need to go through the Tunnels of Despair and carry a Solar Orb over the plates. If you’ve never done this encounter, you will have to run away from invulnerable ogres and find the way to the boss. First of all, go to the far left and jump onto the ledge near the chasm. Going straight, you will see an inscription, interaction with which will summon platforms and the solar orb. Grab it and follow the path shown on the map below:

Also, we will leave a video on how to find the right place:
Once you’ve done this, continue as usual, and when you reach the corridors, you will see a room with a Witch and minor mobs. You can try to damage or one-shot the Witch to skip the encounter (Celestial Nighthawk on Hunter or any other DPS build), but you have to do this before the Witch’s shield goes up and it becomes immune. If you can’t do this, you will have to complete the whole dungeon encounter.
In this encounter, you have to take Orbs from the center and see what buff you have. Depending on the buff, carry the orb to one of the four corners:
- Upper top left – Abyssal (Void)
- Down top right – Fiery (Solar)
- Bottom down left – Thunderous (Arc)
- Bottom down right – Dread (Kinetic)
If done correctly, you will have a Vengeance buff for 30 seconds, allowing you to damage the boss with a specific element (the element you placed), so we advise dealing damage as fast as possible and preparing the necessary weapons in advance. Incorrect placement gives a five-second debuff, making you slightly weaker and slower.
Once the boss is destroyed, return to Eris Morn to receive the coveted Shadowkeep Xenophage machine gun.
How to get Xenophage catalyst in Destiny 2
Sadly, even after all these years, Bungie has not yet made a Catalyst for Xenophage. Perhaps this will happen soon, and we will definitely update this segment with that information.
Final words on how to obtain Xenophage in 2024
And that’s it! Now you know everything about how to get this machine gun without any problems. If you want to learn how to get other D2 guns, we recommend checking out how to get Microcosm, as it’s incredibly useful in PvE activities. In the meantime, remember that you can use the Xenophage service if you want to get it really fast, even today!
Thanks for Reading! Owl is Flying Away.


Comments