Unlock the Mysteries: Ghosts of the Deep Dungeon Guide
He always comes back, but we always get in the way.
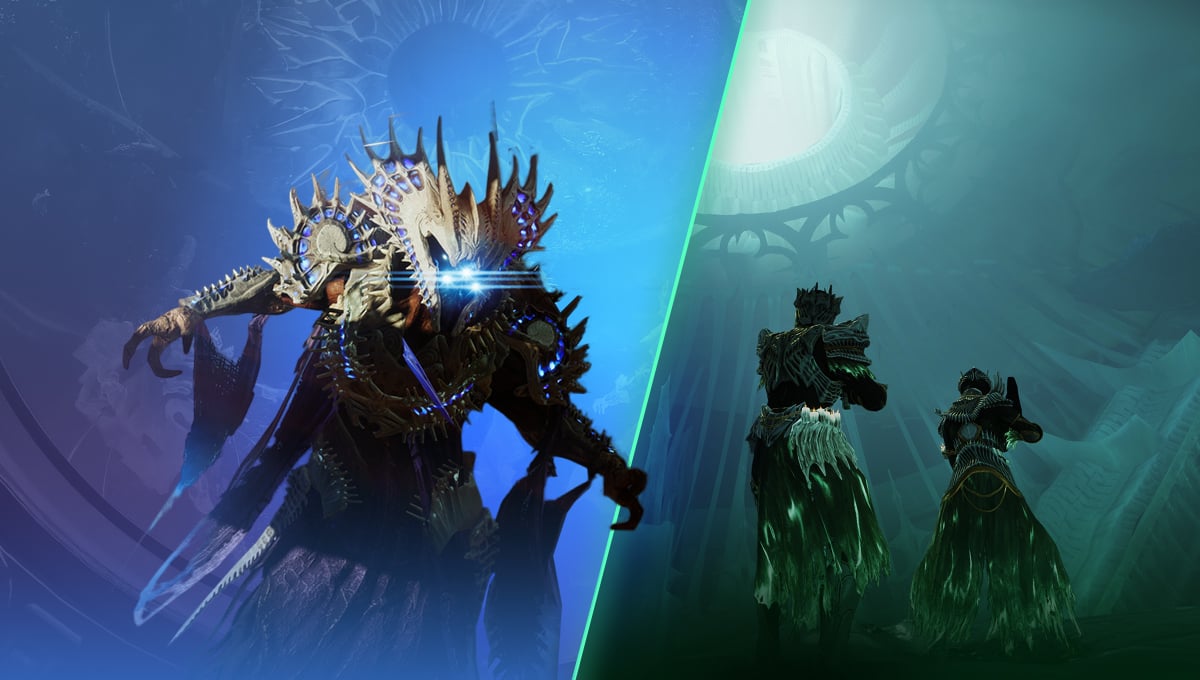
Finally, we awaited the release of the new Dungeon called Ghosts of the Deep. Lucent Hive decided to go to extreme lengths: bring the Taken’s King back to life. We’ve already defeated Oryx once and then finished him off the second time. Now it’s time not to let him return. In our Ghosts of the Deep Dungeon guide, you’ll learn how to pass each encounter and what weapons and armor await you. There’s no time to lose, it’s time to save the world!
Table of Contents
Strategy
The first thing we want to talk about is the strategy for completing Ghosts of the Deep. This Dungeon turned out to be difficult, although you can easily finish it with the company of good friends.
First Encounter
As soon as you watch the Dungeon’s cinematic, ride your sparrows to the center of a new location. There you’ll see a bunch of statues, which will come in handy later, and enemies that need to be crushed. Destroy everyone you see, and after taking down the ogre, a green trail will appear on the ground, indicating where you have to go. You’ll see above a rune you must remember when you reach the required place. Annihilate the foes and follow the next trail until you reach the area with the Hive Guardian.
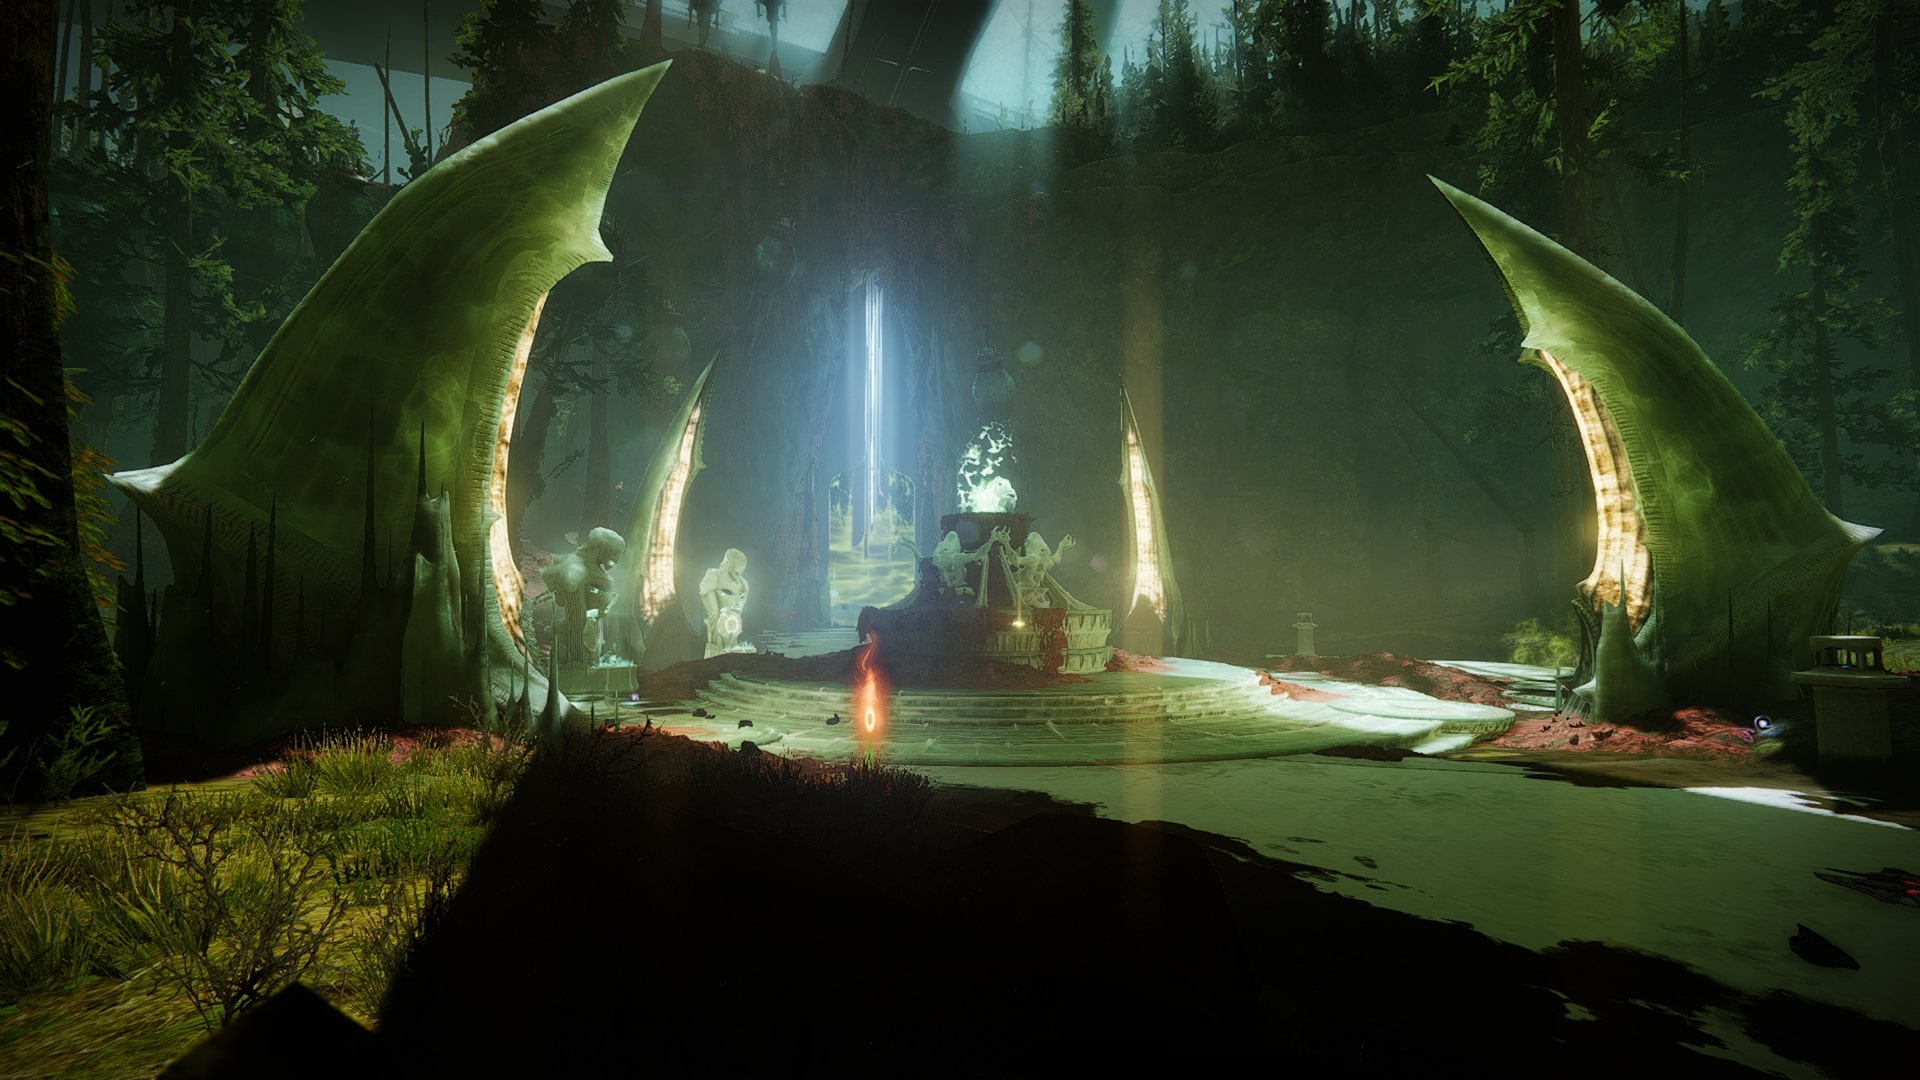
Having defeated them and smashed their ghost, you receive a buff, with which you must return to the center. You’ll meet a Wizard, exterminating whom a Deepsight sphere will spawn there. After its activation, runes appear on the statues. You have to find the rune you remembered earlier and turn in the buff there. Remember, only the person who annihilated the ghost can do this. Now repeat everything described above three more times until the stage is complete.
Underwater Section and First Ghosts of the Deep Secret Chest
Despite the lack of a long intro, as is the case with other Dungeons, after the first encounter, you’ll face the longest transition in the game’s history, where your fireteam descends to the very bottom of Titan. If you aren’t familiar with the mechanics of Season 21, you need to collect air bubbles in the water so that you aren’t crushed under pressure.
As you descend, you will be able to find the first chest, which will be shown in the video below. As soon as you see a Hive Guardian in the water: the next stage is almost reached.
Second Encounter
After cleaning the armor underwater, you reach one of the Ghosts of the Deep bosses. There would be two different layers in the arena, one of which is underwater again. After starting the encounter, several Blistered Knights spawn. After destroying them, get rid of the ogre to spawn a Deepsight at the place where Raid Banner is set. After activating it, you can see three runes on the left and right. Remember them because now you’ll have to descend to the bottom.
A mini-labyrinth awaits you in the underwater layer, where the encounter’s boss hunts you down. Avoid them, as their attacks take away half of the pressure bar. You’ll have to locate the three runes you remembered earlier and activate them in the maze. For each activated rune, a Guardian Wizard spawns above, and after slaying its ghost, you receive a Vestige of Light buff. You must turn in this buff into any of the totems, and as soon as three totems are activated, the damage phase begins.
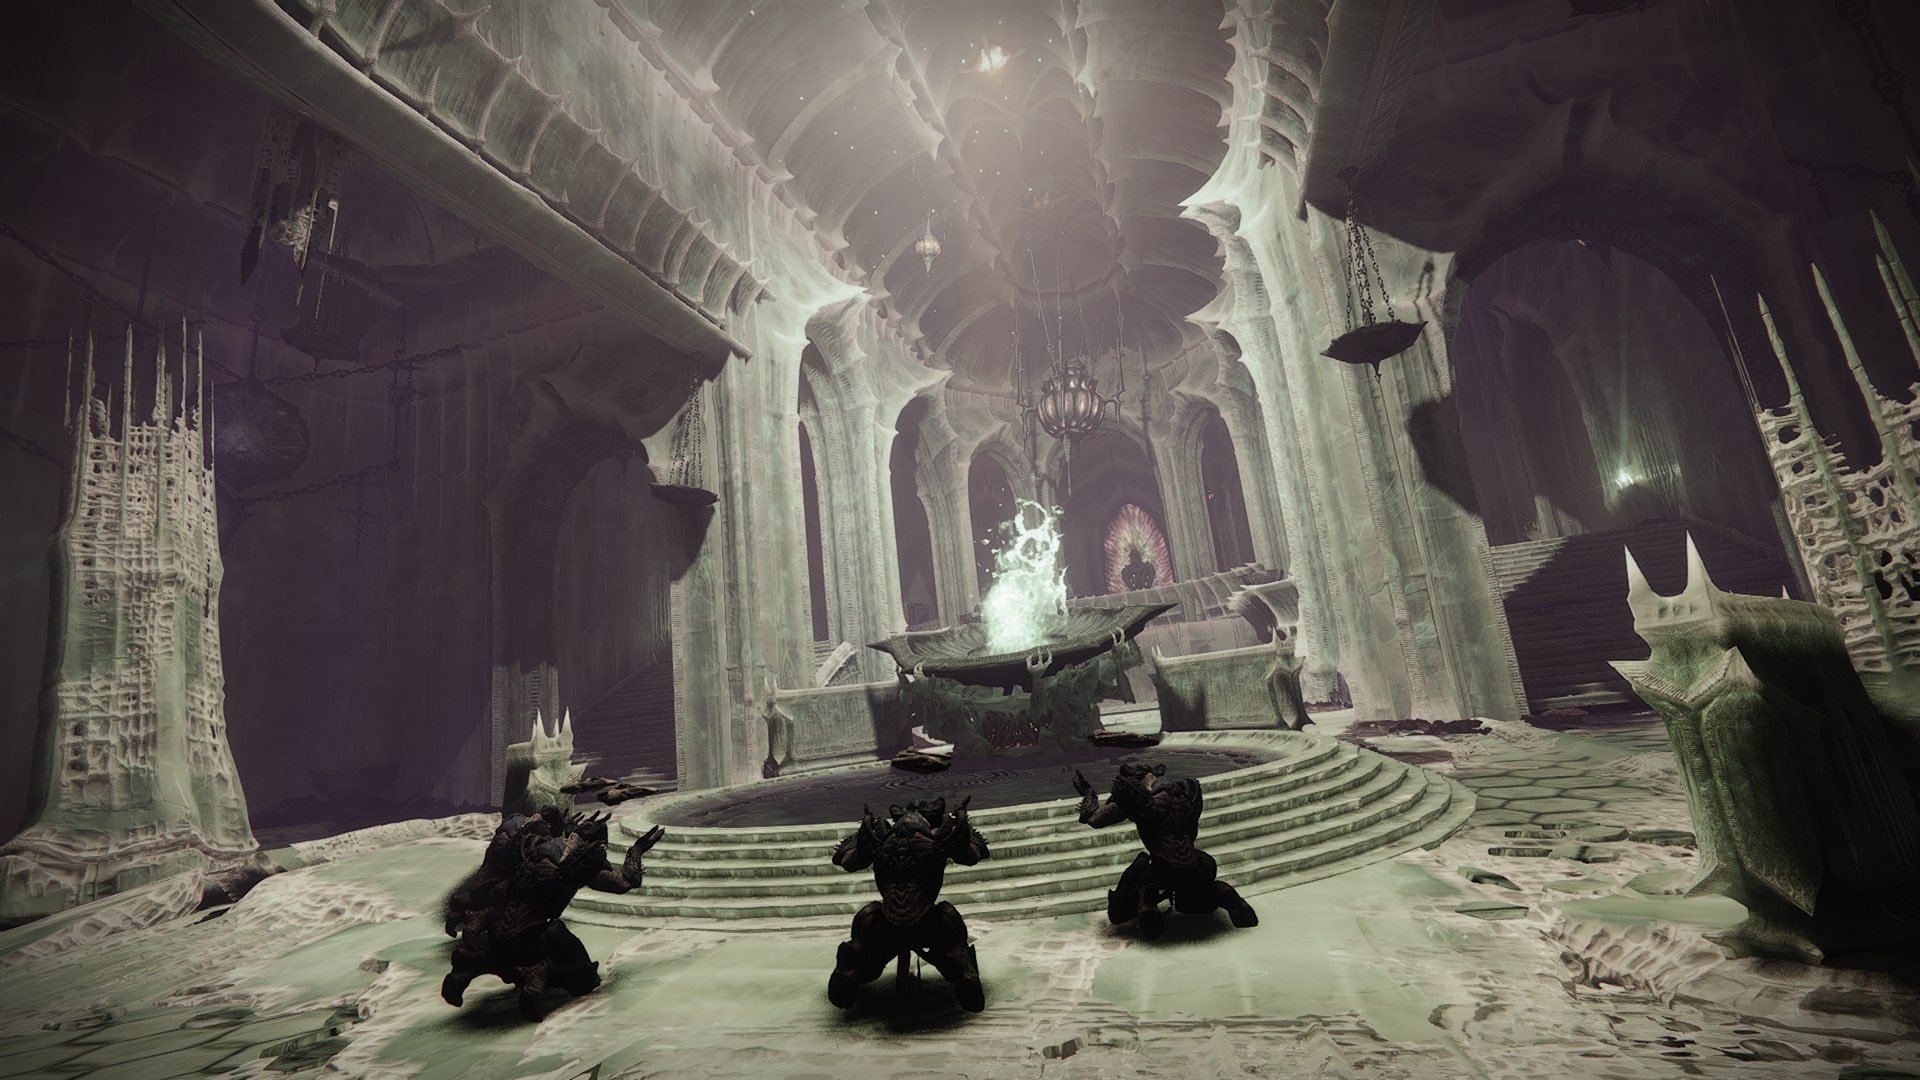
Ecthar and Wellkeeper Knight spawn at the Raid Banner place, and first and foremost, you must destroy the latter. A well will appear in the knight’s place, giving a Buff to remove the shield from the boss. After that, damage them until the phase ends, and repeat anew until they are dead (just don’t forget to finish off the ghost).
Ghosts of the Deep Second Secret Chest
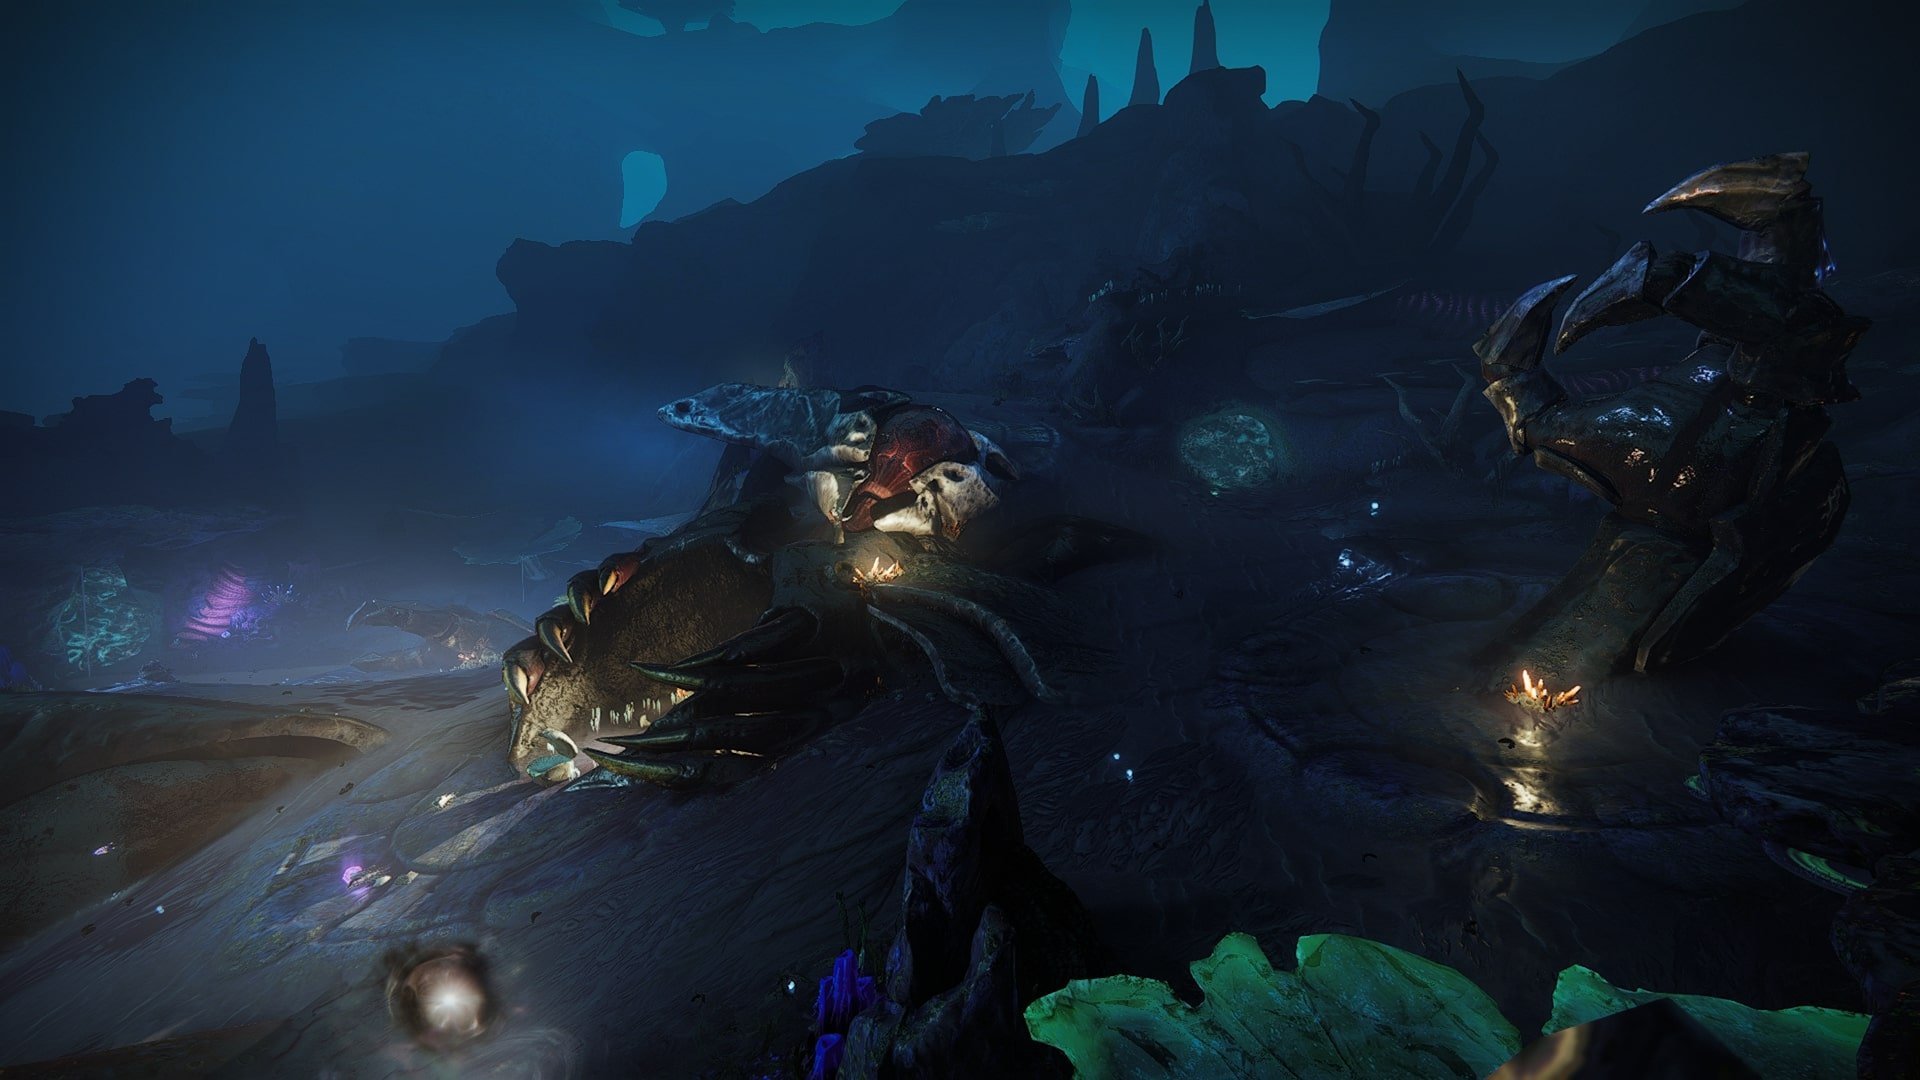
Continuing our Ghosts of the Deep walkthrough, after exterminating Ecthar, descend into the underwater area and find a way out of it. As soon as you reach out of the water, you’ll be able to see Ahsa, who has decided to visit us. Moving a little forward, enter a long large hall, where the second secret chest is located, as shown in the video below:
Final Encounter
Here we are, at the remnants of Oryx, whom the Lucent Hive are trying to resurrect using a ghost. The Final Encounter is challenging, and the boss also has a lot of HP, so be sure to take any powerful weapon like Sleeper Simulant or a combination of Gjallarhorn with two other Rocket Launchers. Break the ghost at Oryx’s chest to start the stage.
The main mechanic of this encounter is several parts of the Taken King’s body: the head, left and right hand, left leg, right knee, and chest. Deepsights spawn around the arena, and upon activating, you can see three connected body parts, including the chest. Lucent Necromancer will perpetually resurrect Vorlog, Risen of Heresy, who you must eliminate thrice, once in each marked body part.
After each of his annihilations, you are able to see a rune and a circle in the air. And as you can guess, you need to stand in such a way that the symbol ends up in the ring. Each time this knight is summoned, 7 moths will also spawn, which can easily catch you off guard.
As soon as three runes appear, destroy the Hive Guardians behind the water barriers in different parts of the arena. Upon entering their zone, you can see one of the runes in the arena’s middle, which is worth remembering. Destroy this monster with its ghost, receive the Vestige buff, return, and bring it to the body part over which your rune is. However, everything is more complex because to put the next buff, you must activate Deepsight again. After inserting three runes, the Damage Phase begins, and the previously mentioned wells appear on the body’s necessary parts, bringing down the boss’s shield.
Repeat this until you defeat the boss, and voila, our Ghosts of the Deep Dungeon overview is complete, and you have completed its passage! Maybe you’re even lucky and got the Exotic Trace Rifle, which is discussed in the next segment, along with all the weapons.
Ghosts of the Deep Weapons
Here we examine each gun from this Dungeon. As usual, four legendary weapons, without additional ones from the season, as well as an Exotic Trace Rifle, which you might like. If you’re interested in loot and from which stages it drops, you will get all the necessary information in our Ghosts of the Deep Loot Table!
The Legendary Weapons from this Dungeon have a unique Origin Trait that reloads this weapon and readies an emergency to reload for the next time this weapon runs out of ammo when you resurrect an ally or finish an enemy with a finisher.
The Navigator
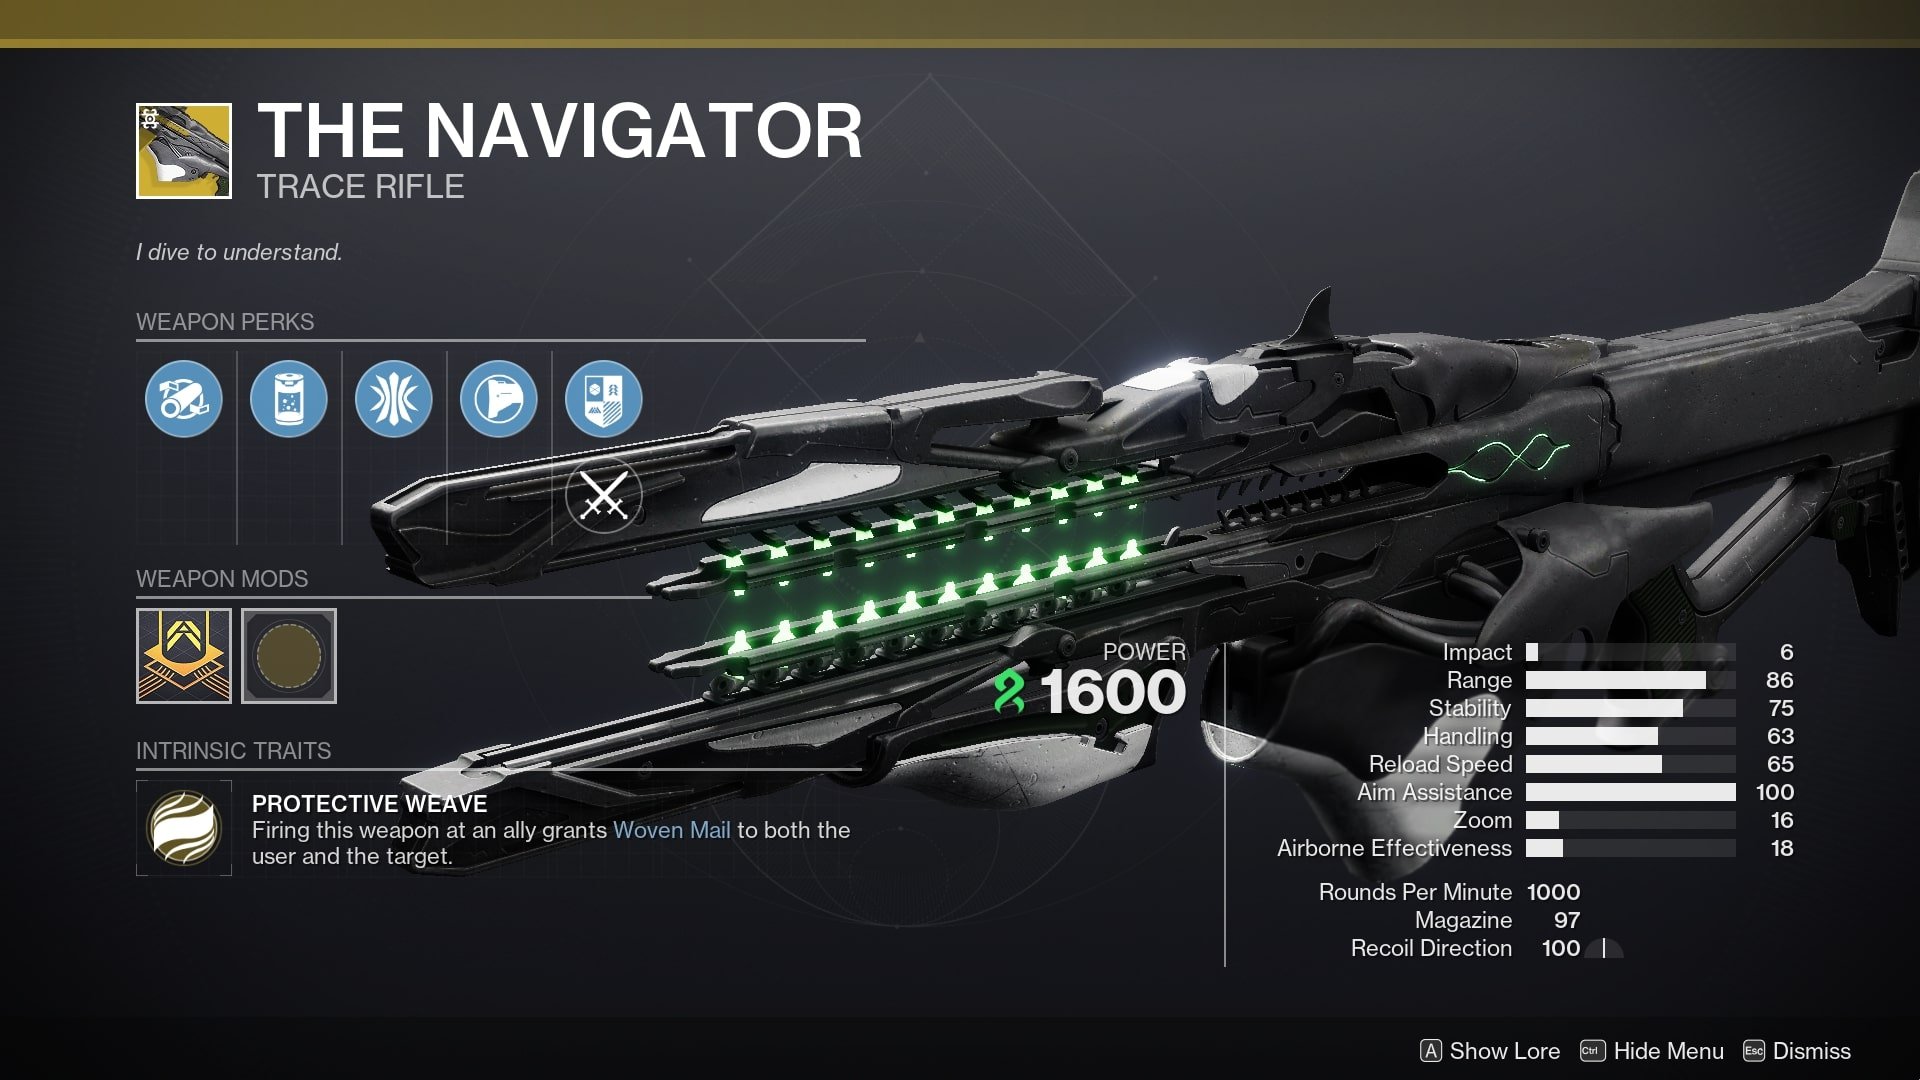
The first Strand and Second Trace Rifle are in the primary slot. What’s so special about it? The first Exotic perk, Protective Weave, grants Woven Mail when shooting an ally to both players. The second one allows you to apply Sever to enemies when inflicting sustained damage.
But that’s not all, and this Trace Rifle also has a Catalyst, which is perfect for Grapple enthusiasts. It allows The Navigator to create a Grapple Tangle, which means you can use your Grenade without cooldown in any situation.
New Pacific Epitaph
- Best PvE Roll: Quick Launch, High-Velocity Rounds, Demolitionist/Lead from Gold/Unrelenting, Kill Clip/Adrenaline Junkie/Pugilist
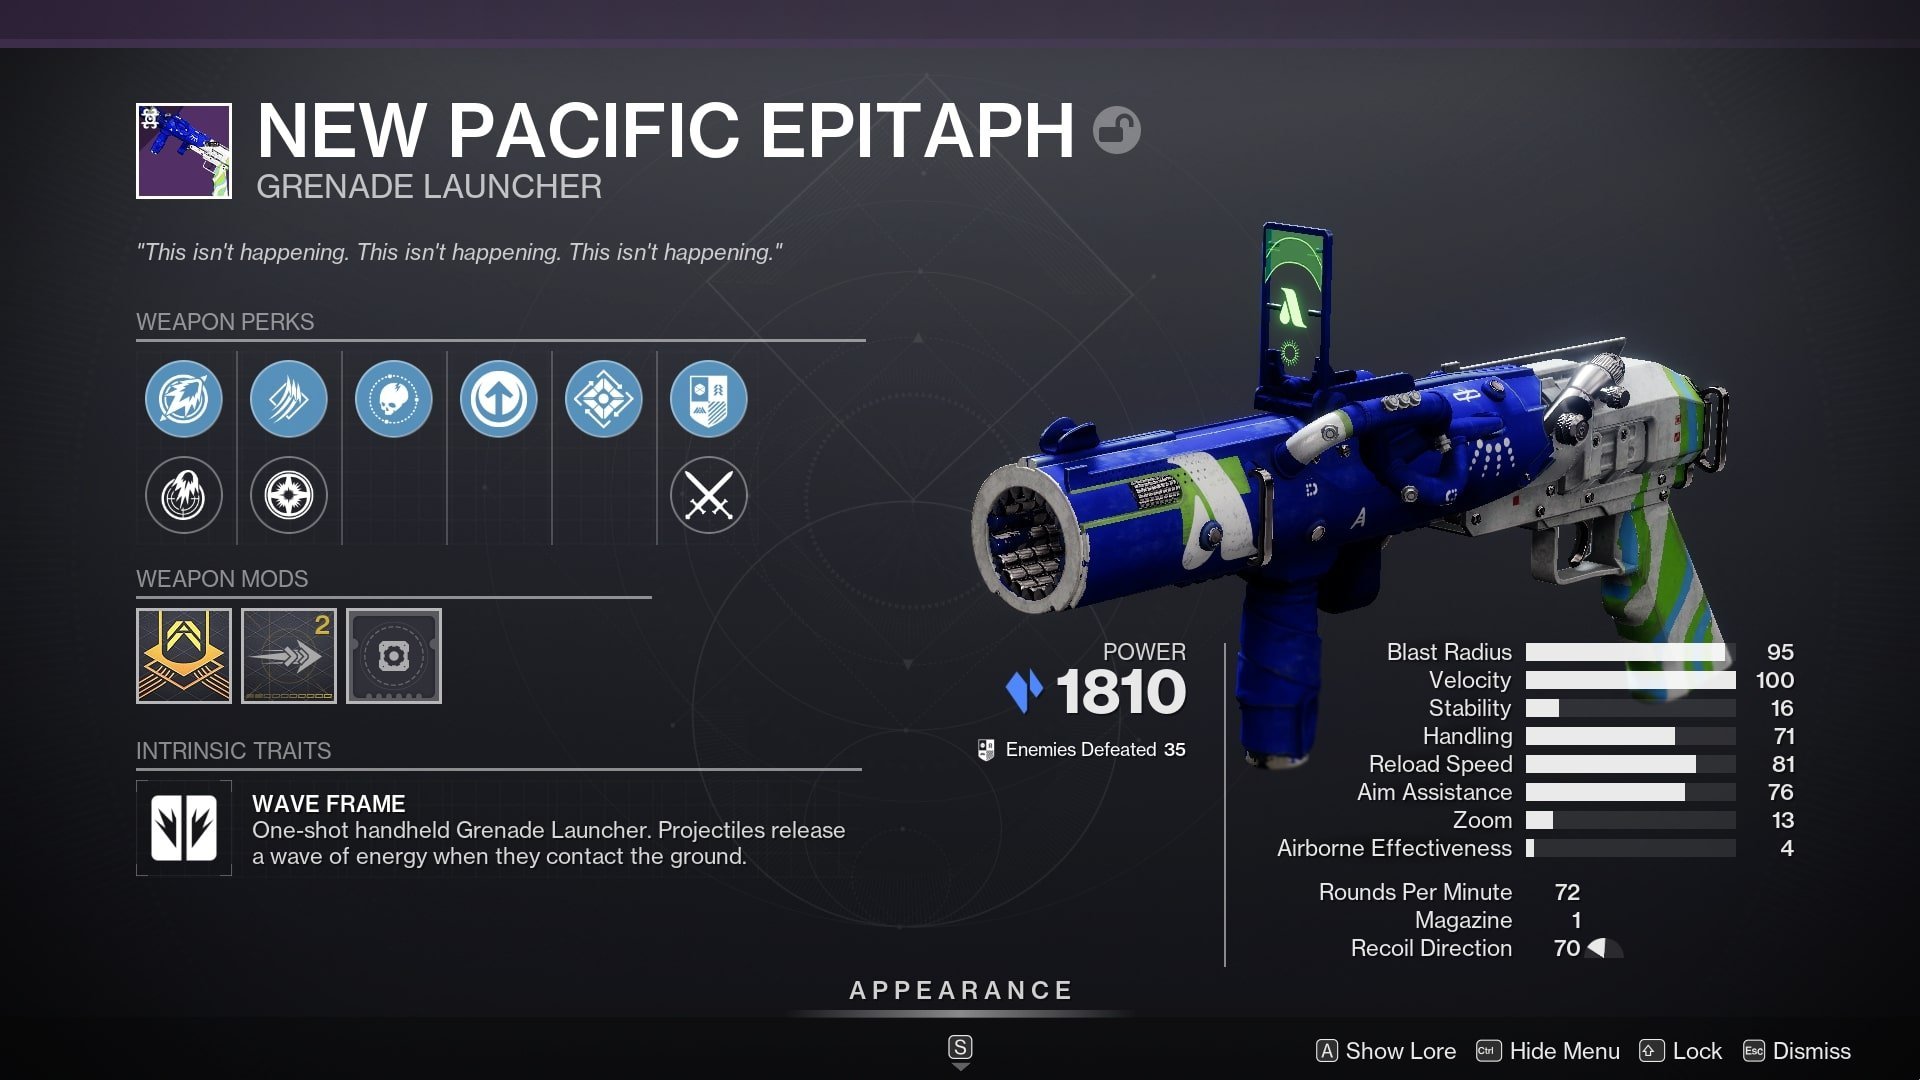
After all these years, Bungie finally decided to release a Wave Grenade Launcher in the primary slot, and they even provided it with good (though not perfect) perks. Given that this type of weapon is used for mob clearing, a great choice would be the Demolitionist+Pugilist combo, which will give you 10% of your Grenade and melee energy for each enemy destroyed.
Regardless, if you don’t want to rely on your abilities or if you’re going to use this weapon in endgame activities, we recommend using these perks:
- Lead from Gold will help you get special ammo by picking up heavy ammo
- Unrelenting will heal you for three killed enemies
- Kill Clip and Adrenaline Junkie will increase your damage to easily slay heavier mobs.
Greasy Luck
- Best PvE Roll: Low-Impedance Windings, Accurized Rounds, Impulse Amplifier/Lead from Gold/Immovable Object, Close to Melee/Incandescent/Unstoppable Force
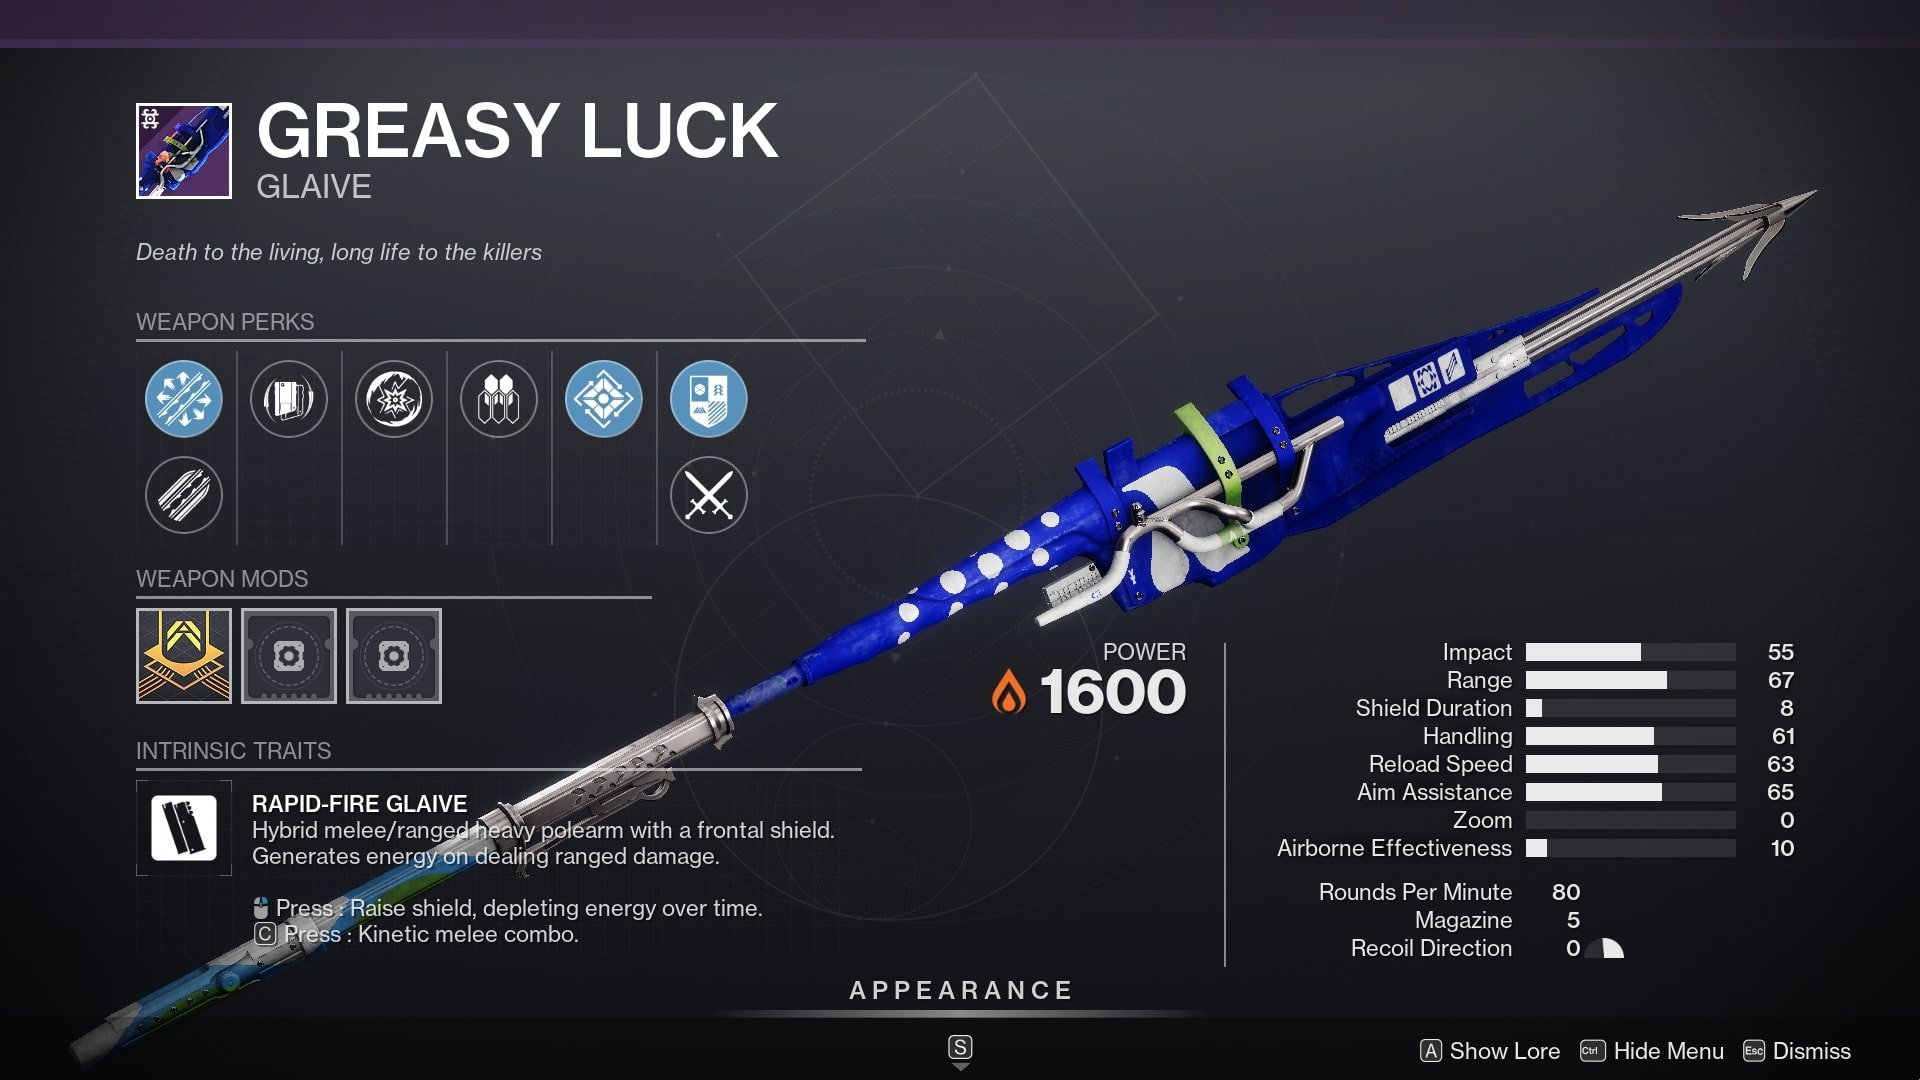
The new Glaive is for the few fans out there. The new weapon type from Witch Queen isn’t popular among players due to their overall weakness, and sadly, Greasy Luck is no exception. Compared to other weapons of this type, it’s one of the best, mainly due to its good perks. For example, you can try to get Impulse Amplifier, which increases projectile velocity and reload speed, and Close to Melee, which gives a 30% increase in Glaive Melee Damage after taking down an enemy with a Glaive projectile.
No Survivors
- Best PvE Roll: Smallbore, Flared Magwell, Demolitionist, Incandescent/Adrenaline Junkie
- Best PvP Roll: Smallbore, Ricochet Rounds, Rangefinder/Surplus, Target Lock
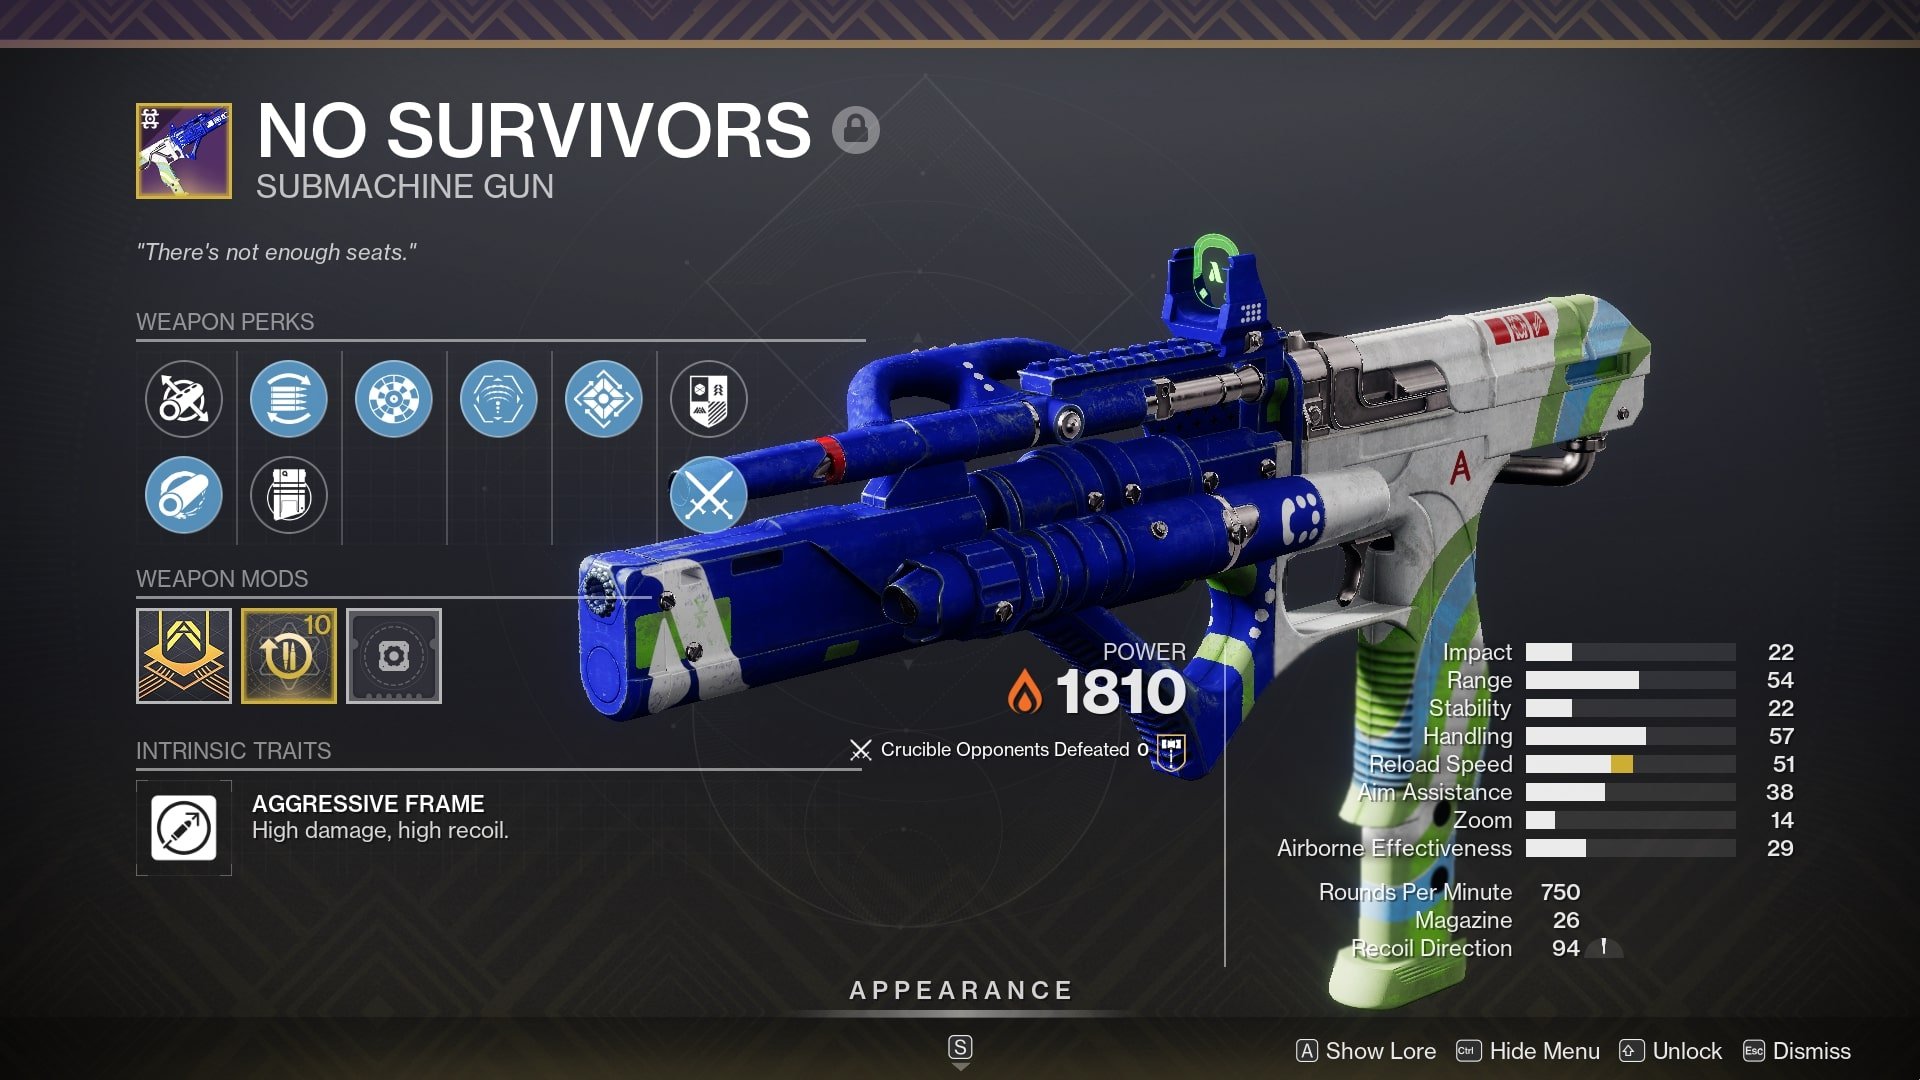
No Survivors is one of the best Ghosts of the Deep Weapons and an excellent SMG, which is not a shame to take both in PvE for Solar Builds and in PvP, which many have already nicknamed “The Immortal, but Solar.”
In PvE, the following perks can please you:
- Demolitionist every takedown grants 10% Grenade Ability Energy, and using Grenade refills the magazine
- Incandescent scorches everyone next to the target you destroyed
- Adrenaline Junkie gives increased Damage and 20 Handling on every Grenade and Weapon kill
In PvP, the combination of Rangefinder and Target Lock, also on The Immortal, will terrify the enemy Guardians. However, Bungie will change how Zoom works in the future, and the Rangefinder that increases it will no longer be so good. That’s why we advise you to leave rolls with Surplus, which will improve your Stability and Handling for each charged Ability, which is quite important for SMG.
Cold Comfort
- Best PvE Roll: Quick Launch, Impact Casing, Envious Assassin, Bait and Switch/Explosive Light/Chill Clip
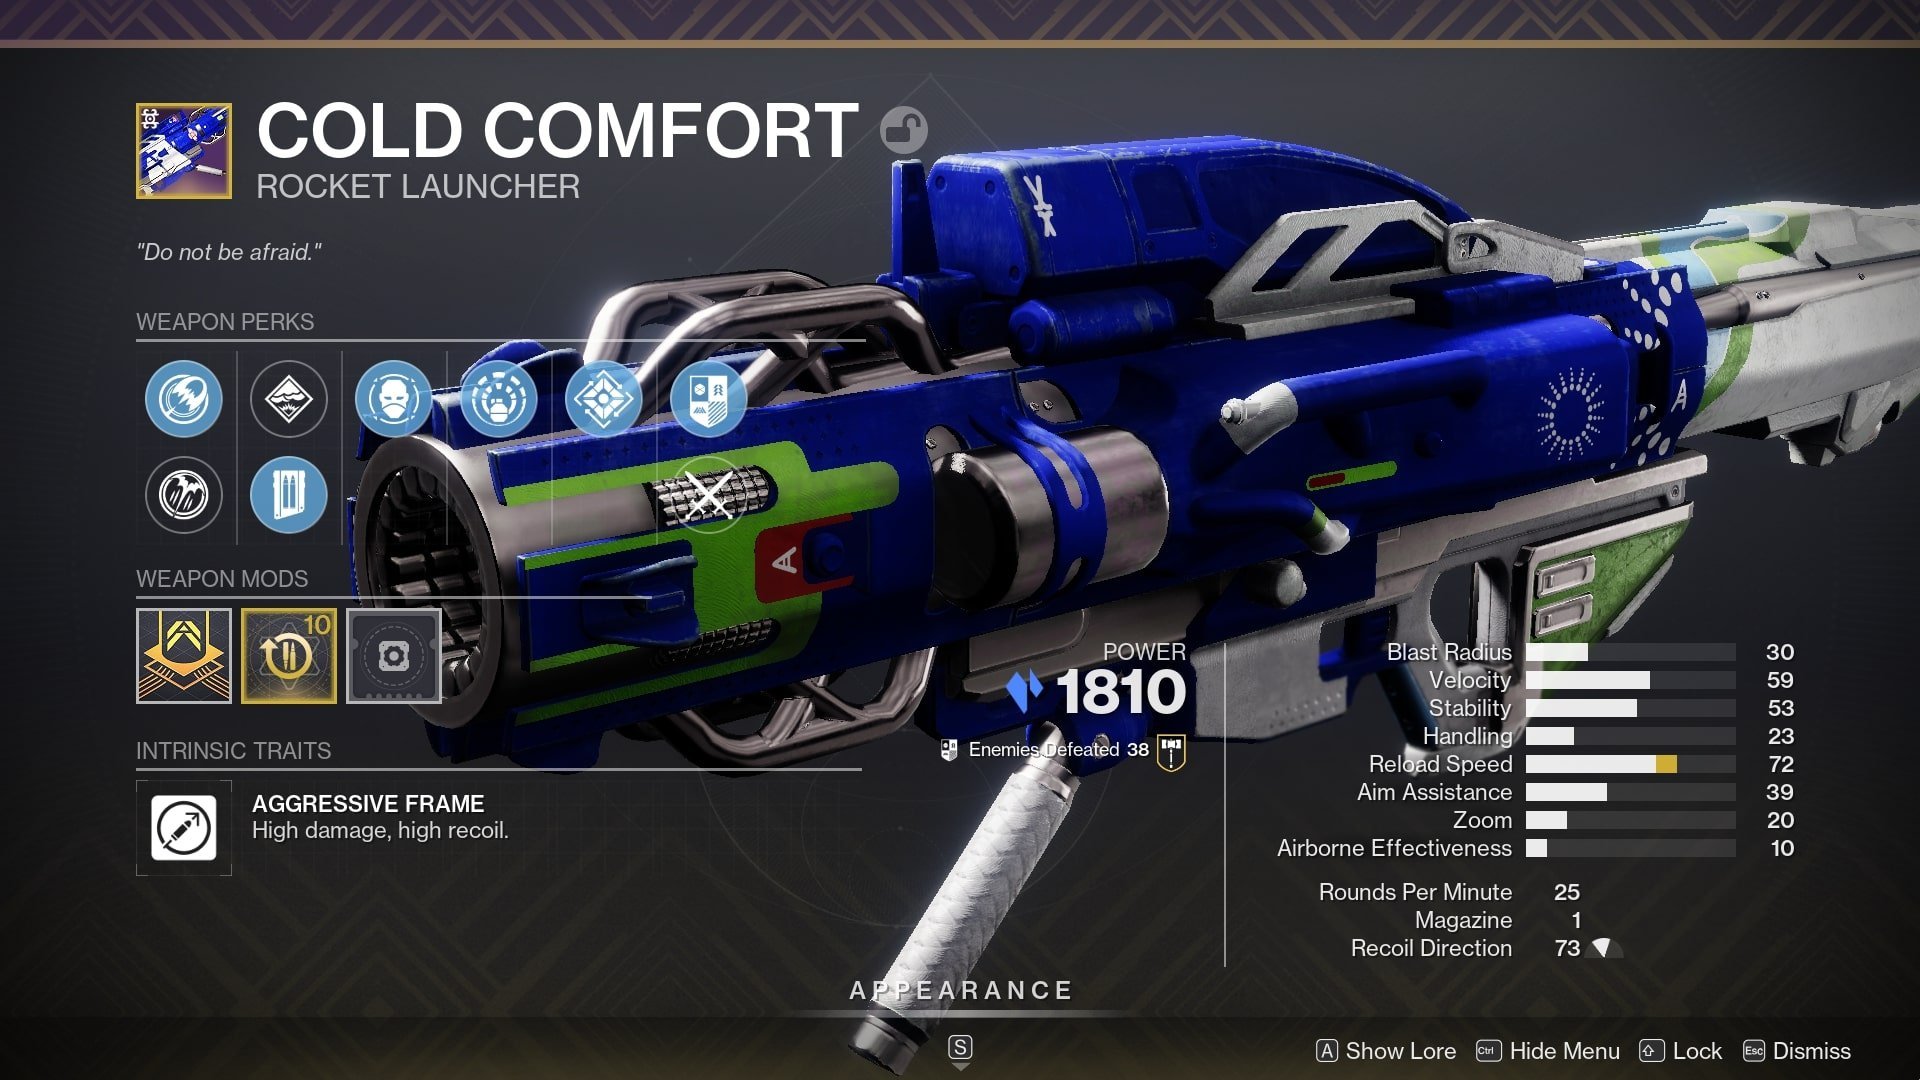
At first glance, this Rocket Launcher might seem like absolute trash due to the lack of perks such as ALH, Field Prep, or Demolitionist. Nonetheless, because of one perk, it has a huge chance to hit the target. Envious Assassin allows you to get two rounds in the magazine for any Final Blow from Primary or Special, or three rounds for six takedowns from Special Weapons. Also, the Origin Trait comes into play, allowing you to obtain an Emergency Reload buff, which automatically reloads the weapon when the magazine is out of rounds.
For perks in the third column, we can confidently recommend Bait and Switch, which perfectly fits this rocket, as well as Explosive Light, because it’s easy to generate Orbs of Power in the current sandbox. Chill Clip will also be a good choice, but only if there’s a Gjallarhorn in your team.
Ghosts of the Deep Armor
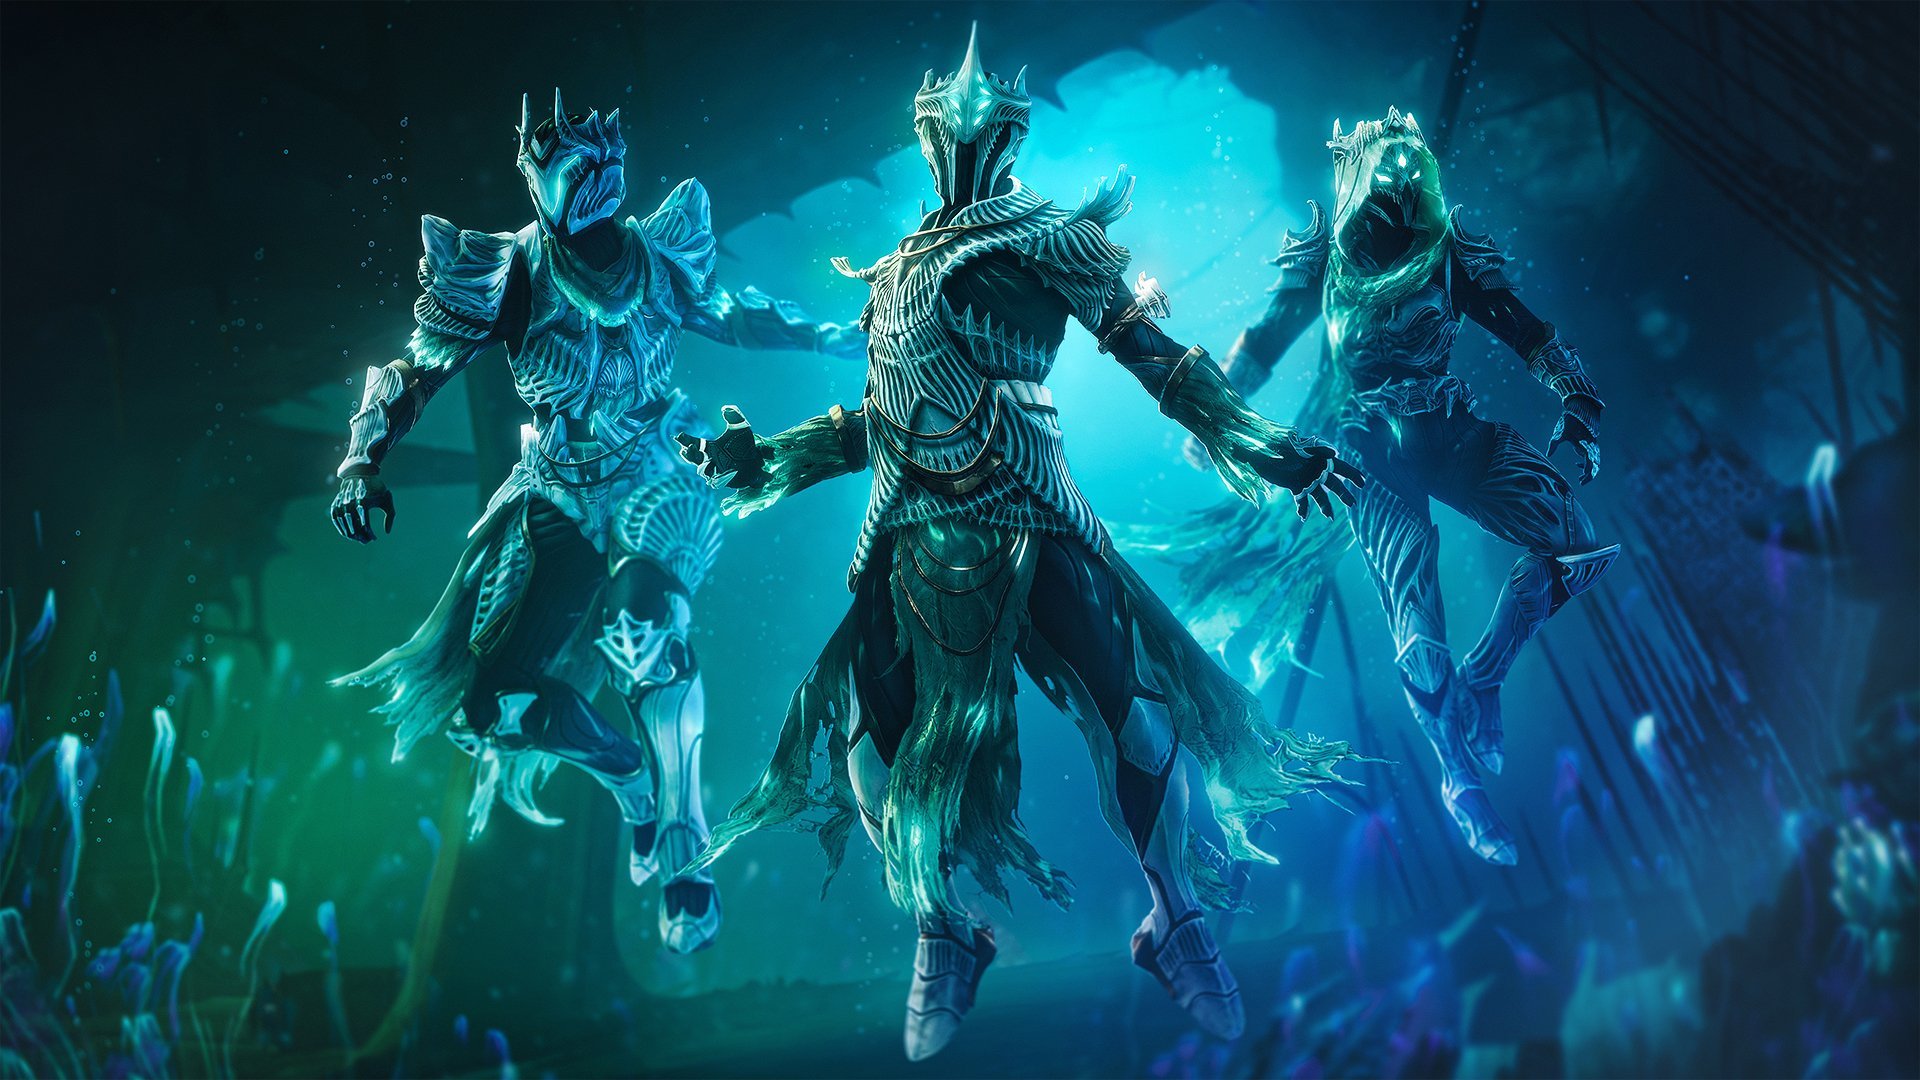
Lastly, let’s look at the beautiful armor, epically called Taken’s King Armor. If the previous dungeon delighted us with cowboy armor, in this one, we’ve decided to become one with the hive, wearing various bones, candles, and other ritual accessories. In addition, this armor opens up many transmog possibilities due to the new trend with color-shifting armor.
Final Words
So, now you know how to beat the Ghosts of the Deep Dungeon and everything about the guns from this mission. We hope this guide will help you and that you’ll share your experience in this Dungeon in the comments. And also share this article with your friends who might have some help from you.
Suppose you’re having trouble with the new Dungeon. In that case, professionals from WowVendor will help you navigate Ghosts of the Deep in the shortest possible time, saving you time and stress.
Thanks for reading! Owl is flying away.

Comments