How To Beat Destiny 2’s King’s Fall Raid: Opening And Totem Encounters
King’s Fall is back, and here’s everything you need to know to beat its first two encounters.
One of the most notorious original Destiny raids has been re-added to the game with slight changes and new fantastic rewards to chase. To give you an upper hand in fighting Oryx and his minions, we’ve made a series of guides with all the main mechanics and strategies for each of the raid’s encounters. Here’s the first part of our extensive King’s Fall guide, covering the opening mission and the Totem encounter.
Read on and enjoy!
Opening Encounter
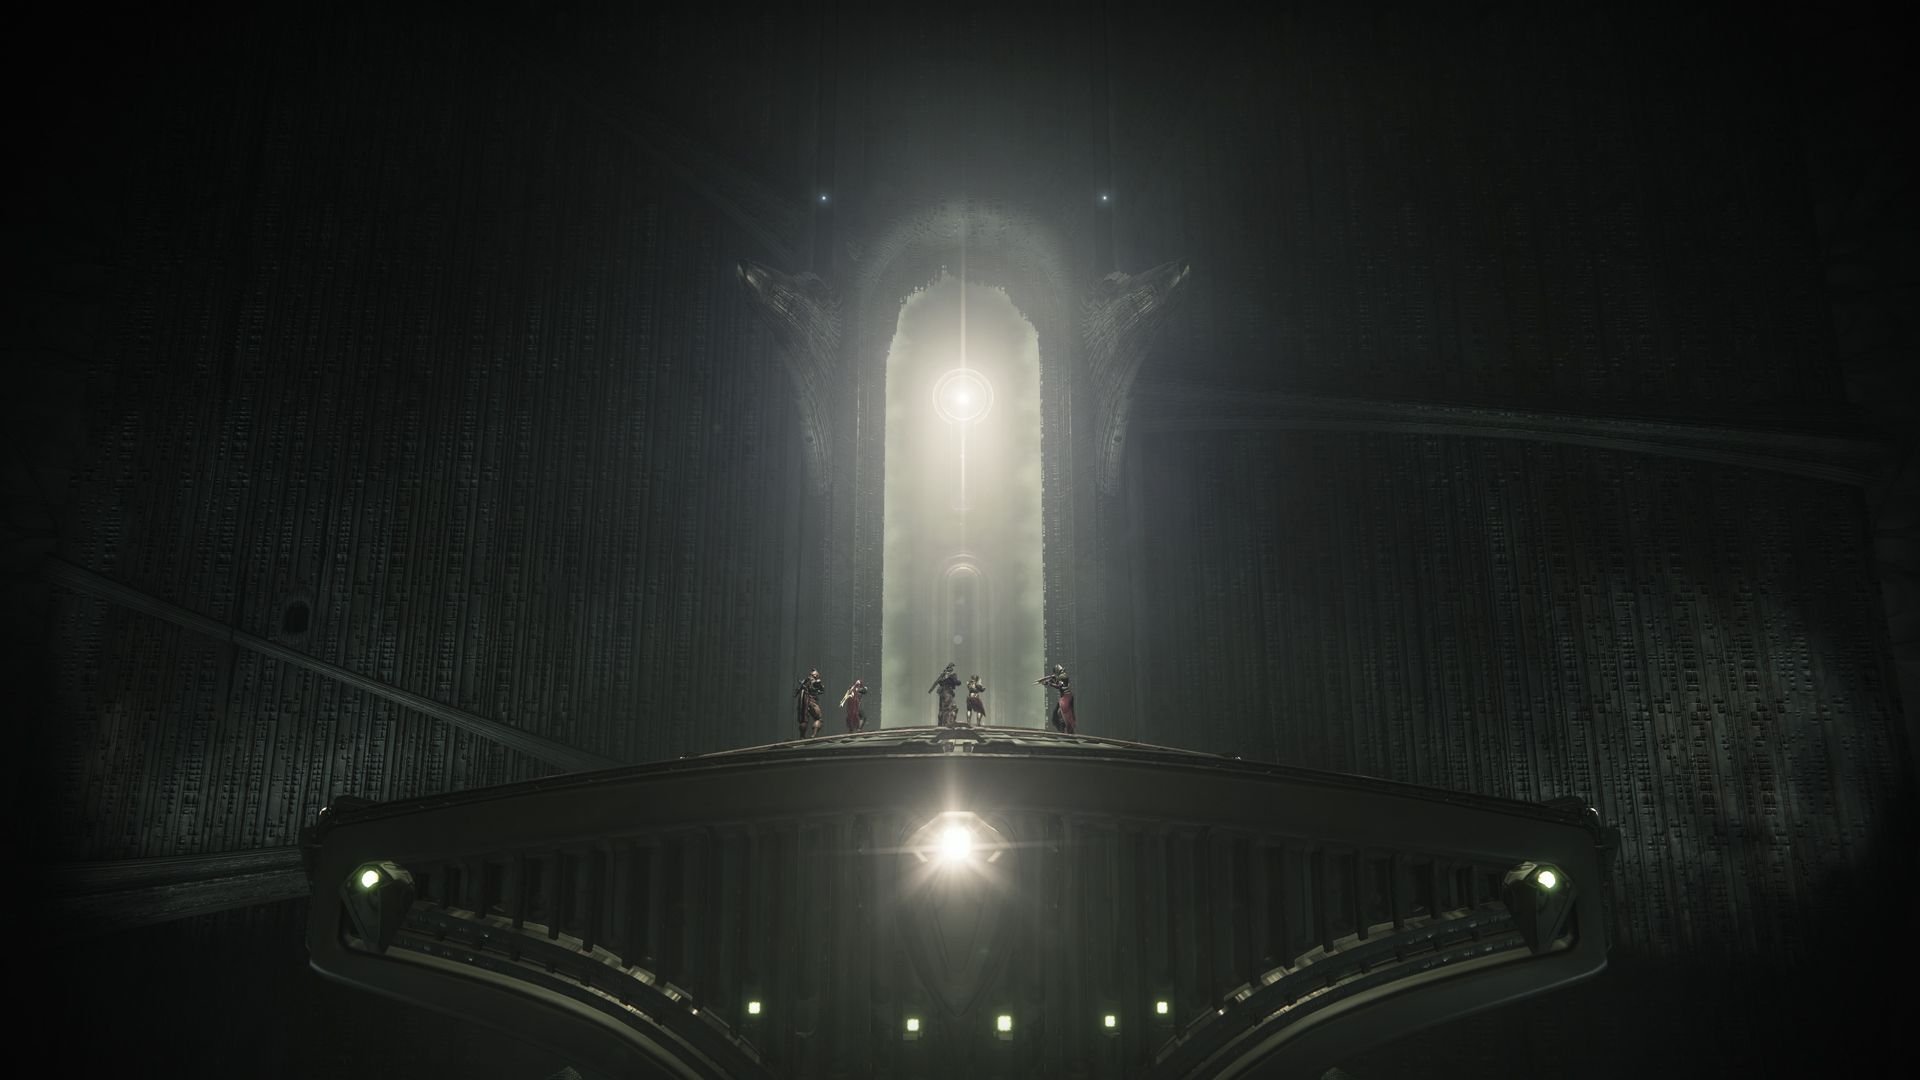
To gain access to the raid, you need to deal with a short intro mission. The objective here is pretty straightforward: dunk two orbs into each of the six relics within a time limit. You might want to split your team into two groups of three, sending one to the right side and the other to the left side of the location. One person in each team will grab the spawning orbs; the remaining two will take care of the adds and Taken Blight barriers blocking the way.

Basically, you just split up, sprint through the halls, collect orbs, shoot everything that gets in the way, and then meet in the middle to plant the orbs into the relic statues. Sounds simple and fun, but there are two things you have to bear in mind. One: the more you progress, the further the orbs are going to spawn, so on your final runs, you really need to speed up. And second: try to plant the orbs into one relic at relatively the same time. If your deposits are more than a few seconds apart, they might not count as a fill-up.
Once all six statues are filled, some Hive enemies will spawn. Get rid of them and jump through the portal to begin one of the most challenging raids in Destiny 2.
Totem Encounter
The first encounter in the Kings Fall Destiny 2 raid revolves around Annihilator Totems and a couple of buffs you need to rotate and deposit.
Your main job here is to decrypt Hive doors to get into the next room. In order for that to happen, you’ll have to dunk Deathsinger’s Power into the plate in the center of the arena. How do you get this Power? Well, let’s see.
There are three rooms in the location: one on the right, one on the left, and one in the middle. The right and left rooms have giant Totems that require a Guardian to always stand nearby, because otherwise, Totems will start getting angry and, if left unchecked for too long, eventually wipe the raid. These Totems also help you earn Deathsinger’s Power: while positioned in close proximity to them, you need to kill enemies to build stacks of the DP buff that will later be placed into the middle-room plate.
However, you cannot just glue yourself next to the Totem and shoot things non-stop. The side rooms inflict constant damage upon every Guardian who’s in there, and the only way to survive is by taking the Brand buff that surrounds you with an aura shield, protecting you and everyone nearby from the negative effects of the rooms. The Brand buff is timed, so you’ll need to constantly replace each other on the Totem duty, killing mobs and depositing Power into the central plate.
And this is where the tricky part begins.
In order to share the Brand buff with your teammate, you’ll have to get another buff called Brand Claimer. On the balconies of the middle room, there are some wizard enemies occasionally spawning. You have to kill a wizard, then defeat a Blightguard Knight that will show up right away. That’s how you earn the Claimer buff.
The point here is to always take Claimer buffs, swap places with each other at the Totems, kill mobs to get stacks of Power, and dunk them into the central plate to decrypt runes.
So, here’s what your team composition for this encounter will probably look like: while there’s one player holding the position near the Totem in each of the side rooms, the rest of the party hangs out in the middle room, killing wizards and knights and taking Claimer buffs to switch places with that Aura holder, relieving them from the Brand buff and taking their place at the Totem to let them run to the center plate and deposit the earned Power. In your three-on-three split, each team will always have 1) someone with the protective aura at the Totem, killing enemies and earning Power, 2) someone dropping the Power at the plate, and 3) someone earning the Claimer buff to replace the Aura player. Just be careful with timing: each buff has a timer on it, so you need to do whatever task you’re assigned really fast.
As for build and loadouts, we’d recommend focusing on survivability and bringing something like an auto rifle or a machine gun with a decent damage output to clear mobs and more beefy Knights. And finally, a small tip: players who hold the line in the middle room should wound the mobs and let them wander off into the side rooms to let those on the Totem duty get the kills and earn as many Power stacks as possible in one go.
When the middle-room plate is filled up with around 200 charges of Deathsinger’s Power, you’ll get your share of Kings Fall rewards and be welcomed to proceed to the second encounter, which will be covered in detail in the next part of our King’s Fall guide.
If you don’t want to wait for a full raid breakdown or have trouble with the first two fights we’ve walked you through today, feel free to turn to WowVendor and order a King’s Fall boost. Affordable prices and excellent service are guaranteed!
On that note, we hope you guys enjoyed the guide, and see you all in the next one!


Comments