Tazavesh: So’leah’s Gambit M+ quick guide — The War Within Patch 11.2
Tazavesh: So’leah’s Gambit M+ quick guide has all the necessary information to clear this dungeon in Patch 11.2.
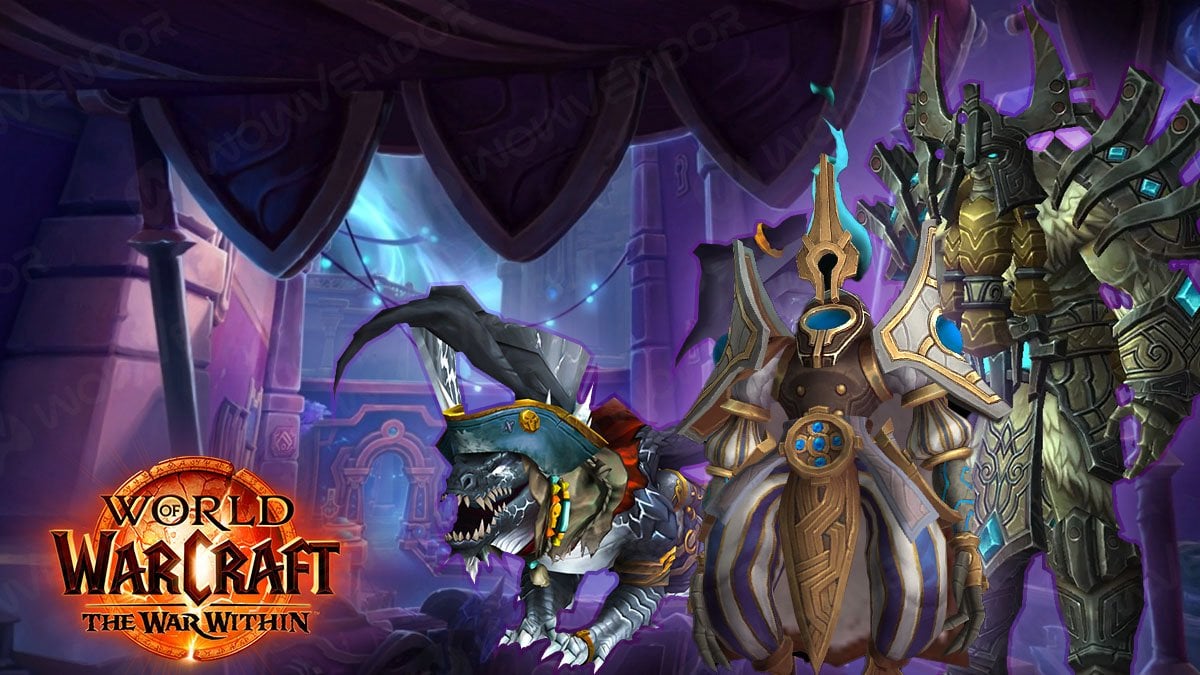
Table of Contents
Key takeaways:
- Tazavesh, the Veiled Market, is a mega dungeon originating in Shadowlands. It has returned in The War Within with a complete rework.
- Tazavesh: So’leah’s Gambit, the second half of the original dungeon, is now a part of The War Within Season 3 Mythic+ lineup.
- Tazavesh: So’leah’s Gambit consists of 3 boss encounters: Hylbrande, Timecap’n Hooktail, and So’leah. All the encounters are mandatory and cannot be skipped.
- This quick guide focuses on tactics and mechanics for boss encounters.
The new Season brings new Mythic+ dungeons, meaning new challenges for players to overcome. To help you in that endeavor, we created this quick guide for Tazavesh: So’leah’s Gambit. For the first part of Tazavesh, please check out our Tazavesh: Streets of Wonder M+ quick guide.
Related posts:

Midnight DPS tier list: What to main in Midnight?

The War Within patch 11.2.5: WoW Mythic plus guide for newbies
Please note that this is a quick guide. It primarily focuses on boss encounters and how to deal with them.
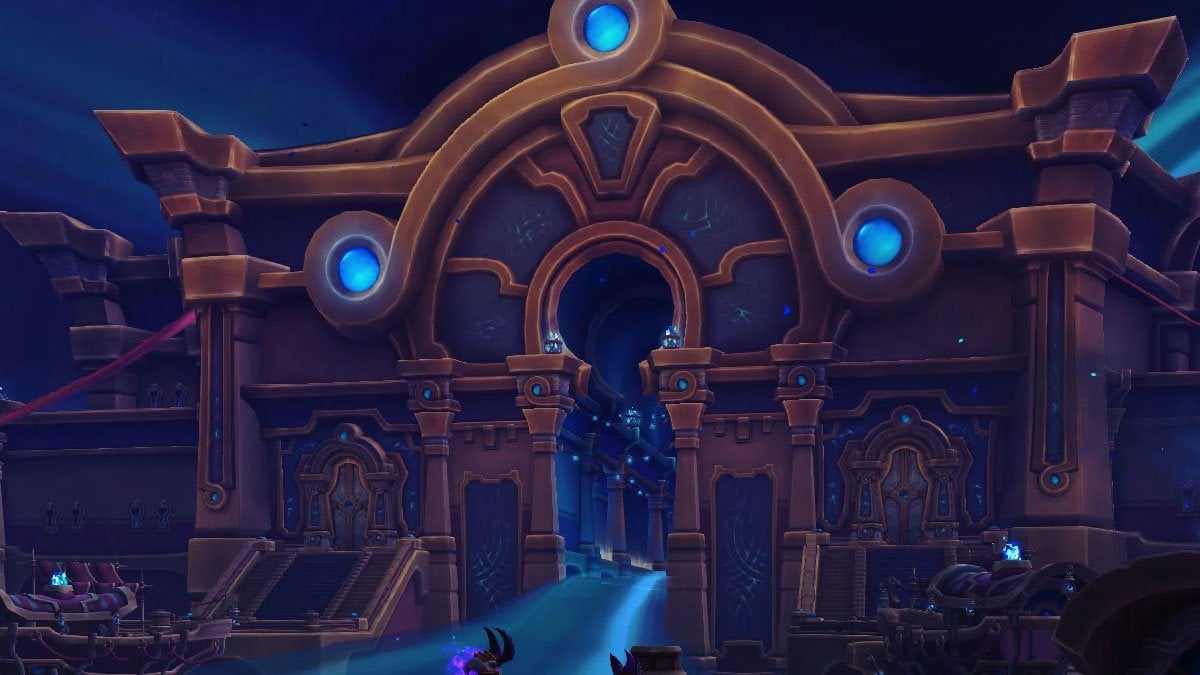
What is Tazavesh: So’leah’s Gambit
With Tazavesh, The Veiled Market, becoming its own thing in Patch 11.2, the original Shadowlands mega-dungeon was split into two halves and reworked. This is the second part of the dungeon that consists of the next 3 encounters:
- Hylbrande
- Timecap’n Hooktail
- So’leah
You can find entrance to Tazavesh: So’leah’s Gambit at coordinates:
/way 36 12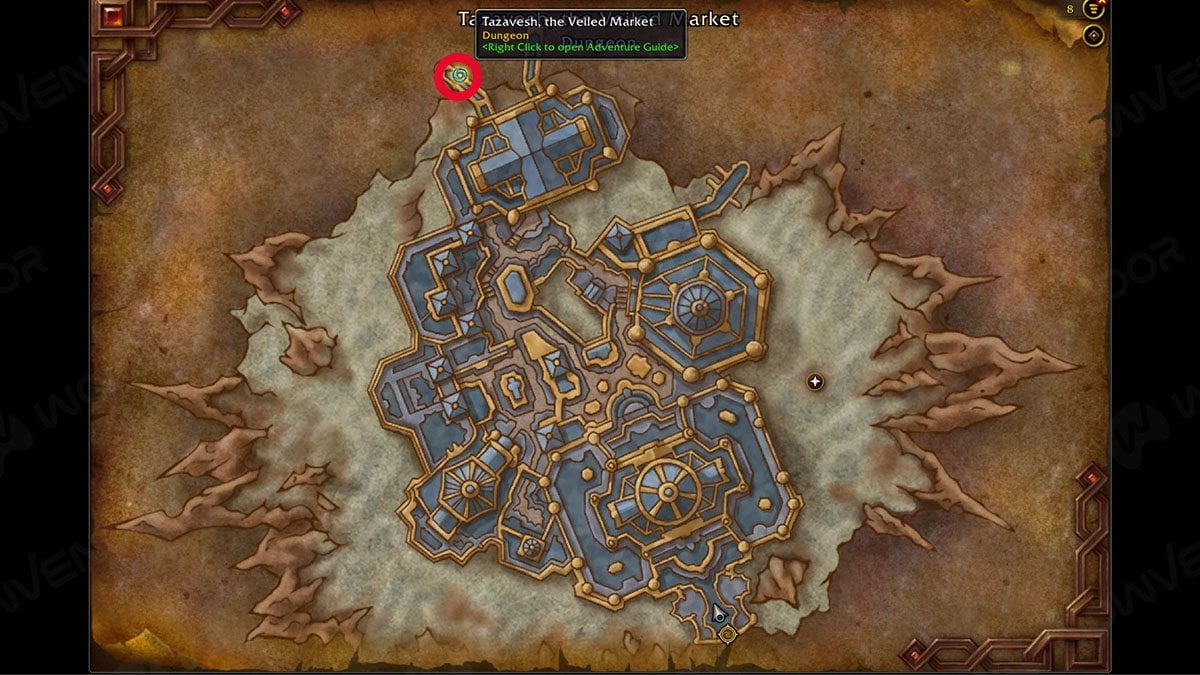
Tazavesh: So’leah’s Gambit Mythic+ walkthrough
In this Tazavesh: So’leah’s Gambit Mythic+ walkthrough you can find tactics for all boss encounters in the dungeon for Mythic plus difficulty.
Hylbrande M+ boss guide
The section below is the Hylbrande M+ boss guide.
Finding your way through Stormheim will eventually lead you to Aggramar’s Vault, where the first encounter awaits.
During the fight, Hilbrande will summon two Vault Purifier adds.
Here are Hylbrande’s mechanics and how to counter them:
| Ability | Description | How to counter |
|---|---|---|
| Sanitizing Cycle | Used when Energy reaches 100. The boss becomes immune, pulsing with ramping up damage until the group inputs the correct security code. At the same time, Titan Console, Security Codes, and Security Consoles become active. | Players must quickly input the code to stop the boss from channeling his damage. To do so, one player, usually the Tank, should activate the Titan Console at the back of the room to show the rest of the players where each code should go. Then, each player should take their designated code from the runes on the floor and connect it to the corresponding console on the room’s left or right side, as the Titan Console shows. Placing the wrong code damages the player and stuns them. Before starting the encounter, designate a player for each rune on the ground so you can avoid confusion and solve this mechanic as quickly as possible. |
| Titanic Crash | A frontal AoE cleave that deals lethal damage. | Avoid getting hit by it. The Tank should always keep the boss turned away from the group, as it is always aimed in the direction the boss is looking. |
| Shearing Swings | A two-hit tank buster. | The Tanks should use a defensive cooldown. The Healer should pay extra attention to the Tank’s Health. |
| Purifying Burst | Creates a ball of energy that splits into 3 projectiles, dealing significant damage to random players. Targeted players are marked by red arrows for the cast duration. | Targeted players should use defensive cooldowns during the cast and/or self-healing after taking the damage. The Healer should be ready to help. |
| Purged by Fire | One of the turrets on the wall targets a random player and chases them with a beam of light, dealing lethal damage and leaving damaging zones on its path. The targeted player is marked by a yellow arrow. | The targeted player should kite the beam around the arena while avoiding getting hit by it. Ensure that you do not kite it into runes on the floor or security consoles, and avoid cutting off entire parts of the arena. The perfect place to kite is the area between your rune and arena corners. This leaves runes and center free, allowing easy access to codes and consoles later. |
| Empowered Defense | Used by Vault Purifier adds. When the cast finishes, grant the boss 25% damage reduction. Can be interrupted. | Must be interrupted. |
| Valorous Bolt | Used by Vault Purifier. A single-target heavy damage attack aimed at a random player. Can be interrupted. | Interrupt to avoid unnecessary damage. |
| Keeper’s Protection | Used by Vault Purifier when the boss’s Energy reaches 100. The add runs to a random Security Console and channels a protective shield over it, preventing players from putting in the code. | There is nothing to do about this other than defeat the adds as soon as possible. If the Sanitizing Cycle phase starts, the group should finish the remaining adds first. |
Here are role-specific guidelines for the Hylbrande fight:
Tank:
- Keep the boss turned away from the group to bait the Titanic Crash.
- Use defensive cooldowns for Shearing Swings.
- Aggro the Vault Purifier adds when they spawn and positions them close to the boss for easier cleaving.
- Interrupt Empowered Defense and Valorous Bolt casts made by the Vault Purifier adds.
- During the Sanitizing Cycle, as the closest player, channel Titan Console to reveal the correct code for the rest of the group.
Healer:
- Get ready to heal the Tank after Shearing Swings.
- Make sure the team is healed before and after Purifying Burst.
- If targeted by Purged by Fire, try to kite the beam between your rune and the corner of the arena.
- Place your rune into the proper console when the correct code is revealed during the Sanitizing Cycle.
- During the Sanitizing Cycle, keep an eye on the group’s Health.
DPS:
- Use defensive cooldowns and self-healing if targeted by Purifying Burst.
- If targeted by Purged by Fire, try to kite the beam between your rune and the corner of the arena.
- Cleave or focus down Vault Purifier adds.
- Interrupt Empowered Defense and Valorous Bolt casts made by the Vault Purifier adds.
- Place your rune into the proper console when the correct code is revealed during the Sanitizing Cycle.
Finishing the fight creates a portal to the next area.
Timecap’n Hooktail M+ boss guide
The section below is the Timecap’n Hooktail M+ boss guide.
On the beach of Boralus Harbor, you will find an infinite dragonflight pirate dragon. That is your next encounter.
Until the end of the encounter, Corsair Brutes will constantly join the fight. They cannot be aggroed as they fixate on random players.
Here are Timecap’n Hooktail’s mechanics and how to counter them:
| Ability | Description | How to counter |
|---|---|---|
| Infinite Breath | A powerful cleave that deals high damage and stuns targets that are hit. Instantly kills any Corsair Brutes caught in it. | The main mechanic of the fight. The Tank must position themself to aim the boss cleave towards Corsair Brutes. Other players should kite their adds into the cleave. Players should leave the cleave area when the cast is about to finish to avoid getting hit. Use movement impairing crowd-control, like stuns, roots, and slows to have easier time positioning adds inside the cleave. It is advised to position the boss in one of the corners of the area, so adds walk in one direction, making it easier to kite them into a cleave. The good corner for that is the one on the right part of the arena, assuming you look at the sea, where land meets water. There are boats in this corner, use them as a waymark to find the place. |
| Cannon Barrage | A set of AoEs aimed at random players that leave damaging zones after an explosion. Zones disappear after approximately 2 minutes. | Dodge AoEs. Consider moving as one unit to avoid covering the arena with damaging zones. Stacking zones close together makes it easier for the group to kite adds and position the boss. |
| Time Bomb | 2 players get a DoT for 30 seconds that also applies 30% Haste. Damage is ramping 10% up with every tick. Can be dispelled, but doing so triggers group-wide damage. | Haste buff can be used to the group’s advantage. Still, eventually, you want to dispel the effect, as the DoT damage will become too high to handle. Coordinated groups may push it further using defensive cooldowns. Before dispelling the effect, the Healer should top everyone’s Health. Do not overlap dispels, as doing so will likely lead to a wipe. |
| Double Time | Every 2 seconds, the boss applies a stacking 10% movement and attack speed buff to all the adds. | This mechanic ensures you cannot ignore the adds, as with buffs, they will eventually overwhelm your group. Focus on getting as many adds as possible into the Infinite Breath. |
| Anchor Shot | A random player will get shot by a grapple. Over the 6 seconds, the player will be pulled towards the water while also suffering from a DoT. Getting into the water kills the player. | The targeted player should use defensive cooldowns to reduce DoT damage and run in the opposite direction to avoid touching the water. Use of movement cooldowns is advised. The Healer should be ready to spot heal the target. |
| Deadly Seas | Quickly kills any players standing in the water. | Prevents players from touching water to avoid mechanics. When dodging other attacks, consider your pathing. |
Here are role-specific guidelines for the Timecap’n Hooktail fight.
Tank:
- Position the boss in one of the corners. For example, the corner with the boats in the right part of the arena, where land meets water.
- Aim the boss at Corsair Brute adds.
- Kite Corsair Brute adds that fixated on you into the Infinite Breath cleave.
- Use crowd-control like stuns, roots, and slows to keep adds in the cleave.
- Constantly slightly move the boss out of damaging puddles left by Cannon Barrage.
- Avoid stepping into the water.
- If targeted by Time Bomb, use defensive cooldowns.
- If caught by Anchor Shot, use defensive and movement cooldowns, and move away from water.
Healer:
- Kite Corsair Brute adds that fixated on you into the Infinite Breath cleave.
- Use crowd-control like stuns, roots, and slows to keep adds in the cleave.
- Heal the DoT from the Time Bomb. Before dispelling Time Bomb, ensure your team’s Health is high enough, and do not overlap dispels.
- Heal the target affected by Anchor Shot. If caught by Anchor Shot, use defensive and movement cooldowns, and move away from water.
DPS:
- Kite Corsair Brute adds that fixated on you into the Infinite Breath cleave.
- Use crowd-control like stuns, roots, and slows to keep adds in the cleave.
- If targeted by Time Bomb, use defensive cooldowns.
- If caught by Anchor Shot, use defensive and movement cooldowns, and move away from water.
Defeating this band of pirates will open the portal to the last area of the dungeon.
So’leah M+ boss guide
The section below is the So’leah M+ boss guide.
The last and hardest encounter of Tazavesh. At the end of the Opulent Nexus, So’leah herself awaits.
Here are So’leah’s mechanics during Phase 1 and how to solve them:
| Ability | Description | How to counter |
|---|---|---|
| Hyperlight Spark | A charge of Arcane energy that deals unavoidable damage to every player. | Heal the damage. Personal defensive cooldowns can be used here as well. |
| Summon Assassins | Creates 2 So’Cartel Assassins at the boss location. | Cleave down adds as soon as possible. During the first phase, it is advised to position the boss in one of the arena corners so that the adds spawn close together. |
| Shuriken Blitz | Used by So’Cartel Assassins. An AoE attack that leaves a powerful DoT. Can be interrupted. | Interrupt this cast. |
| Collapsing Star | Creates an AoE near the center of the arena that persists for 30 seconds. AoE contains 4 charges. Each time a player steps into AoE, a charge is spent, triggering an explosion that deals damage and applies a potent stacking DoT for 3 seconds to every group member. The explosion is triggered for every remaining charge when the AoE duration expires. | The group should prevent all the charges from exploding at once. One person, usually the Healer or mobile DPS, should step in and out of AoE, triggering explosions one by one. The Healer has control over the group’s Health, so they have a better understanding when to trigger the explosion and when to heal the group. Mobile DPS, like DH or Monk, can quickly reach the AoE, and then quickly return back. Before triggering the next explosion, the group should be healed up, and the DoT should expire. You can leave the last charge to resolve naturally, but avoid overlapping it with Hyperlight Spark. |
| Power Overwhelming | Phase transition. Starts at 40% of the boss’s Health. So’leah moves to the center, heals herself to full Health, links to 5 Relics surrounding her, and gets 99% damage reduction. Then she proceeds to cast Hyperlight Jolt until all players are dead or all 5 links with Relics are disrupted. | The group should follow So’leah to the center and prepare to use Hyperlight Jolt to disrupt her links to Relics. The Healer should be ready to top the group’s Health, as each Hyperlight Jolt cast will deal more damage. |
| Hyperlight Jolt | A blast of energy travels from player to player, dealing high damage and increasing damage taken from subservient Hyperlight Jolts by 25%. The direction the jolt will travel is marked by a red arrow between players. If the jolt passes through Relic, it disrupts the link to So’leah. | Players must position themselves so that the red arrows between them pass through the Relics surrounding So’leah. It is possible to disrupt all links in one Hyperlight Jolt cast. The group should take out as many Relics as possible per cast, as the next jolt will deal more damage, eventually one-shotting players. |
Phase 2 begins after severing So’leah’s link with all Relics.
Here are So’leah’s mechanics during Phase 2 and how to counter them:
| Ability | Description | How to counter |
|---|---|---|
| Collapsing Star | Creates an AoE near the center of the arena that persists for 30 seconds. AoE contains 4 charges. Each time a player steps into AoE, a charge is spent, triggering an explosion that deals damage and applies a potent stacking DoT for 3 seconds to every group member. The explosion is triggered for every remaining charge when the AoE duration expires. | The group should prevent all the charges from exploding at once. One person, usually the Healer or mobile DPS, should step in and out of AoE, triggering explosions one by one. The Healer has control over the group’s Health, so they have a better understanding when to trigger the explosion and when to heal the group. Mobile DPS, like DH or Monk, can quickly reach the AoE, and then quickly return back. Before triggering the next explosion, the group should be healed up, and the DoT should expire. You can leave the last charge to resolve naturally. |
| Energy Fragmentation | So’leah sends a charge of energy that bounces from Relic to Relic. A Relic touched by this charge will shoot 5 projectiles in a star-shaped fashion. | Players should dodge projectiles shot by Relics. Avoid tanking So’leah on top of or near Relics to have enough space and time for maneuver. You can position the boss in one of the corners, like during Phase 1, or at the big portal to the north. |
| Hyperlight Nova | So’leah and all the Relics cast an AoE around themselves that deals lethal damage. | Dodge this AoE. |
Here are role-specific guidelines for the So’leah fight.
Tank:
- Position So’leah in one of the corners of the room to have an easier time with adds.
- Grab Cartel Assassin adds aggro the moment they spawn.
- Interrupt Shuriken Blitz.
- Use mitigation during Collapsing Star.
- During phase transition, position yourself so that the red arrow between you and your group members passes through the Relic.
- Dodge Hyperlight Nova and projectiles created by Energy Fragmentation.
Healer:
- Heal the party after Hyperlight Spark.
- In case you’re in charge of Collapsing Star, trigger the explosion by stepping in and out of the AoE, waiting for the DoT to wear off before triggering the next explosion.
- Heal the group between Collapsing Star explosions.
- During phase transition, position yourself so that the red arrow between you and your group members passes through the Relic.
- Heal the group between Hyperlight Jolt casts.
- Dodge Hyperlight Nova and projectiles created by Energy Fragmentation.
DPS:
- Cleave Cartel Assassin adds.
- Interrupt Shuriken Blitz.
- Use defensive cooldowns for Hyperlight Spark and during Collapsing Star.
- In case you’re in charge of Collapsing Star, trigger the explosion by stepping in and out of the AoE, waiting for heals and the DoT to wear off before triggering the next explosion.
- During phase transition, position yourself so that the red arrow between you and your group members passes through the Relic.
- Dodge Hyperlight Nova and projectiles created by Energy Fragmentation.
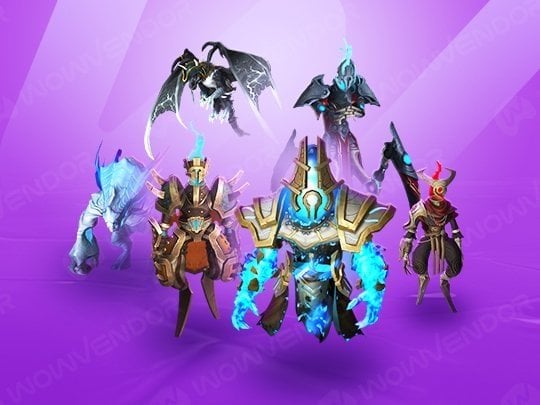
Tazavesh: So’leah’s Gambit loot table
Tazavesh: So’leah’s Gambit loot table consists of gear with item level range from 684 to 701, depending on the key level.
One of the highly sought items here is a Trinket from the final boss, So’leah’s Secret Technique. This item provides both you and the chosen ally with a secondary stat boost for 30 minutes. With this, you can support the strongest DPS in your group, making it a valuable asset for a group content.
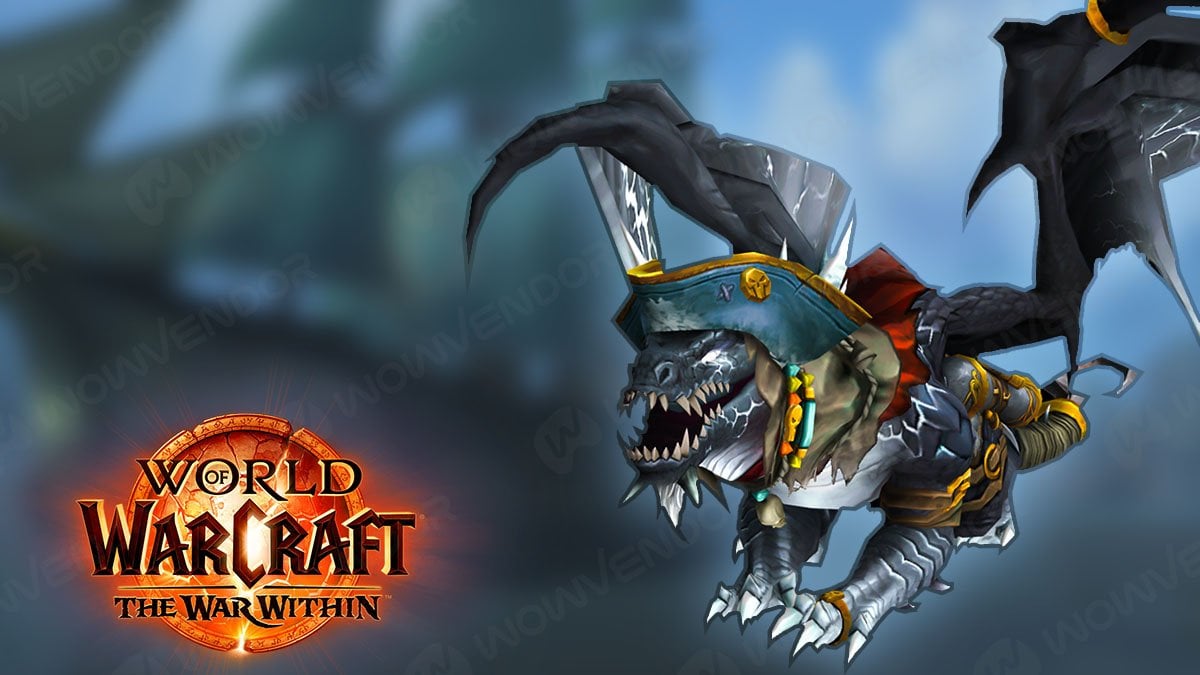
As for the rare loot, the final boss So’leah has a chance to drop Cartel Master’s Gearglider mount.
And this is it for our Tazavesh: So’leah’s Gambit Mythic+ guide! We hope it provides the necessary insight to beat all the major encounters. And if you have troubles, our Mythic Plus boost is always there to help you. Good luck exploring the secrets of K’aresh!


Comments