Priory of the Sacred Flame M+ dungeon walkthrough: Map, bosses, loot table
This guide to Priory of the Sacred Flame in World of Warcraft patch 11.1.7 provides an in-depth look at its mechanics, and essential strategies for successfully navigating the dungeon.

Table of Contents
Key takeaways:
- Interrupt priority: Interrupt key abilities such as Holy Smite, Burning Light, and Fireball from trash mobs and bosses to reduce incoming damage and control the flow of combat.
- Movement management: Many abilities require players to move, such as The Sacred Flame and Blinding Light. Keep moving to avoid damage and disorientation, and be prepared to reposition during boss encounters.
- Boss mechanics: Each boss has unique mechanics—Prioress Murrpray requires careful positioning to avoid Holy Flame and interrupts on Embrace the Light, while Captain Dailcry involves managing Sacrificial Pyre stacks and positioning for Blinding Light.
- Focus on buffs and debuffs: Use interrupts and dispels strategically, especially against buffs like Sacrificial Flame and debuffs like Repentance from certain trash mobs.
This article provides Priory of the Sacred Flame guide to the dungeon, including strategies for each encounter, loot tables, and achievements to help you navigate and conquer this challenge. The dungeon is part of The War Within expansion, and it offers a variety of unique mechanics, from powerful bosses to dangerous trash mobs.
Related posts:

What is Priory of the Sacred Flame
The Priory of the Sacred Flame is a dungeon following the rotation of Season 2 of The War Within patch 11.1.7. It consists of 3 boss encounters:
- Captain Dailcry
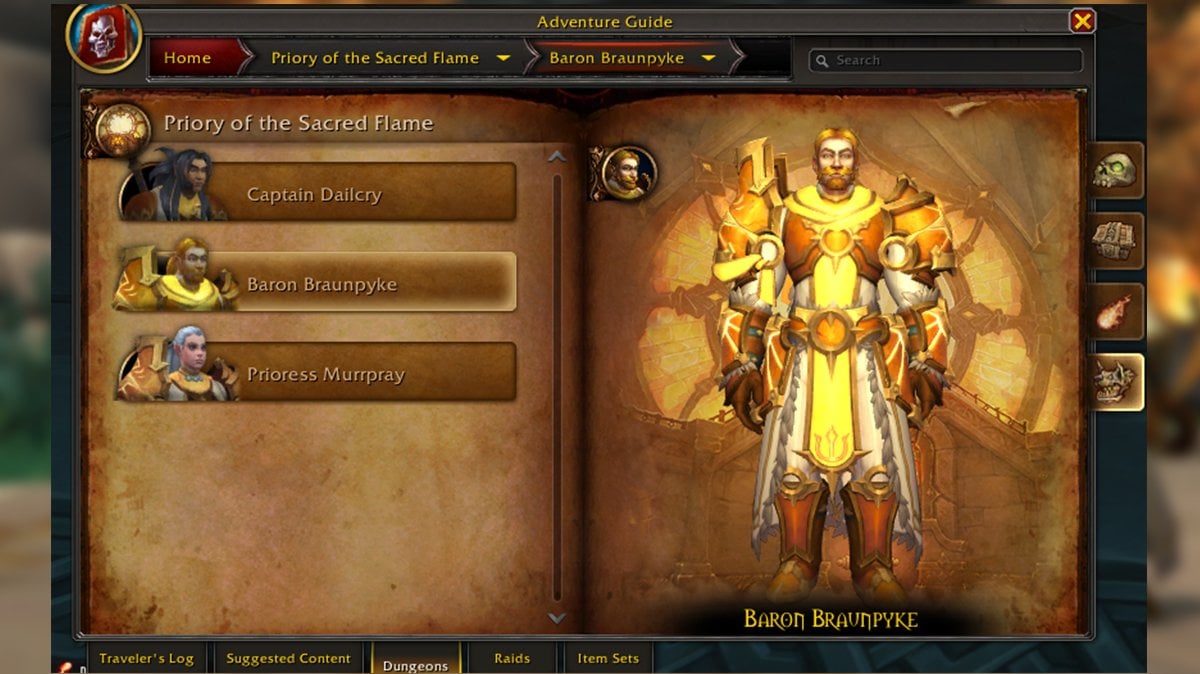
- Baron Braunpyke
- Priorress Murrpray
Where is Priory of the Sacred Flame entrance


The Priory of the Sacred Flame is located in Hallowfall at [42.0, 50.0], within the city of Mereldar. The nearest flight point is at [42.4, 53.8]. The dungeon entrance sits atop a high point in the city, near the docks where dirigibles are moored.
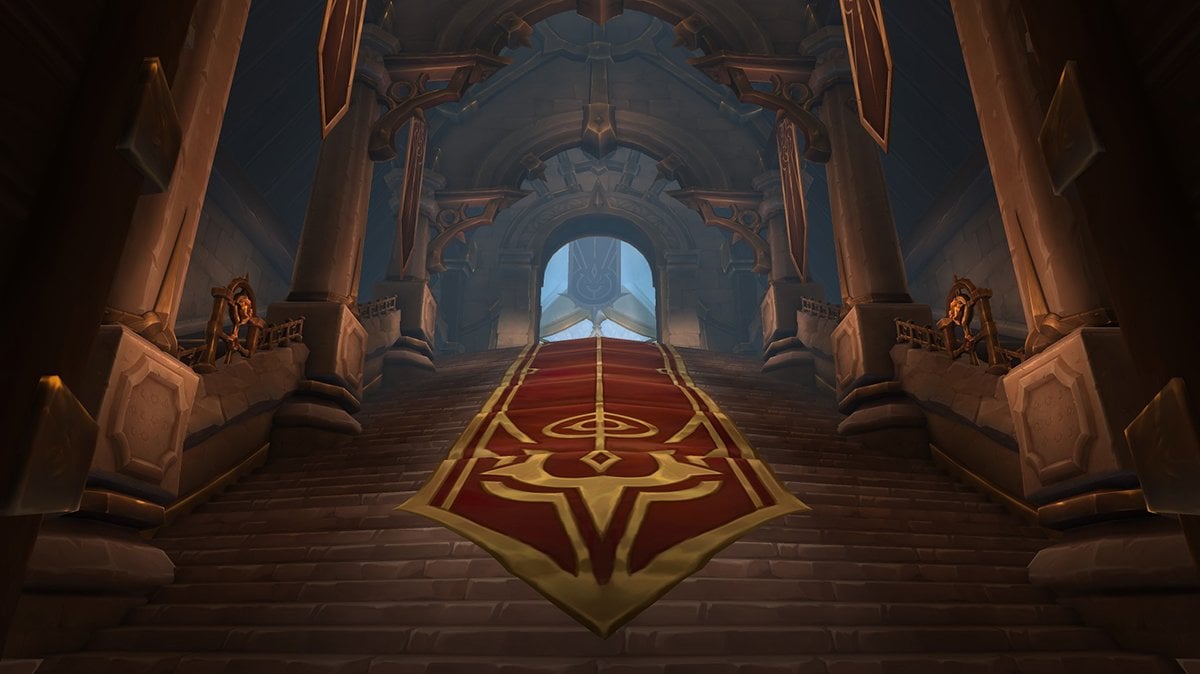
Priory of the Sacred Flame walkthrough
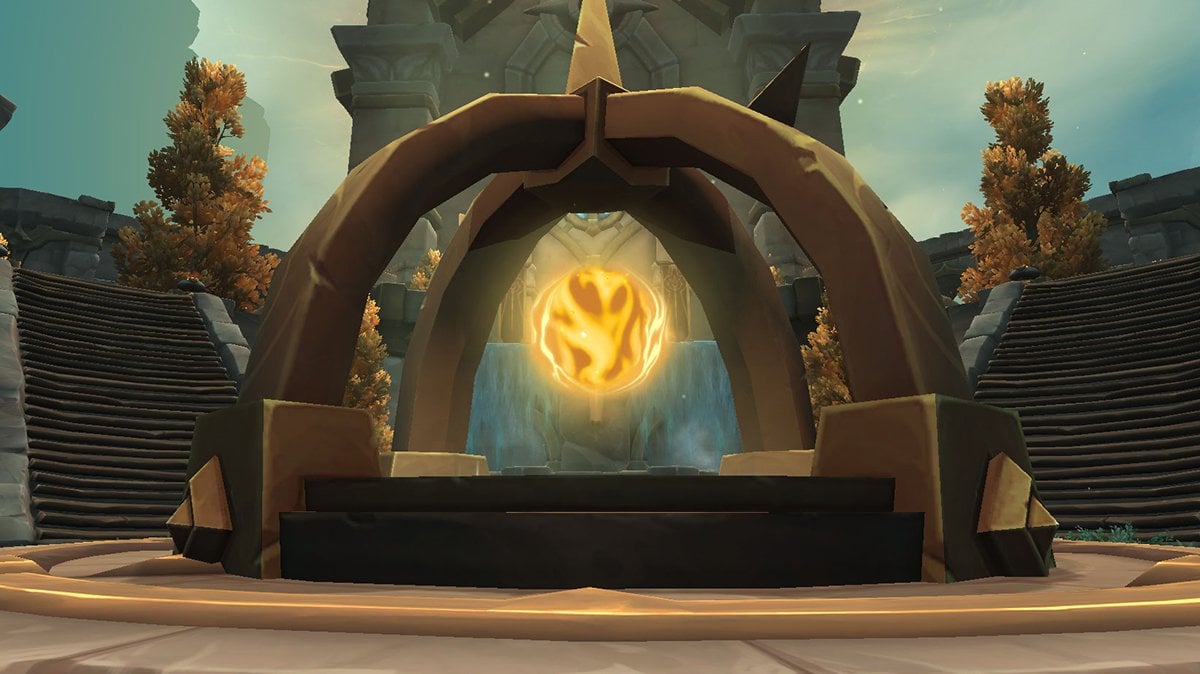
Before diving into the Priory, Paladins and Priests should take note of a special buff available early in the dungeon.
Shortly after clearing the first few enemy packs, you’ll find the Blessing of the Sacred Flame at the center of the path. This exclusive boon can only be claimed by Paladins or Priests and provides a powerful effect:
Priory of the Sacred Flame layout
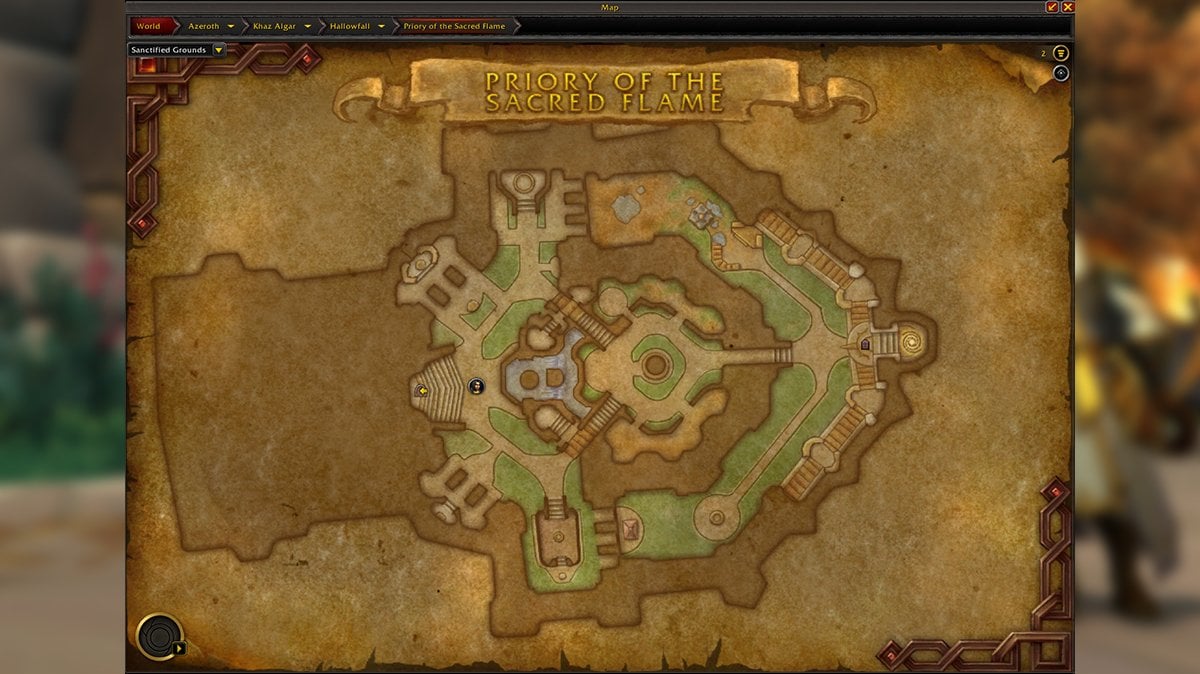
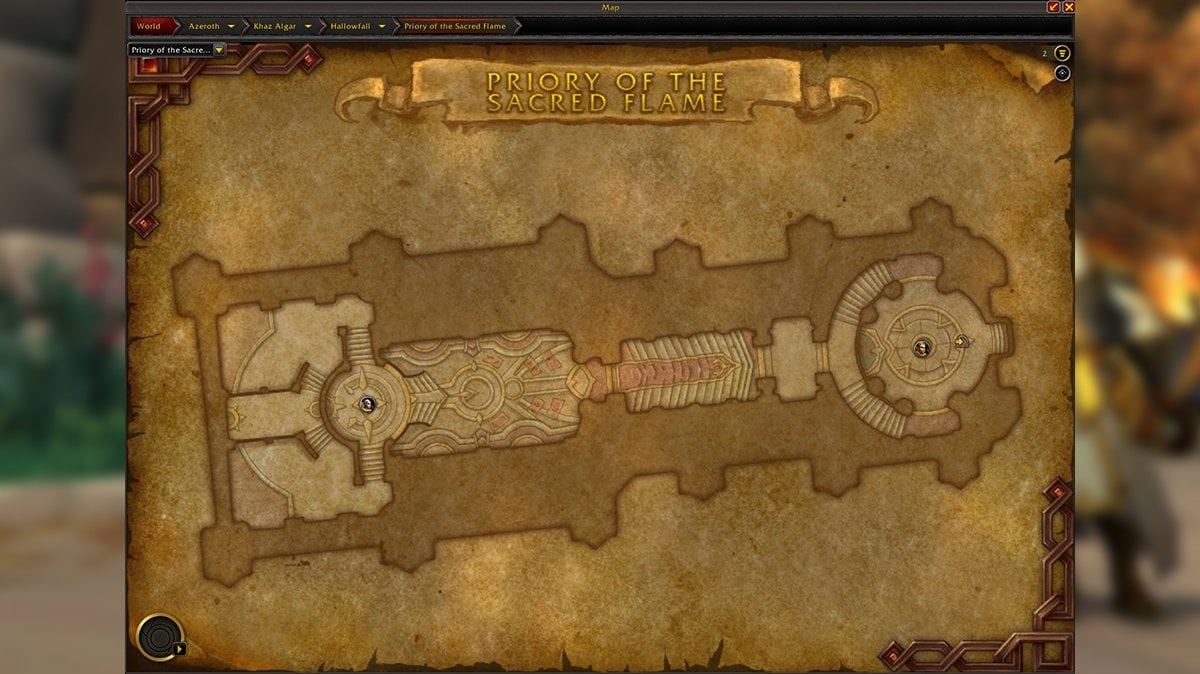
Priory of the Sacred Flame route is relatively straightforward, featuring a simple layout that doesn’t require players to navigate through complex mazes or intricate pathways. Instead, the focus is primarily on fighting through waves of enemies and managing various boss mechanics. While there are some environmental hazards and positioning challenges, the dungeon’s design is linear, allowing players to focus more on combat strategy and less on exploration.
First part: Captain Dailcry and his guards

At the start of the dungeon, you’ll encounter multiple enemy packs that need to be cleared before progressing. Be prepared to use interrupts, crowd control, and positioning to handle them efficiently.
Trash mobs
- Arathi Footman will channel Defend, reducing damage taken. Use disturb effects (stuns, silences, or knockbacks) to break this ability.
- Arathi Knight casts Disrupting Shout, which will interrupt all casting. Stop casting before it finishes to avoid being locked out. They also apply Impale, a bleed effect on random party members.
- Fervent Sharpshooter scatters Caltrops on the ground. Avoid stepping on them to prevent unnecessary damage. They will also attack party members with Shoot and Pot Shot.
- War Lynx will Pounce on a random player, applying the Grievous Rip bleed effect. Healers should be ready to dispel or heal through it.
- Fanatical Conjuror casts Fireball and Flamestrike. Interrupt Fireball and move out of Flamestrike to avoid heavy damage.
- Devout Priest will cast Greater Heal—this should be your primary interrupt target. Any spare interrupts can be used to stop Holy Smite.
Mini-Bosses
There are three mini-bosses in the first area, each with unique abilities. Upon death, they will call out one of Captain Dailcry’s guards (Elaena Emberlanz, Sergeant Shaynemail, or Taener Duelmal), removing the Strength in Numbers debuff from the final boss. On Mythic difficulty, this also prevents the application of Bound by Fate, a mechanic that can be deadly for the entire party.
- Guard Captain Suleyman – Uses defensive and disruptive abilities. Be ready to counter his crowd control effects.
- High Priest Aemya – Casts powerful healing spells that must be interrupted to prevent prolonged fights.
- Forge Master Damian – Employs fire-based attacks and area denial mechanics that require movement and positioning.
Clearing this area efficiently will set up your party for a smoother run through the Priory.
Captain Dailcry boss fight
If you decide to engage Captain Dailcry while all three of his guards are still active (which is not recommended), you’ll need to be prepared for an extremely difficult fight.
| Ability | Description | How to Counter |
|---|---|---|
| Lunging Strike (Sergeant Shaynemail) | Deals high upfront damage to the tank and applies a Bleed effect. | Keep the tank away from Brutal Smash and make sure they have mitigation ready. |
| Brutal Smash (Sergeant Shaynemail) | AoE attack that hits nearby players, causing significant damage. | Position away from the tank and other players to avoid unnecessary damage. |
| Cinderblast (Taener Duelmal) | Cast by Taener Duelmal, deals fire damage in an area. | Interrupt Cinderblast when cast to prevent fire damage. |
| Fireball (Taener Duelmal) | Deals heavy fire damage to a target. | Interrupt Fireball to prevent it from hitting party members. |
| Holy Radiance (Elaena Emberlanz) | Group-wide damage from Elaena Emberlanz. | Healer must manage group healing during this ability. |
| Divine Judgment (Elaena Emberlanz) | Deals significant damage to a tank or target within range. | Tank should be mindful of Divine Judgment and prepare to mitigate damage. |
| Repentance (Elaena Emberlanz) | Interruptible ability that causes an enemy to be stunned. | Entire party should interrupt Repentance as soon as it begins to cast. |
| Hurl Spear | A frontal attack that targets one or more players. | Avoid the Hurl Spear frontal to avoid damage. |
| Battle Cry | Increases enemy damage output by enraging them. | Interrupt Battle Cry to avoid enrage and increased damage. |
| Enrage | Amplifies damage for a short period. | Use crowd control abilities to mitigate the effect of Enrage. |
| Savage Mauling | Targets a player, dealing damage and applying a Bleed effect. | Use defensive cooldowns if targeted. Healers should spot-heal the affected player. |
| Pierce Armor | Applies a stackable Bleed effect to the tank, causing ongoing damage. | Tank should use active mitigation to absorb and reduce the Bleed damage. |
Second boss: Baron Braunpyke
Trash mobs
Before facing Baron Braunpyke, you’ll need to handle several dangerous trash enemies. Ardent Paladins should be pulled carefully, as their Sacred Toll ability deals significant group-wide damage. Avoid standing in their Consecration, or have your tank reposition the pack to keep the area clear.
Zealous Templars pose the biggest threat to the tank, particularly through Seal of Light’s Fury, which increases their attack power. If your group has a Purge ability, use it to remove their Templar’s Wrath buff, as it significantly enhances their damage output. Managing these abilities effectively will make the upcoming boss fight much smoother.
Baron Braunpyke boss fight
During the fight against Baron Braunpyke, all players must be aware of key mechanics to avoid unnecessary damage.
| Ability | Description | How to Counter |
|---|---|---|
| Hammer of Purity | Ground-based attack with a damaging follow-up effect. | Avoid the initial ground animation and the follow-up damage. |
| Burning Light | Casts a burst of light that deals heavy damage to the group. | Interrupt Burning Light to prevent significant damage to the group. |
| Castigator’s Detonation | A damaging ground effect triggered after the Castigator’s Shield hits a target. | Move away from the area after the initial hit of Castigator’s Shield to avoid the detonation. |
| Sacrificial Pyre | Applies a stackable debuff that increases damage taken from Sacrificial Flame. | Help your team soak stacks of Sacrificial Pyre; use magic immunities to mitigate damage. |
| Sacrificial Flame | A high-damage effect that increases with each Sacrificial Pyre stack. | Be mindful of stacks, as each will cause group-wide damage. Use magic immunities to prevent damage. |
| Vindictive Wrath | Empowers the boss’s abilities after reaching 100 energy, increasing damage output. | Prepare for more dangerous attacks when Vindictive Wrath is active. Use cooldowns to manage higher damage. |
| Castigator’s Shield | Shields the boss, and upon breaking, triggers Castigator’s Detonation. | Ensure to break the shield in time to mitigate the detonation damage. Keep healing high when Castigator’s Shield is active. |
Third boss: Prioress Murrpray

Trash mobs
Before reaching Prioress Murrpray, you’ll encounter several dangerous enemies that require careful handling. Risen Mages are a top priority—interrupt both Fireball and Fireball Volley at all times to prevent heavy magical damage on the group. Lightspawns become a problem when their health is low, as they will attempt to cast Burst of Light, healing nearby enemies. Tanks should reposition the pack to keep other mobs out of its range.
Be especially cautious when dealing with Sir Braunpyke, as his Radiant Flame aura constantly deals damage to the group, while Light Expulsion adds another layer of unavoidable AoE pressure. Managing interrupts, movement, and defensive cooldowns will be key to keeping the party stable before the boss encounter.
Prioress Murrpray boss fight
During the fight against Prioress Murrpray, all players must manage interrupts, movement, and positioning to minimize damage.
| Ability | Description | How to Counter |
|---|---|---|
| Holy Smite | Casts a powerful Holy Smite that deals significant damage. | Interrupt Holy Smite as often as possible to reduce damage output. |
| Holy Flame | A ground-based effect that deals damage when stood in. | Avoid standing in the Holy Flame ground effect to prevent damage. |
| The Sacred Flame | A debuff that targets players with heavy damage if they remain still. | Keep moving to avoid unnecessary damage from The Sacred Flame debuff. |
| Blinding Light | A cast that disorients and deals damage to players in the area of effect. | Face away from Blinding Light to reduce incoming damage and avoid disorientation. |
| Barrier of Light | Shields the boss at 50% health, causing him to fly to an upper platform and begin casting Embrace the Light. | Interrupt Embrace the Light once the shield is broken to prevent the boss from regaining health. |
| Arathi Neophyte | A mob summoned after Barrier of Light is cast that needs to be controlled. | Manage the Arathi Neophyte carefully, using crowd control or stuns as necessary after Barrier of Light. |
| Inner Fire | A damage-over-time ability that deals group-wide damage. | Use major healing cooldowns during Inner Fire to mitigate group-wide damage. |
| Blinding Light | The same ability as above that disorients the group. | Ensure players are topped up and focused on healing during Blinding Light to manage the incoming damage. |
Priory of the Sacred Flame loot table and achievements
Completing the M+ Priory grants various rewards, with item levels scaling based on the Keystone level completed. Higher Keystone levels unlock better loot, with several specific drops tied to the dungeon. Here is the loot table:
| Boss | Type | Item | Stats |
|---|---|---|---|
| Captain Dailcry | Polearm | Glorious Defender’s Poleaxe | Mastery/Haste |
| Shield | Sanctified Priory Wall | Vers/Crit | |
| Plate Wrist | Flameforged Armguard | Crit/Haste | |
| Mail Hands | Holybound Grips | Haste/Vers | |
| Cloth Waist | Honorbound Retainer’s Sash | Mastery/Crit | |
| Leather Feet | Stalwart Guardian’s Boots | Haste/Mastery | |
| Trinket | Signet of the Priory | Str, Int, and Agi | |
| Baron Braunpyke | 1H Mace | Hand of Beledar | Mastery/Crit |
| Leather Head | Helm of the Righteous Crusade | Crit/Mastery | |
| Cloth Chest | Zealous Warden’s Raiment | Vers/Crit | |
| Mail Wrist | Consecrated Baron’s Bindings | Mastery/Haste | |
| Plate Feet | Devoted Plate Walkers | Vers/Mastery | |
| Trinket | Tome of Light’s Devotion | On-use effect | |
| Prioress Murrpray | 2H Sword | Emberbrand Zweihander | Haste/Vers |
| 1H Mace | Starforged Seraph’s Mace | Crit/Vers | |
| Cloth Head | Elysian Flame Crown | Mastery/Vers | |
| Plate Shoulder | Reanimator’s Pyreforged Shoulders | Crit/Vers | |
| Leather Chest | Seraphic Wraps of the Ordained | Vers/Haste | |
| Mail Legs | Divine Pyrewalkers | Crit/Vers | |
| Ring | Radiant Necromancer’s Band | Mastery/Vers | |
| Trinket | Bursting Lightshard | Int |
Priory achievements
There are a total of 4 achievements that you can do in Priory:
| Achievement | Criteria |
|---|---|
| Priory of the Sacred Flame | Defeat Prioress Murrpray in Priory. |
| Heroic: Priory of the Sacred Flame | Defeat Prioress Murrpray in Priory on Heroic difficulty or higher. |
| Mythic: Priory of the Sacred Flame | Defeat Prioress Murrpray in Priory on Mythic or Mythic Keystone difficulty. |
| Keystone Hero: Priory of the Sacred Flame | Complete Priory at Mythic Level 10 or higher, within the time limit. |
Conclusion
Mastering the Priory of the Sacred Flame requires a combination of awareness, positioning, and careful management of enemy abilities. Understanding the mechanics for each boss and trash mob will ensure a smoother experience as you progress through the dungeon.
By following the strategies outlined above, you will be well-prepared to tackle the challenges and reap the rewards from this intense Mythic+ instance. And if you are still struggling with the dungeon on higher Keystone levels, you can try Mythic Dungeon boost to bypass all the challenges and get your gear!
Happy walk through!


Comments