The War Within patch 11.2.7 Brawler’s Guild bosses strategy
Brawler’s Guild bosses guide covering every rank, boss ability, and strategy to help you reach Rank 8 quickly and claim exclusive rewards.
Table of Contents
Key takeaways
- Brawler’s Guild bosses guide is all about mechanics mastery: most fights are won by understanding and executing mechanics correctly rather than relying purely on raw damage.
- Preparation makes a huge difference: proper gear, consumables, interrupts, addons, and movement skills dramatically increase your chances of clearing ranks smoothly.
- Time pressure defines success: enrage timers and escalating mechanics mean efficient DPS, smart kiting, and early cooldown usage are essential throughout the Brawler’s Guild.
Looking to conquer Azeroth’s toughest solo challenges? This Brawler’s Guild bosses guide is your complete walkthrough to mastering one of World of Warcraft’s most iconic skill-based experiences. From understanding how the Brawler’s Guild works to learning proven strategies for every rank and boss, this guide will help you prepare, survive, and dominate the arena.
Related posts:


If you are wondering how to access Brawler’s Guild, we’ve got a separate guide for this:
How Brawler’s Guild work
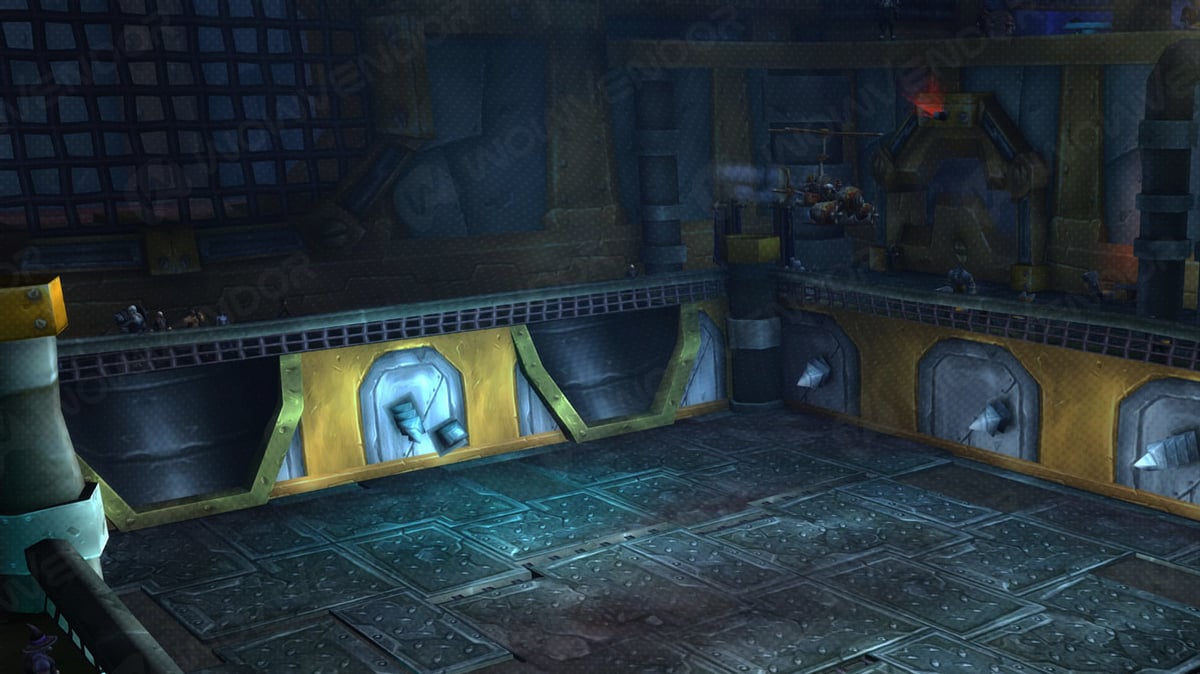
Once you gain access to the Brawler’s Guild, you’ll enter a dedicated instance where you can queue up to face bosses. While each fight is a solo challenge, other players will be present as well, allowing you to watch them attempt their own encounters.
To queue for a fight, speak with either a Bizmo’s Brawlpub Bouncer or a Brawl’gar Arena Grunt and choose the option to enter the queue. Because multiple players share the arena, fights are handled through a queue system. You can track your place in line by checking the Queued for Brawl buff on your character or by watching the queue indicator in the UI at the top of your screen.
With only a few exceptions, Brawler’s Guild encounters have a 2-minute enrage timer. When it expires, the arena will begin filling with fire, which will quickly kill you if the fight hasn’t ended.
Brawler’s Guild bosses guide: General tips
In general there are several general tips that will work out for most encounters.
| Tip | Elaboration |
|---|---|
| Higher item level helps | Having a high item level significantly smooths out most encounters by increasing both your damage and survivability. While mechanics still matter, better gear gives you more room for mistakes. |
| Use healing consumables | Not every fight requires a potion, but having a Healthstone or Algari Healing Potion ready can save a run during tougher encounters or enrage moments. Use them proactively, not only at critical health. |
| Use interrupts (kicks) | Many bosses rely on dangerous casted abilities that can be interrupted. Even though some abilities are immune, it’s essential to have your interrupt bound to a comfortable hotkey. Examples include Kick, Pummel, Mind Freeze, Rebuke, and Counterspell. |
| Play a DPS specialization | Due to strict enrage timers, Brawler’s Guild encounters strongly favor DPS specs. Tank and healer specs generally lack the damage needed to finish fights before mechanics become overwhelming. |
| Use addons | Playing without addons puts you at a disadvantage. While many addons may be restricted in Midnight, tools like Deadly Boss Mods (DBM) are extremely useful for tracking timers, warnings, and critical abilities. |
| Always kite in melee | Don’t stand still unless a fight explicitly allows it. Constant movement reduces incoming damage and helps avoid abilities. Slows are especially helpful. For example, Death Knights can use Chains of Ice to kite effectively and control boss positioning. |
Brawler’s Guild bosses strategies
There are a total of 28 bosses on the path to reaching Rank 8 in the Brawler’s Guild, with each rank consisting of four bosses.
Rank 1 fights
Starting with Rank 1 and boss fights are quite easy. Most of the fights are either gimmicky or use the simplest mechanics. Here is the list of all bosses and their strategies:
| Boss Name | Abilities | General strategy |
|---|---|---|
| Sunny | Sun Blast – Main cast, applies a stacking DOT; interruptible. Germinate – Sunny burrows underground, spawning 4 Sunlings. Thorn Eruption – Line attacks from Sunlings that deal heavy damage on hit. | Interrupt Sun Blast to prevent DOT stacks. During Germinate, dodge Thorn Eruption lines and kill all 4 Sunlings quickly to force Sunny back up. |
| Doomflipper | Flipping Out – Knockup attack that can be lethal if you stay in melee range. | Kite Doomflipper while Flipping Out is active. Avoid standing still; keep moving until it ends, then finish him off. |
| Goredome | Lumbering Charge – Long wind-up charge marked by a red circle and arrow; will one-shot if hit. | Watch for the charge indicator and dodge Lumbering Charge every time. Once avoided, freely DPS Goredome down. |
| Dippy | Peck – Extremely high-damage attack if it hits. Slippy – Triggered by any direct hit; knocks Dippy backward. | Stay near the center of the arena. Continuously trigger Slippy to knock Dippy down, but never back him into a wall or he’ll stop sliding and will kill you. |
Rank 2 fights
Rank 2 boss fights start becoming more difficult, but overall Brawler’s Guild boss strategies are still straightforward.
| Boss Name | Abilities | General strategy |
|---|---|---|
| Bruce | Chomp Chomp Chomp – Short cast followed by a 3-second channel from his mouth that deals heavy damage if you stay in front. | When Chomp Chomp Chomp starts, either stun Bruce or move away from his mouth. Strafing to the side or circling behind him is the safest way to avoid damage. |
| Bill the Janitor | Summon Broom – Long cast that summons broom adds; interruptible. Bristled – Stacking debuff applied by broom melee attacks, increasing damage taken. Janitor’s Revenge – Boom Broom ability that instantly kills you if it goes off. | Interrupt Summon Broom whenever possible. Kill or control brooms quickly. Snare, stun, or root Boom Broom to prevent Janitor’s Revenge from detonating. |
| Oso the Betrayer | Clawstrophobic – Knockback that can put you in a bad position. Grizzly Leap – Leap attack to avoid. Shotgun Roar – Frontal cone attack cast by Frost from Oso’s mouth. | Stay out of the frontal cone from Shotgun Roar and dodge Grizzly Leap. Be mindful of knockbacks from Clawstrophobic so you don’t get caught in front of Oso. |
| The Quacken | Tentickles – Tentacle spawns under your feet, dealing heavy damage and knocking you up. Fowl Play – Transforms you into a duckling. Tentickle Monster – Barrage of tentacles during Fowl Play. Quack! – Duckling ability that increases movement speed. | Move out of Tentickles quickly. During Fowl Play, use Quack! to move faster and dodge all tentacles until the transformation ends. |
Rank 3 fights
Rank 3 boss fights are on the same difficulty level as Rank 2.
| Boss Name | Abilities | General strategy |
|---|---|---|
| Razorgrin | Bite – Heavy melee attack that quickly stacks damage if you stay in front. Flop – Slowly moves toward you while attempting to bite. | Ranged can attack freely from a distance. Melee should stay behind or to the sides and keep circling to avoid Bite damage. |
| Blat | Split – Creates multiple clones that attack but are not required to be killed. | Focus damage on the original Blat only. Kite to reduce incoming damage and cleave clones if needed. Mark the original or identify it by its faster movement speed. |
| Ooliss | Horrific Pursuit – Teleports to the arena center and chases you, oneshotting you if he gets close while channeling. | Keep moving and kite during Horrific Pursuit. Ooliss is immune to CC but can be slowed with snares to maintain distance. |
| King Kulaka | Dash – Quickly closes distance to attack. | Use offensive cooldowns early, apply CCs if you need breathing room, and be ready with defensive cooldowns due to his heavy melee damage. Kite as much as possible. |
Rank 4 fights
Rank 4 boss fights may require you using healing pots, but overall if you are geared enough you will slide just fine.
| Boss name | Abilities | General strategy |
|---|---|---|
| Meatball | Strange Energy – Causes purple orbs to spawn when Meatball is hit. Strange Feeling – Buff gained from orbs; allows casting while moving and increases damage (stacks up to 50). MEATBALL MAD! – Enrage phase that makes the fight extremely dangerous. | Constantly collect purple orbs to stack Strange Feeling—this is mandatory to beat him. Try to push Meatball low before MEATBALL MAD! triggers, or have strong defensives ready to survive the enrage. |
| Ash’katzuum | I Pick You! – Continuously summons roaming Battle Pets that deal heavy damage on contact. | Pop all cooldowns and burn Ash’katzuum down quickly. Dodge all Battle Pets, as the arena becomes increasingly dangerous the longer the fight lasts. |
| Crush | Collision – Jumps to the arena center, then charges toward a wall, stunning himself on impact. | Simply sidestep Collision, then attack Crush while he’s stunned against the wall. |
| Glorp | Gloop – Drops damaging ooze pools on the ground; each pool increases damage taken by Glorp. Gloopsie – Heavy-damage stun if you’re near Glorp at the end of the cast. Re-gloop – Recalls all ooze pools after Gloopsie. | Avoid standing in ooze pools. After four Gloop drops, move away to avoid Gloopsie, then prepare to repeat the cycle once Re-gloop resets the arena. Use Algari Healing Potion when needed, or self-heal. |
Rank 5 fights
Rank 5 boss fights are on the same level as Rank 4 bosses. However, following Brawler’s Guild boss strategies becomes crucial.
| Boss name | Abilities | General strategy |
|---|---|---|
| Klunk | Klunk – Long cast that pulls you toward Klunk; if you end the cast in melee range or in front of him, you take lethal Nature damage. Each successful cast increases pull strength. | Stay at range and keep moving to avoid being pulled in or standing in front. This is a DPS check—kill Klunk quickly before the magnetic pull becomes too strong to escape. |
| Stitches | Aura of Rot – Stacking debuff from standing in the goo; reaching 10 stacks is instant death. Stitches’ Hook – Pulls you back into the puddle when you leave, applying a movement slow. | Maximize DPS early while stack resets are easy. Step out periodically to clear Aura of Rot, but be aware that repeated hooks slow you, making resets harder later in the fight. |
| Topps | Collision – Damage effect when Topps hits the arena wall or you. Dino Dash – Repeated charges across the arena. Dino Daze – Vulnerability debuff after hitting a wall, increasing damage taken. Dino Determination – Increases dash frequency as the fight goes on. | Dodge Dino Dash and avoid Collision. Use damage cooldowns when Dino Daze is active to maximize burst before the fight speeds up. |
| Carl | Burrow – Spawns lava pools that emit spreading walls of fire, which multiply on contact with other fire patches. | Constantly reposition to avoid fire walls. Burn Carl down quickly—this is a DPS check as lava pools and fire coverage rapidly fill the arena. |
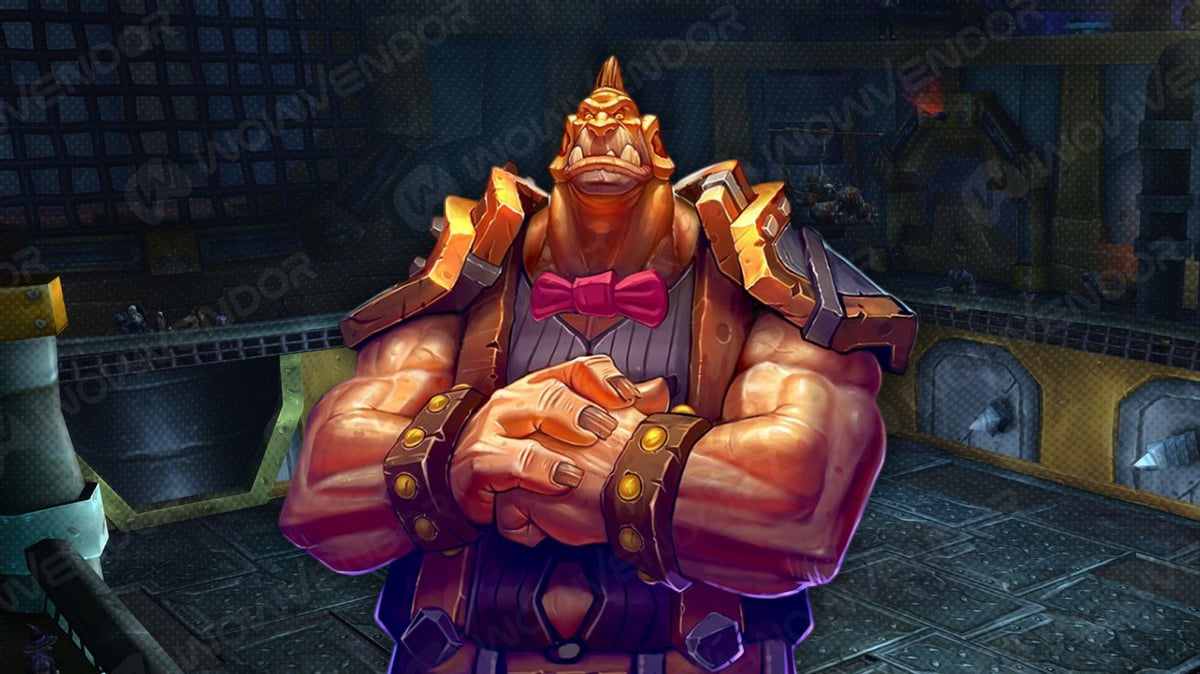
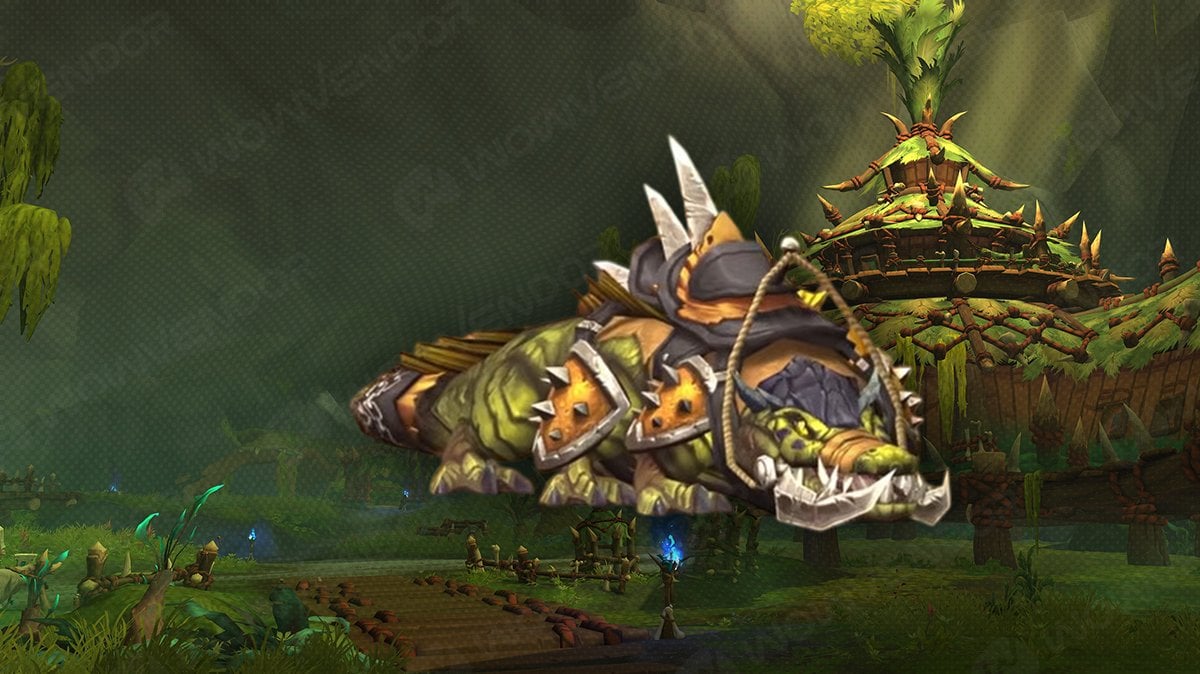
Getting to Rank 6 will allow you to get one of the new mounts: Brawlin’ Bruno.
Rank 6 fights
Rank 5 boss fights are on the same
| Boss name | Abilities | General strategy |
|---|---|---|
| Leper Gnome Quintet | Leperous Spew – Stackable DOT applied by all five gnomes, rapidly draining health. Determined Shuffle – Causes the gnomes to move persistently toward you. | Kite to reduce or reset Leperous Spew stacks. Use cleave damage to hit multiple gnomes at once. Roots, slows, pets, and defensive cooldowns help manage stacks and control the group. |
| Mecha-Bruce | Better, Stronger, Faster – Channel that upgrades Mecha-Bruce, increasing speed and damage. Mecha-Armor: Beta – Upgrade phase used every other chomp cycle. Stasis Beam – Stuns the player for 3 seconds after upgrading. Powerful Bite / Chomp Chomp Chomp… – Extremely dangerous frontal chomp attacks. | Tank Mecha-Bruce in a corner. When he upgrades, run to the opposite corner to maximize distance after Stasis Beam. Dodge chomps carefully—pets can be stunned-proof and taunted to take bites instead. Kill him quickly before upgrades make him unmanageable. |
| GG Engineering | Emergency Teleport – Teleports the duo to a Shield Generator. Energy Shielding – Activates the Shield Generator. Shielded – Damage immunity under the shield. Gnomish Death Ray (Bo Bobble) – High-damage beam attack. Goblin Rocket Barrage (Max Megablast) – Large ground-targeted missile barrage. | Stay on Bo Bobble and cleave both bosses since they share health. Use Goblin Rocket Barrage to damage Bo (and possibly Max). Kill Shield Generators quickly and avoid rockets yourself. |
| Dippy & Doopy | Peck – Lethal attack if it hits. Slippy – Knockback triggered whenever either penguin is hit, interrupting Peck. | Kill Dippy first while kiting Doopy. Constantly attack to trigger Slippy and interrupt Peck—if either penguin lands a Peck, you die. |
Rank 7 fights
Rank 7 is you final challenge. Bosses here require dedication and knowledge of the abilites.
| Boss name | Abilities | General strategy |
|---|---|---|
| Renegade Swabbie | The Storm – Expanding storm zone that deals increasing damage and acts as an enrage timer. Searing Axe – Frontal cone knockback dealing heavy damage. Repel – Point-blank AoE knockback. Towering – Builds a tower used to channel healing. Slurp Brew – Heals the Swabbie while immune to damage. | Stay ahead of The Storm as it advances. Avoid knockbacks from Searing Axe and Repel. When the Swabbie channels Slurp Brew, destroy the tower to interrupt the heal while dodging thunderstorms. |
| Ogrewatch Crew (Dole Dastardly, Hudson, Stuffshrew) | High Noon (Dole) – Long cast that will one-shot you if it completes. Barrier Projector (Hudson) – Protects the crew at the start. Jump Pack / Tesla Cannon (Hudson) – Mobility and sustained damage. Maniacal Laugh (Stuffshrew) – Bombs near the player’s location. | Break or CC Barrier Projector, then kill Dole immediately before High Noon finishes. Kill Hudson next. Leave Stuffshrew for last, dodging his bombs. Use CC liberally on Hudson and Stuffshrew to reduce pressure. |
| Blingtron 3000 | Mostly-Accurate Rocket – Red-circle rocket targeting your position. Overcharged! – Triggered by powering the Tesla Coil through Blingtron 2000 adds. Malfunctioning – 900% increased damage taken and stun after being shocked. | Kill Blingtron 2000 adds in a line between Blingtron and the Tesla Coil. Activate the coil to Overcharge Blingtron, then burst him down during Malfunctioning. Avoid rockets and stay clear of the electrified path. |
| Epicus Maximus (ROCK ON + Devilsaur + Epicus) | Pure Rock’n Roll – Stationary resonance fields that explode after a short delay. Destructolaser – Tracking laser beam dealing heavy DPS. Blue Crush – Cast then channel; must be interrupted or outranged or it deals massive damage and knockback. | Constantly move to avoid Pure Rock’n Roll and kite Destructolaser. Interrupt Blue Crush every time (or outrange it if possible). Maintain DPS while staying mobile—damage throughput matters in this final fight. |
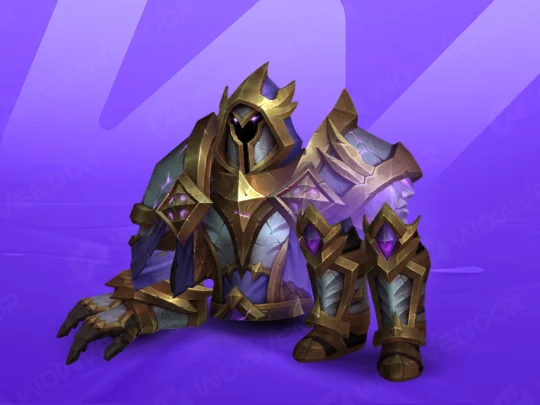
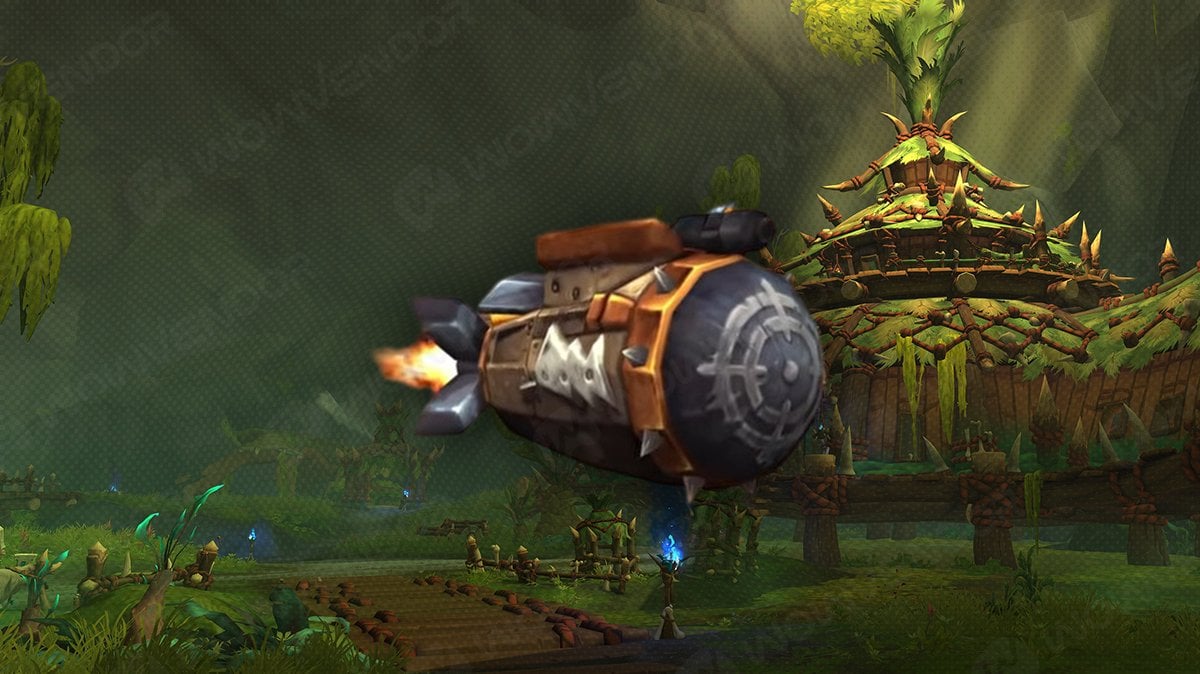
And voila! Reaching Rank 8 unlocks the ability to purchase the Ballistic Bronco mount, along with access to previous Brawler’s Guild rewards, including:
- Brawler’s Razor Claws (Heirloom Fist Weapon)
- Ensemble: Brawler’s Garb
In addition, Rank 8 rewards you with the Champion Brawler’s Gloves, a stylish decoration for your Player’s House.
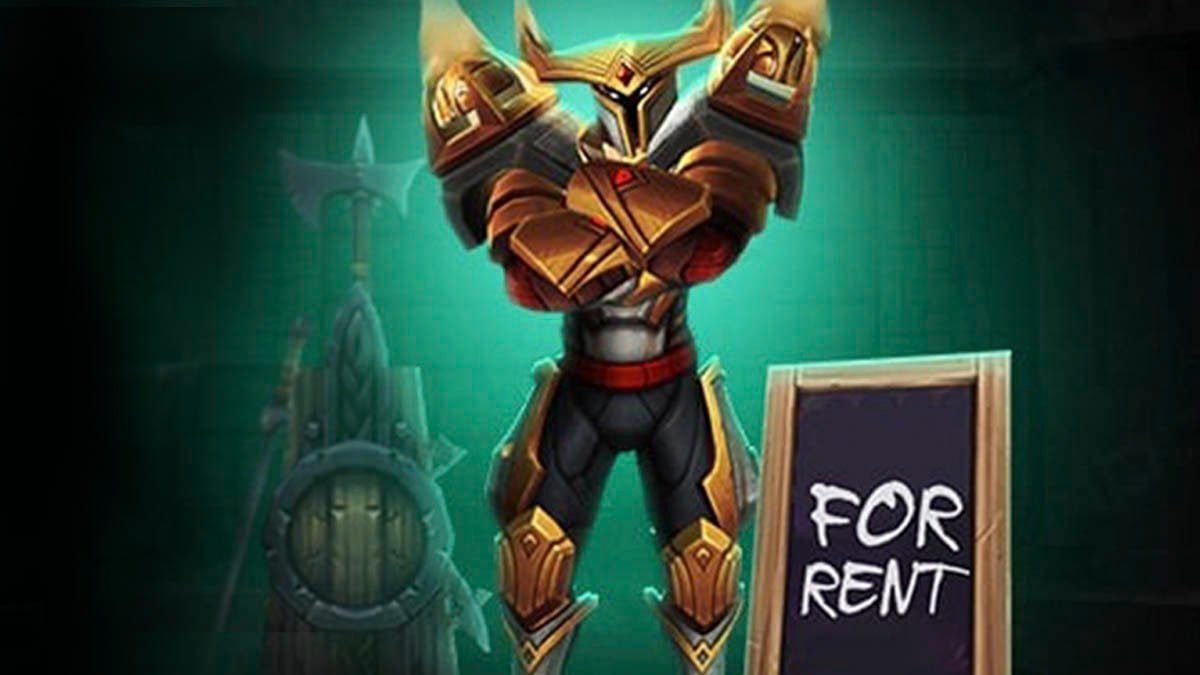
And that wraps up our Brawler’s Guild bosses guide! If you’re looking to clear the Brawler’s Guild with ease, we recommend considering WoW boosting services to help you reach your goals quickly and effortlessly.


Comments