Cataclysm Classic Bastion of Twilight Raid Guide
Bastion of Twilight is one of the raids introduced in Phase 1 of Cataclysm Classic. It serves as a Stronghold to the Twilight Hammer clan, which in turn belongs to the iconic WoW villain, Cho’gall.

Table of Contents
Today, we at WowVendor introduce you to the Bastion of Twilight guide.
Where is Bastion of Twilight in Cataclysm Classic
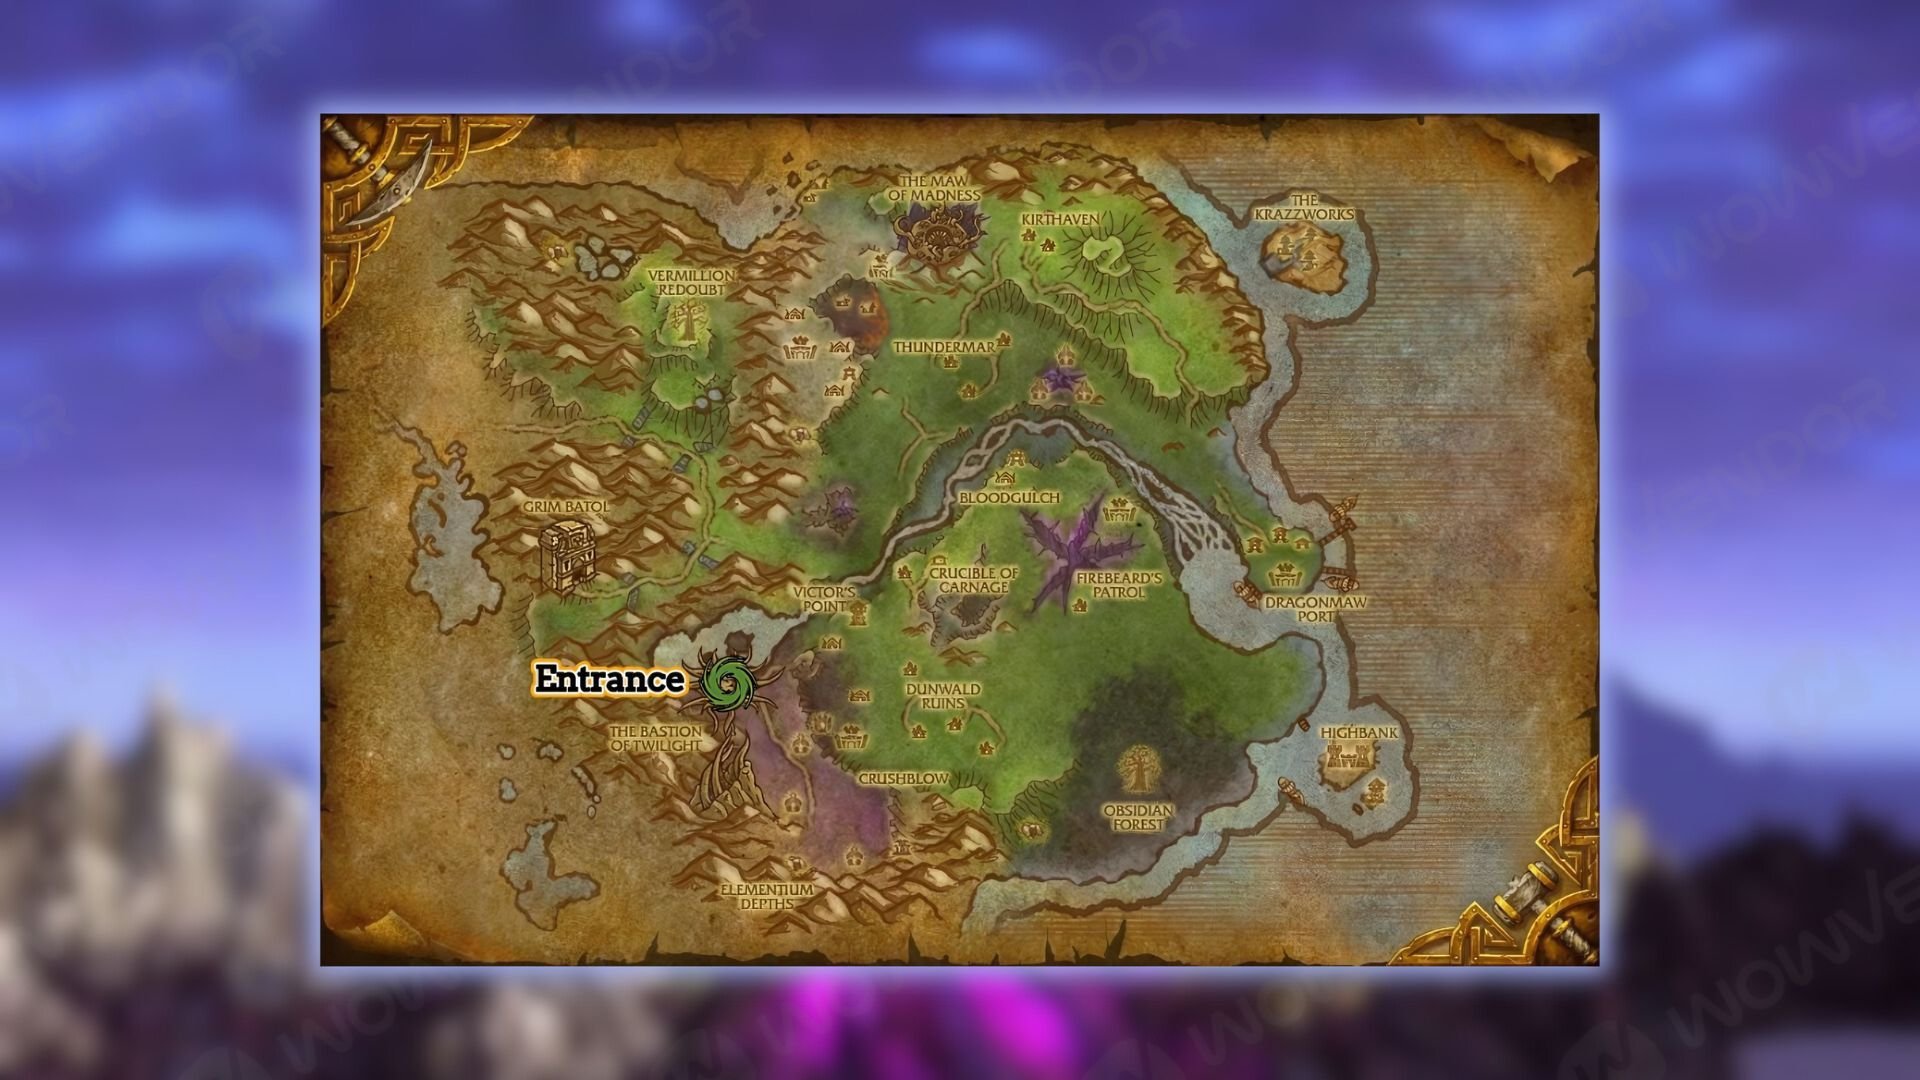
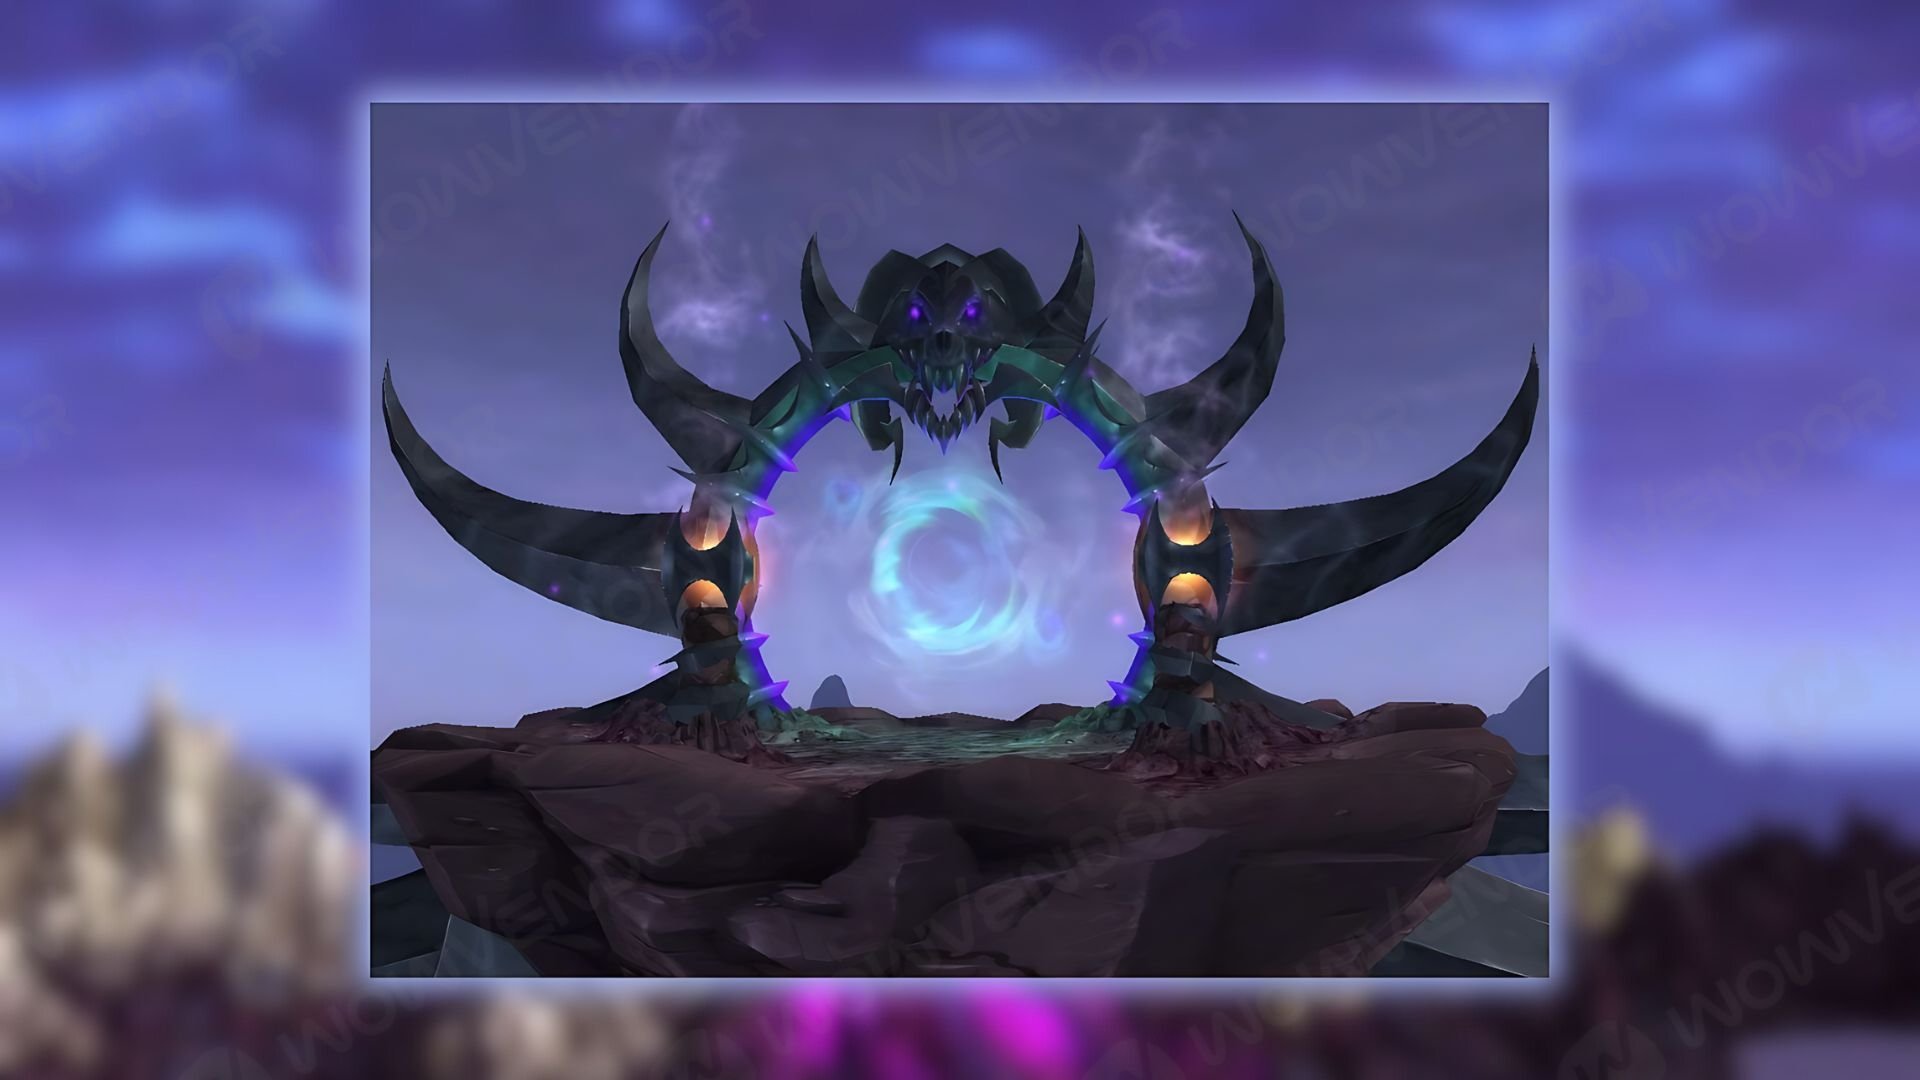
The Bastion of Twilight location is the Twilight Highlands [34.0; 78.0] area of Eastern Kingdoms. The entrance is a portal at the top of the spire.
How to Get to Bastion of Twilight Alliance
Take the teleport to Twilight Highlands in Stormwind City. From there, use a flying mount to reach the entrance.
How to Get to Bastion of Twilight Horde
Take the teleport to Twilight Highlands in Orgrimmar. From there, use a flying mount to reach the entrance.
Full Cataclysm Classic Bastion of Twilight Walkthrough
Bastion of Twilight Raid Layout
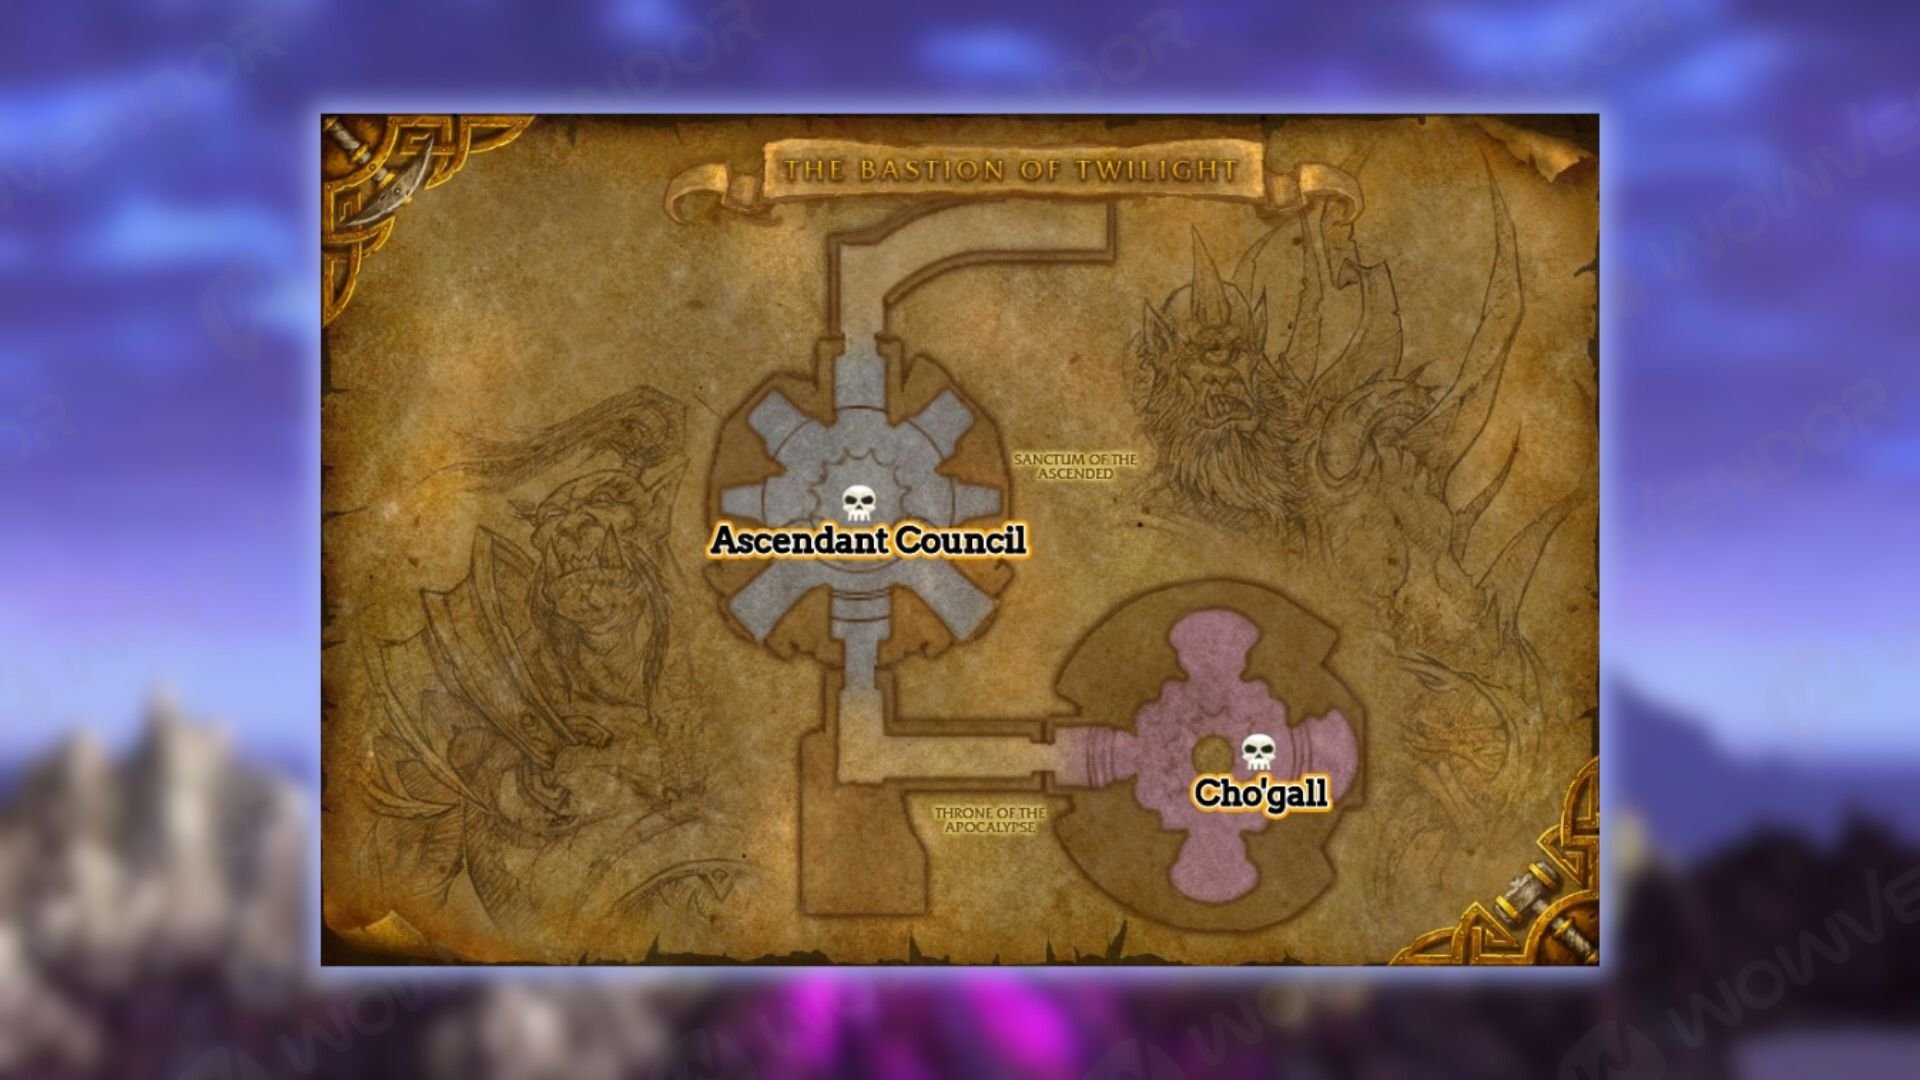
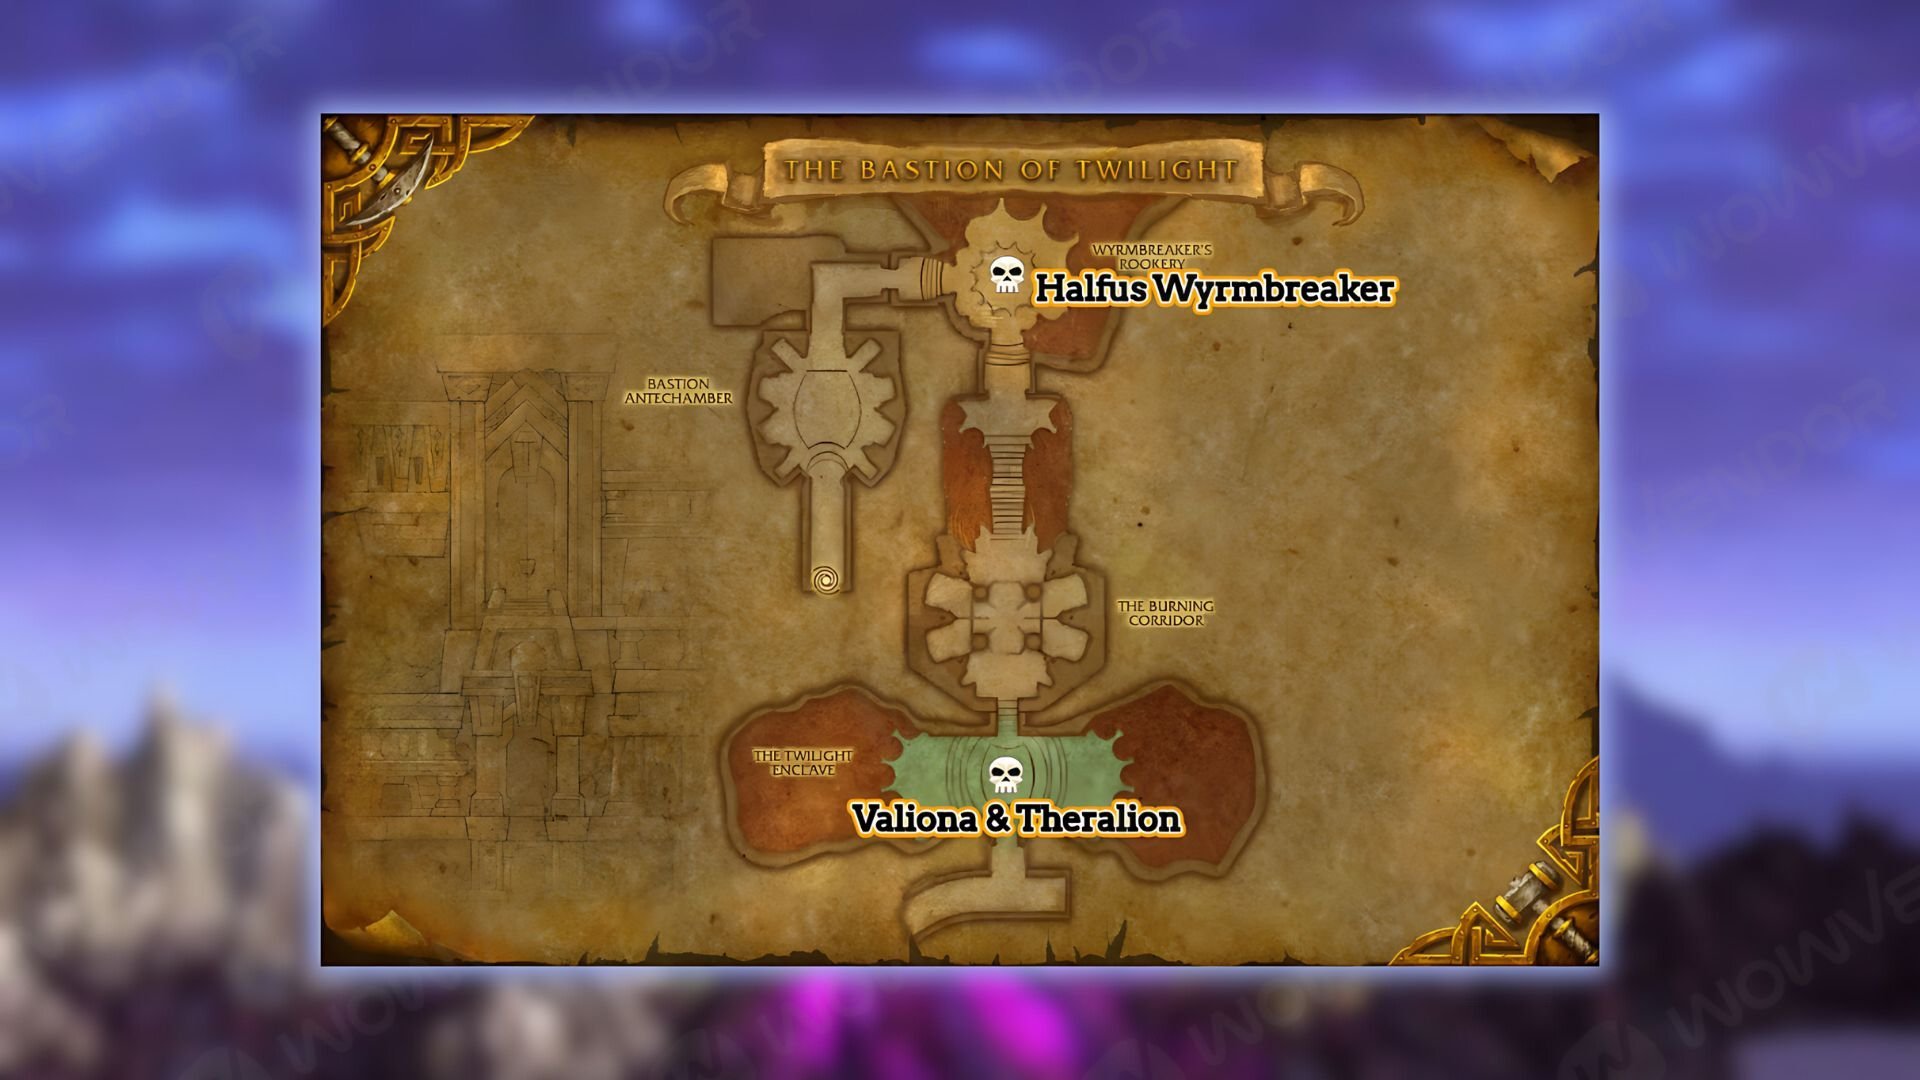
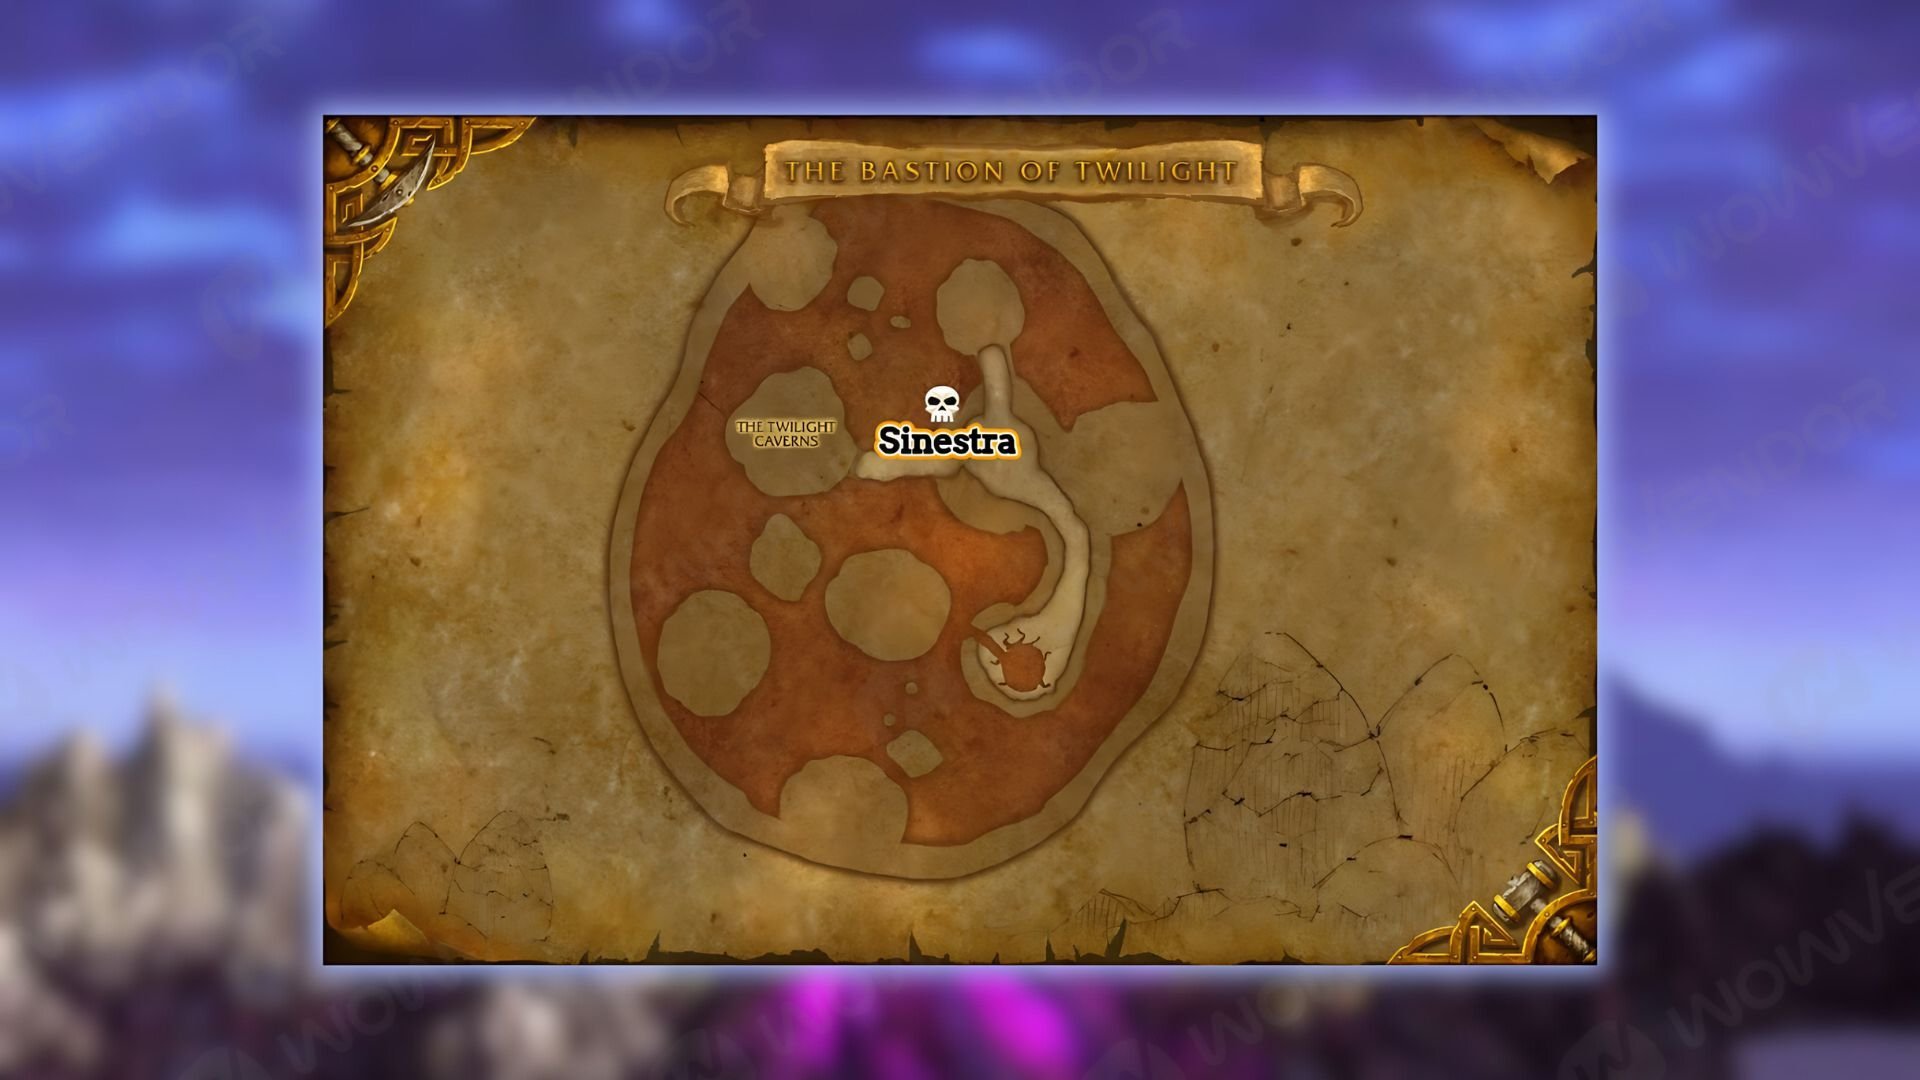
The Bastion of Twilight consists of three levels. There are 4 (Normal)/ 5 (Heroic) boss encounters. The third floor has a final encounter, accessible only on Heroic difficulty. The path is linear. You can’t choose the order of bosses.
Halfus Wyrmbreaker Boss Guide
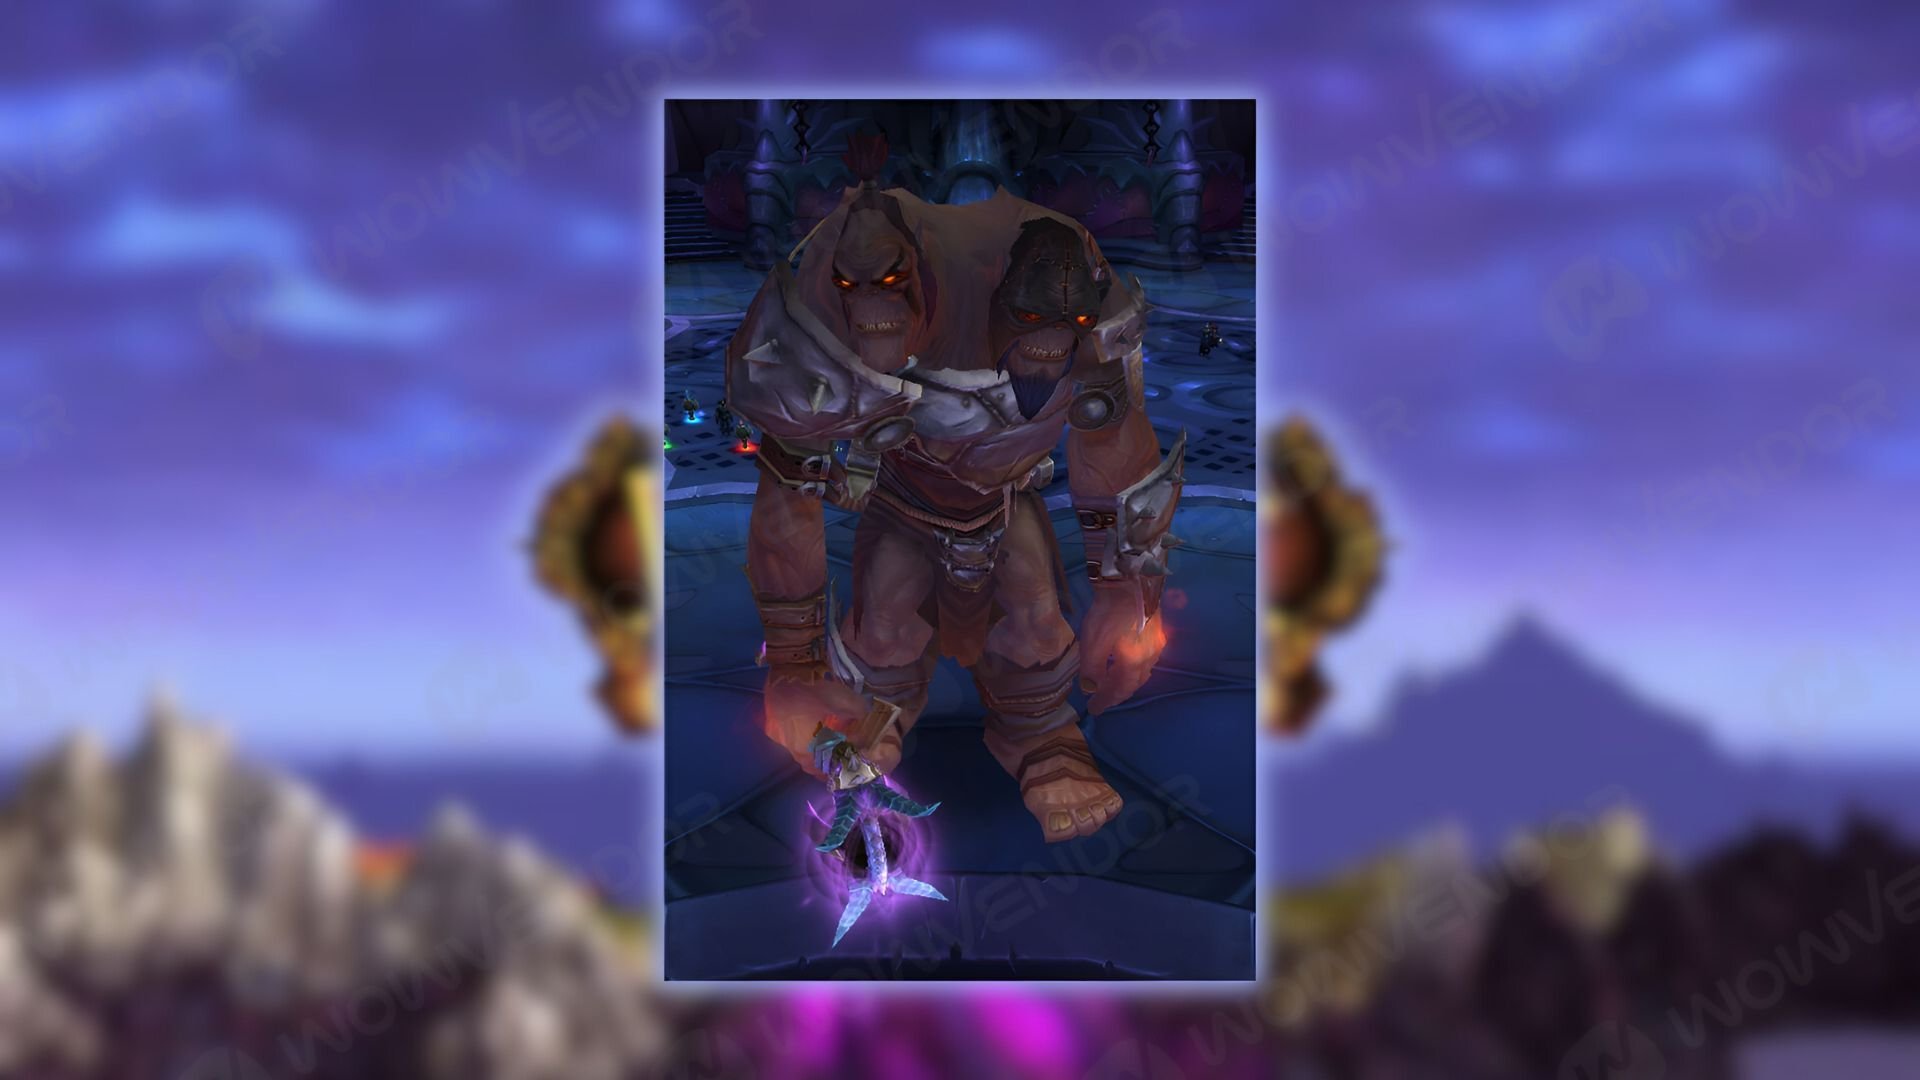
Halfus fights side-by-side with Proto-Behemoth. This add is untargetable and will rain AoEs on the raid.
Halfus has 5 chained dragons, each giving him access to abilities or buffs. On Normal, only 3 out 5 dragons will be present. On Heroic — all 5. Releasing the dragons will apply debuffs to the boss or his pet dragon. Released dragons will become hostile, however, and the raid has to deal with them. When adds die, they inflict the boss with Dragon’s Vengeance, increasing the damage he takes.
Halfus Wyrmbreaker
- Malevolent Strikes — applies stackable debuff, reducing received healing. Needs a tank swap. Decide what amount of stacks to get beforehand, as it depends on both tanks’ and healers’ gear. At the beginning of the fight, it is possible to use immunities to reset the debuff, while raid deals with adds. Countered by releasing Slate Dragon — after some time the boss will turn into the stone, taking increased damage.
- Frenzied Assault — a permanent attack speed buff. Countered by releasing Nether Scion — attacks will become slower and some of them — miss.
- Shadow Nova — a raid-wide AoE, can be interrupted. Countered by releasing Storm Rider — cast time will increase, giving you enough time to interrupt the cast.
- Furious Roar — the boss will start using it at 50% Health. A raid-wide AoE deals heavy damage and stuns. Followed by Shadow Nova. Such a combination requires the usage of healing and defensive cooldowns. You can also interrupt the Shadow Nova cast, but the window for this is small. As an option, a Mage can use Blink to cleanse the stun and interrupt the cast.
Proto-Behemoth
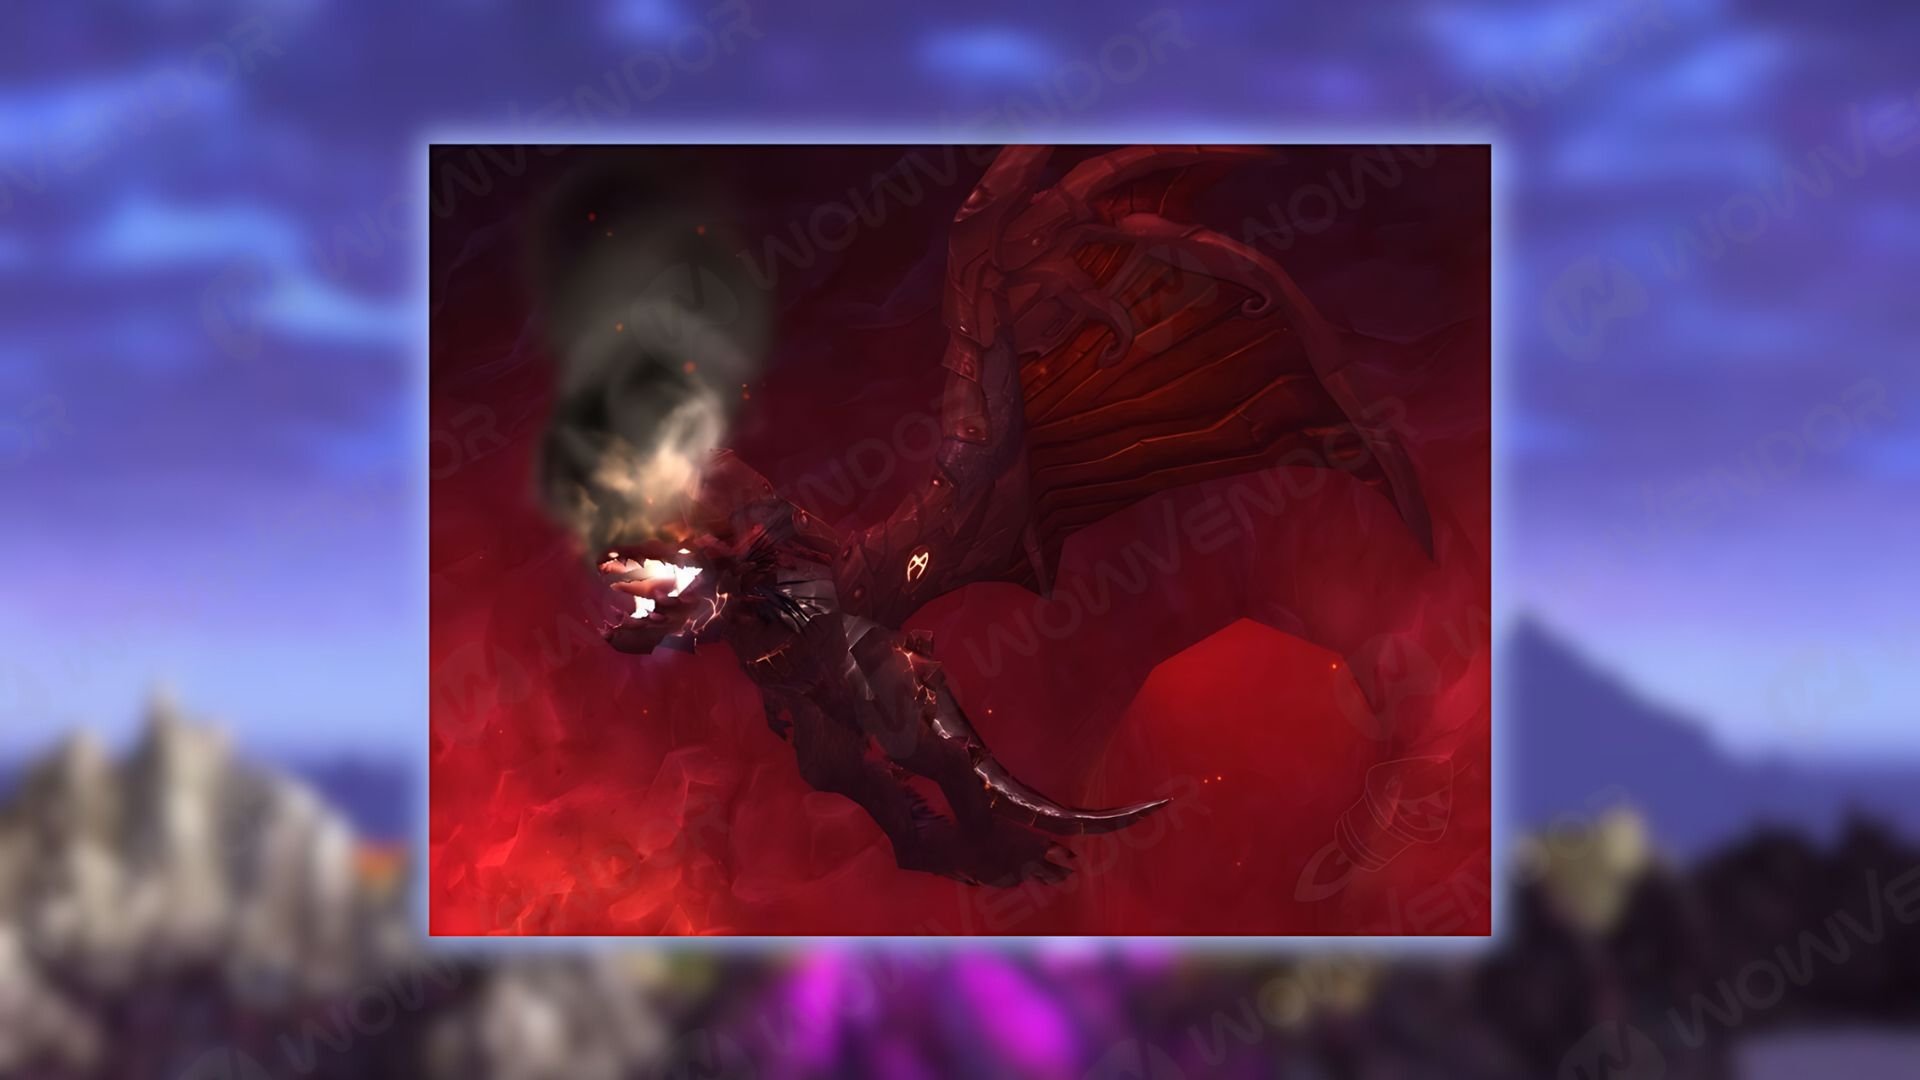
- Fireball Barrage — a set of AoE in random spots, dodge them. Countered by releasing Time Warden — fireballs will fall slower, giving you more time to dodge.
- Scorching Breath — a heavy raid-wide damage dealt over several seconds. Use defensive cooldowns, as they might overlap with mechanics from the boss. Countered by releasing Orphaned Emerald Whelps — damage will be cut in half.
The key to winning the fight is to deal with adds first. The recommended order is Storm Rider, Nether Scion, Time Warden, Emerald Whelps, and Slate Dragon. You can take them one by one, or in small batches. If you are confident in your raid group and have high AoE damage (several Warlocks and/or Mages), you may try to release them all at once and quickly burst them down, using powerful cooldowns such as Bloodlust.
Theralion and Valiona Boss Guide
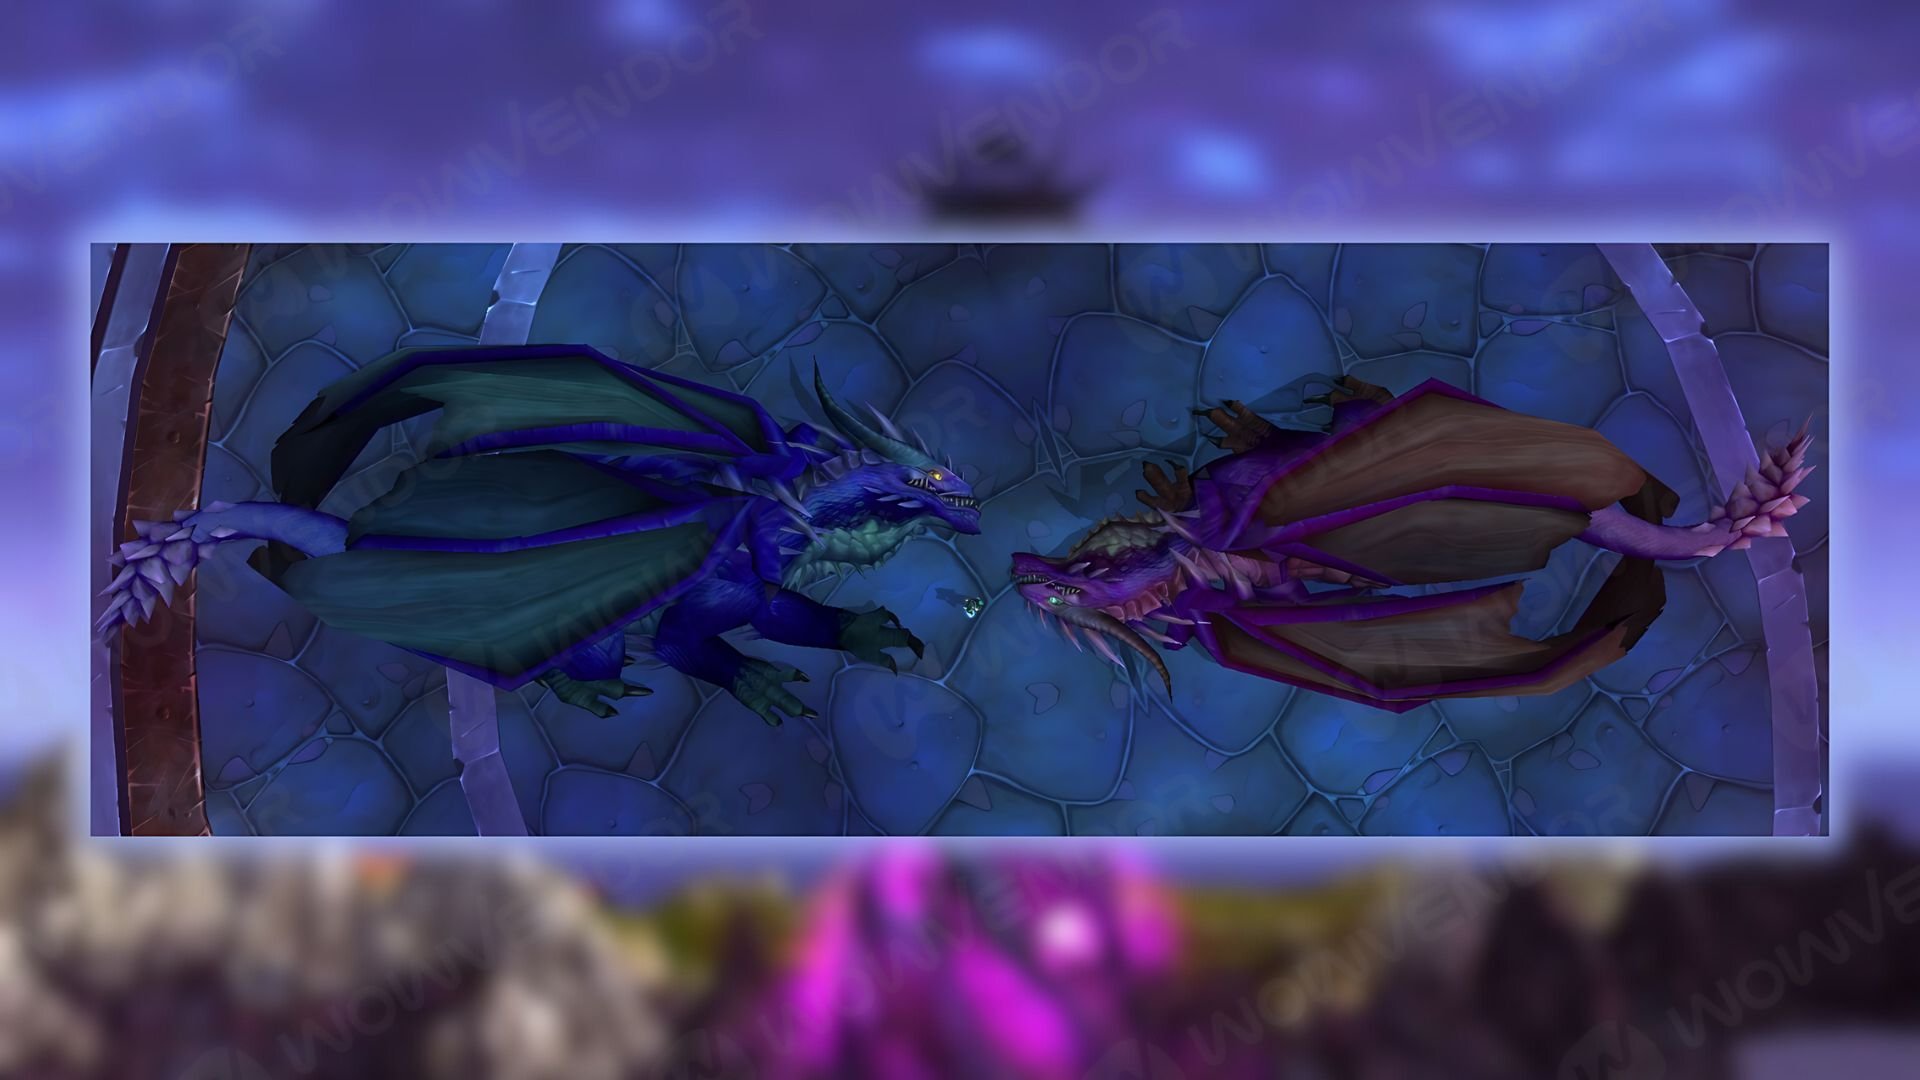
Two bosses sharing a Health pool. They switch between Ground and Airborne modes, changing abilities. The fight starts with Valiona on the ground and Theralion — in the air. Players can keep DoTs on both bosses for extra damage.
Valiona
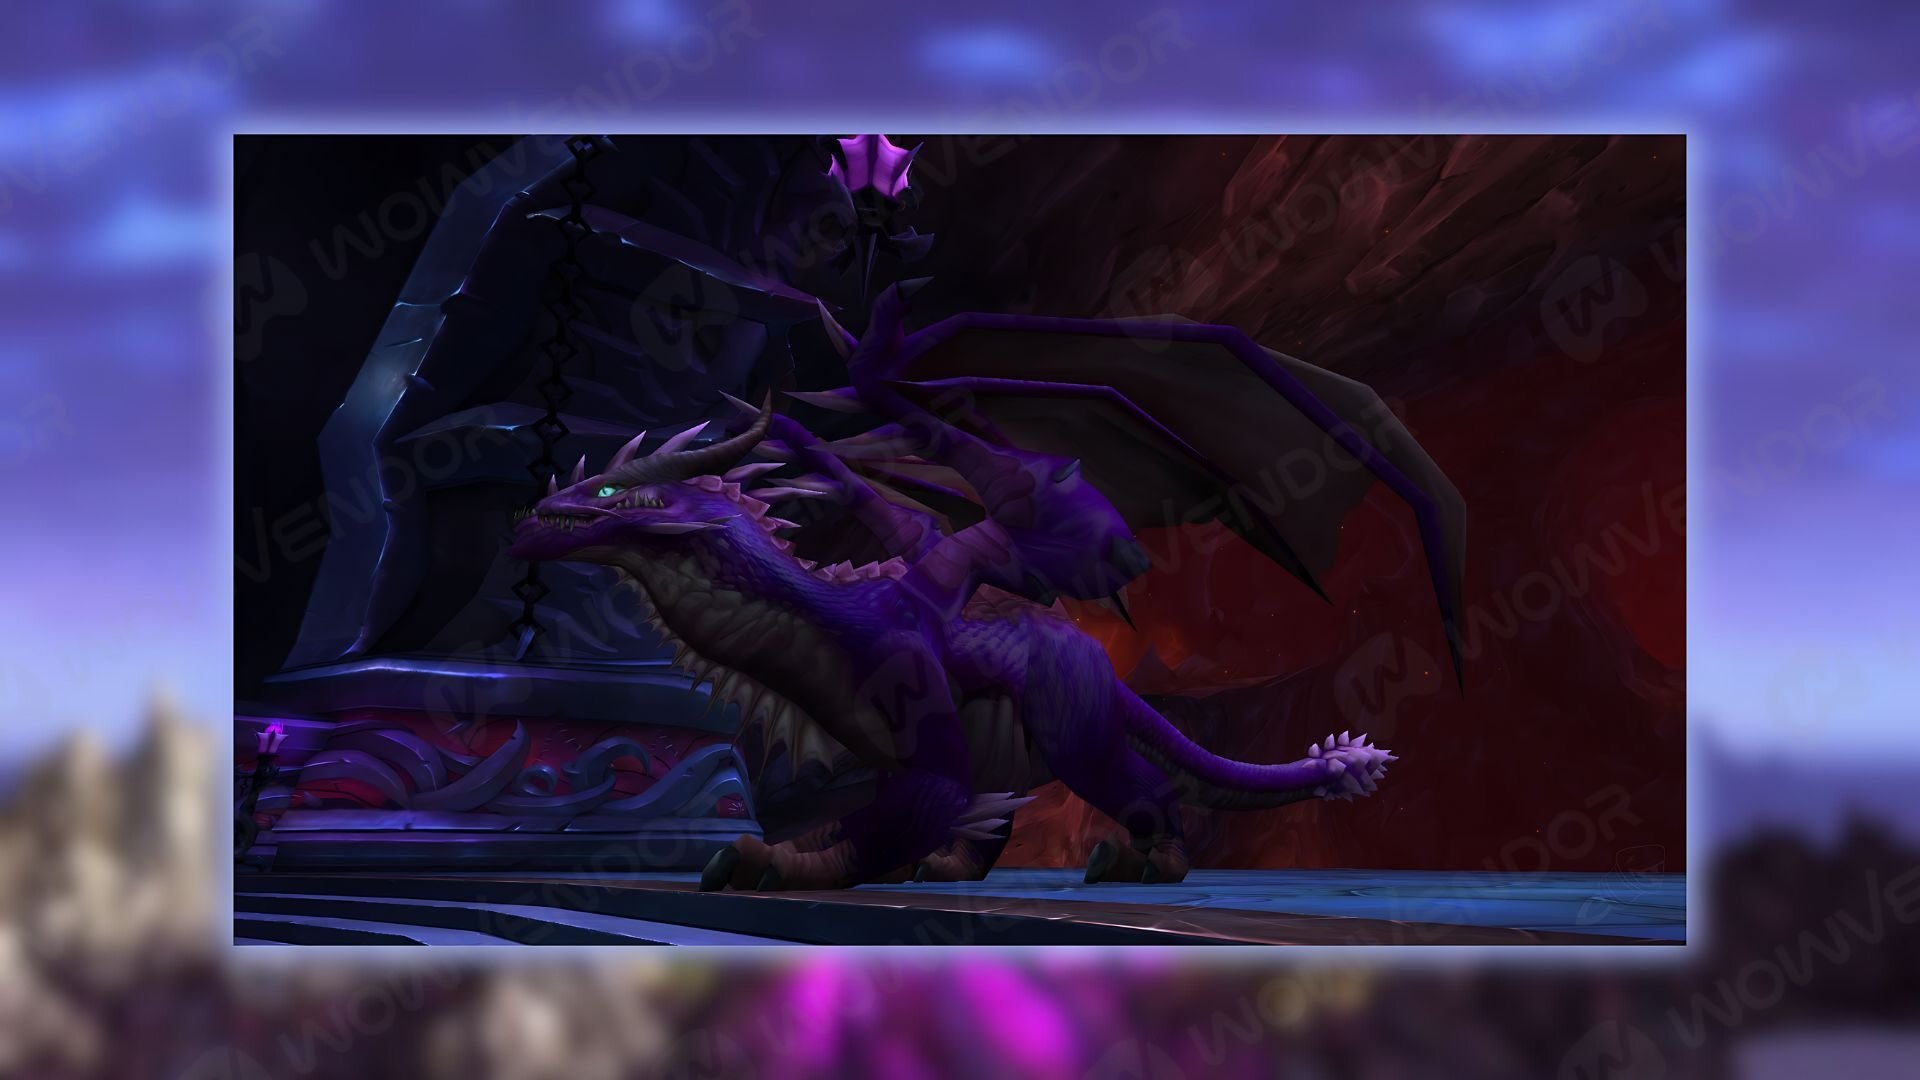
Ground
- Blackout — a debuff that deals massive shareable AoE damage when run out or dispelled. The raid needs to stack to split the damage. Classes that possess abilities such as Mage’s Ice Block (Hunter, Rogue, etc.) can use them to safely remove the debuff from themselves.
- Devouring Flames — a wide cone AoE targeted at a random player. Deals less damage the further you’re from the boss. If you’re close to the boss then just run behind Valiona, if at range — run further back.
- Airborne
- Twilight Meteorite — a shareable AoE aimed at a random player. Solve the same way as Blackout.
- Deep Breath — a massive line AoE covering an arena from one side to another. If it hits the target, it sends them to Twilight Realm. If the target is already there, it dies instead. Avoid by moving out of the Valiona flight path.
Theralion

Ground
- Engulfing Magic — increases damage and healing made by the target, but makes them explode each time they heal or attack. Affected targets should stay away from other players.
- Fabulous Flames — AoE that leaves a DoT zone. Avoid standing in it.
Airborne
- Twilight Blast — AoEs thrown at random players. Spread out to avoid splash damage.
- Dazzling Destruction — Big AoEs that explode for big damage and send targets hit to Twilight Realm. If the target is already in there, it dies instead. Avoid getting hit by this attack.
As you noticed, some attacks send players to the Twilight Realm. If someone happens to get there, they need to avoid orbs of Unstable Twilight, while searching for a portal to return to reality. Don’t linger, as you get DoT while being there.
On Heroic difficulty, however, you want to send players into Twilight Realm on purpose. Through the fight, adds will spawn in the Realm and attack players from there. A group of several DPS and a Healer should get in from time to time and deal with adds. You can do this by getting hit with either Deep Breath or Dazzling Destruction. Or, by the next mechanic.
- Twilight Shift + Shifting Reality — present only on Heroic, used by both dragons when they are on the ground. Periodically applies stacks to the tank. When it reaches 5 stacks, the tank explodes, sending everyone around into Twilight Realm.
Ascendant Council Boss Guide
A “council”-type encounter. You will fight against 5 bosses in total, split between 3 phases in a 2–2–1 pattern. Phases shift as soon as one boss of the pair reaches 25%. Spread damage evenly, however, as the enemy of the final phase will have the total Health left of all 4 bosses. Pairs are fixed. Stack the bosses so the damage spreads evenly.
Phase 1
Feludius
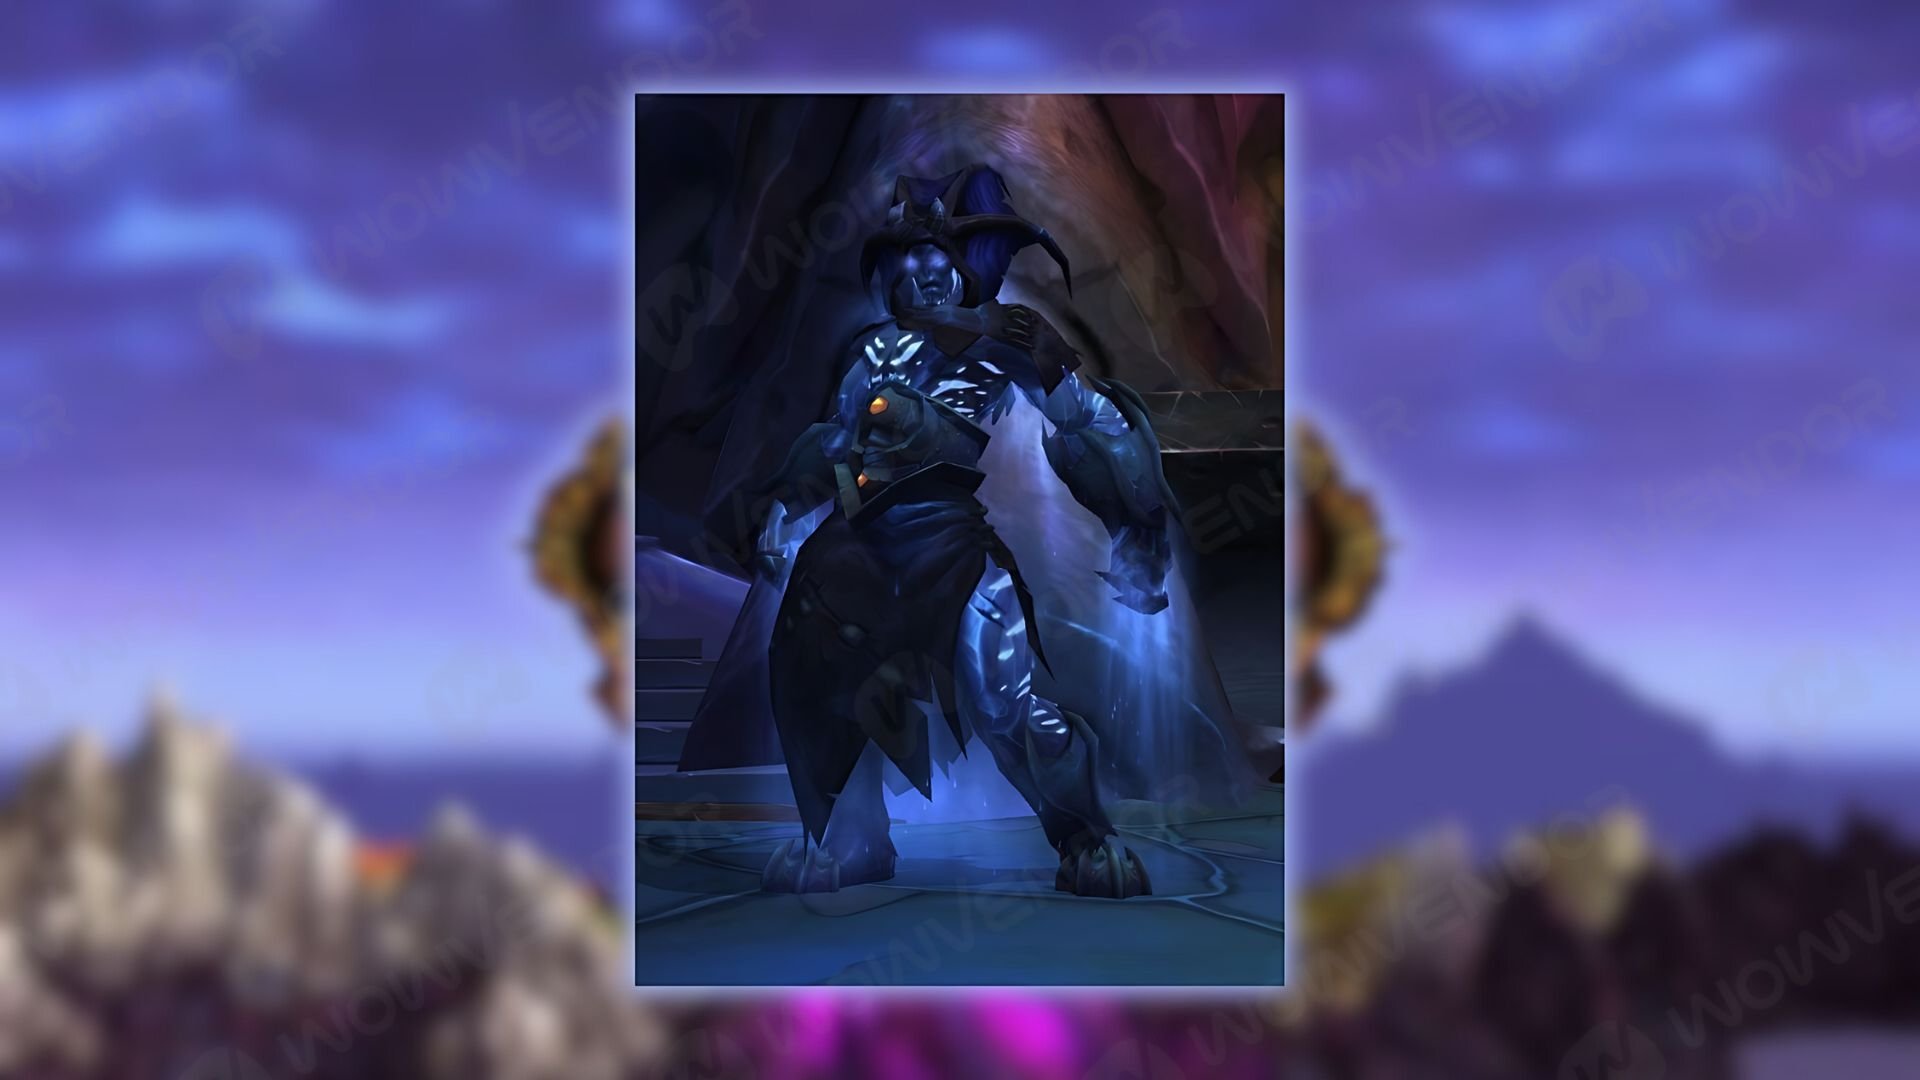
- Glaciate — a raid-wide AoE, deals proximity damage and freezes anyone afflicted with Waterlogged debuff. Have either tank move the boss away from the group, or have the group move to avoid high damage.
- Hydro Lance — a single-target nuke. Can be interrupted.
- Water Bomb — a set of AoE, that deals damage and applies Waterlogged debuff on impact. If a player gets the debuff, they need to run into fire.
- Heart of Ice — a ramping up DoT. Each tick also applies a buff to nearby allies. Increase damage dealt to Ignacious. Apply this buff to the raid before dispelling.
Ignacious
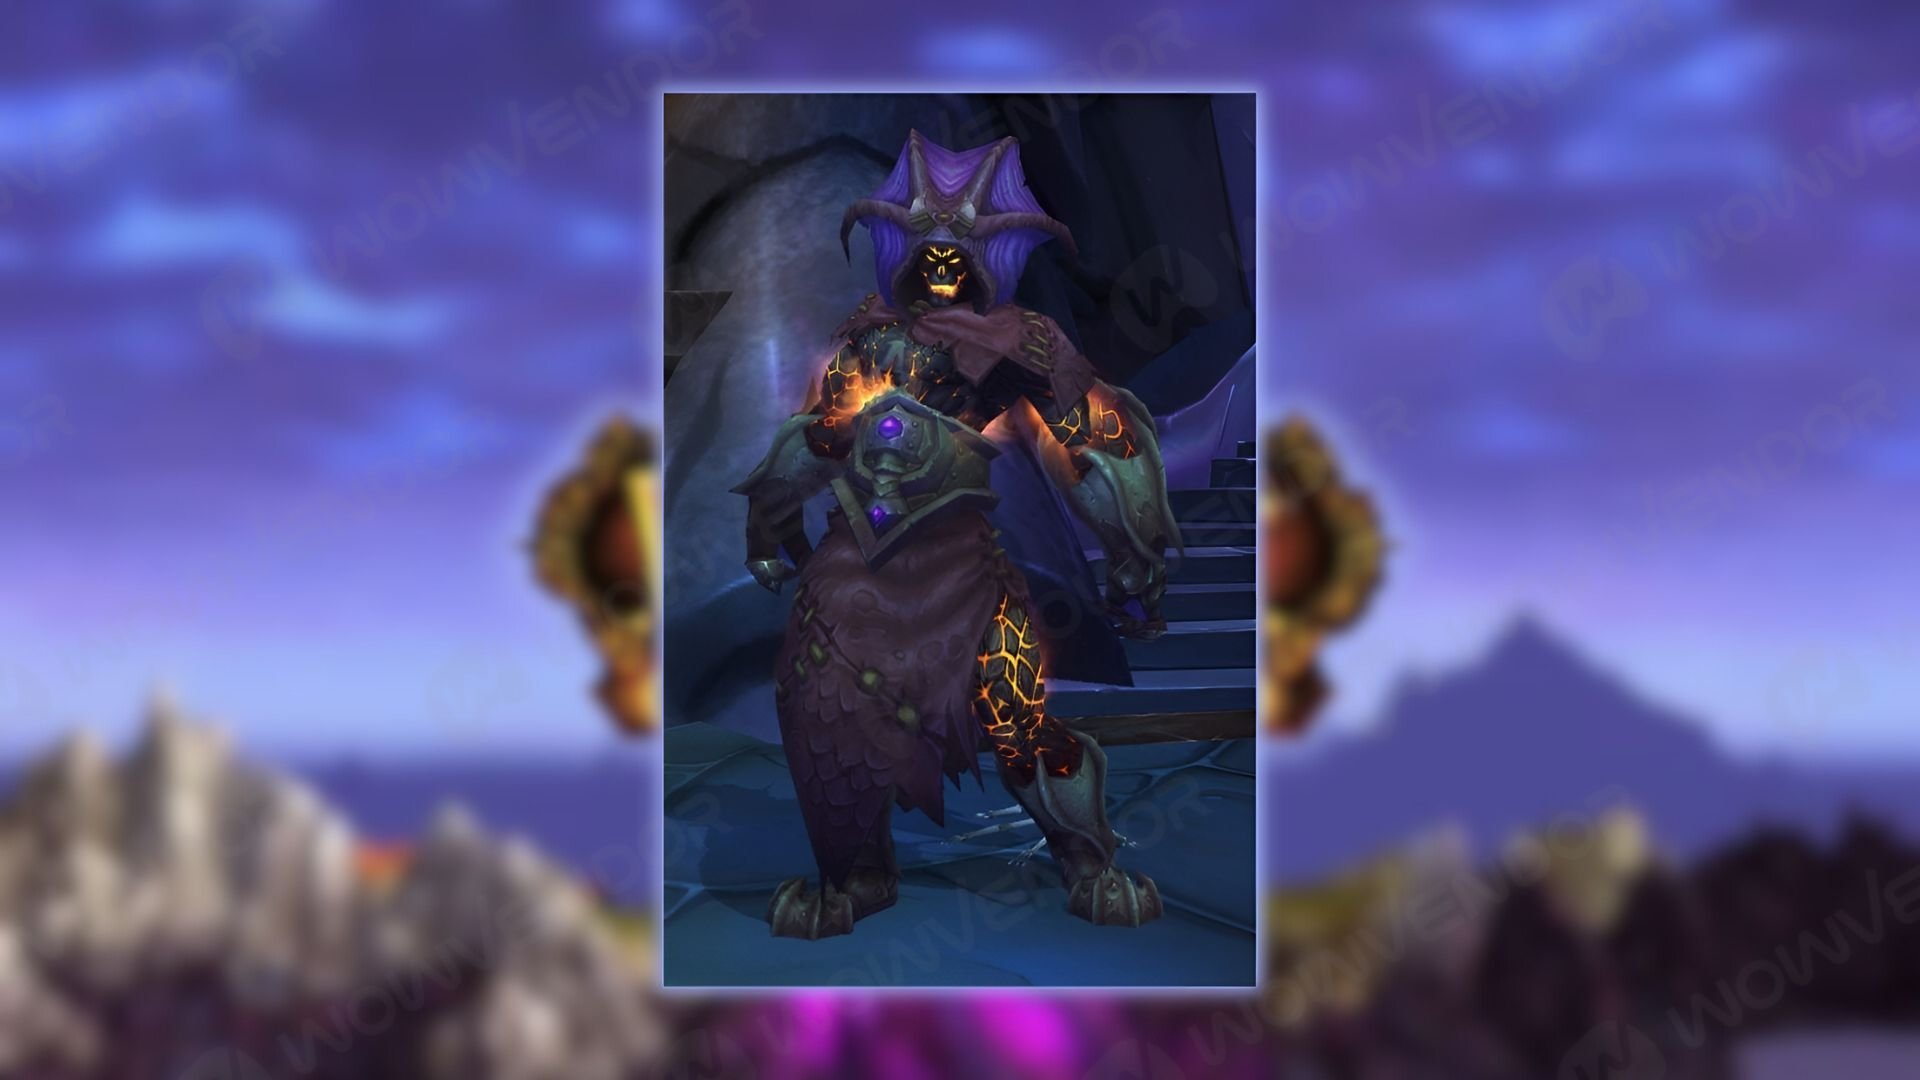
- Flame Torrent — a cleave tank buster. Turn away from the group.
- Aegis of Flame — creates a barrier and starts pulsing with ramping up raid-wide damage. Quickly focus down the shield.
- Inferno Rush — a jump and knockback attack dealt to a random target. Afterward, rushes back to the tank, leaving the DoT zone in his wake. Don’t stand on the path. You can use the DoT zone to remove Waterlogged.
- Burning Blood — identical to Heart of Ice, but increases damage against Feludius.
On Heroic difficulty, the next two mechanics come into play:
- Static Overload — inflicts the DoT that pulses AoE damage around the target. After some time, it explodes, dealing extra damage and knocking everyone back.
- Gravity Core — a DoT that pulses with a debuff field, making allies slower.
Solve both of these debuffs by having them run into each other at a designated beforehand spot.
Phase 2
Phase 2 starts when either Ignacious or Feludius reaches 25% Health.
Arion
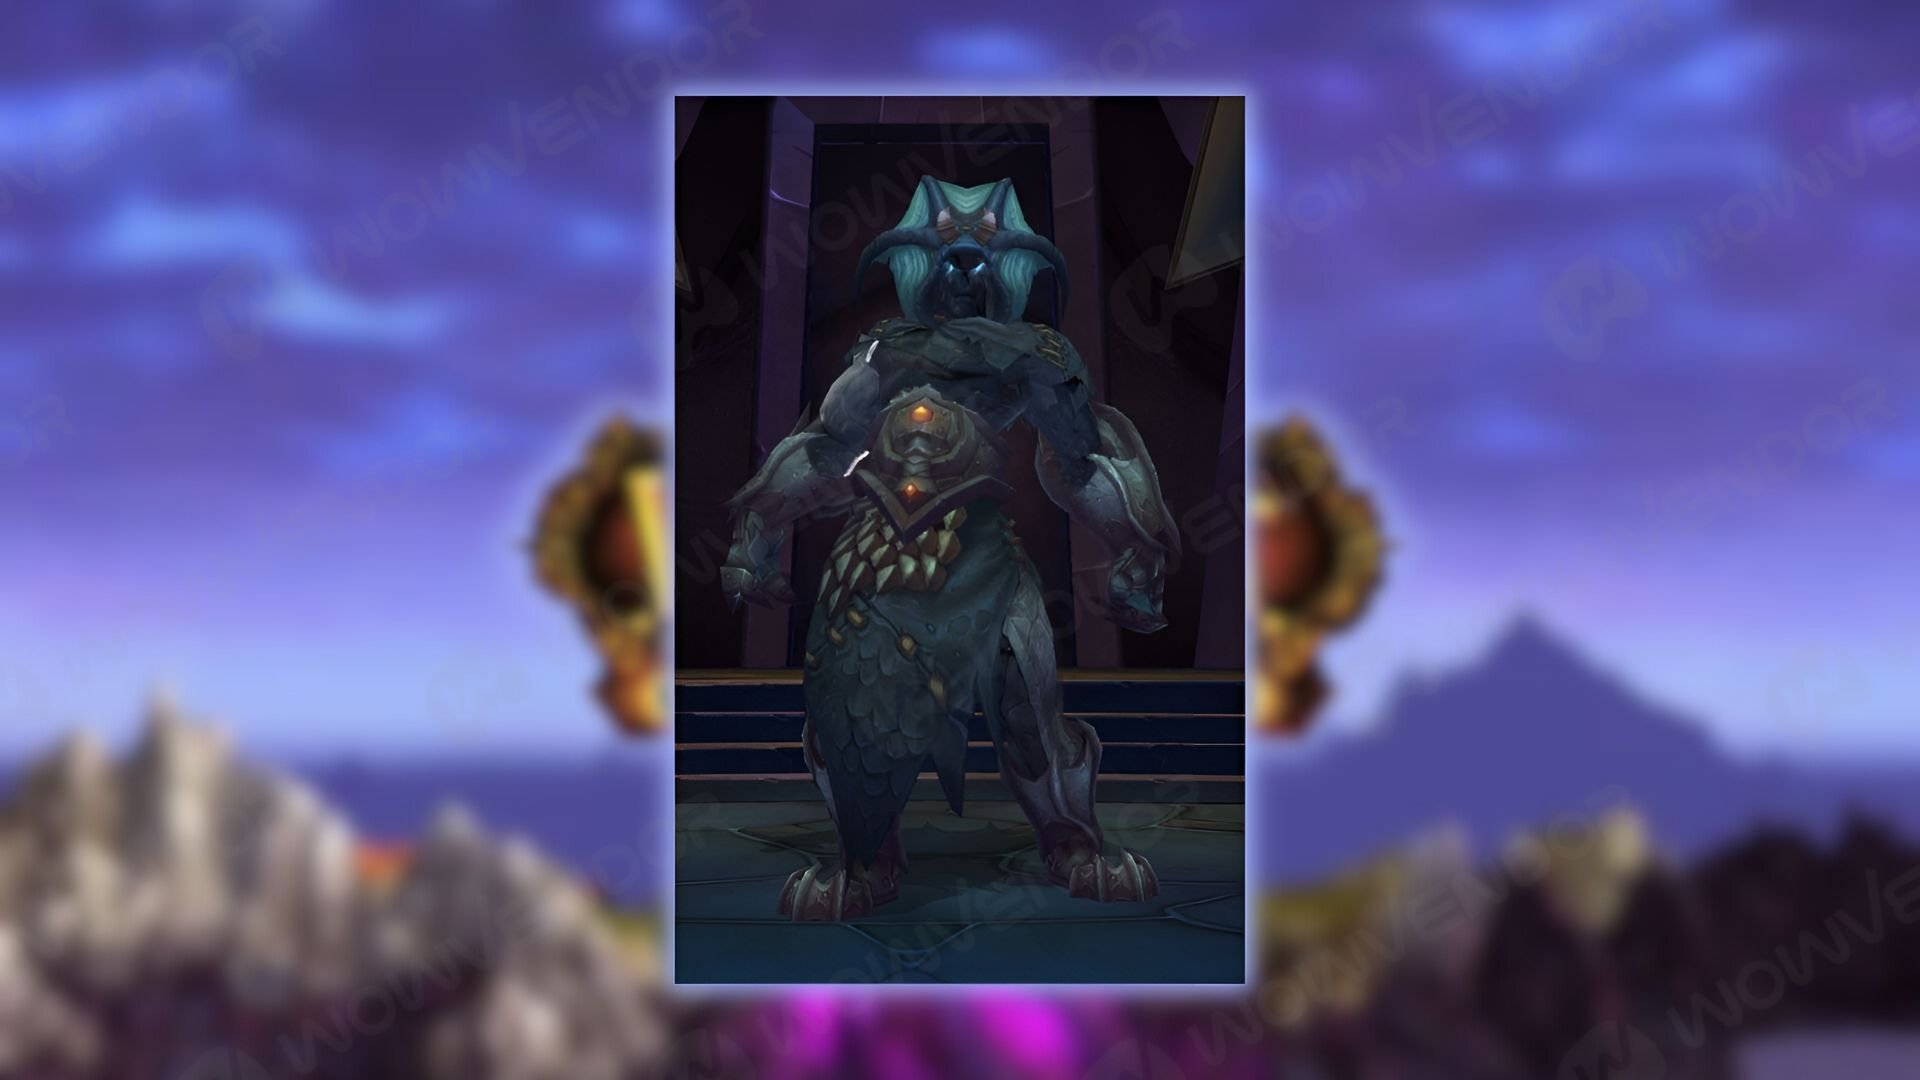
- Call Winds — tornadoes will spawn around the arena. Touching one will knock up the player. Also grants Swirling Winds buff. Each player should get the buff to avoid Quake.
- Thundershock — a raid-wide AoE, deals severe damage. Reduce that damage by getting Grounded buff from Gravity Well.
- Lightning Rod + Chain Lightning — the rod marks players for the Chain Lightning. Players marked should run away from the group and from each other, as each lightning jump increases in damage.
- Disperse + Lightning Blast — a teleport followed by an interruptible tank buster. Kick it, as it may be lethal.
Terrastra
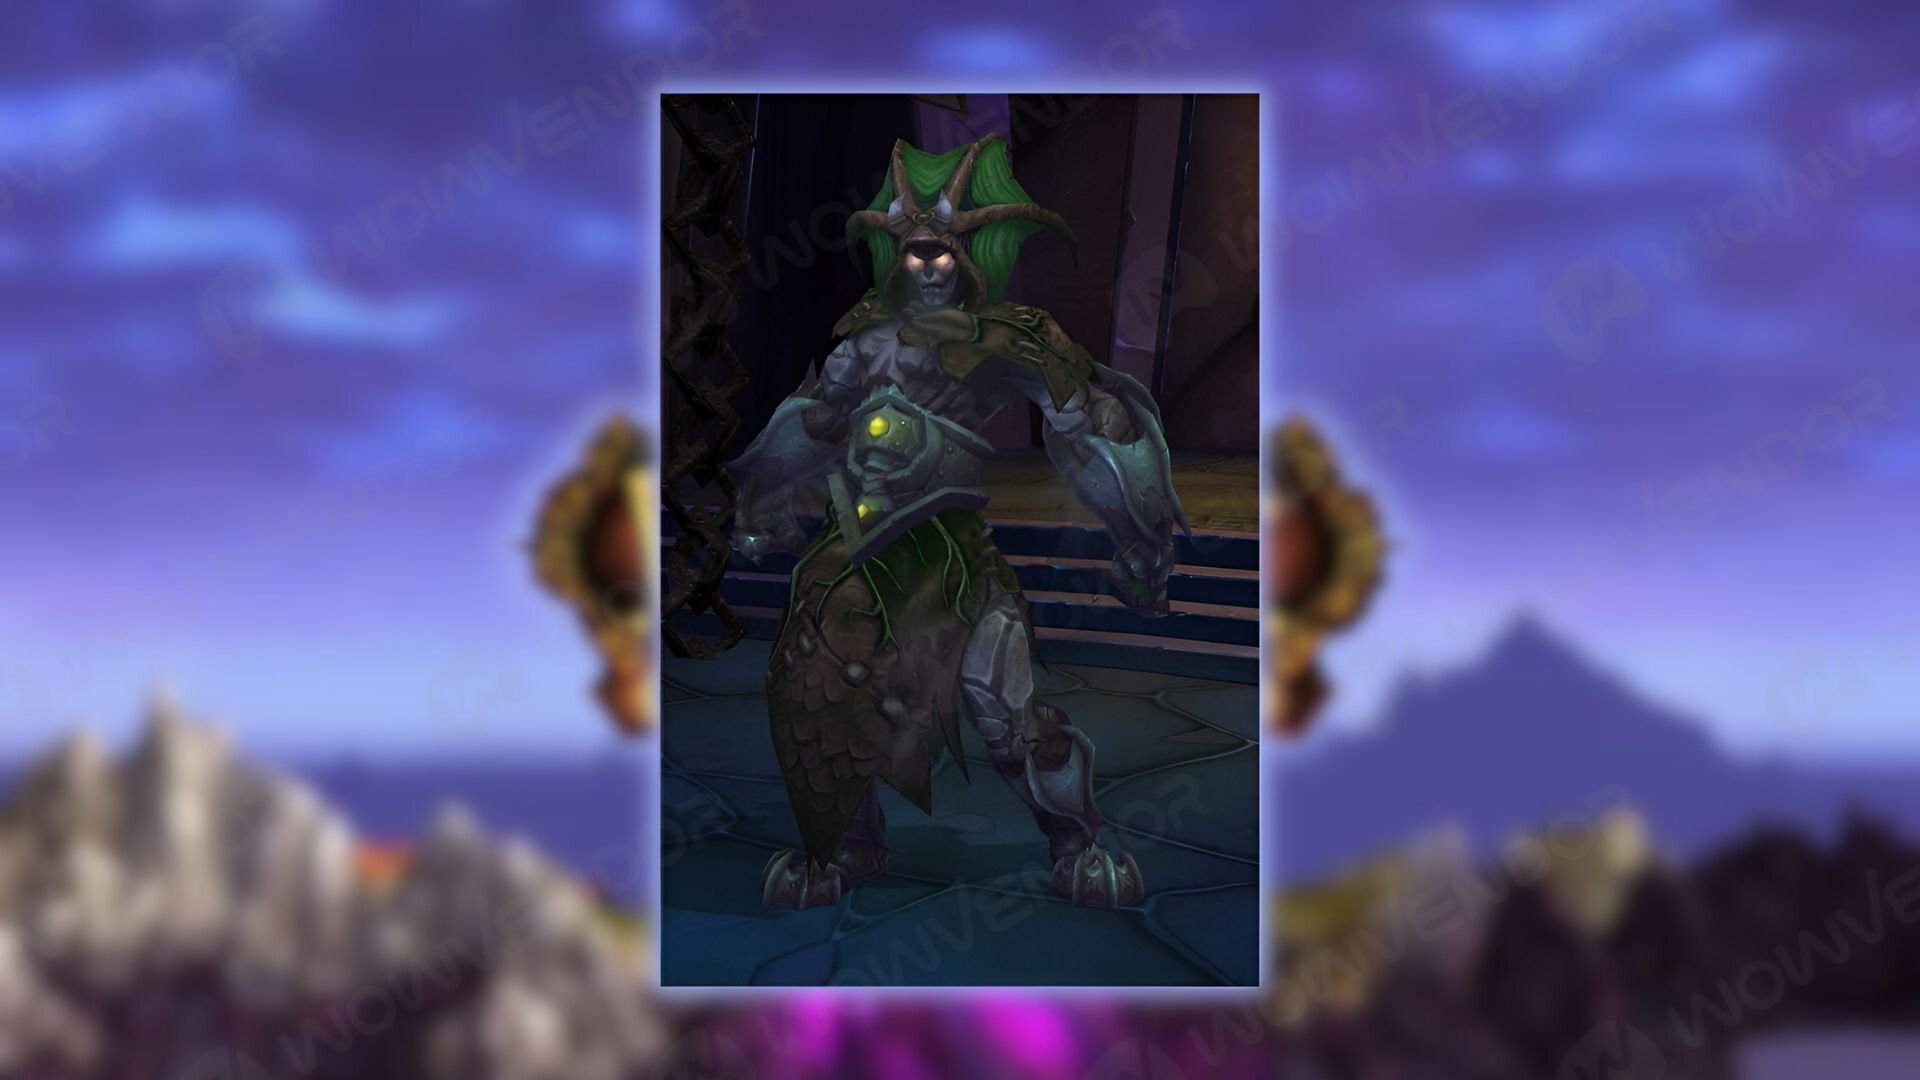
- Gravity Well — a DoT zone that slows and pulls in players. Players pulled receive Grounded buff. Use it to reduce Thundershock damage.
- Harden Skin — applies a barrier that greatly reduces damage received. Should be interrupted.
- Quake — a raid-wide attack that deals severe damage. Completely avoid it by getting Swirling Winds buff from Call Winds’ tornadoes.
- Eruption — a point-blank knock-up AoE around the boss. Move out of the 4-yard range to avoid it.
You can’t have both buffs since they replace each other, Keep track of what raid wide comes next to get the corresponding buff.
On Heroic, get additional mechanics:
- Flame Strike — a pillar of fire that deals damage and leaves a DoT zone. Move out of it.
- Frozen Orb — fixates on the random player and explodes if it reaches them. Kite into the DoT zone left by Flame Strike to cancel both abilities.
Phase 3
When either Arion or Terrastra reaches 25% Health, All 4 bosses and their remaining Health combine into one entity. An attrition race phase, as it gets harder the longer it lasts.
Elementium Monstrosity
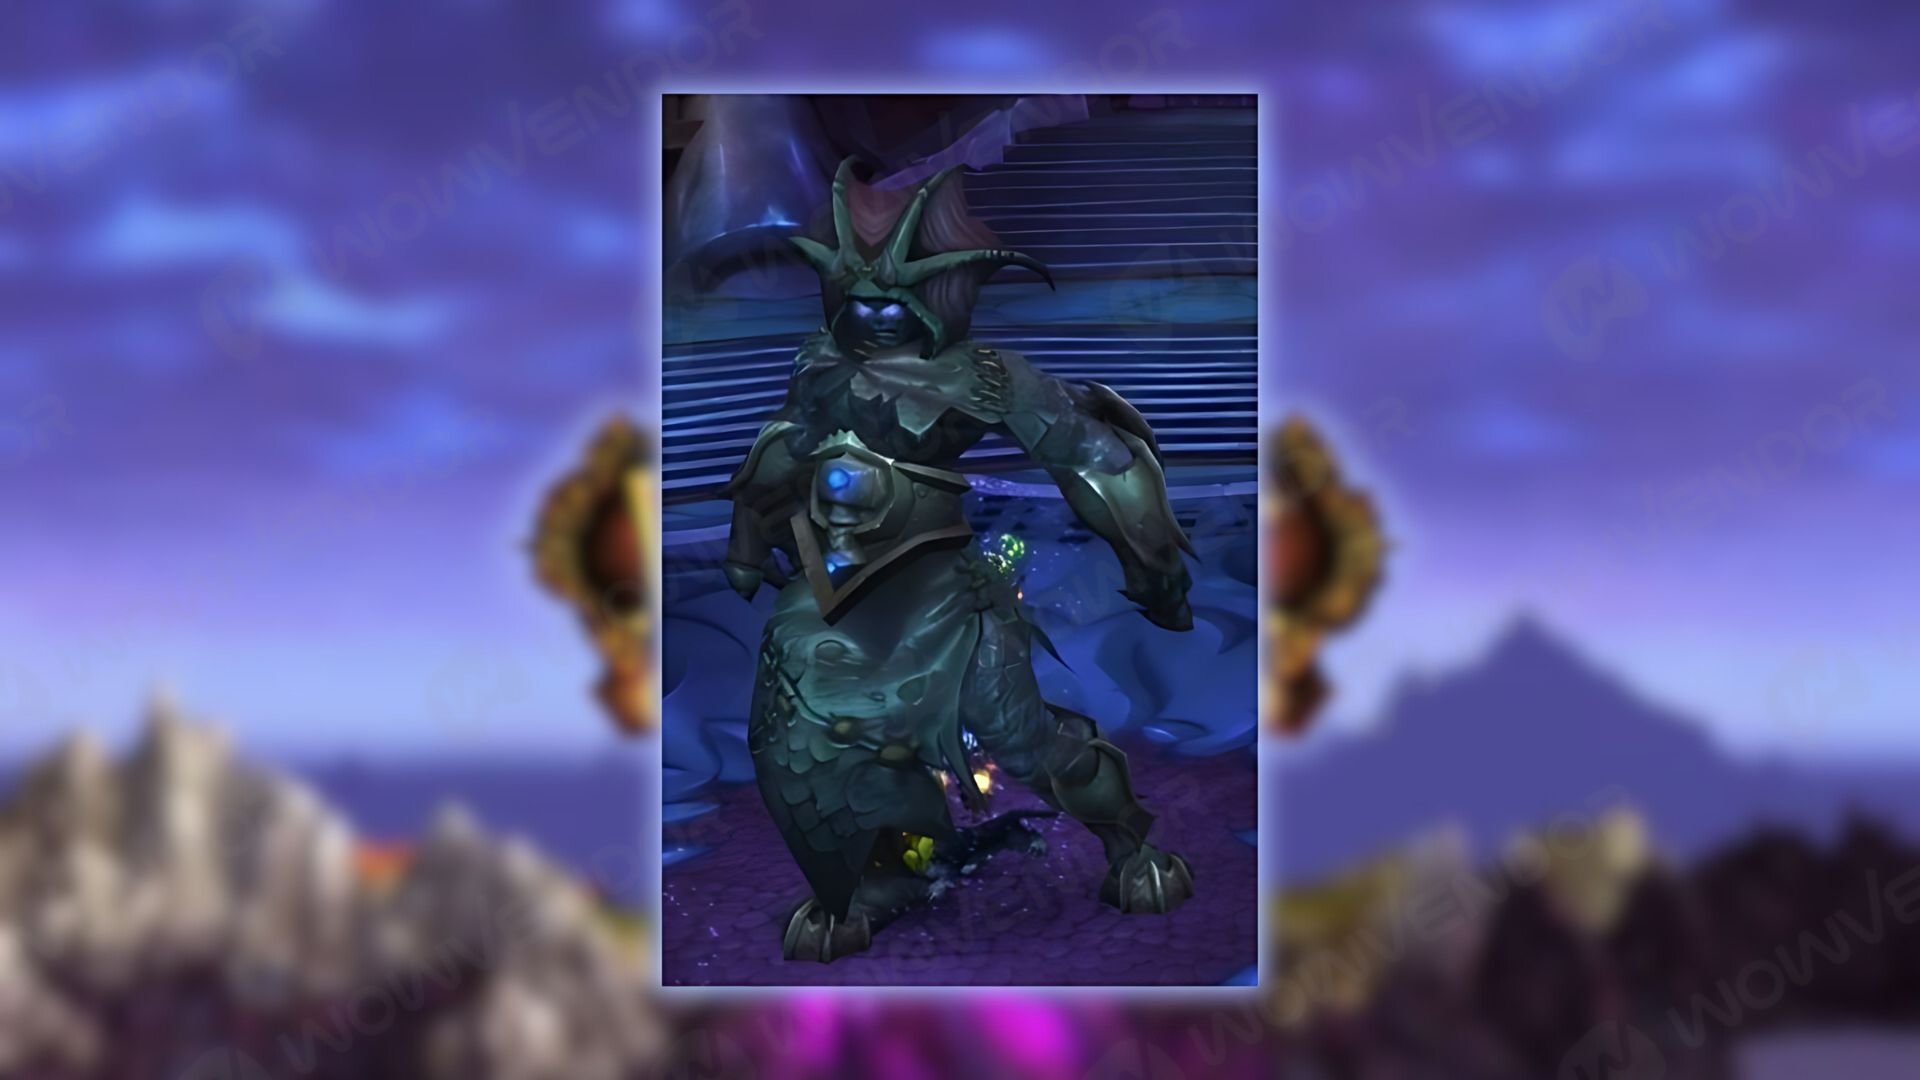
- Electric Instability — zaps nearby players with Chain Lighting. As time goes on, the amount of jumps increases. Use healing and defensive mitigations.
- Gravity Crush — traps 3 random players in a heavy DoT bubble. Healers need to keep these players alive through the whole duration.
- Lava Seed — spawns seeds across the arena. After a short delay, they explode. Find a safe spot without seeds and wait there.
- Cryogenic Aura — creates an icy DoT zone under the boss. The zone grows as long as the boss touches it, so move the boss along the edge of the arena.
The key to winning is to make this phase as short as possible by getting all 4 previous bosses to a 25–26% Health range. Save bursts and strong offensive cooldowns like Bloodlust for this final phase.
Cho’gall Boss Guide
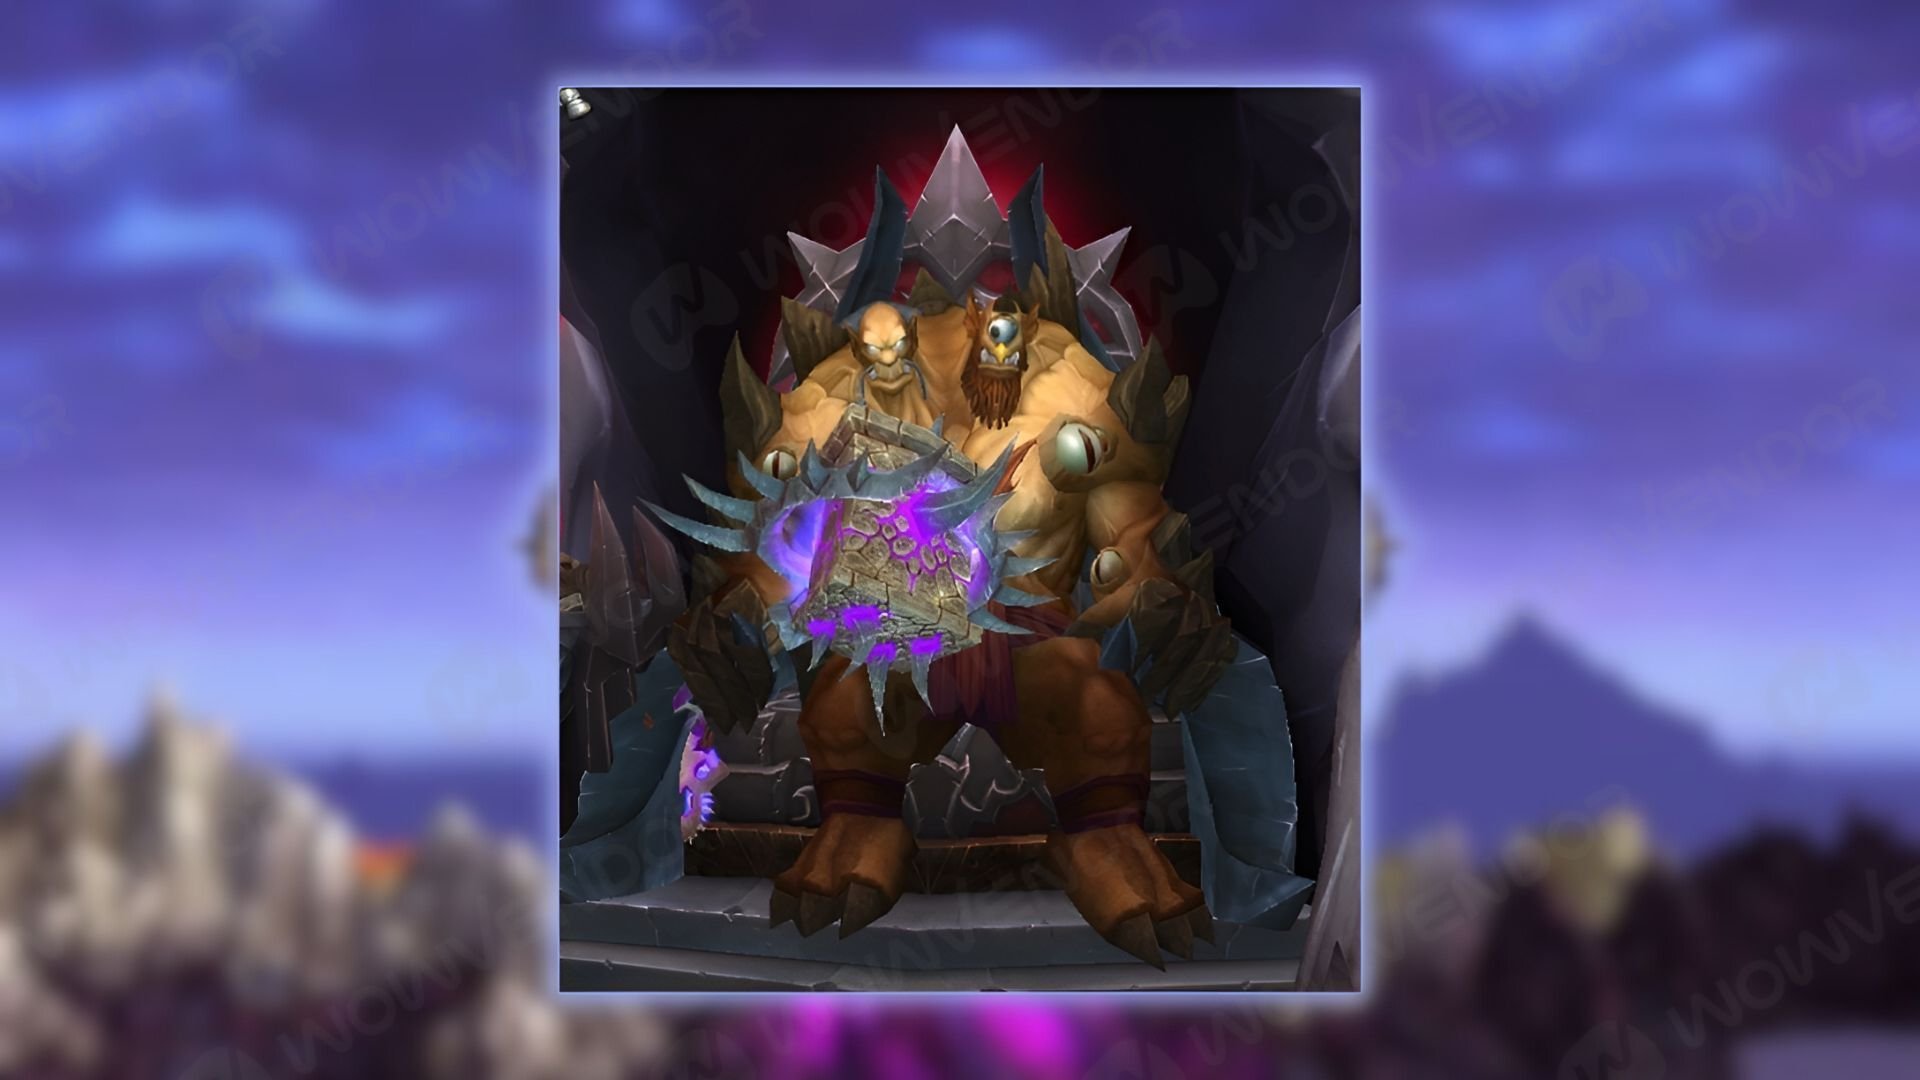
Getting hit by avoidable attacks makes players’ Corruption gauge increase. Reaching corruption thresholds leads to negative effects, and increased damage during soft enrage. Avoid getting Corruption. Ideally, everyone should be under 25% by the time soft enrage starts. The enrage starts at 25% Health.
Corruption
- 25% — Acceleration — a debuff that rapidly fills Corruption. Dispel ASAP.
- 50% — Sickness — periodically makes players do long cone AoEs that deal damage and increase Corruption.
- 75% — Malformation — players start to shoot Shadow Bolts at random allies.
- 100% — Absolute — blocks all incoming healing, but makes players deal increased damage and have instant casts.
Cho’gall
- Conversion — 3 players lose control and start worshiping Cho’gall, giving him a stackable damage buff. Interrupt worshipers ASAP.
- Fury of Cho’gall — a tank buster, increases targets Physical and Shadow damage taken. Tank swap after getting hit by 1–2 of these, using some mitigation for the second hit.
- Flame’s Orders — summons a fire elemental and absorbs it to enter the stance. In this stance, his normal attacks deal extra fire damage and splash DoT zones. The tank should use some light mitigation. On Heroic, the more Health the elemental had when it was absorbed, the higher the damage will be.
- Shadow’s Orders — summons a Shadow Lord and absorbs it to enter the stance. In this stance, he starts pulsing with raid-wide attacks every several seconds. Use healing and mitigation cooldowns. On Heroic, the more health the elemental had when it was absorbed, the higher the damage would be. Out of the two elementals, Shadow Lord has priority. Focus it down.
- Summon Corrupted Adherent — an add spawns must be taken by OT. Raid should quickly focus it down. Has a Depravity cast that should be interrupted. When it dies, it leaves a DoT zone, so the tank should bring it to the arena’s edge. On Heroic, there are two adds at once.
- Fester Blood — If a Corrupted Adherent is alive by that cast, they start to spray blood in a huge AoE, dealing damage and increasing Corruption. If the adds are dead, the DoT zone left by them creates a group of slimes. They fixate on the target, while their attacks increase corruption. CC them and quickly burst down, before they reach their prey.
When Cho’gall reaches 25%, the enrage starts.
- Corruption of the Old Gods — a raid-wide AoE pulsing every several seconds, raises Corruption. Damage scales depending on the target’s Corruption level.
- Fury of the Cho’gall — same as pre-enrage.
- Darkened Creations + Debilitating Beam — tendrils that channel damaging tethers at random players. Should be interrupted. On Heroic, the tether also increases Corruption.
Use strong bursts and cooldowns like Bloodlust for this phase to finish the boss before healers won’t be able to heal through the Corruption of the Old Gods.
If you’re on Normal difficulty — congratulations, you finished The Bastion of Twilight. On Heroic, however, you still have one more encounter.
Sinestra Boss Guide
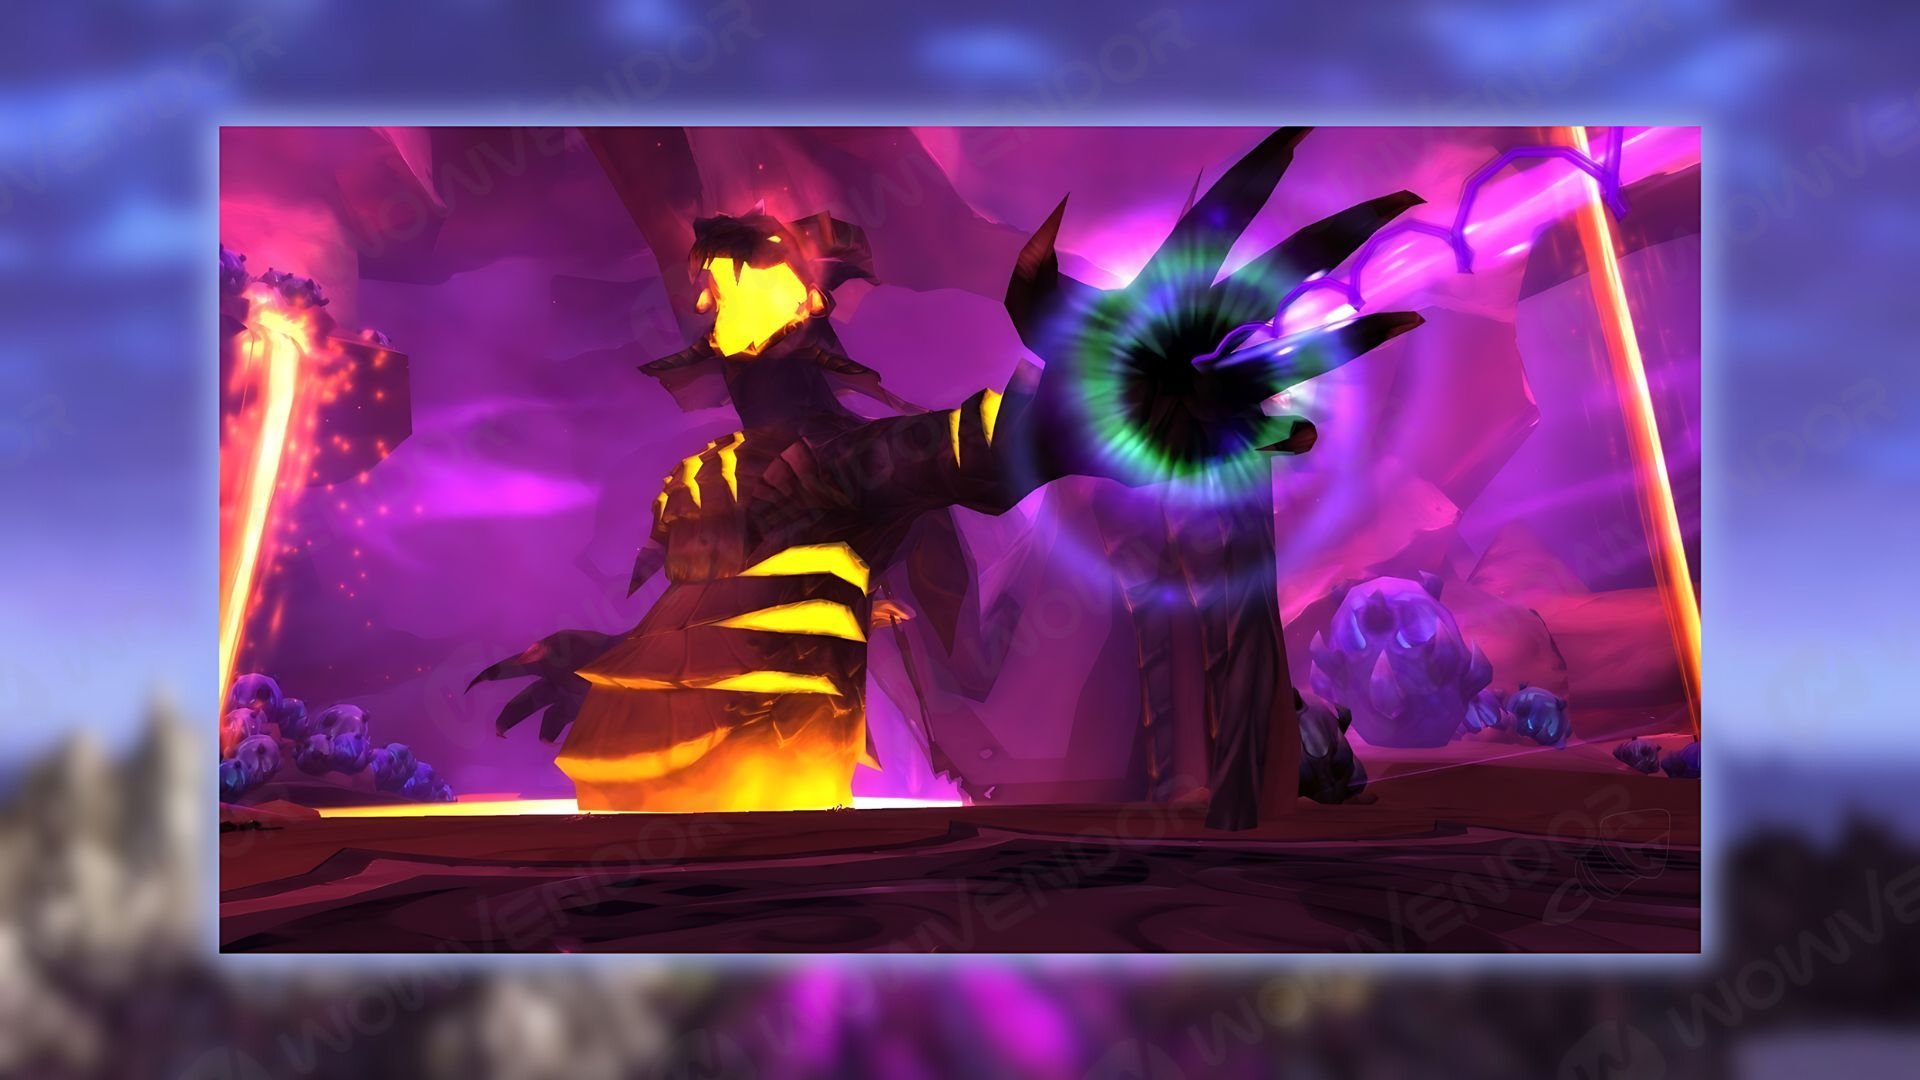
The last of the Bastion of Twilight bosses has 3 phases, with the first and third one being identical. The boss has a high aggro range, so use Hunter and Feign Death to reset the boss, so the raid can preposition properly.
Phase 1
Sinestra will start the fight with Drained debuff, having 60% Health and reduced damage dealt. To proceed to the next phase, you need to get her to 30% Health.
- Wrack — a long DoT that ramps up in damage. When dispelled, it jumps to two nearby allies, resetting its damage, but not the duration. To solve this, have the first target survive the DoT as long as possible before cleansing. Target should use personal mitigation and healing, while healers — focus on healing the target. You can even assign several healers to keep prioritizing Wrack.
- Twilight Blast — a single-target nuke, used only if no one is in melee range. Avoid triggering that.
- Flame Breath — a raid-wide AoE used every 20 seconds. Healers should save healing cooldowns for Phase 3.
- Twilight Slicer — two spheres spawn and target two random players. After a short delay, they tether to each other and start following their targets. Both spheres and tether damage on touch. Targeted players should come together and kite spheres away along the edge of the arena in a U-shape. The raid should avoid getting hit by a tether.
- Twilight Whelps — adds that spawn in a group. Create a DoT zone on death that slowly grows until it covers the whole arena. The zone also revives Whelps but revived Whelps do not spawn new zones. Tank should grab them and tank until Phase 2.
Ideally, you want to move to Phase 2 before the second cast of Wrack and the third wave of Whelps.
Phase 2
Intense add focused based. The whole raid should be split into several groups, each having its task. Before the Phase properly starts, players should run to the yellow shield created by a friendly NPC, Caleen, to avoid Twilight Extinction.
Inside the yellow barrier, the group should deal with Whelps. Move them to the back of the shield, kill them all in one spot, making all the DoT zones drop in a single place, then move Whelps out and quickly kill them again. After that raid should split and commit to their tasks for this Phase.
Tanks and melee DPS will deal with the rest of the adds in the back of the arena. One tank should grab Twilight Spitecaller. These adds do a raid-wide that deals a percentage damage. The attack should not be stunned or interrupted. Use displacement CC to stop the casts, such as Gouge, Repentance, Death Grip, etc. Quickly focus this add before another one spawns. Another tank should grab Twilight Drake and turn him away from everyone (including friendly NPC), as the add cleaves.
Ranged DPS should split into two groups, each should have a healer. Their goal is to drain Sinestra’s Mana by attacking the Mana Barrier. This in turn will make the boss remove Twilight Carapace from Pulsing Twilight Eggs for 30s. Each group should quickly destroy eggs afterward.
The remaining healers should keep healing Caleen, as he will convert his Health into Mana. Caleen’s survival is crucial, failing to save him until the end of the Phase results in a wipe.
Phase 3
Identical to Phase 1, but now Sinestra has full Health and she attacks with full force. Caleen will die, but before that will buff everyone with a powerful buff. Use it together with the strongest burst and cooldowns such as Bloodlust to end the fight as quickly as possible. Here are some extra tips
- Flame Breath — this is why you should’ve saved cooldowns in the first phase. Plan your healing and defensive cooldowns to cover up as many of these raid wides as you can.
- Twilight Whelps — DoT zones serve as soft enrage, as they keep growing until either side is defeated. New Whelps will spawn as well. Instead of killing them all at once, the group should finish them one by one, giving the tank time to move them out of the DoT zone and spread puddles evenly along the edge of the arena.
Bastion of Twilight Loot Table
All four bosses in the Bastion of Twilight raid drop 359 and 372-item level armor, trinkets, and weapons on Normal and Heroic difficulties. Sinestra is the only boss who drops 379-item level gear in this raid.
Halfus Wyrmbreaker Loot Table
Normal
| Name | Type |
| Wyrmbreaker’s Amulet | Neck |
| Robes of the Burning Acolyte | Cloth |
| Bracers of the Bronze Flight | Cloth |
| Storm Rider’s Boots | Leather |
| Helm of the Nether Scion | |
| Proto-Handler’s Gauntlets | |
| Book of Binding Will | Off-hand |
| Legguards of the Emerald Brood | Plate |
| Pauldrons of the Great Ettin | Plate |
| Bracers of Impossible Strength | Plate |
| Essence of the Cyclone | Trinket |
| Malevolence | Staff |
Heroic
| Name | Type |
| Wyrmbreaker’s Amulet | Neck |
| Chest of the Forlorn Conqueror | Armor Token |
| Chest of the Forlorn Protector | Armor Token |
| Chest of the Forlorn Vanquisher | Armor Token |
| Robes of the Burning Acolyte | Cloth |
| Bracers of the Bronze Flight | Cloth |
| Storm Rider’s Boots | Leather |
| Helm of the Nether Scion | |
| Proto-Handler’s Gauntlets | |
| Book of Binding Will | Off-hand |
| Legguards of the Emerald Brood | Plate |
| Pauldrons of the Great Ettin | Plate |
| Bracers of Impossible Strength | Plate |
| Essence of the Cyclone | Trinket |
| Malevolence | Staff |
Theralion and Valiona Loot Table
Normal
| Name | Type |
| Necklace of Strife | Neck |
| Valiona’s Medallion | Neck |
| Drape of the Twins | Cloak |
| Helm of Eldritch Authority | Cloth |
| Dragonheart Piercer | Crossbow |
| Blade of the Witching Hour | Dagger |
| Waistguard of Hatred | |
| Fang of Twilight | One-Handed Sword |
| Daybreaker Helm | Plate |
| Ring of Rivalry | Finger |
| Theralion’s Mirror | Trinket |
| Vial of Stolen Memories | Trinket |
Heroic
| Name | Type |
| Necklace of Strife | Neck |
| Valiona’s Medallion | Neck |
| Drape of the Twins | Cloak |
| Helm of Eldritch Authority | Cloth |
| Dragonheart Piercer | Crossbow |
| Blade of the Witching Hour | Dagger |
| Waistguard of Hatred | |
| Fang of Twilight | One-Handed Sword |
| Daybreaker Helm | Plate |
| Ring of Rivalry | Finger |
| Theralion’s Mirror | Trinket |
| Vial of Stolen Memories | Trinket |
Ascendant Council Loot Table
Normal
| Name | Type |
| Glittering Epidermis | Cloak |
| Treads of Liquid Ice | Cloth |
| Dispersing Belt | Leather |
| Hydrolance Gloves | Leather |
| Feludius’ Mantle | |
| Arion’s Crown | |
| Scepter of Ice | Off-hand |
| Glaciated Helm | Plate |
| Gravitational Pull | Plate |
| Terrastra’s Legguards | Plate |
| Heart of Ignacious | Trinket |
| Crushing Weight | Trinket |
Heroic
| Name | Type |
| Glittering Epidermis | Cloak |
| Treads of Liquid Ice | Cloth |
| Dispersing Belt | Leather |
| Hydrolance Gloves | Leather |
| Feludius’ Mantle | |
| Arion’s Crown | |
| Scepter of Ice | Off-hand |
| Gravitational Pull | Plate |
| Glaciated Helm | Plate |
| Terrastra’s Legguards | Plate |
| Heart of Ignacious | Trinket |
| Crushing Weight | Trinket |
Cho’gall Loot Table
Normal
| Name | Type |
| Mantle of the Forlorn Conqueror | Armor Token |
| Mantle of the Forlorn Protector | Armor Token |
| Mantle of the Forlorn Vanquisher | Armor Token |
| Hands of the Twilight Council | Cloth |
| Uhn’agh Fash, the Darkest Betrayal | Dagger |
| Treads of Hideous Transformation | Leather |
| Membrane of C’Thun | Leather |
| Coil of Ten-Thousand Screams | |
| Kilt of the Forgotten Battle | |
| Twilight’s Hammer | One-Handed Mace |
| Battleplate of the Apocalypse | Plate |
| Helm of Maddening Whispers | Plate |
| Shackles of the End of Days | Plate |
| Signet of the Fifth Circle | Finger |
| Fall of Mortality | Trinket |
| Shalug’doom, the Axe of Unmaking | Two-Handed Axe |
Heroic
| Name | Type |
| Shoulders of the Forlorn Conqueror | Armor Token |
| Shoulders of the Forlorn Protector | Armor Token |
| Shoulders of the Forlorn Vanquisher | Armor Token |
| Hands of the Twilight Council | Cloth |
| Uhn’agh Fash, the Darkest Betrayal | Dagger |
| Treads of Hideous Transformation | Leather |
| Membrane of C’Thun | Leather |
| Coil of Ten-Thousand Screams | |
| Kilt of the Forgotten Battle | |
| Twilight’s Hammer | One-Handed Mace |
| Battleplate of the Apocalypse | Plate |
| Helm of Maddening Whispers | Plate |
| Shackles of the End of Days | Plate |
| Signet of the Fifth Circle | Finger |
| Fall of Mortality | Trinket |
| Shalug’doom, the Axe of Unmaking | Two-Handed Axe |
Sinestra Loot Table
Heroic
| Name | Type |
| Caelestrasz’s Will | Neck |
| Shroud of Endless Grief | Cloak |
| Bracers of the Dark Mother | Cloth |
| Crown of the Twilight Queen | Cloth |
| Belt of the Fallen Brood | Leather |
| Nightmare Rider’s Boots | Leather |
| Twilight Scale Leggings | |
| Boots of Az’galada | |
| War-Torn Crushers | Plate |
| Bindings of Bleak Betrayal | Plate |
| Bracers of the Mat’redor | Plate |
| Dargonax’s Signet | Finger |
| Shard of Woe | Trinket |
Bastion of Twilight Achievements
In Bastion of Twilight, you can earn a total of 15 achievements:
Personal Achievements
Here are the personal achievements you can earn by participating in the Bastion of Twilight raid:
- The Bastion of Twilight: Defeat all the raid bosses
- Heroic: Halfus Wyrmbreaker: Conquer Halfus Wyrmbreaker on Heroic difficulty
- Heroic: Valiona and Theralion: Triumph over Theralion and Valiona on Heroic difficulty
- Heroic: Ascendant Council: Defeat Ascendant Council on Heroic difficulty
- Heroic: Cho’gall: Overcome Cho’gall on Heroic difficulty
- Heroic: Sinestra: Win a victory over Sinestra on Heroic difficulty. You will get the magnificent Dragonslayer <Name> title as a reward.
Guild Achievements
Getting the following achievements involves grouping up with your guild members:
- The Bastion of Twilight Guild Run: Defeat all the raid bosses with the help of your guild.
- Heroic: Cho’gall Guild Run: Conquer Heroic-difficulty Cho’gall with your guild.
- Heroic: Sinestra Guild Run: Triumph over Heroic-difficulty Sinestra with your guild.
- Realm First! Sinestra: You and your guild must be the first to defeat Sinestra on the realm.
Miscellaneous Achievements
Each achievement mentioned beneath is quite challenging to obtain, for you must meet specific requirements during the fight:
- The Only Escape: Conquer Halfus Wyrmbreaker after defeating two Drakes within 10 seconds of each other
- Double Dragon: Defeat two Twilight Fiends and overcome Valiona and Theralion
- Elementary: Conquer Elementium Monstrosity, allowing it to cast only one Liquid Ice patch
- The Abyss Will Gaze Back Into You: Win a victory over Cho’gall before any of your teammates get more than 30% Corrupted Blood
- I Can’t Hear You Over the Sound of How Awesome I Am: Triumph over Sinestra on the first try without dying.
Bastion of Twilight FAQ
What level is Bastion of Twilight?
Bastion of Twilight is an 85-level raid, so your character must be at level 85 to enter.
How many bosses are in Bastion of Twilight?
On Normal difficulty, there are four bosses: Halfus Wyrmbreaker, Theralion and Valiona, Ascendant Council, and Cho’gall. However, players face an additional 5th boss named Sinestra on Heroic difficulty.
How to go to Bastion of Twilight?
To go to the Bastion of Twilight raid, follow this sequence:
- First, travel to Victor’s Point at coordinates [43.81, 57.33] in Twilight Highlands, Eastern Kingdoms.
- Afterward, fly very high to the Twilight Citadel at [34.20, 77.68].
- Once there, you will see a huge cyclone-like blue portal in front of you. This is the entrance to the Bastion of Twilight raid.
Conclusion
And this is it for our Bastion of Twilight bosses guide! We wish you good luck in fighting enemies threatening Azeroth. We will see you in other raids!




Comments