Dead by Daylight Top 10 Best Builds for Survivors
If you’ve been wondering what the best Survivor Perks in DbD are now, then we present the top 10 best builds for Survivors in Dead by Daylight! Patch 7.7.0 updates included.
Table of Contents
- General Info about DbD Perks
- Types of DbD Perks
- Types of Perks for Survivors
- Status Effects
- Introduction to Best Survivor Builds
- A Small Dictionary of Terms
- Top 10 Best DbD Survivor Builds
- Top 1: Universal Build for All Skill Levels
- Top 2: Universal Solo Build for All Skill Levels
- Top 3: Universal Solo Build for Beginners
- Top 4: Anti-Tunnel Build
- Top 5: Genrush/Repairer Build
- Top 6: Rescuer/Healer Build
- Top 7: Bodyguard/Tank Build
- Top 8: Invisibility Build
- Top 9: Anti-Slug Build
- Top 10: Lockers Build
- Conclusions
As we already know from the Guide for Beginners: The Survivors’ goal is to repair five Generators (out of seven available on the map), open the Exit Gates, and escape. To achieve this, Survivors must carefully consider the Perks they select to avoid becoming vulnerable targets for the Killers. There are currently 137 Perks for Survivors in DbD. In order not to get confused by all this diversity, let’s first look at the general info and types of Perks in DbD.
General Info about DbD Perks
A Character can be equipped with up to four Perks at once. Perk Slots open as you level up your character. All characters start with just one opened Perk Slot and will unlock Perk Slots two, three, and four by progressing characters to Levels 5, 10, and 15.
Perks, like other Unlockables (Items, Addons, Offerings), appear randomly on the Bloodweb. They can be purchased for Bloodpoints, at the same price as other Unlockables of the corresponding rarity. However, each character initially has all three of their Unique Perks of Tier I.
Each Perk has three versions that are called Perk Tiers. They usually differ in buff/debuff percentages or other numerical values. So, the higher a Perk’s Tier, the stronger its effect. In Perk descriptions, variable values for different Tiers are written with a slash.
The current Tier of a Perk is indicated by notches (Pips) in the upper right corner of its icon, and by a Perk’s rarity, which can be easily identified by icon color:
- Tier I: one Pip, Uncommon Rarity (yellow).
- Tier II: two Pips, Rare Rarity (green).
- Tier III: three Pips, Very Rare Rarity (purple).
Types of DbD Perks
There are two big types: General Perks and Unique Perks.
General Perks are default Perks. There are currently 27 General Perks, 14 of which are Survivor Perks. General Perks appear randomly in the Bloodweb of all characters and are available to all characters from the very beginning.
In addition to General Perks, each character has three Unique Perks that initially spawn in their own Bloodweb only and not in other characters’, until you level that character’s first Prestige (50 Bloodweb levels).
Furthermore, Perks differ in their characteristics. There are six types: Boon Perks, Hex Perks, Obsession Perks, Scourge Hook Perks, Teamwork Perks, and new Invocation Perks. Three of them are Survivor only, two are Killer only, and one of them is common.
Types of Perks for Survivors
Boon Perks
Boon Perks are conceptually the opposite of Killers’ Hex Perks. But their mechanics are different. There are currently five Boon Perks in Dead by Daylight: Circle of Healing (Mikaela), Shadow Step (Mikaela), Dark Theory (Yoichi), Exponential (Jonah), and Illumination (Alan).
How Boon Perks work:
- The Survivor who has equipped the Perk must find a dull or Hex Totem on the map and Bless it.
- Blessing a dull Totem takes 14 seconds, and Hex Totem takes 28 seconds.
- Blessing a Hex Totem automatically destroys Hex.
- The Perk only works in a certain area around the Blessed Totem (24 meters), which is illuminated with a blue light and a soft chime ring.
- All equipped Boon Perks are applied simultaneously to the one Blessed Totem.
- The Killer can snuff out the Blessed Totem, and the Survivors can re-bless it an unlimited number of times.
- All Survivors can see the Boon Totem’s Aura from any distance.
- As soon as the Survivor who owned the Boon Perk is sacrificed or killed, the Totem will immediately be snuffed out.
- The effects of Boon Perks don’t stack if several Survivors have the same Perks.
Teamwork Perks
There are currently only two Teamwork Perks in DbD. Both of them belong to Lyra’s siblings: Collective Stealth (Renato) and Power of Two (Thalita).
Teamwork Perks allow Survivors to grant buffs to both themselves and another nearby Survivor after a completed Healing action. Buff works only as long as two Survivors stay within 12 meters of each other.
Invocation Perks
This is a new type of Perk for Survivors that was only added in March 2024 with the release of Sable Ward. Currently, there is only one Perk of this type in the game: Weaving Spiders.
The feature of the Invocation Perks is that the Survivors can perform the Ritual at the salt circle in the Basement. The Ritual takes two minutes if performed by one Survivor. During an Invocation, the Aura of this Survivor is revealed to all other Survivors and they can join in. This will speed up the Ritual by 100% if they have an Invocation Perk equipped too, or by 50% if they haven’t.
At the moment it’s known that the variable in Invocation Perks will only be the final buff. So, in this case it’s +10 Charges to all Generators. There may be other buffs in the future.
Once the Ritual is complete, all equipped Invocation Perks of all Survivors will become disabled until the end of the Trial. The Survivor who initiated the start of the Ritual will receive a debuff until the end of the Trial as a “payment” for the Perk buff.
The Ritual can be interrupted by the Killer or their Perks at any time, then it will have to start over.
Status Effects
Before we get into the builds themselves, let’s look at some of the Status Effects that can be obtained from Perks. All of them are divided into two large groups: buffs (yellow icon) and debuffs (red icon).
In addition, some Status Effects have Tiers, which are indicated by up and down chevrons (arrows). Some Status Effects may be limited in time. In this case, their timer will be shown along the outline of the effect icon.
Let’s look at a few of the most popular ones:
Broken (debuff)
- Survivors are unable to be healed or heal themselves over the Injured State.
Deep Wound (debuff)
- Have a special health bar displayed on the HUD.
- This health bar progressively goes down when the Survivor is not running or Mending.
- Once the timer runs out, the Survivor will be downed immediately.
Endurance (buff)
- Survivors can resist damage from the Killer (one hit or equivalent of one Health State).
- If they are hit or otherwise damaged, their character will briefly light up white.
- Endurance is canceled prematurely if the Survivor performs a Conspicuous Action.
- Don’t apply to Survivor if they already suffer from Deep Wound.
Exhausted (debuff)
- Prevents of using any Exhaustion Perks.
- Slowly recovers over time whenever the Survivor is not running (usually takes 40 seconds).
- Recovers immediately after a Survivor is unhooked.
Haste (buff)

- Movement speed increased.
- Usually triggers Exhaustion after.
Introduction to Best Survivor Builds
So, let’s make one simple rule clear: you shouldn’t take too many Perks with a similar effect. It’s unlikely that this will greatly boost your build, but it can really lower your chances of survival.
You should always remember that Survivors are the vulnerable role. It’s the Killer who sets the playstyle, and the Survivors are forced to adapt to it and resist it.
Survivors never know in advance how the Trial will turn out, so ideally, they should be prepared for anything. This is why we believe that the best DbD builds for Survivors are universal.
Each build can contain two or three Perks with similar effects to choose from.
A Small Dictionary of Terms
A short explanation of specific game terms of Dead by Daylight.
Conspicuous Actions
This is a game mechanic for Survivors that prevents specific Perks or Effects from activating under certain conditions. For example, such actions can disable a Perk or remove the Endurance Status Effect.
Conspicuous Actions include:
- Cleansing/Blessing a Totem
- Healing yourself or other Survivors from any State
- Opening an Exit Gate
- Opening a Chest
- Repairing a Generator
- Sabotaging a Hook
- Unhooking other Survivors
- Performing an Invocation
Obsession
This is a game mechanic that appoints a random Survivor as the Killer’s Obsession.
- The Obsession is marked by the Entity’s claws around the Survivor icon and a special sound effect at the beginning of the Trial and the beginning of each Chase.
- During the Chase, the Entity’s claws will move.
- Some Survivor Perks increase or decrease the chance of becoming the Obsession.
- Some Survivor and Killer Perks can switch the Obsession to another Survivor during the Trial.
- The Obsession can receive both buffs and debuffs, depending on different Perks.
- Both the Obsession and the Killer receive additional Bloodpoints when interacting with each other.
Top 10 Best DbD Survivor Builds
Top 1: Universal Build for All Skill Levels
Suitable for both Solo players and Survive with Friends groups (SWF):
- Adrenaline / Decisive Strike
- Strength in Shadows / Plot Twist
- Lithe / Dead Hard
- Déjà Vu
In the upcoming Patch 7.7.0, two of the most powerful Survivor Perks will both receive changes. So we compiled this top taking into account the upcoming nerfs and buffs.
Adrenaline has been the best Survivor Perk for many years, but it seems its time has come. In the upcoming April 23 Patch, Decisive Strike will likely make a decisive return to the top.
The versatility of this build is proven by the fact that each of the presented Perks is suitable for the progression of each of the Survivor Emblems. That is:
- Adrenaline/DS: Unbroken
- Strength in Shadows / PT: Benevolent
- Lithe / DH: Evader
- Déjà Vu: Lightbringer
It turns out that each category of Perks helps you to complete Survivor goals and obtain Emblems.
Nevertheless, let’s take a closer look at this build.
Adrenaline (Meg Thomas)
One of the strongest Perks in the game. It can help you get up on your own if the Killer left you on the ground, heal and speed up you right during the chase, or finish the last Generator in the Injured State without wasting time on healing.
Once the Exit Gates are powered, Adrenaline activates:
- Instantly heal the equivalent of 1 Health State
- Grants a +50 % Haste for 3 seconds.
- Adrenaline ignores an existing Exhausted Status Effect but causes it for 60/50/40 seconds.
Decisive Strike (Laurie Strode)
You can stun the Killer for five seconds within a minute of being unhooked if he continues to chase you.
After being unhooked or unhooking yourself, Decisive Strike (DS) activates for the next 40/50/60 seconds:
- When grabbed or picked up by the Killer, pass a Skill Check to stab the Killer and escape from their grasp.
- Stuns the Killer for 5 seconds.
- Causes you to become the next Obsession
- DS is deactivated prematurely when the Exit Gates are powered.
- DS is disabled for the remainder of the Trial after use.
- DS is deactivated prematurely when performing a Conspicuous Action and remains disabled for the remainder of the Trial.
- Increases the Odds of becoming the initial Obsession of the Killer by +100 %.
- The Killer can only be obsessed with one Survivor at a time.
Both of these Perks can be a huge game changer and significantly increase your chances of survival.
Strength in Shadows (Sable Ward)
This Perk allows you to quickly heal in the Basement, as well as to see the Killer Aura after healing yourself or a teammate.
When you are in the Basement, Strength in Shadows activates:
- Unlocks the Strength in Shadows ability, allowing you to self-heal without needing a Med-Kit at 70 % of the normal healing speed.
- Upon finishing a heal in the Basement, the Aura of the Killer is revealed to you for 6/8/10 seconds.
Plot Twist (Nicolas Cage)
Actually, this Perk can have many uses. Of course, first of all, it allows you to stand up twice in one Trial and fully heal yourself, as well as speed up afterward. However, besides this, this Perk can help in some stealth mind games against Killer.
Whenever you are in the Injured State, Plot Twist activates:
- While crouching and motionless, press the Active Ability button to silently enter the Dying State with the following benefits:
- Suppresses grunts of pain.
- Suppresses pools of blood
- Grants the ability to fully recover from the dying state.
- After full recovery using PT, you are healed instantly and gain a +50 % Haste Status Effect for 2/3/4 seconds.
- PT deactivates after recovering yourself by any means.
- PT reactivates once more when the Exit Gates become powered.
Both of these Perks allow you to heal yourself relatively quickly without a Med-Kit and any help from teammates and also grant additional bonuses.
Lithe (Feng Min)
A good Exhaustion Perk suitable for both beginners and advanced players. Doesn’t require special activation conditions and can be used even outside of a chase.
Performing a Rushed Vault triggers Lithe:
- Grants a +50 % Haste Status Effect for 3 seconds.
- Lithe causes the Exhausted Status Effect for 60/50/40 seconds.
- Lithe cannot be used when Exhausted.
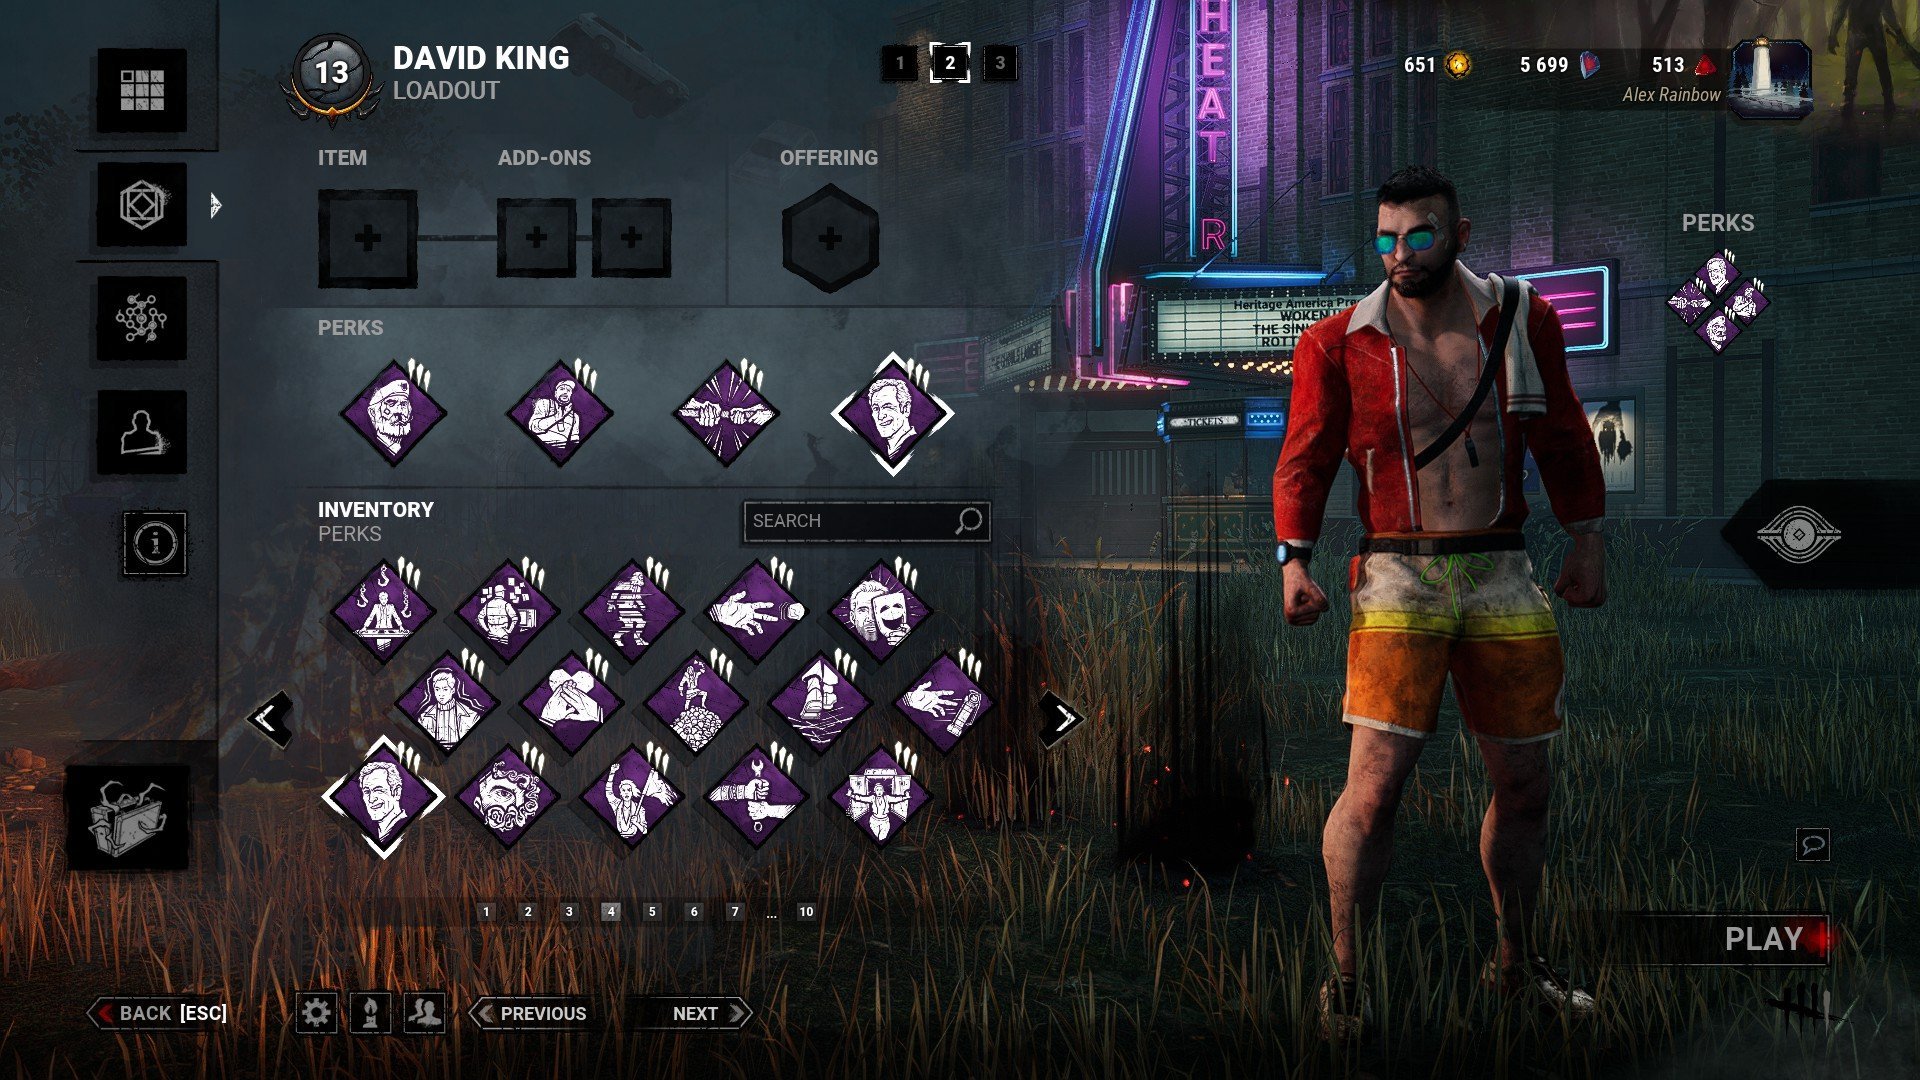
Dead Hard (David King)
Once one of the best Perks in the game, now buried in nerfs. However, advanced players and players with good ping still enjoy its benefits very well.
When you are injured, and Dead Hard is active, tap into your adrenaline bank to avoid damage.
- Press the Active Ability button while running to trigger the Endurance Status Effect for 0.5 seconds.
- DH activates after you are rescued from a Hook or after you unhook yourself, and deactivates after use.
- DH causes the Exhausted Status Effect for 60/50/40 seconds.
- DH cannot be used when Exhausted.
Both of these Perks will help you in the chase or force the Killer to leave you.
Déjà Vu (General)
Unlocks potential in your Aura-reading ability:
- The Auras of the three Generators, which are currently in closest proximity to one another, are revealed to you at all times.
- Increases your repair speed on those Generators by 4/5/6 %.
- If you are holding a Map, all Generators revealed by Déjà Vu are automatically added to it.
This Perk will help you find Generators on closed maps, identify the Triangle that needs to be repaired first, and also grant you faster repairs.
Top 2: Universal Solo Build for All Skill Levels
- Kindred / Bond
- Decisive Strike / Off the Record
- Windows of Opportunity
- Lithe / Balanced Landing
This build will help your teammates save you in time, and you will be aware of what is happening around you with the help of Perks for reading Auras.
Kindred (General)
If you are playing solo, this Perk will help provide you with the information you need about the locations of your teammates and Killer when someone (or you) is hooked.
Unlocks potential in your Aura-reading ability:
While you are hooked:
- The Auras of all Survivors are revealed to one another.
- Whenever the Killer is within 8/12/16 meters of your Hook, their Aura is revealed to all Survivors.
While any other Survivor is hooked:
- The Auras of all other Survivors are revealed to you.
- Whenever the Killer is within 8/12/16 meters of the hooked Survivor, their Aura is revealed to you.
Off the Record (Zarina Kassir)
One of the strongest Perks in DbD which grants you the longest Endurance.
After being unhooked or unhooking yourself, Off the Record activates for the next 60/70/80 seconds:
- Prevents your Aura from being revealed to the Killer, if they attempt to read it.
- Suppresses Grunts of Pain when injured.
- Grants the Endurance Status Effect.
- Endurance is canceled prematurely when performing a Conspicuous Action.
- Off the Record deactivates once the Exit Gates are powered.
Windows of Opportunity (Kate Denson)
Extremely popular Perk, according to BHVR statistics. It will help newbies navigate the map and solo players know which Pallets have already been spent by teammates.
Unlocks potential in your Aura-reading ability.
- The Auras of Breakable Walls, Pallets, and Windows are revealed to you within 24/28/32 meters.
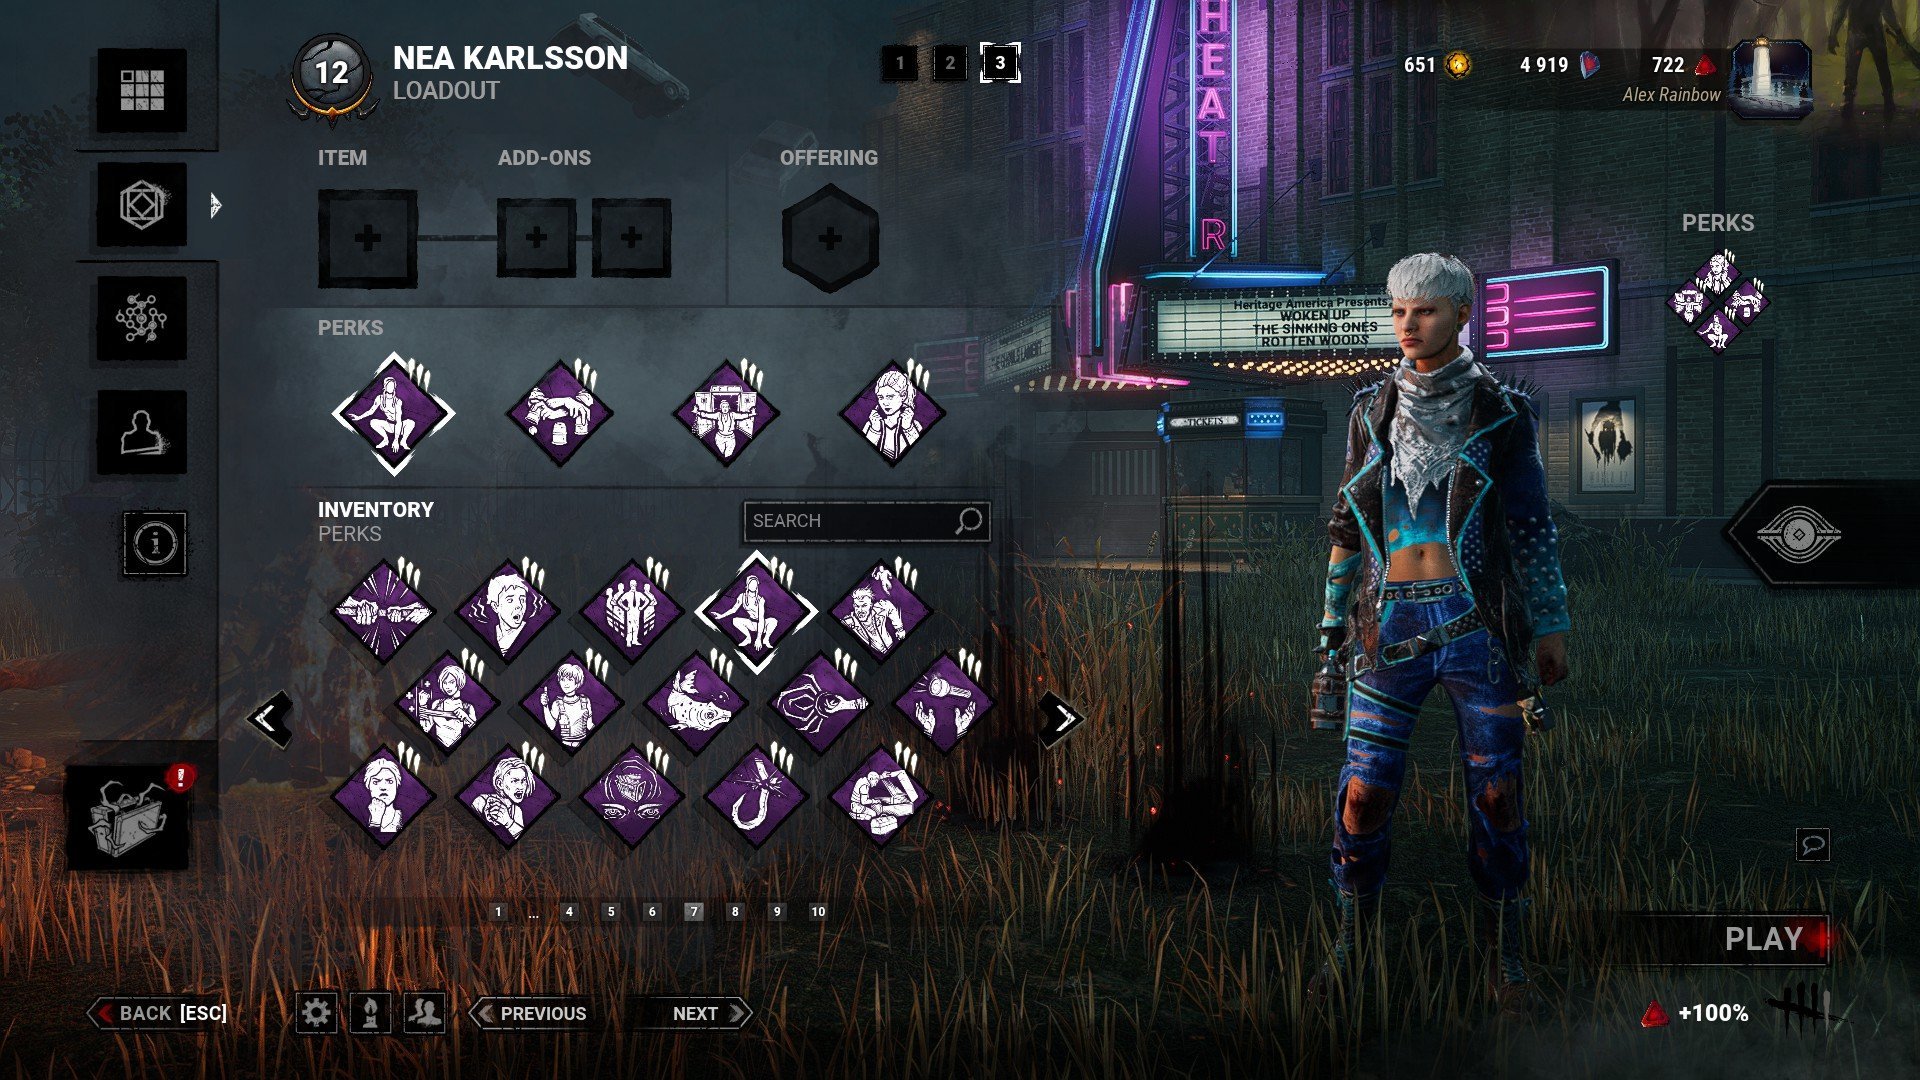
Balanced Landing (Nea Karlsson)
It helps both to jump from a height unnoticed and slip past the Killer and to take the chase to the next level. Second level, apparently.
When falling from a height, you benefit from the following effects:
- Reduces the duration of the Stagger upon landing by -75 %.
- Suppresses all noises associated with falling.
- Grants a +50 % Haste Status Effect for 3 seconds upon landing.
- Balanced Landing causes the Exhausted Status Effect for 60/50/40 seconds.
- Balanced Landing cannot be used when Exhausted.
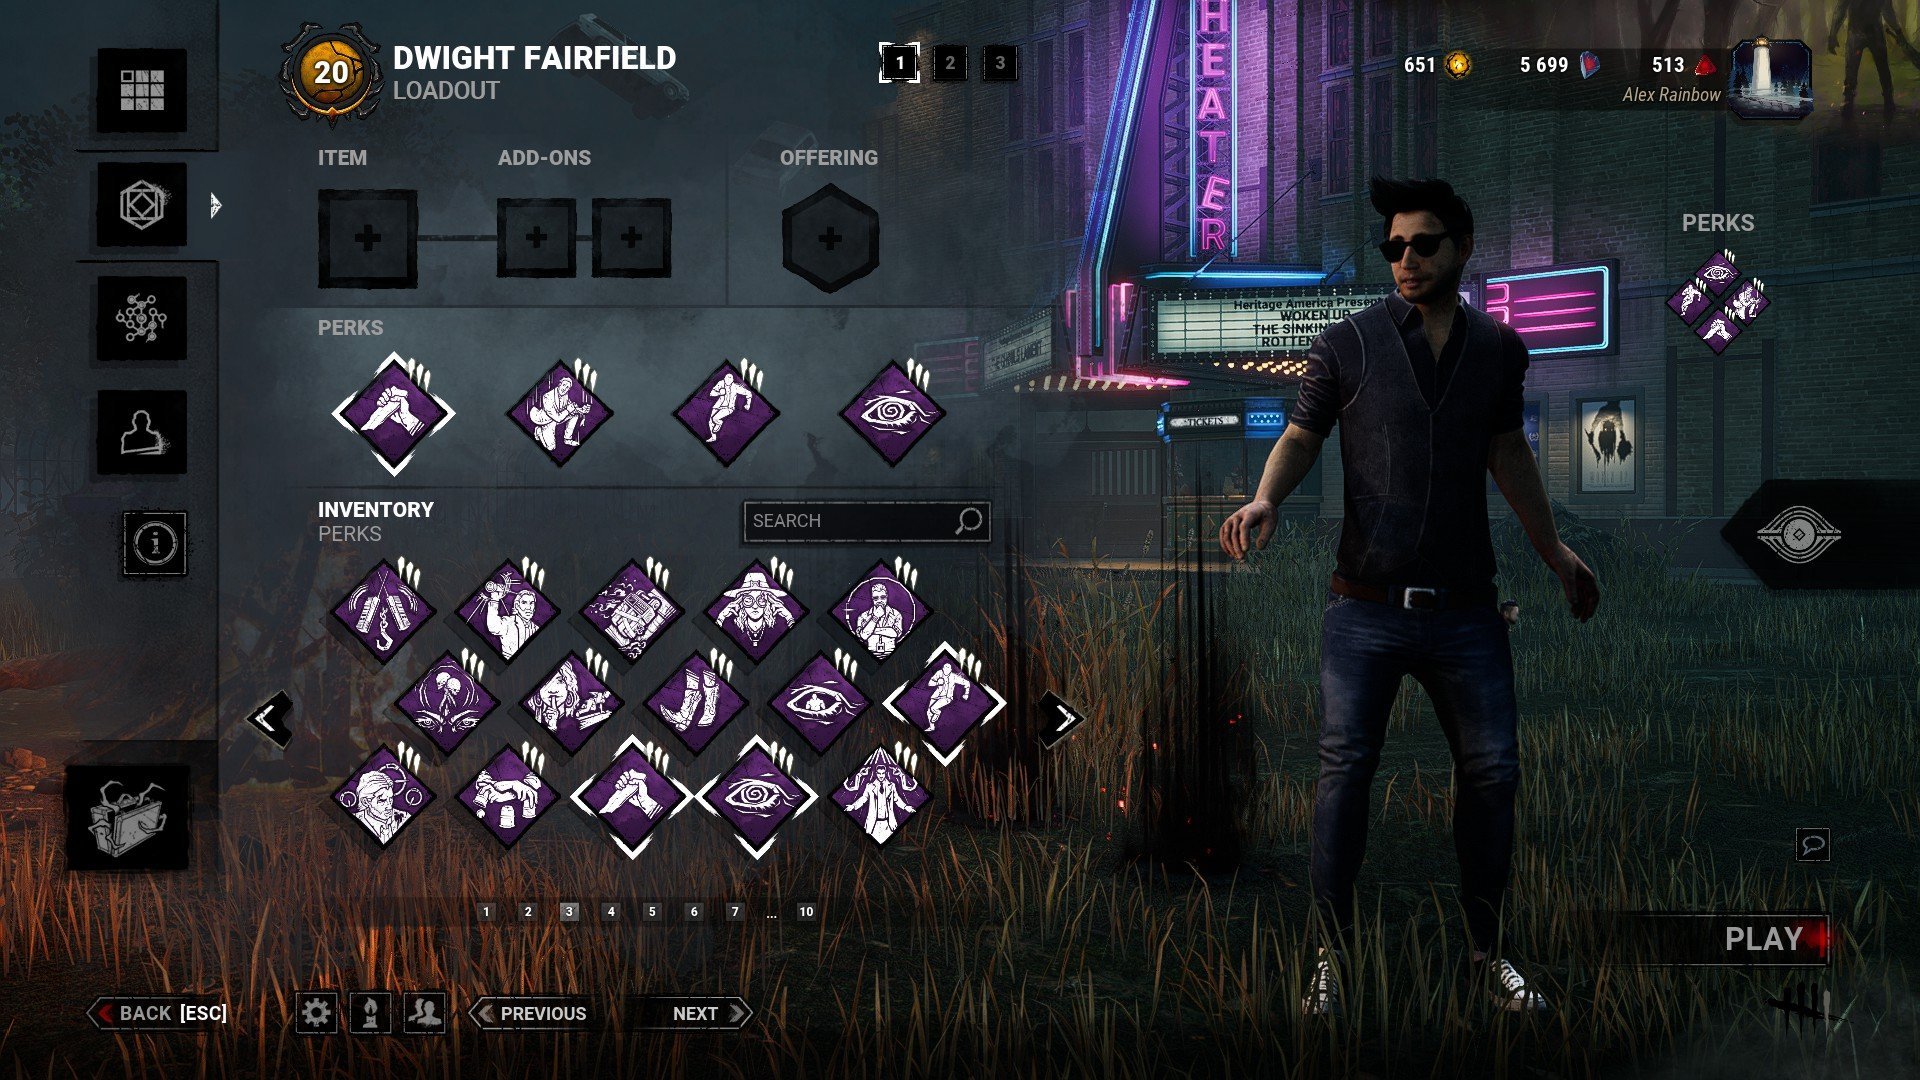
Top 3: Universal Solo Build for Beginners
- Kindred / Bond
- Déjà Vu / Technician
- Lithe / Sprint Burst
- Alert / Resilience
This build, consisting of General and free characters Perks, will help a beginner to navigate during the Trial, as well as repair Generators faster.
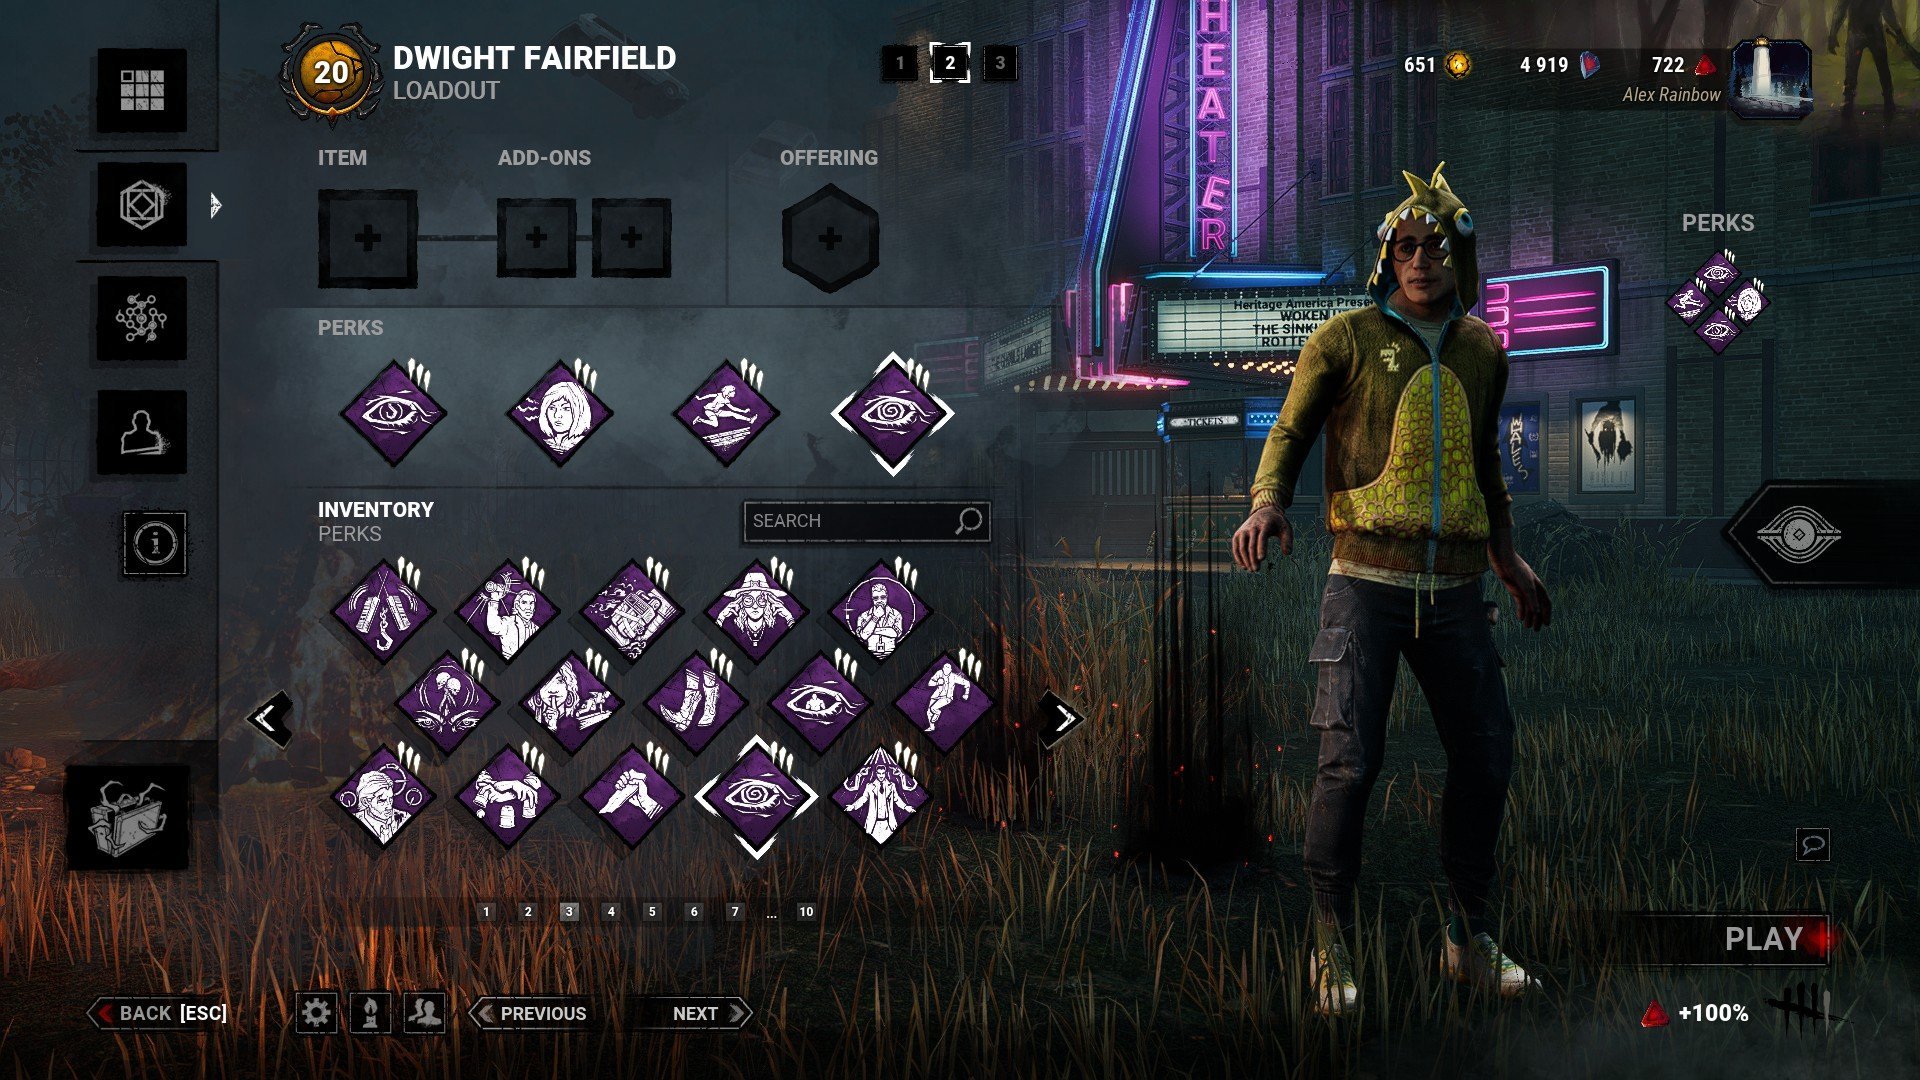
Bond (Dwight Fairfield)
A good old Perk that helps you find teammates to get healed, repair a Generator together, or avoid bringing the Killer to them during a chase.
Unlocks potential in your Aura-reading ability:
- The Auras of all other Survivors within 20/28/36 meters of your location are revealed to you.
Technician (Feng Min)
When repairing a Generator, the following effects apply:
- Reduces the audible range of your Repair noises by -8 meters.
- Suppresses the explosion and accompanying Loud Noise Notification when failing a Skill Check.
- Failing a Skill Check instantly regresses the Generator by 5/4/3 % of its maximum possible Progression in addition to the default Progression penalty.
Sprint Burst (Meg Thomas)
A good Perk to quickly gain distance with the Killer or catch him off guard at the beginning of the chase.
Starting to run triggers Sprint Burst:
- Grants a +50 % Haste Status Effect for 3 seconds.
- Sprint Burst causes the Exhausted Status Effect for 60/50/40 seconds.
- Sprint Burst cannot be used when Exhausted.
Alert (Feng Min)
Whenever the Killer performs the Break or Damage action, Alert triggers:
- Their Aura is revealed to you for 3/4/5 seconds.
Resilience (General)
This Perk is suitable for both beginners and advanced players. Can help with repairs and healing, as well as speed up your vaultings during a chase.
Increases your Action speeds in Repairing, Healing, Sabotaging, Unhooking, Vaulting, Cleansing, Blessing, Opening, and Unlocking by 3/6/9 % when in the Injured State.
Top 4: Anti-Tunnel Build
- Adrenaline / Second Wind
- Off the Record
- Decisive Strike
- Dead Hard
This build for advanced players will help you avoid the Killer’s constant pursuit and will definitely make them leave you.
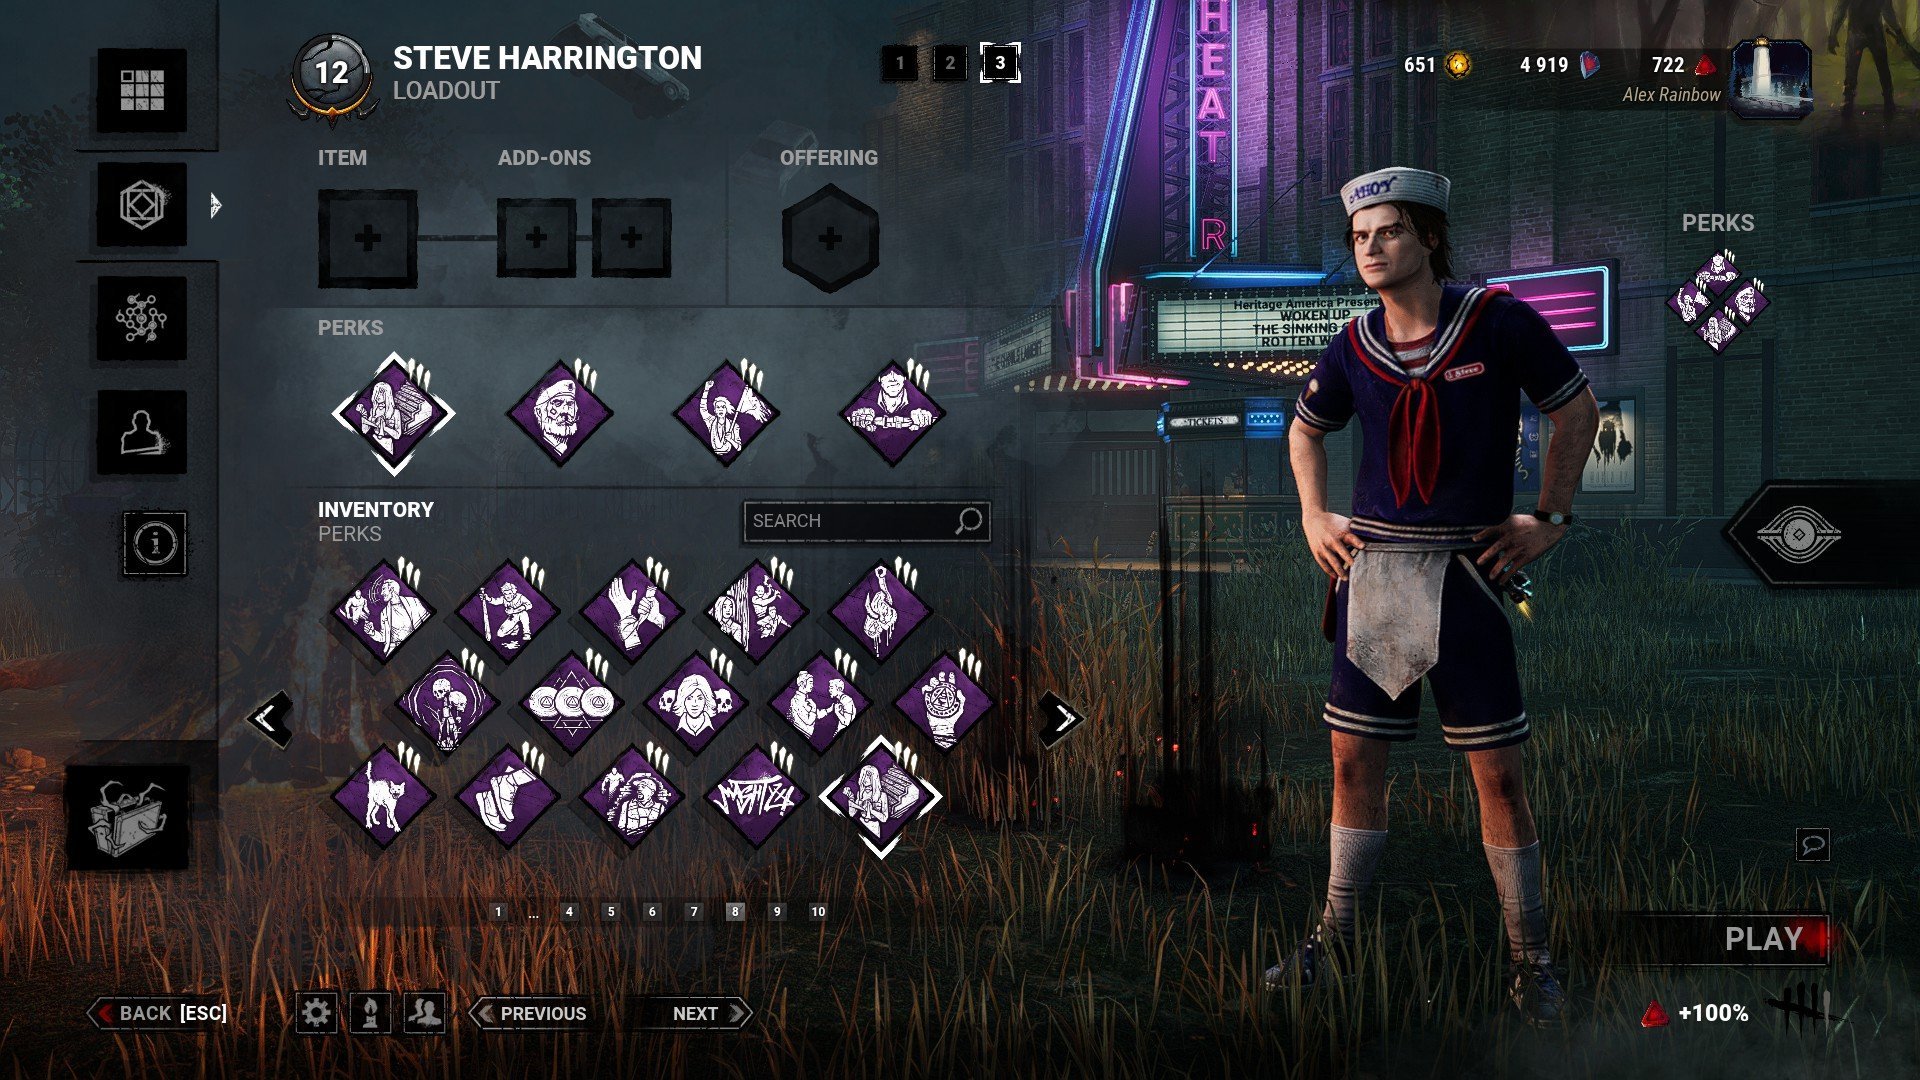
Second Wind (Steve Harrington)
A specific Perk that requires some activation conditions, but is good for quickly healing yourself right during a chase or without looking up from repairing the Generator.
When you heal another Survivor for the equivalent of one Health State, Second Wind activates:
- The next time you are unhooked or unhook yourself, you suffer from the Broken Status Effect until Second Wind deactivates.
- You are automatically healed one Health State after 28/24/20 seconds.
While Second Wind is active, the following conditions will deactivate it:
- Successfully being healed by Second Wind.
- Being put into the Dying State before the timer elapses.
- Second Wind does not activate if you already suffer from the Broken Status Effect.
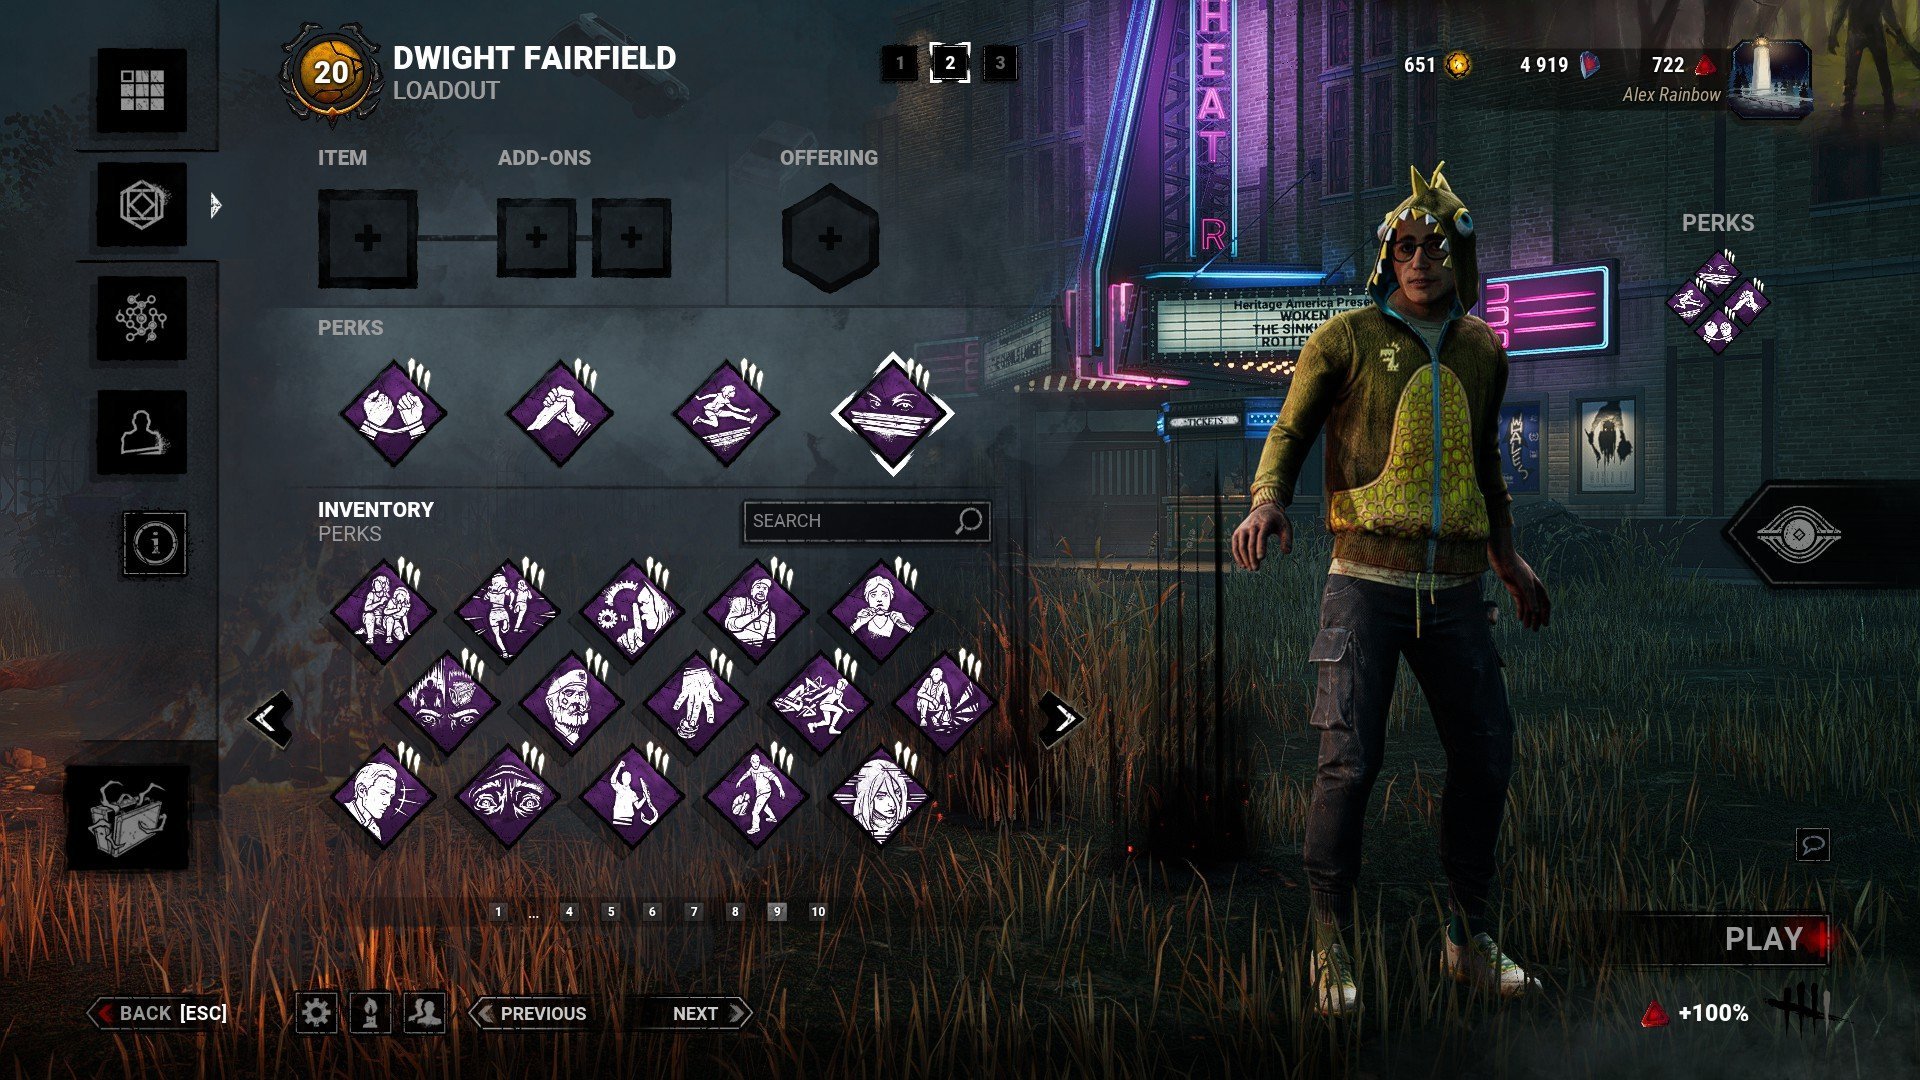
Top 5: Genrush/Repairer Build
- Stake Out
- Hyperfocus
- Prove Thyself
- Resilience / Déjà Vu
This build will help you repair Generators at maximum speed, especially when combined with Commodious Toolbox with Brand New Part and Wire Spool Add-ons.
Stake Out (Detective David Tapp)
A great Perk that speeds up any action that has Skill Checks (repairing, healing, Jigsaw Boxes searching). It also counters Killer Perks, which reduce the Success Zone or speed up Skill Checks.
- Every 15 seconds you are within the Killer’s Terror Radius, while not being chased, Stake Out gains one Token, up to a maximum of 2/3/4 Tokens.
- When Stake Out has at least one Token, Good Skill Checks consume one Token and are considered Great Skill Checks, granting an additional Progression bonus of +1 %.
- Great Skill Checks do not consume any Tokens.
Hyperfocus (Rebecca Chambers)
Pairs well with Stake Out, but can be used without it if you’re focused enough. Hyper focused even.
After hitting a Great Skill Check while repairing or healing, Hyperfocus gains one Token, up to a maximum of 6 Tokens. For each Token, the following stack-able effects are applied:
- Increases the Skill Check Trigger odds by +4 % per Token.
- Increases the Skill Check Rotation speed by +4 % per Token.
- Increases the Skill Check Bonus progression by 10/20/30 % of its base value per Token.
Hyperfocus loses all Tokens when succeeding a Good Skill Check, failing a Skill Check, or if the action is interrupted by any means.
Prove Thyself (Dwight Fairfield)
A good old Perk that significantly speeds up the cooperative repair of Generators. Suitable for both teams (SWF) and solo players who like to stay close to their teammates.
- For every other Survivor repairing a Generator within four meters, Prove Thyself increases your Repair speed by 6/8/10 %, up to a maximum of 18/24/30 %.
- This effect is also applied to all other Survivors in the range.
- Survivors can only be affected by one instance of Prove Thyself at a time.
Top 6: Rescuer/Healer Build
- Self-Care / Strength in Shadows
- Botany Knowledge
- We’ll Make It / Deliverance
- Desperate Measures / Empathic Connection
This build will help you quickly heal, pick up, and unhook your teammates and yourself.
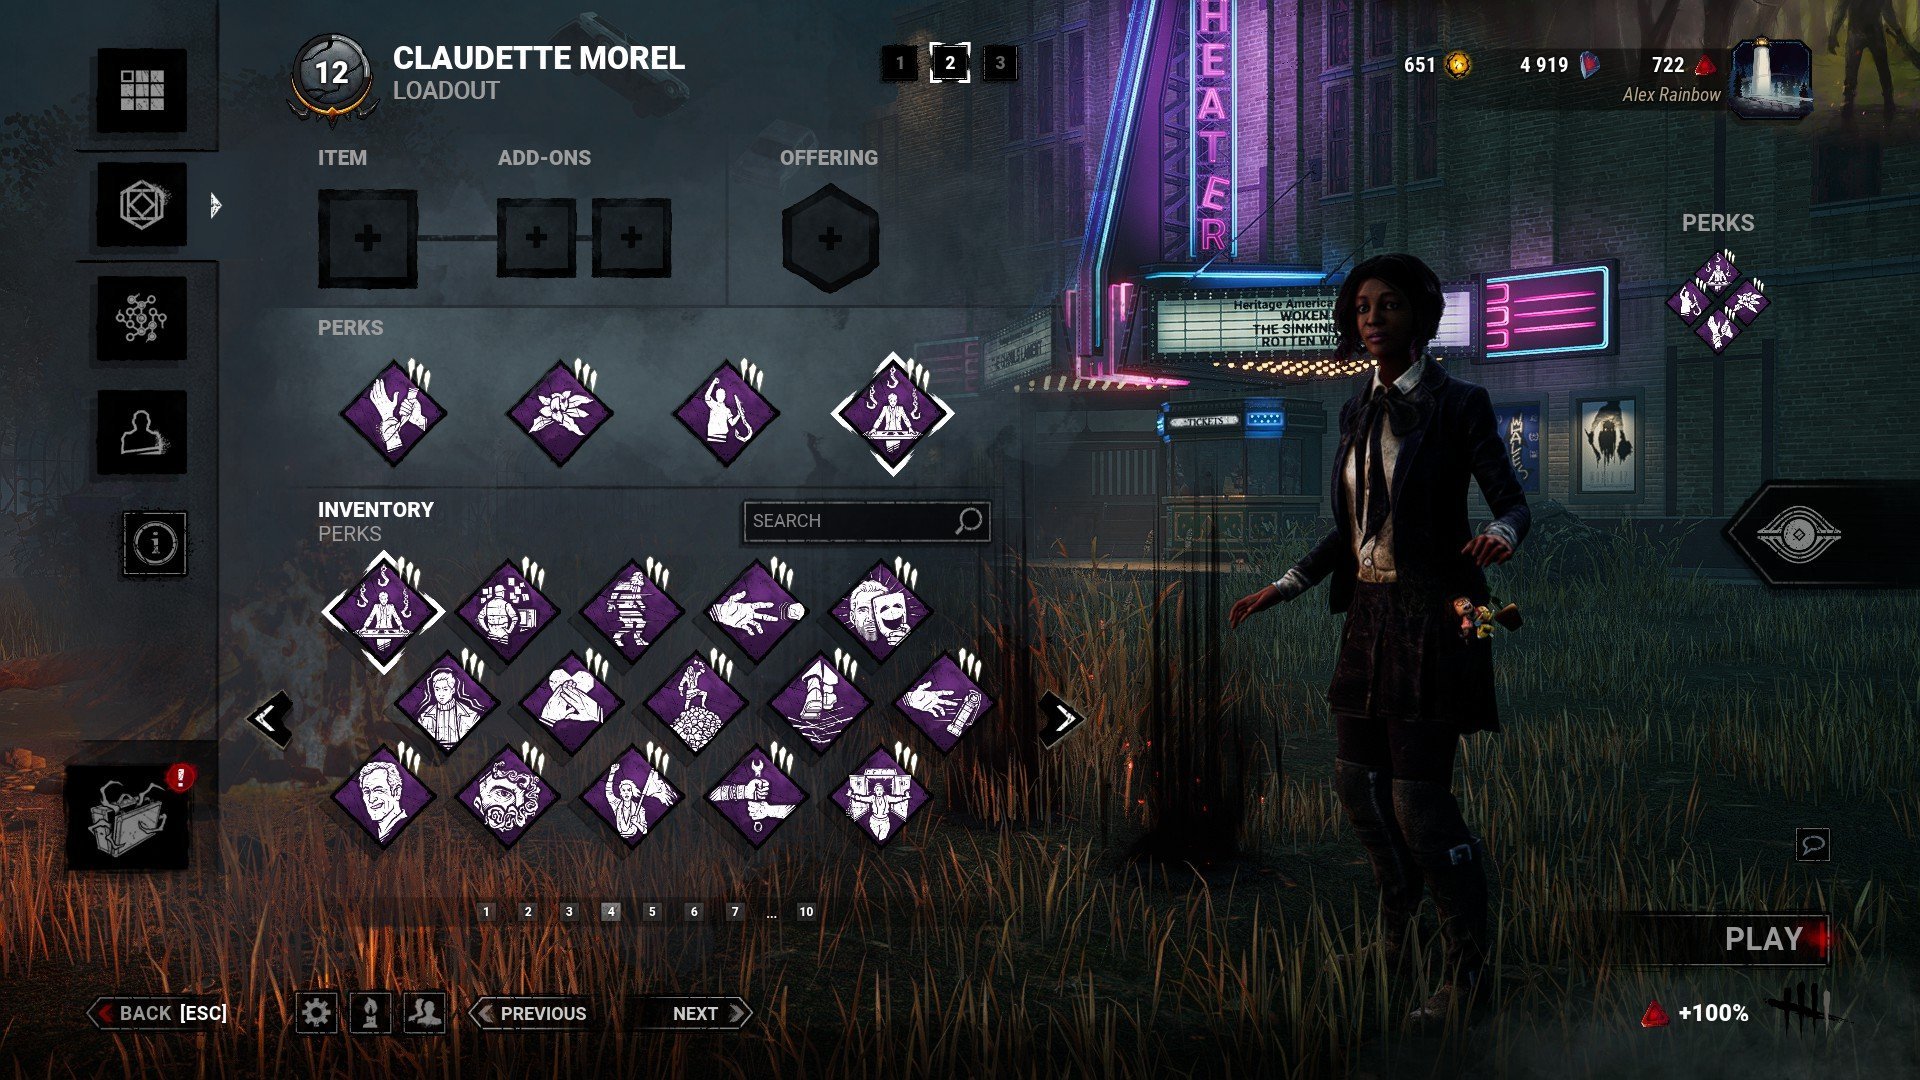
Self-Care (Claudette Morel)
The most controversial Perk. Some love it with all their hearts, others hate it. This Perk allows you to slowly heal yourself without additional conditions. Good for beginners, or in combination with Perks that speed up healing.
- Unlocks the Self-Care ability, allowing you to self-heal without needing a Med-Kit at 25/30/35 % of the normal Healing speed.
Botany Knowledge (Claudette Morel)
A perfect complement to Self-Care, also allows you to quickly heal teammates.
- Increases your Healing speed by 30/40/50 %.
- Reduces the Healing efficiency of Med-Kits by -20 %.
We’ll Make It (General)
- Increases your Altruistic Healing speed by 100 % for the next 30/60/90 seconds whenever you rescue another Survivor from a Hook.
Deliverance (Adam Francis)
One of the powerful Perks that allows you to unhook yourself in the first phase. Without this Perk or Luck Perks/Offerings, the chance of self-unhooking is only 4% for each attempt out of three possible.
After performing a Safe Hook Rescue on another Survivor, Deliverance activates:
- Grants the ability to successfully unhook yourself.
- After successfully unhooking yourself, you suffer from the Broken Status Effect for 100/80/60 seconds.
- Deliverance is not available during the second Hook Stage or if you are hooked as the last living Survivor in the Trial, regardless of your Hook Stage.
Desperate Measures (Felix Richter)
- Increases your Action speeds in Healing and Unhooking by 10/12/14 % for each injured, hooked, or dying Survivor, up to a maximum of 40/48/56 %.
Empathic Connection (Yoichi Asakawa)
- Whenever another Survivor is injured, they can see your Aura when within 32/64/96 meters of your location.
- You heal other Survivors 10 % faster.
Top 7: Bodyguard/Tank Build
- Adrenaline / Strength in Shadows
- Unbreakable / Mettle of Man
- For the People
- Buckle Up
This build will help you instantly pick up teammates from the ground and get protection hits for them, and then recover on your own.
Unbreakable (Bill Overbeck)
An excellent Perk that allows you to quickly recover on the ground, and also pick yourself up off the ground once per Trial.
- Once per Trial, you can completely recover from the Dying State.
- Your Recovery speed is increased by 25/30/35 %.
Mettle of Man (Ash Williams)
A fun Perk for team players who like to have each other’s backs. High risk, high reward.
After triggering your third Protection Hit, Mettle of Man activates:
- While injured, Mettle of Man shields you from going down the next time you take damage.
- Healing back to full health will reveal your Aura to the Killer whenever you are farther than 12/14/16 meters from them.
- Mettle of Man deactivates the next time you are put into the Dying State.
- Increases the Odds of becoming the initial Obsession of the Killer by +100 %.
- The Killer can only be obsessed with one Survivor at a time.
For the People (Zarina Kassir)
This Perk allows you to instantly heal one state of your teammate’s health in exchange for your own state.
While healthy and healing another Survivor without using a Med-Kit, press the Active Ability button to activate For the People:
- Trades one Health State with that Survivor:
- Instantly heals them to the Injured State, if they were dying or suffering from the Deep Wound Status Effect.
- Instantly heals them to full health, if they were injured.
- You become injured and suffer from the Broken Status Effect for the next 80/70/60 seconds.
- You become the Killer’s Obsession, if not already.
- Reduces the odds of becoming the initial Obsession of the Killer by -100 %.
- The Killer can only be obsessed with one Survivor at a time.
Buckle Up (Ash Williams)
Unlocks potential in your Aura-reading ability.
When healing a Survivor in the Dying State, Buckle Up activates:
- The Aura of the Killer is revealed to both of you.
- Completing a Healing Action on the dying Survivor grants both of you the Endurance Status Effect for 6/8/10 seconds.
- Endurance is canceled prematurely when performing a Conspicuous Action.
Top 8: Invisibility Build
- Distortion / Urban Evasion
- Iron Will / Off the Record
- Lucky Break / Fixated
- Lithe / Smash Hit
This build will help you remain unnoticed and quickly elude the Killer during the chase.
Distortion (Jeff Johansen)
A great Perk for beginners, as well as those who like calmer gameplay with a minimum of chases. Counters all Killer Perks and Add-ons for reading Auras.
Start the Trial with three Tokens.
Whenever the Killer attempts to read your Aura, Distortion activates, consuming one Token, and the following effects apply:
- Blocks your Aura from being read for the next 6/8/10 seconds.
- Suppresses the creation of Scratch Marks for the next 6/8/10 seconds.
- For every 30 seconds, you are within the Killer’s Terror Radius, Distortion recharges one Token.
- Distortion cannot accumulate more Tokens than its initial count.
- Distortion does not activate when you are in the Dying State.
Urban Evasion (Nea Karlsson)
- Increases your Crouching Movement speed by 90/95/100 %.
Iron Will (Jake Park)
- Reduces the volume of Grunts of Pain while in the Injured State by 25/50/75 %.
- Iron Will cannot be used when suffering from Exhausted but does not cause the Exhausted Status Effect.
Lucky Break (Yui Kimura)
Whenever you are in the Injured State, Lucky Break activates:
- Suppresses your Pools of Blood and Scratch Marks for a maximum of 40/50/60 seconds, after which Lucky Break deactivates.
- Each second spent healing another Survivor recharges Lucky Break by one second up to its maximum Effect duration.
- Lucky Break also deactivates whenever you are Healthy or in the Dying State.
Fixated (Nancy Wheeler)
This Perk works well in combination with Sprint Burst, allowing you to move around the map faster on foot. But it can also be useful in chases.
- Increases your Walking speed by 10/15/20 %.
- Unlocks the ability to see your own Scratch Marks.
Smash Hit (Yun-Jin Lee)
Stunning the Killer with a Pallet triggers Smash Hit:
- Grants a +50 % Haste Status Effect for four seconds.
- Smash Hit causes the Exhausted Status Effect for 30/25/20 seconds.
- Smash Hit cannot be used when Exhausted.
Top 9: Anti-Slug Build
- Unbreakable
- Tenacity
- Power Struggle
- Plot Twist / Flip-Flop
This build will prevent Killer from leaving you on the ground, and if they do they will regret it.
Tenacity (Detective David Tapp)
- Increases your Crawling speed by 30/40/50 %.
- Grants the ability to crawl and recover at the same time.
- Reduces the volume of Grunts of Pain while in the Dying State by -75 %.
Power Struggle (Élodie Rakoto)
One of the niche and unusual Survivor Perks, which allows you to free yourself from the Killer’s grasp, in addition to the Decisive Strike.
Reveals the Auras of available Pallets whenever you are in the Dying State.
While being carried by The Killer, reaching 25/20/15 % Wiggling progression activates Power Struggle:
- You can drop a nearby, standing Pallet to stun the Killer and escape their grasp.
- Power Struggle deactivates after triggering successfully.
Flip-Flop (Ash Williams)
While in the Dying State, 50 % of your Recovery progression is converted into Wiggling progression, up to a maximum of 40/45/50 %, once the Killer picks you up.
Top 10: Lockers Build
- Quick & Quiet
- Deception / Flashbang
- Head On
- Inner Strength
This build will make you the Locker King! Allowing you to use them during the chase, trick the Killer, and heal inside.
Quick & Quiet (Meg Thomas)
- Suppresses both the Loud Noise Notification and the sound effects triggered by rushing to vault Windows, Pallets, or rushing to enter or exit Lockers.
- Quick & Quiet has a cool-down of 30/25/20 seconds.
Deception (Élodie Rakoto)
- Interacting with a Locker while holding the Sprint button has the following effects:
- You do not enter the Locker.
- The Locker’s doors swing open and close swiftly, feining a Survivor entering it.
- Triggers a Loud Noise Notification at the Locker’s location, feining a Survivor rushing to enter it.
- Suppresses the creation of Scratch Marks and Pools of Blood for 3 seconds.
- Deception has a cool-down of 60/50/40 seconds.
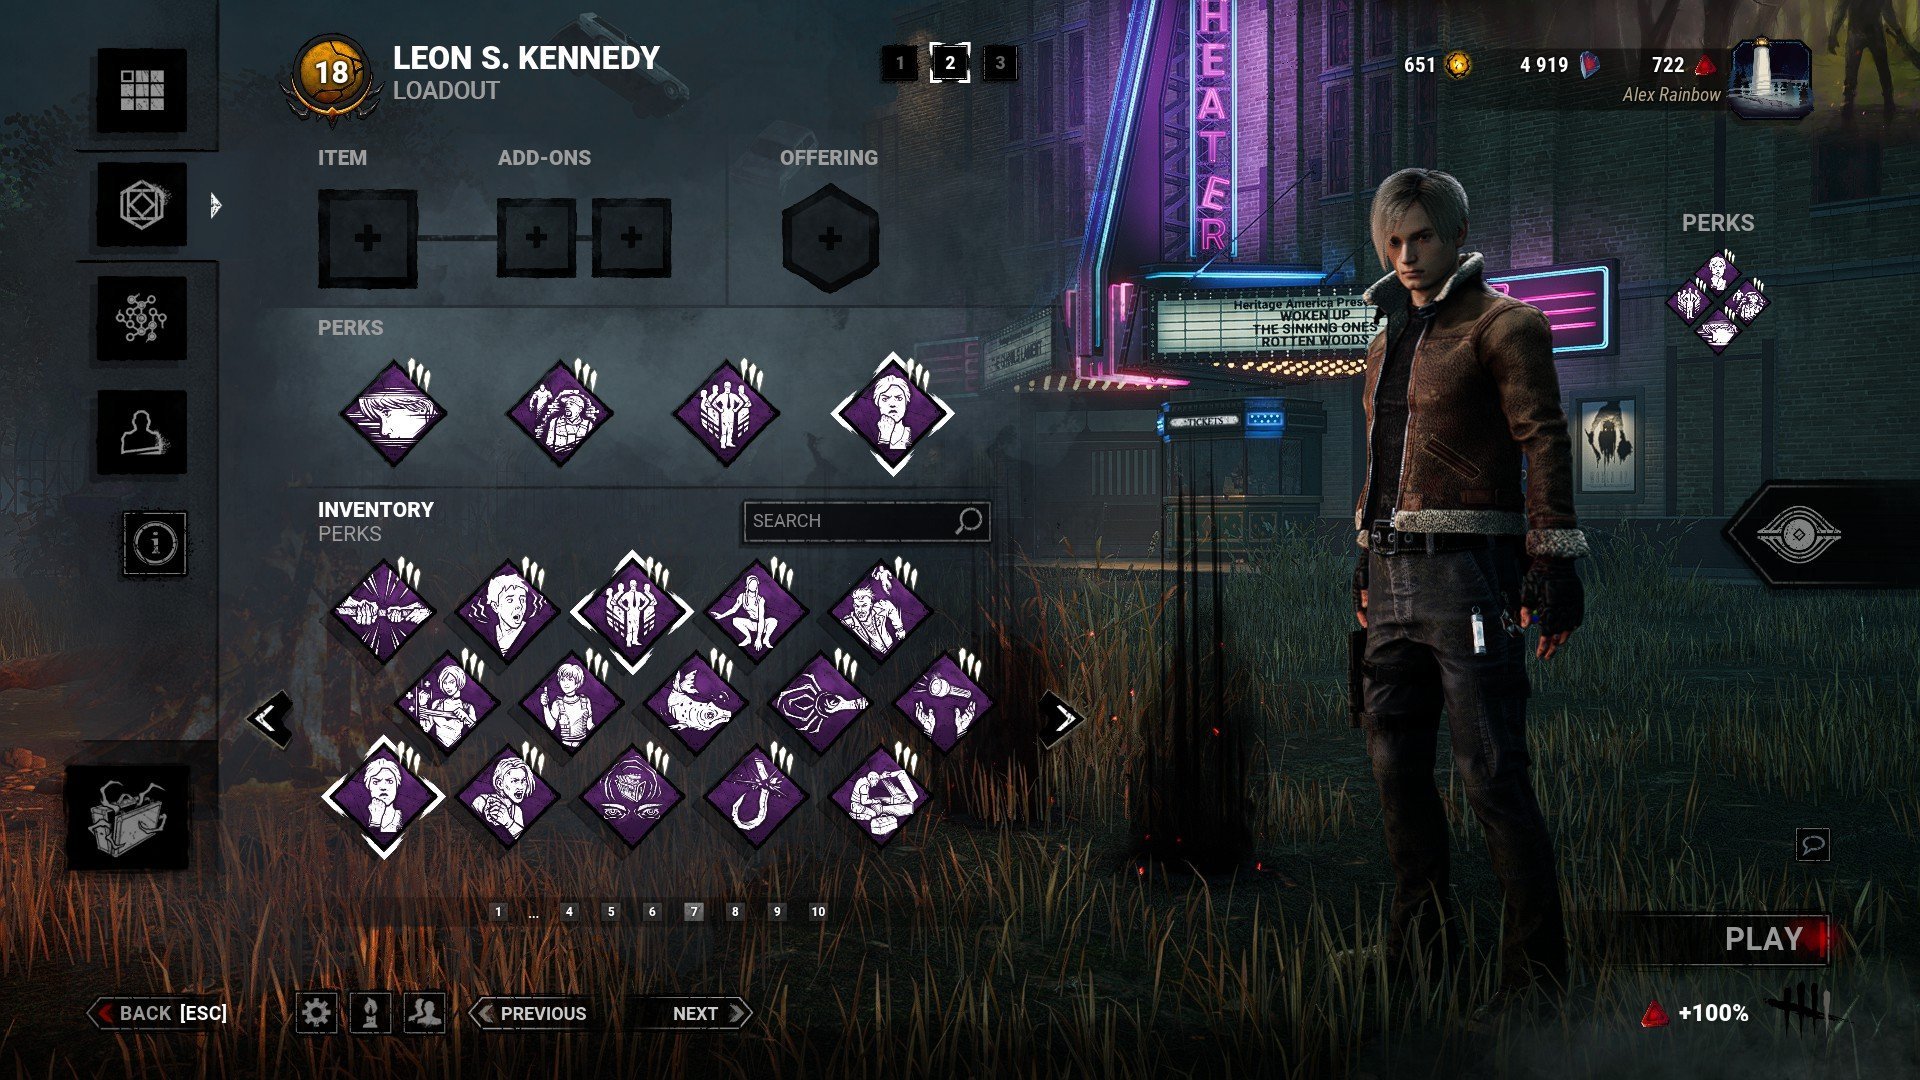
Flashbang (Leon S. Kennedy)
A homemade Firecracker that can save a teammate from the Killer’s grasp or help you in the chase.
After repairing Generators for a total of 70/60/50 %, Flashbang activates:
- Enter any Locker and press the Ability button to craft a Flash Grenade.
- The Flashbang is left behind when escaping the Trial.
Head On (Jane Romero)
While standing in a Locker for 3 seconds, Head On activates:
- When rushing out of a Locker, stun the Killer for 3 seconds if they are within range.
- Head On causes the Exhausted Status Effect for 60/50/40 seconds.
- Head On cannot be used when Exhausted or when you have accrued Idle Crows.
Inner Strength (Nancy Wheeler)
One of the great Perks for self-healing.
Each time you cleanse a Totem, Inner Strength activates:
- You are automatically healed one Health State while hiding inside a Locker for 10/9/8 seconds when injured or suffering from the Deep Wound Status Effect.
- Inner Strength does not activate if you currently suffer from the Broken Status Effect.
Conclusions
This concludes the Top 10 best DbD builds for Survivors. We’ve taken a detailed look at the best Perks in our opinion and we hope you find this Guide useful. Of course, you can change the Perks to your taste and look for the build that suits you and your playstyle! Please leave comments, likes, and shares.
See you in the Fog.


Comments
Locker build OP asf
Hello! Thank you for your comment!
Yes, it’s especially good in SWF when your friend can lure Killer to your locker