Dead by Daylight Guide for Beginners 2024
In this Dead by Daylight guide for beginners, we will tell you everything you wanted to know, but had no one to ask!

Table of Contents
Key Takeaways
- General Dead by Daylight info
- A short guide for Survivors
- A short guide for Killers
If you have already tried to play DbD, you have probably faced some difficulties. Either you were too scared as the Survivor, or you felt too helpless as the Killer, here’s a DbD guide for beginners to help you better navigate the terrific world of Dead by Daylight.
Basic Game Guide for Beginners
Dead by Daylight is a multiplayer action/horror game where one player takes on the role of a brutal Killer and the other four play as Survivors. As a Killer, your goal is to sacrifice as many Survivors as possible. As Survivors, your goal is to work together to evade, escape, and, most importantly, stay alive.
The main feature of DbD is asymmetry, i.e. four vs. one. Moreover, each Killer has unique Powers, but all Survivors are essentially the same. Each character has three Unique Perks that can be “learned” by other characters. In addition to Unique Perks, the game also has General Perks, which you can unlock from the very beginning.
The Entity

Ever wonder why the game world of DbD is called the World of the Entity? The Entity is a non-playable Character, an almighty malevolent being, traveling through the cosmos and slowly consuming worlds.
It creates the nightmarish Realms of the Trial Grounds to trap its victims, Survivors and Killers in an endless cycle of Trials, with the intent of feeding on its victims’ strongest emotions, allowing it to grow in power and slowly consume another world.
Simply put, the Entity, not Killers, is the main antagonist of DbD. But we’ll talk about the lore another time.
Realms and Maps
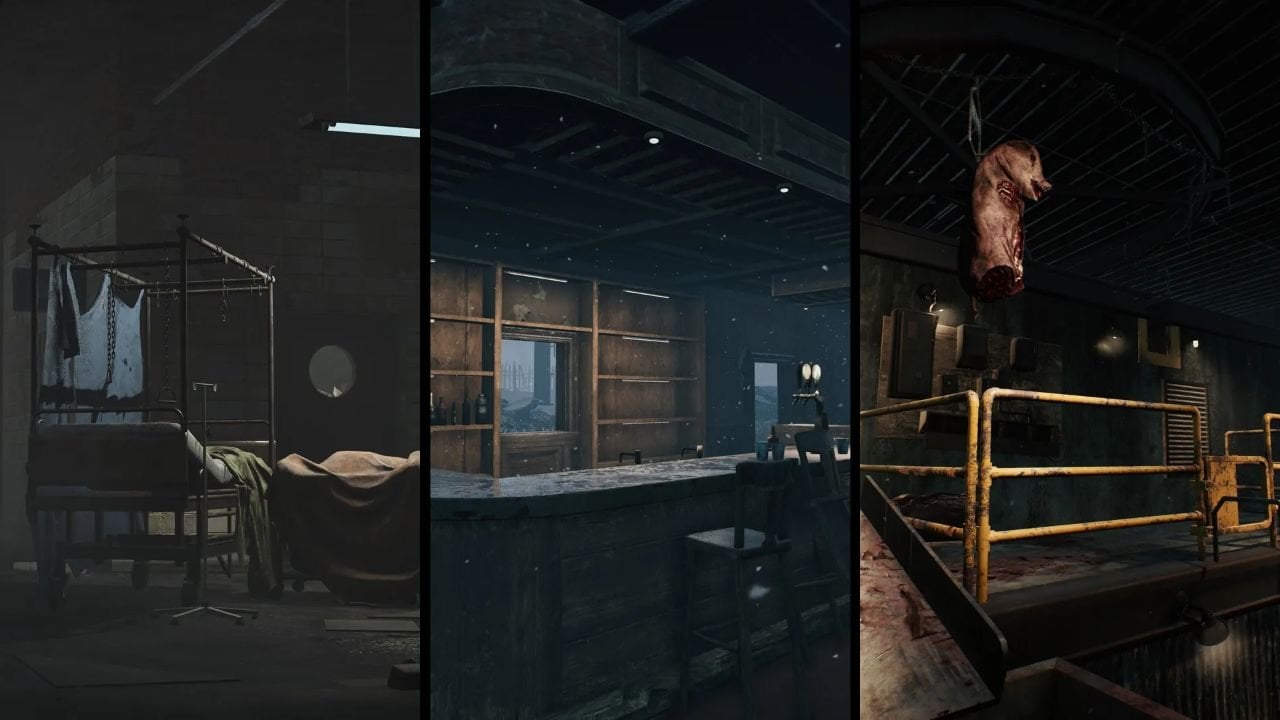
The Realms are semi-procedural locations within the World of The Entity. Each Realm was the site of a violent tragedy in the past, and they now serve as the Arenas for The Entity’s trials.
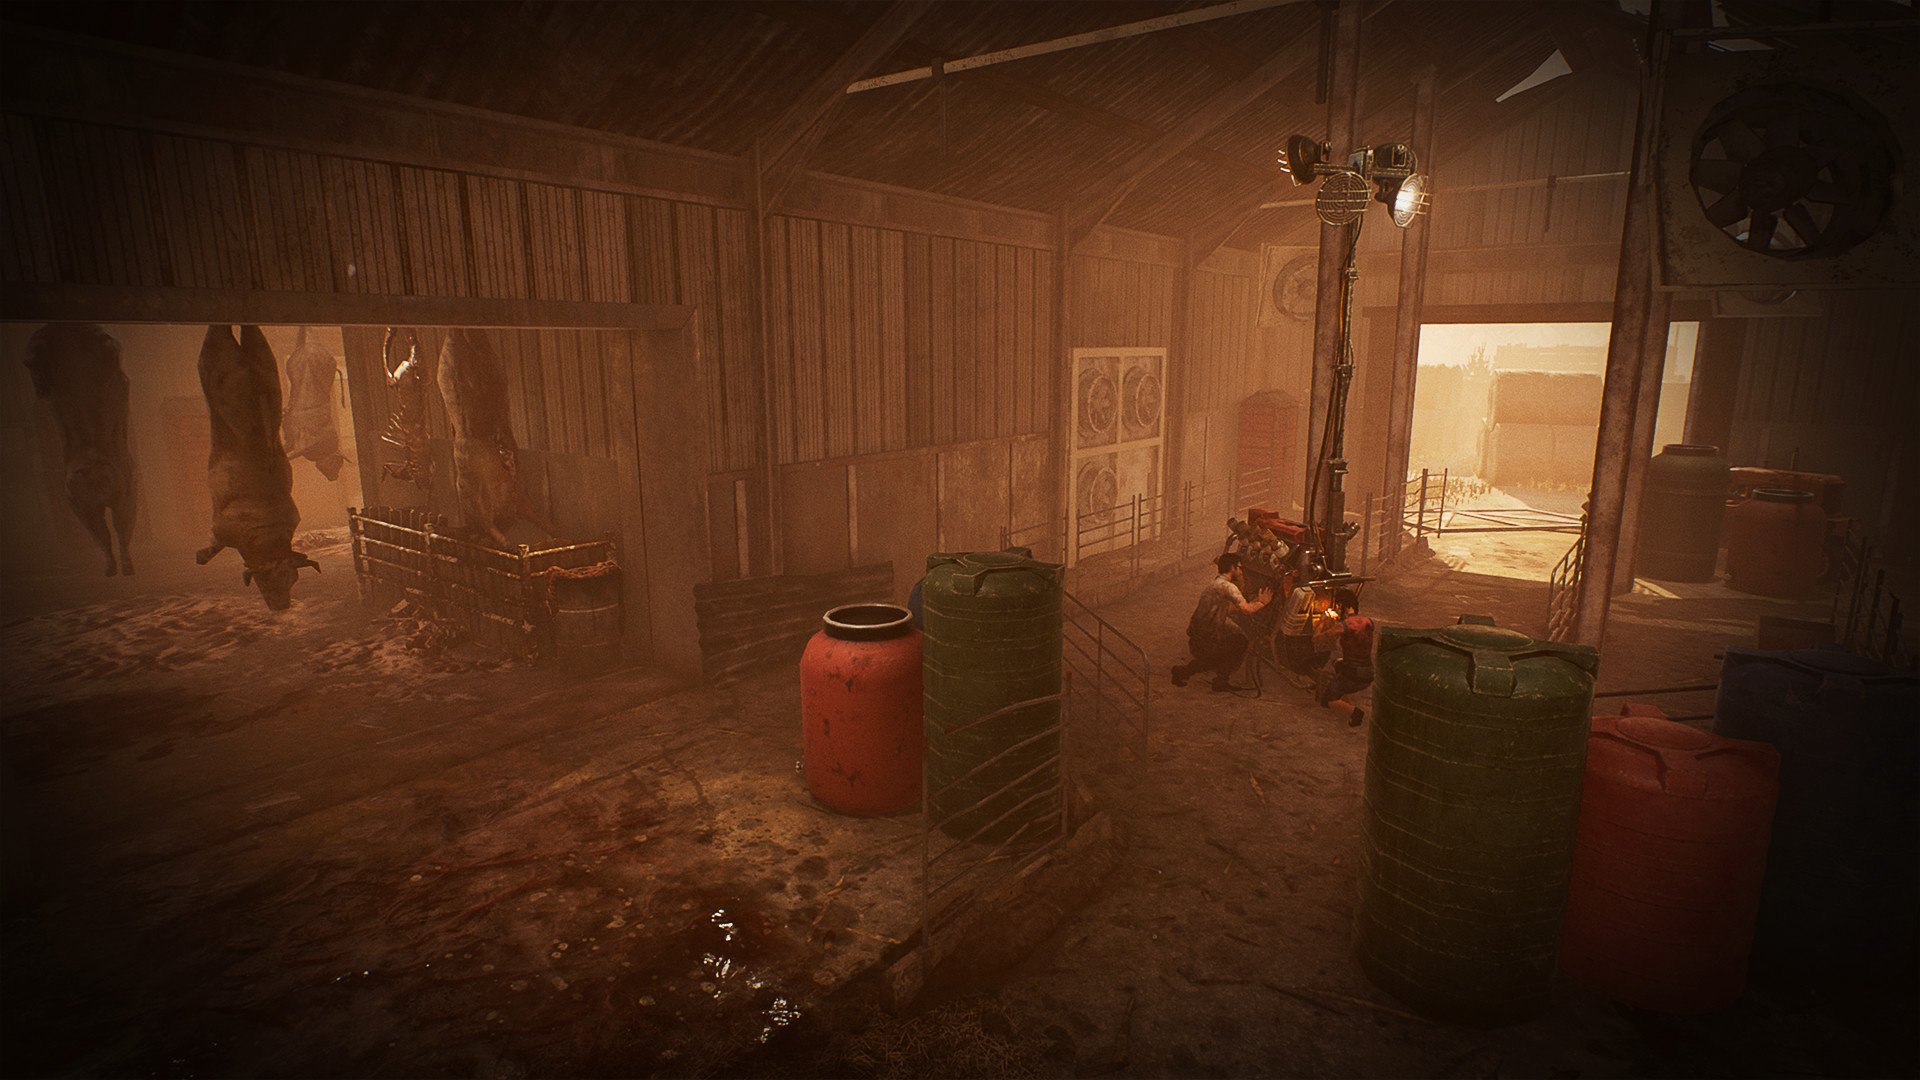
Each Realm has several or only one Map. The original Realms are The MacMillan Estate, Autohaven Wreckers, and Coldwind Farm. Each has five Maps.
Each Map always has Interactable objects: Generators, Hooks, Chests, Totems, Lockers, Gates, and Hatch, as well as randomized structures with Pallets and Windows (Maze Tiles). Some Killers can have their unique intractable objects; this is called interaction with the Killer’s Power. For example, Bear Traps, Supply Cases, Jigsaw Boxes, Alarm Clocks, and others. The locations of all these objects are usually generated randomly.
Typically, each Map also has the Main Building and the Killer’s Shack, which contain the Basement with Hooks. Most locations of Maze Tiles on maps are randomly generated, including the location of all Interactables.
Trials and Leveling Up
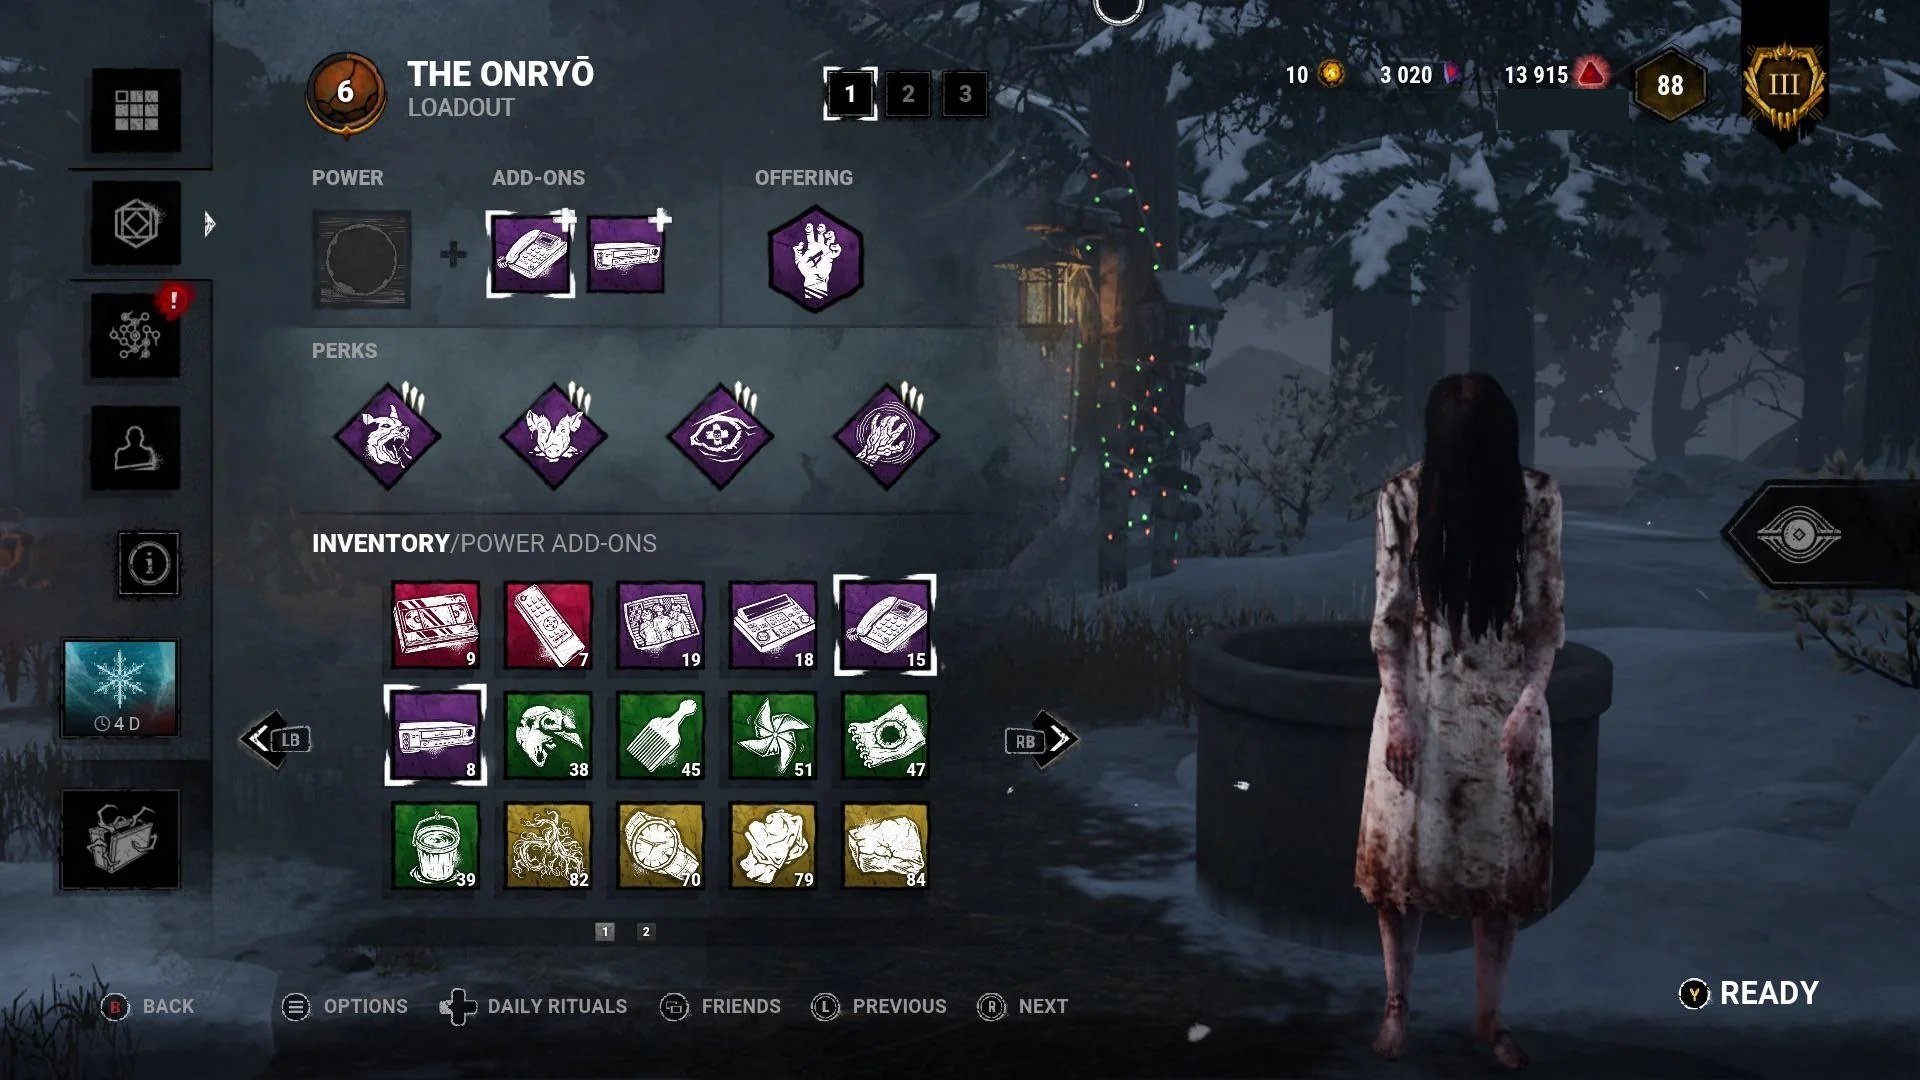
Before the start of each Trial (Match), the players can go to the Inventory and select their Loadout:
- Survivors can take to the Trial one item (e.g. Medkits, Toolboxes, Flashlights), two Add-ons for it, four Perks, and one Offering (e.g. bonus points, selected maps, luck).
- Killers can take to the Trial two Add-ons for their Power, four Perks, and one Offering.
You can get all this through the Bloodweb. The Bloodweb is the character progression mechanic of Dead by Daylight that allows players to purchase various Unlockables (Items, Add-ons, Offerings, Perks levels) in exchange for the Bloodpoints from playing Trials.
There are three main currencies in DbD:
- Bloodpoints: General progression currency for a player’s characters. They are earned easily during each Trial.
- Iridescent Shards: These can be used to unlock Unique Perks, non-licensed Characters, and various cosmetic pieces in the in-game store. Earned by gaining Experience Points (XP) from playing Trials and thus progressing one’s player Account Level.
- Auric Cells: Store currency. It can generally only be acquired by purchasing them through the in-game store.
Short Dead by Daylight Guide for Survivors

Survivors’ goal is to repair five Generators (out of seven available on the map), open the Exit Gates, and escape.
Survivors are very vulnerable and have few methods of fighting back against the Killer. To avoid being caught, they should start by learning how to hide. Basic strategies can include crouching behind obstacles, finding cover in tall grass, tucking into dark corners, or getting into Lockers.
But be careful! If you stay in one place for too long, Crows will appear above your Survivor and betray your location to the Killer.
To understand how to stealth effectively, Survivors should know Killer’s abilities and Power. All Killers can see and hear:
- Auras of Generators
- Scratch Marks
- Loud noise notifications
- Breathing of Healthy Survivors
- Groaning of Injured and Downed Survivors
- Bloodstains
- Crows
Some Killers also have Killer Instinct and Powers that can reveal Survivors’ locations.
Survivors have a versatile third-person view that provides them with 360° situational awareness. It can also be used to look around corners or over obstacles and locate the Killer without being seen.
The Killer’s approach is indicated by a Heartbeat. As the Killer gets closer, the Heartbeat gets more intense. This is called Killer’s Terror Radius. You can make this cue visual in addition to audio. This is useful for hard-hearing people or those who perceive information visually better.
The Red Stain is an integral game mechanic that intends to betray a Killer’s location and movement direction to the Survivors when close to them. It is especially good for quickly determining where the Killer is looking.
The Killer can injure the Survivor before downing them. Each Survivor can be hooked twice before being sacrificed. In total, Killer can make up to 12 hooks per Trial.
Survivors can unhook each other (and sometimes themselves) as well as heal injuries of themselves and others. In addition, Survivors can save their teammates when one is already on the Killer’s shoulder.
Some Tips for Beginner Survivors
- Learn to determine the distance to the Killer by the intensity of the Terror Radius.
- Based on the Terror Radius, hide in advance.
- Try to repair Generators starting from the center of the map or in the Main Building first.
- Learn to look behind you while being chased by the Killer.
- Remember the Killers’ Powers, Perks, and the location of Mazes on each Map.
- Help your teammates, unhook them, and heal them. Teamwork is important!
- Learn to understand what your teammates are doing based on in-game HUD. Don’t cluster in one place.
- Don’t vault Windows and Pallets quickly when you’re not in a chase. Try not to make noise if a Killer is nearby.
Short Dead by Daylight Guide for Killers
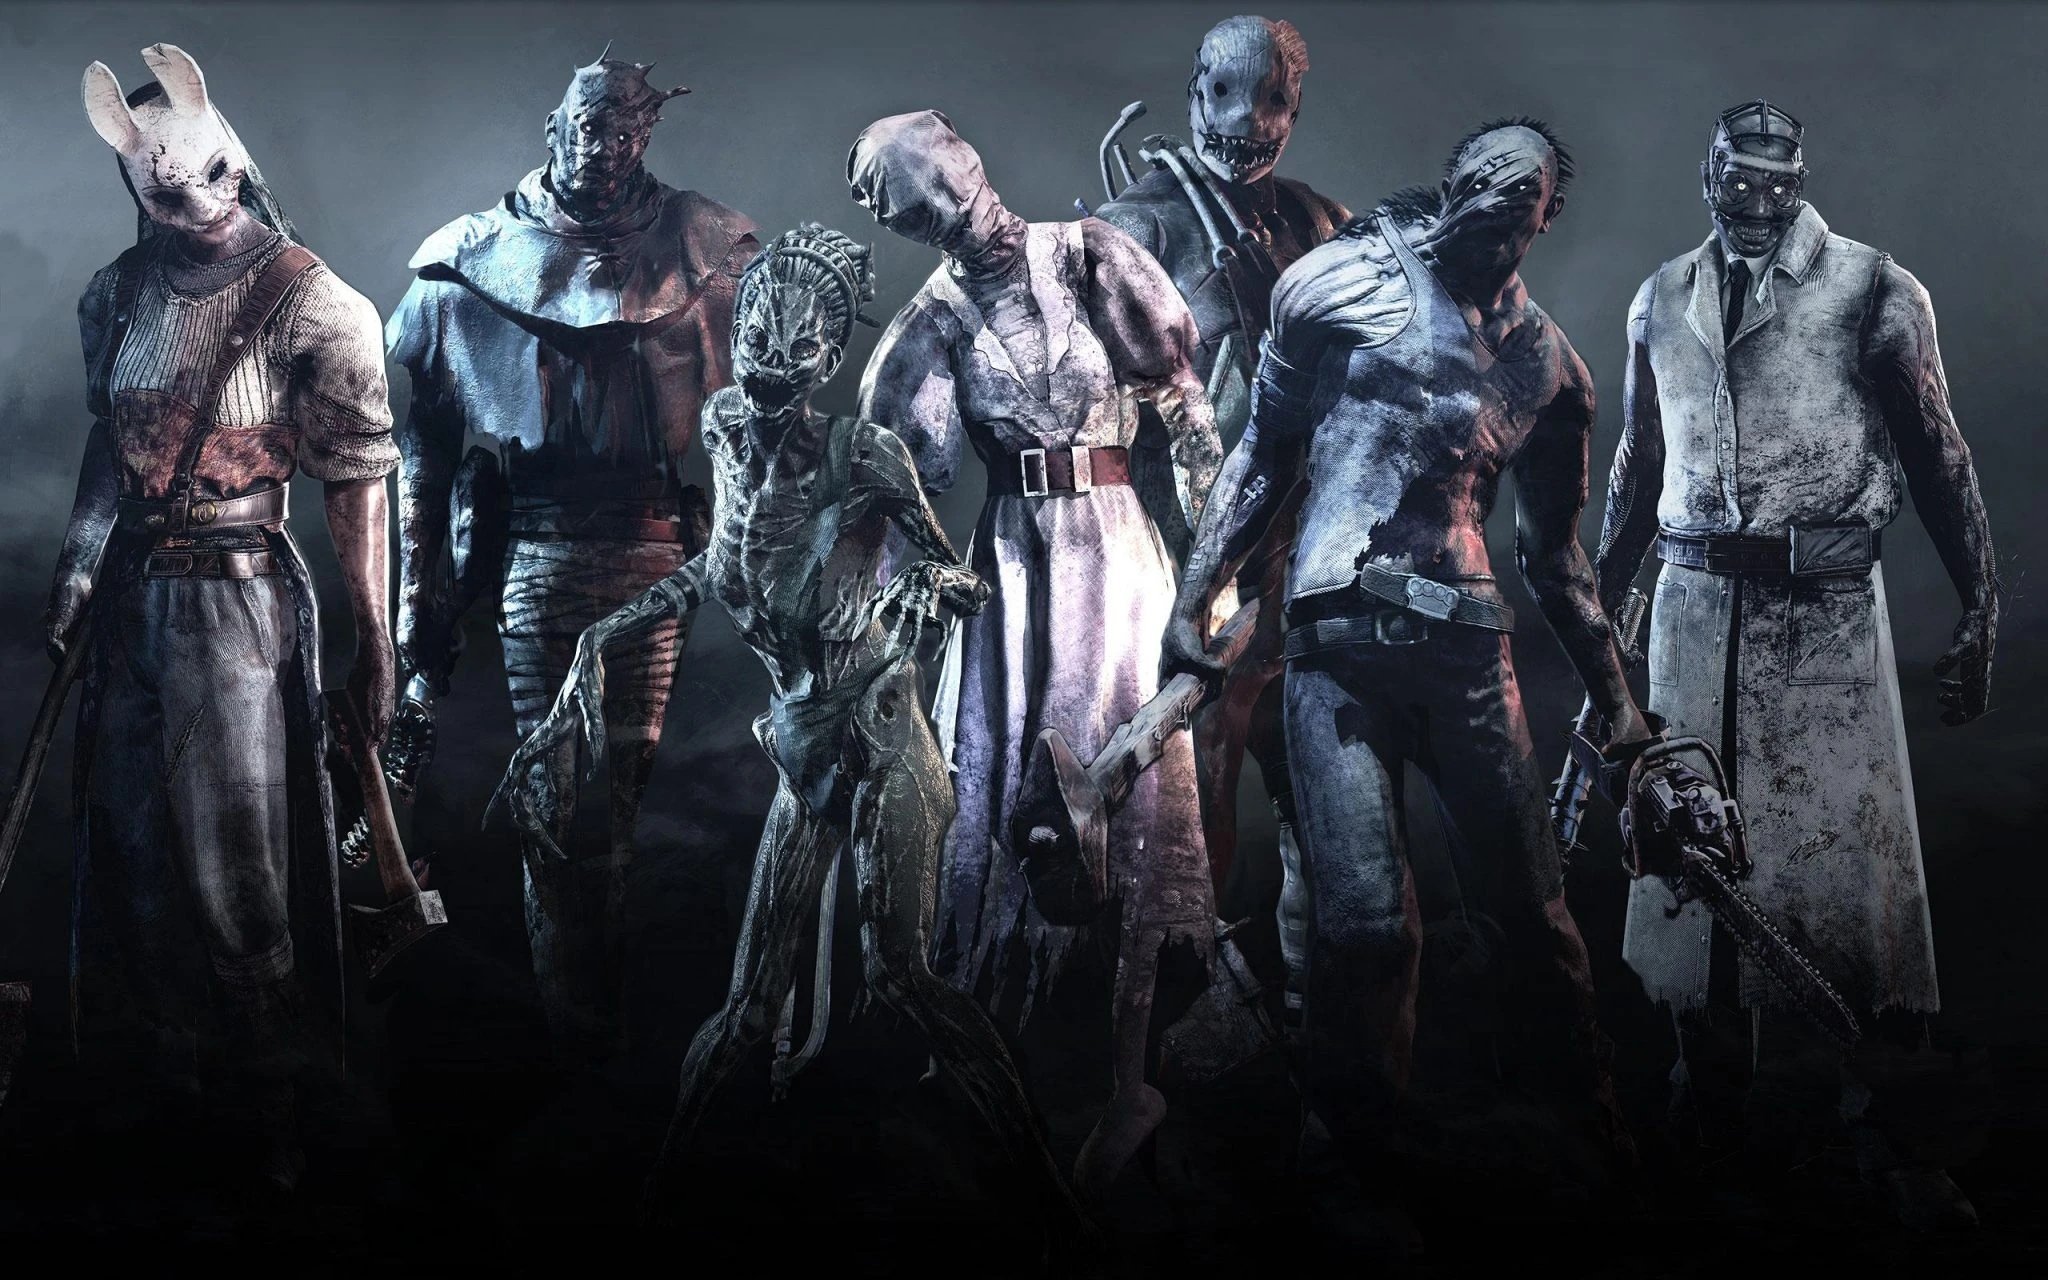
Killer’s goal is to Sacrifice (or Kill) all four Survivors and prevent them from Escaping.
Each Killer has their unique Power, that can’t be changed, and their unique Add-ons to it. To understand how to find Survivors effectively, Killers should be attentive to the audio cues made by nearby Survivors. All Survivors make noise of:
- Heavy breathing after running
- Footsteps
- Cracking branches
- Rustling grass
- Cawing of startled Crows
- Groaning when Injured or Downed
- Healing
- Sabotaging Hooks
- Searching in Chests
- Cleansing Totems
- Opening Gates
All Killers (except Chucky) have a first-person view. You can increase the FOV slightly using game settings. However, always keep in mind that Survivors have much better vision than Killers do. And they often take advantage of Killer’s blind spots!
Running Survivors leave Scratch Marks only Killer can see. These tracks last a few seconds before they fade, and can be very helpful for locating and tracking Survivors.
Another way for Killers to track Survivors is by the Bloodstains that they leave behind while Injured or Dying. Bloodstains are harder to see than Scratch Marks, but they are more precise and Survivors can’t stop bleeding until they recover back to healthy status.
Crows are another way to help Killers locate the Survivors. They will make noise and can be seen flying away if the Survivors startle them. Note that Killers can startle the Crows too. They’re normally in pairs and can be seen throughout the Map standing on the ground or on top of rocks or crates.
If a Survivor stays in one area for too long without performing any interactions, Stillness Crows (or Idle Crows) will start flying in circles above them, giving away their precise position.
When the Trial begins, the first thing most Killers will try to do is locate some Survivors. Survivors must repair Generators to escape, so Killers are likely to encounter Survivors there. Fortunately, Killers can read the Auras of Generators that require repairs, allowing them to see their outlines with unlimited range.
Killers can Attack the Survivors with Basic Attack (M1 by default), or with their Special Attack or Power (M2 by default).
Basic (or Weapon) Attacks have two forms:
- The quick attack is performed by simply tapping the Attack button. As the name implies, it is quick but has a very short range.
- The lunge attack is performed by holding down the attack button. It provides greater reach at the cost of longer recovery time and can take some practice to master.
Killers can also Interrupt most of the Survivors’ actions. This is giving the Killer a free grab and pick up. To initiate an interrupt, tap the attack button at close range while the Survivor is occupied. Killers can interrupt the Survivors while they’re:
- Vaulting (injured state only)
- Repairing Generators
- Interact with some Killer’s Power
- Cleansing Totem
- Searching in Chests
- Sabotaging Hook
- Entering/Exiting Lockers
- Opening Exit Gates
While in chase after a Survivor, Killer can develop a boiling Bloodlust. Bloodlust is a Status Effect that grants the Killer increased movement speed, to catch the Survivor faster.
Once a Killer catches a Survivor, their next goal is to carry them to a Hook. While being carried, Survivors can wiggle and attempt to break free. Their struggles will affect the Killer’s movements.
Some Tips for Beginner Killers
- Choose the Killer you like and learn to play them without any Add-ons first.
- It’s better to play with headphones to hear the audio cues more clearly.
- Remember the Survivors’ voices, sounds, Items, Perks, and the location of Mazes on each Map.
- At the beginning of the Trial, go to the Generator furthest from you.
- Learn to walk backward to hide your Red Stain from Survivors in tall structures.
- Most Pallets can be played around rather than broken.
- Not all Killers play the same. Try different ones, and learn their strengths and weaknesses.
- If your Killer is not mobile, it is easier to select three nearby Generators and defend only them, rather than patrol the entire Map.
- Try to play fair. Remember that real people are playing against you.
Hall of Fame in Dead by Daylight

DbD features many characters from classic horror franchises, often voiced by their legendary actors themselves.
- Bill Overbeck from Left 4 Dead
- Michael Myers and Laurie Strode from Halloween
- Leatherface from The Texas Chainsaw Massacre
- Freddy Krueger and Quentin Smith from A Nightmare on Elm Street
- Amanda Young and Detective Tapp from Saw
- Ash Williams from Evil Dead
- Ghostface from Scream
- Demogorgon, Nancy Wheeler, and Steve Harrington from Stranger Things
- Pyramid Head and Cheryl Mason from Silent Hill
- Nemesis, Albert Wesker, Jill Valentine, Leon S. Kennedy, Ada Wong, and Rebecca Chambers from Resident Evil
- Pinhead from Hellraiser
- Sadako and Yoichi Asakawa from Ring
- Nicolas Cage
- Xenomorph and Ellen Ripley from Alien
- Chucky from Child’s Play
- Alan Wake
Conclusions
This concludes our short guide to Dead by Daylight for beginners. However, DbD is a very large, extensive, and varied game. There are still a lot of interesting, unknown, and surprising things left in it. If you want to know more, stay tuned for more incoming guides. Please, like, share, and subscribe to the blog!
See you in the Fog.




Comments