Ultimate Destiny 2 Onslaught Guide: Overview, Tips, Builds
The Destiny 2 Onslaught guide is finally here to help you to beat this activity!
Table of Contents
Key Takeaways:
- Onslaught Overview includes an overview of the activity itself, an analysis of its mechanics, and maps.
- We also leave various tips for Onslaught, such as weapons, builds, how to play correctly, etc.
- Finally, here you will find a short review of Onslaught loot pool with god roll recommendations.
- The Onslaught itself is a wave clear type of mode, which you could even beat by finishing wave 50.
Into the Light has introduced a lot of new content for players, but for many, the biggest surprise was the Onslaught activity in Destiny 2. This activity delighted many with its deep mechanics, engaging battles, and high difficulty requiring preparation. That’s why we’ve put together this guide: you can learn how to beat Onslaught in Destiny 2 and what might come in handy. Sit tight, and we’re going to win every wave!
What is Destiny 2 Onslaught?
D2 Onslaught is an incredibly complex activity. The whole point is to defend the Advanced Defense Unit (ADU) from waves of enemies and destroy the Boss at the end of every ten waves to receive a loot chest. You need to pass 50 waves, where the difficulty gradually increases and the location of the defense object changes. Essentially, this is all you need to know to understand the general concept of Onslaught, but we will delve into the activity in more detail later.
How to Play Onslaught in Destiny 2?
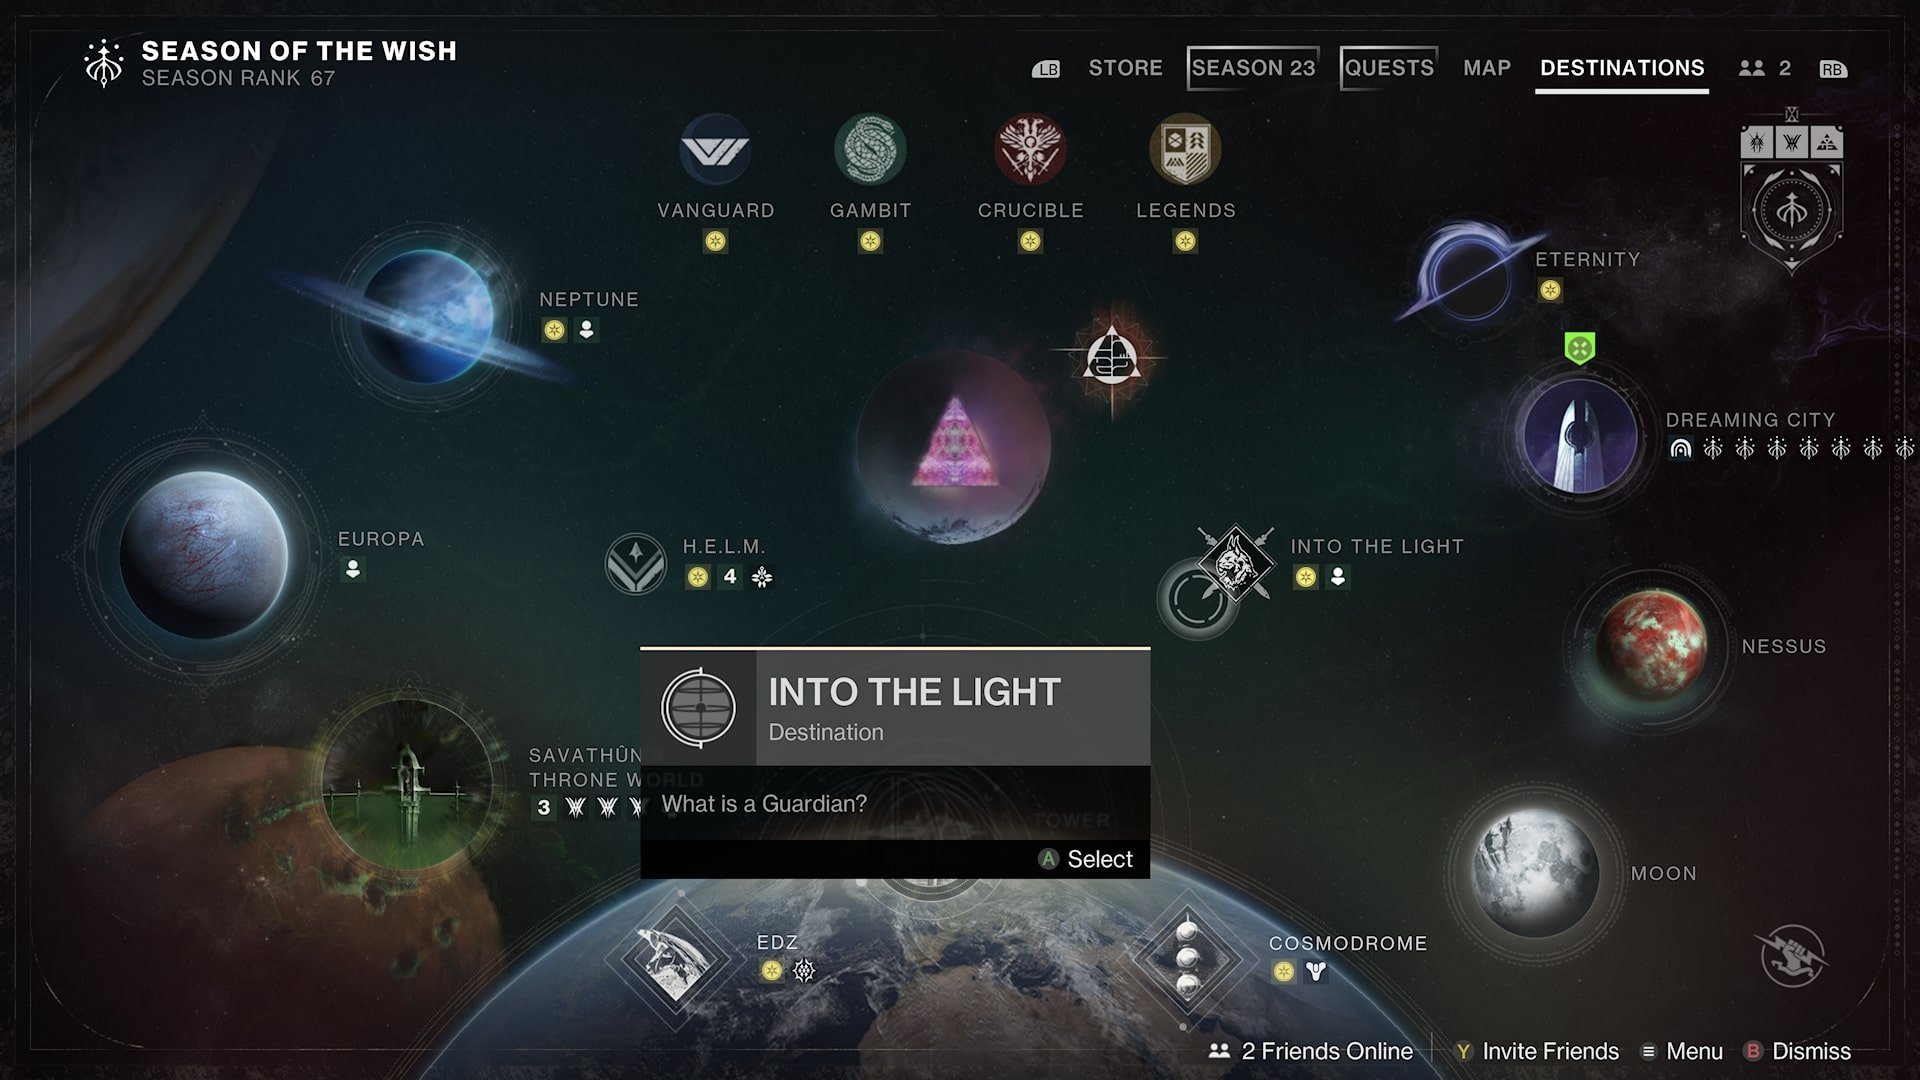
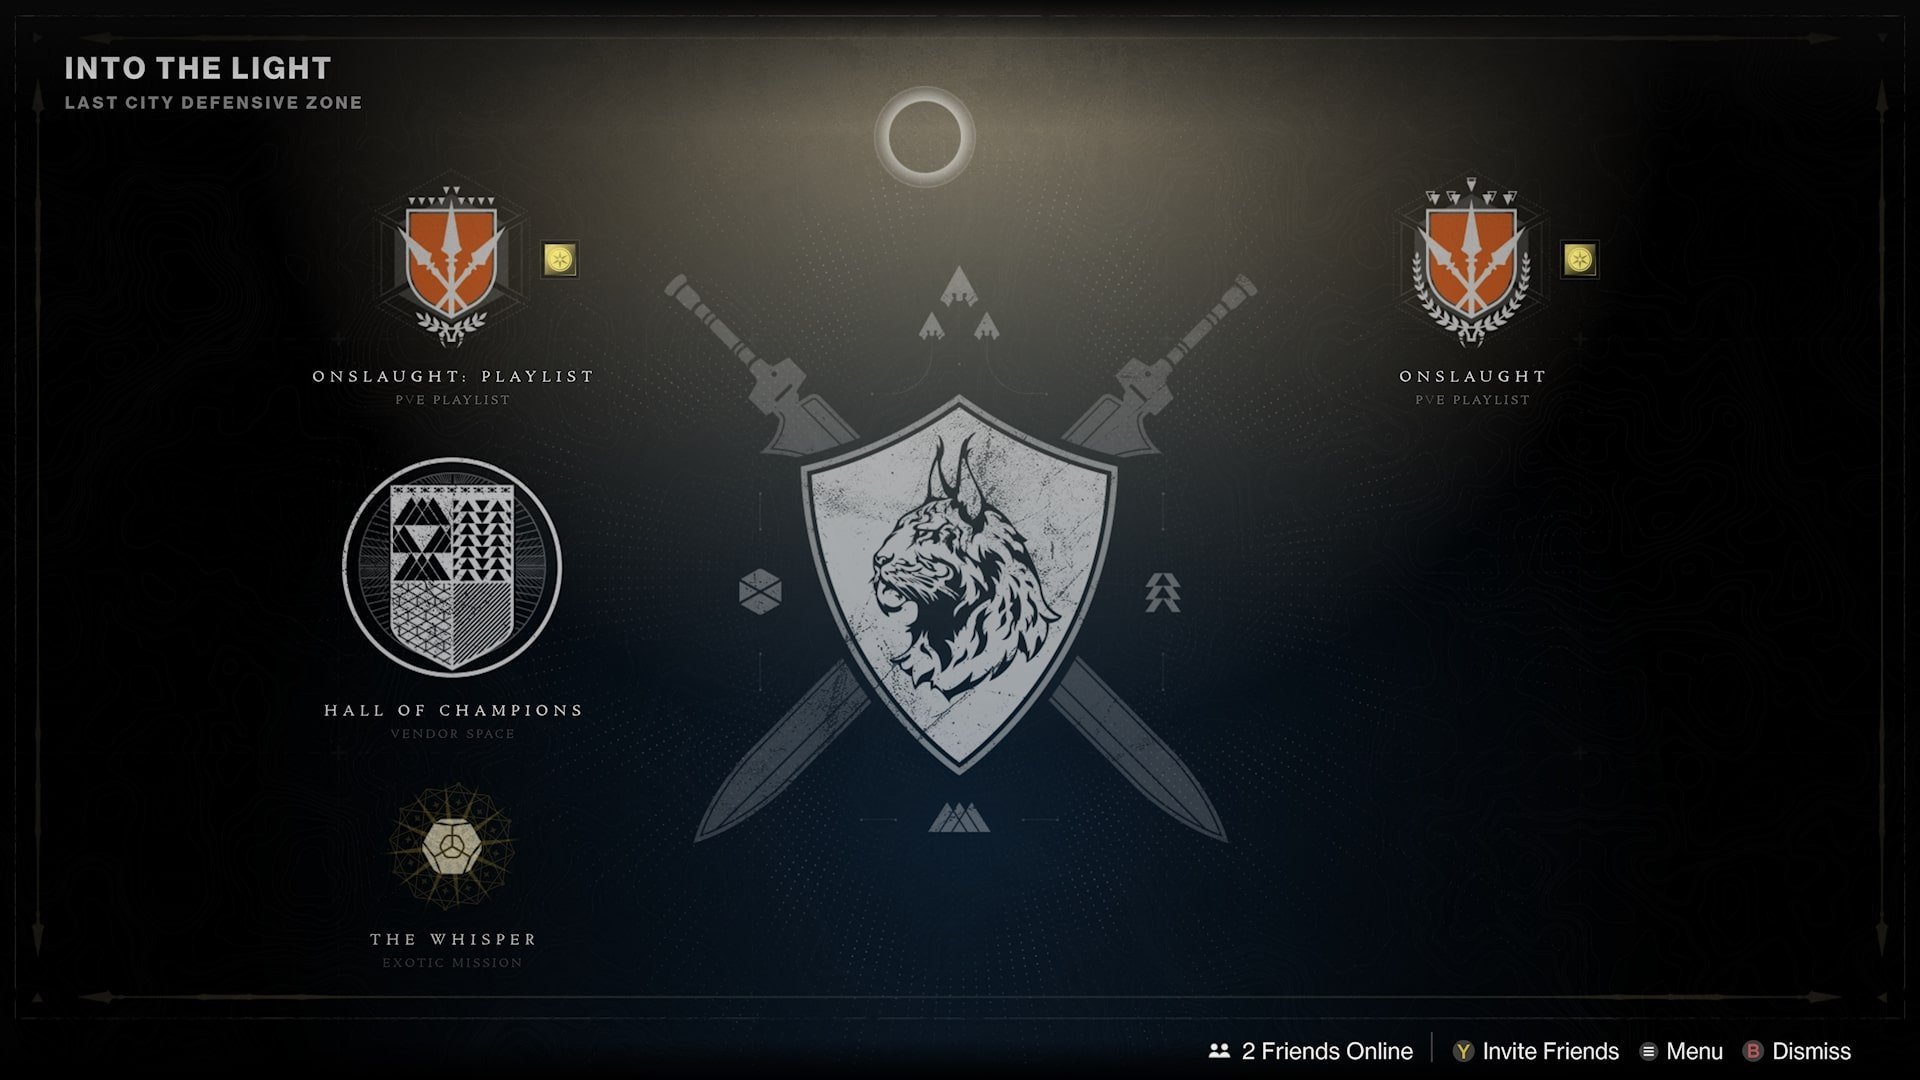
You can find this activity in the right central part of the Destinations tab, and to access its full version, you must complete the tutorial quest from Shaxx. You can see more details in the screenshots:
Onslaught Overview
Now let’s move on to a detailed Onslaught overview to understand more about the activity itself.
Before starting, you are given a choice of one of three maps and the desired difficulty. You can choose what you want or explore these aspects more deeply with our guide.
The first and most important thing is your Destiny 2 Onslaught defenses. You need to defend the ADU at any cost because if it is destroyed, you lose. Every three waves, you can set up various defense objects for Scrap, including turrets, trip mines, and decoys, which can help you in a variety of situations. Turrets and decoys are your main priority, helping to fight enemies and distract them. Tripmines are quickly depleted with really low damage, which makes them often useless, so we recommend ignoring them. Keep in mind that enemies can destroy your defense objects, so try to defend them to not waste your Scrap on buying the defenses again.
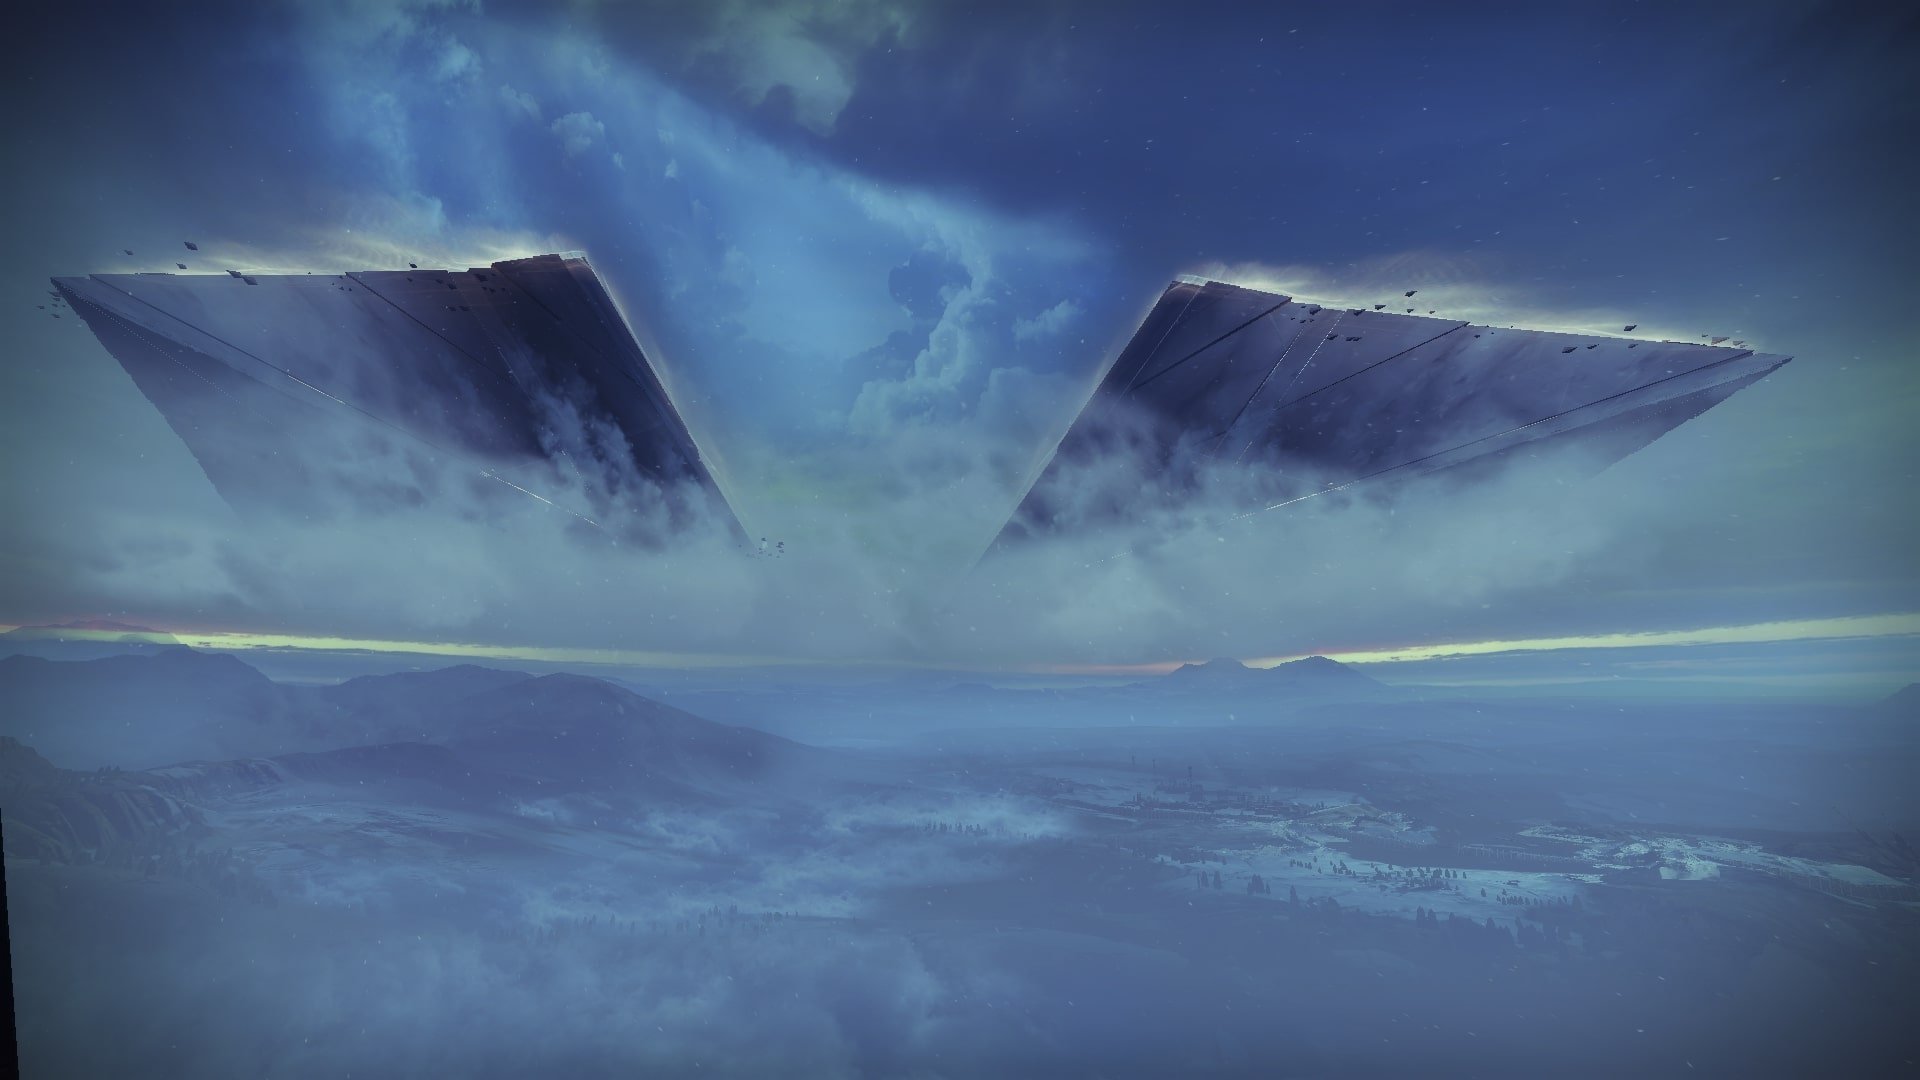
Another essential point is traveling to the pyramid in 6 and 10 waves in each set. You don’t always have to defend the object, and sometimes you’ll have to enter enemy territory. The Spark encounter goes by quickly and may not cause any problems with proper preparation. However, it’s better to prepare before starting a Boss encounter because you switch to DPS loadout and use the flag next to the door. Also, the door to the boss opens when players shoot at black buttons, so you can calmly discuss the plan and choose the right loadout.
One of the Onslaught mechanics is the gradual increase in difficulty. On Normal difficulty, waves 1-29 are pretty peaceful, and you can die as much as you want. However, you can no longer quickly respawn starting from wave 30, and the death of all allies will lead to failure. This is where the hardcore experience begins, where it’s not advisable to rush headlong. From waves 30-50, you must play as carefully as possible, not risking your life unnecessarily. On Legendary difficulty, the hardcore experience starts right away, so keep that in mind.
Especially for you, we’ve also compiled Onslaught Terminology, explaining in-game terms and some activity events:
- ADU: The Advanced Defence Unit needs to be defended. If destroyed, you’ll have to start the activity over.
- ADU Batteries: Cores that give you Scraps and HP for ADU (HP displayed above the object). You get three times more Scraps if you throw them at full ADU HP.
- Scraps: You need them to purchase and upgrade defenses. You get them by inserting ADU Batteries, completing Onslaught Bonus Objectives, and successfully destroying enemies.
- Loot Chests: Appear after defeating the boss after every ten waves. They contain main rewards, like Brave Arsenal weapons, glimmer, and Trophies of Bravery. On legendary difficulty, you get an additional bonus chest for completing the stage.
- Bonus Objectives: Appear every few rounds and require you to do something (capture Pyramid Zone, collect Pyramid relics from enemies, and more). They provide Ammo Supply, giving the maximum amount of special and heavy ammo.
- Augment: Mini-encounters that essentially replace the entire wave, such as destroying an ogre in a shield, disabling bombs or killing Skybombers that will damage your ADU at long range until you take them down.
- Spark Encounter: A segment that appears on every sixth wave. Here, you need to clear rooms with mobs, activate the Spark buff to run to the end of the corridor, and insert it to destroy all foes.
- Boss Encounter: A segment that appears on every tenth wave. You must destroy the boss as quickly as possible, as combatants spawn without limit. Sometimes, additional objectives appear in the arena, completing which you get the assistance (for example, turrets appear)
- Secret Encounter: Appears completely randomly after Boss Encounter and is called Heatwave. During Heatwave, destroy Tormentors before the timer runs out. You receive Trophies of Bravery for each enemy killed.
Onslaught Difficulty
Onslaught has three different difficulties: Playlist, Normal, and Legend. Each differs not only in rewards but also in modifiers:
- In Playlist Onslaught, you only need to pass through 10 waves, after which the activity ends, and you receive your reward.
- Normal Onslaught consists of 50 waves. Every ten waves, you will be teleported to a different location, and the Enemies’ Power will increase by four. This means that by wave 40, the difficulty will be approximately equal to other Legend Activities.
- Legend Onslaught is quite a challenge, even for veterans. Besides the Wipe Mechanic being included from the first wave, the Enemies’ Power is immediately ten times higher than yours, increasing by five units every ten waves. Because of this, by wave 40, the difficulty will be the same as in GM Nightfall. To compensate, you will receive twice as many rewards every ten waves.

Onslaught Rewards
Let’s move on to the most interesting part, namely the rewards. As we wrote earlier, you receive a chest (two on Legend Difficulty) after completing Boss Fights every ten waves. From these chests, you get access to Trophies of Bravery, which you need to earn weapons and unlock new Armor Sets, and Brave Weapons. To make it easier for you, we have prepared a table with all Onslaught Guns, including the best Perks Combo:
| Weapon | Weapon Type | PvE Perks | PvP Perks | Rating |
|---|---|---|---|---|
| The Recluse | Void Lightweight Submachine Gun | Enlightened Action / Desperate Measures | Dynamic Sway Reduction / Tap the Trigger | Great in Both Modes |
| Edge Transit | Void Adaptive Heavy GL | Cascade Point / Bait and Switch | – | PvE Must-Have |
| Falling Guillotine | Void Vortex Sword | Frenzy / Surrounded | – | Great in PvE |
| Hung Jury SR4 | Kinetic Precision Scout Rifle | Kinetic Tremors / Explosive Payload | Rapid Hit / Box Breathing | Great in Both Modes |
| Elsie’s Rifle | Void High-Impact Pulse Rifle | Repulsor Brace / Destabilizing Rounds | Zen Moment / Headseeker | Great in PvP |
| Succession | Kinetic Aggressive Sniper Rifle | Reconstruction / Vorpal Weapon | – | Decent in PvE |
| The Mountaintop | Kinetic Micro-Missile Special GL | Auto-loading Holster / Recombination | Impulse Amplifier / Harmony | PvE Must-Have |
| Midnight Coup | Kinetic Adaptive Hand Cannon | Explosive Payload / Kinetic Tremors | Moving Target / Zen Moment | PvE Must-Have |
| Forbearance | Arc Wave Special GL | Demolitionist / Chain Reaction | – | PvE Must-Have |
| Hammerhead | Void Adaptive Machine Gun | Rampage / Onslaught | Rampage / Tap the Trigger | Great in PvE |
| Blast Furnace | Kinetic Aggressive Pulse Rifle | Kinetic Tremors / Frenzy | Headseeker / Rapid Hit | Great in Both Modes |
| Luna’s Howl | Solar Precision 140 RPM Hand Cannon | Heal Clip / Incandescent | Slideshot / Magnificent Howl | Great in Both Modes |
If you want to learn more about new loot (including Superblack Shader) in detail, you can check out the Into the Light Weapons guide and Into the Light Overview.
Onslaught Loadouts
Going into this activity unprepared is a terrible idea. We have some detailed recommendations for weapons and builds for each class.
Best Weapons for Onslaught in Destiny 2
Although the choice of Onslaught Weapons greatly depends on your build, some guns still perform better than others in this activity. For example, Witherhoard is a pretty strong Exotic for this activity, as it excels in add-clear, as well as DPS on Mini-Bosses and Bosses. For the same reason, Dragon’s Breath will also be good, even though it takes up a Heavy Slot. If you do not want to take these Exotics, we recommend using a Machine Gun for Regular Waves and switching to DPS Weapons like Heavy GLs or Rocket Launchers before a Boss Fight.
Warlock Onslaught Build
Of course, the best Warlock builds for GM Nightfall and Endgame activity will also perform well in this activity, especially at high difficulties. However, we recommend considering other option, as you are defending an object in this activity. For this reason, a Stasis Warlock build with Osmiomancy Gloves, which allows you to spawn two Stasis turrets, stun some champions (Unstoppable and Overload), and keep enemies under constant control, not allowing them to approach the ADU, will be suitable.
Hunter Onslaught Build
As with the Warlock, a GM Nightfall Hunter build will fit perfectly into your Onslaught Fireteam. A Void Tether will significantly assist with Crowd Control, while Invisibility will make navigating Spark Encounters much easier. Of course, don’t forget about the Arc Hunter build, which has excellent survivability thanks to Assassin’s Cowl, or a powerful DPS Super because of Star-Eater Scales. A Solar Hunter build with Shards of Ghalanor is also a good option. It allows you to spam your Super quite often and use it against both Bosses and crowds of enemies.
Titan Onslaught Build
Although this class performs worse in Onslaught than the others, an Endgame Titan Build will also help you quickly pass 50 Waves. A Wormgod Caress Strand Titan Build will also be very strong, as it allows you to destroy Mini-Bosses and Bosses in seconds without using Heavy Ammo. Some Titan Void Builds, for example, a Doom Fang Pauldron Loadout, would also be a good choice, allowing you to quickly gain your Super and stay in it for a very long time.
Onslaught Maps Overview
Each Onslaught map dramatically influences the success of your passage. It’s incredibly important to fully study them before starting the mission, or at least get a couple of explanations for each of them. That’s why we decided to dedicate a separate segment, explaining each map in Onslaught.
Mothyards, Cosmodrome
Onslaught Mothyards is the easiest map to learn and pass, which is why many might call it almost the best. On Morthyards, the vast and spacious fields of Cosmodrome will please you with unrestricted movement. You won’t have to worry about gathering too many enemies, so you can comfortably fend off enemies from any elevation.
Obviously, we recommend taking long-range weapons for this map, such as Bows, Pulse Rifles, Sniper Rifles, etc. You will be able to quickly eliminate targets from afar before they reach you. Also, turrets here are more helpful than ever, even when you move to another point, as the remaining turrets often help due to the close spawn of enemies to them. It makes sense to place traps here only closer to the object itself, so spend Scrap on turrets.
Morthyards will guarantee that you’ll get a fast and easy Level 50 Onslaught!
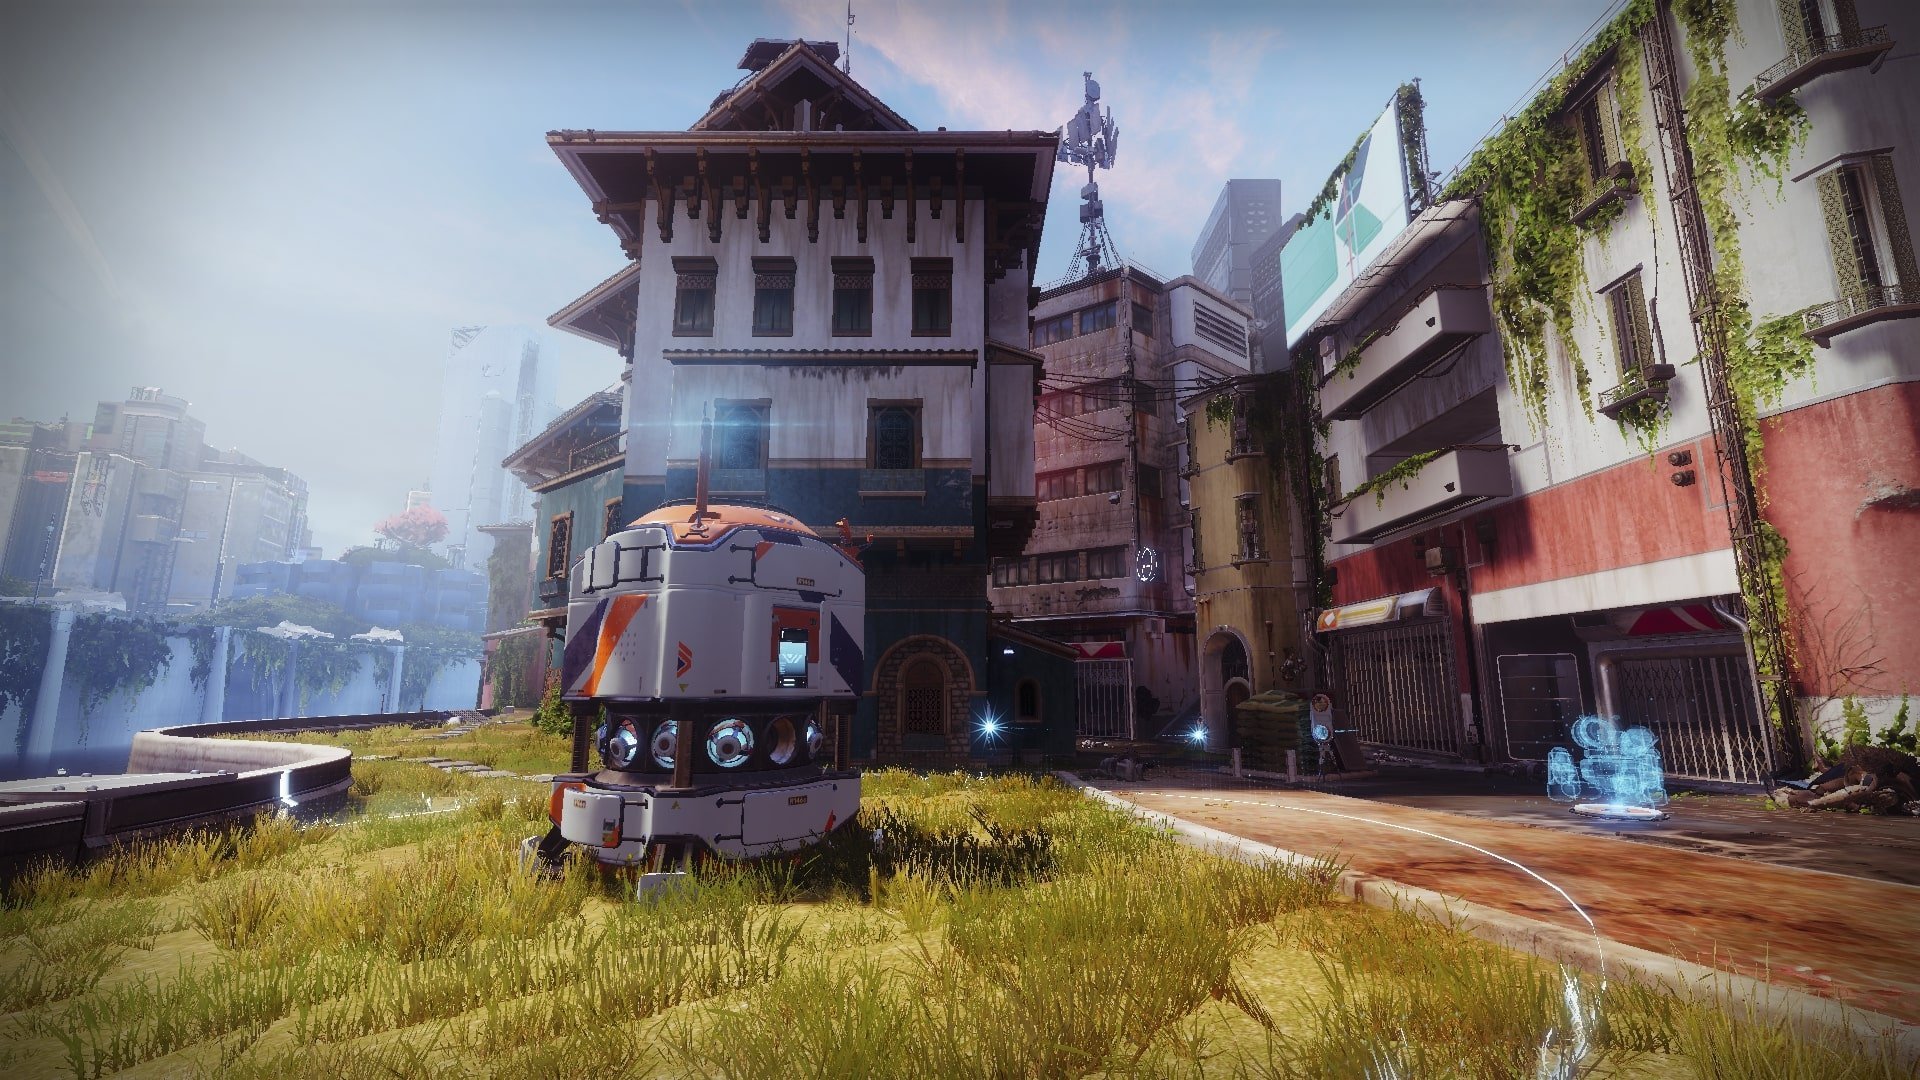
Midtown, The Last City
If the Cosmodrome is incredibly easy to learn and newbie-friendly, then Onslaught Midtown is the complete opposite. In Midtown, you’ll encounter closed spaces and short corridors leading directly to your object. Enemies spawn quite close to the object, and with the appearance of bosses, it’ll be even harder to fend them off due to the map’s closed nature. You will genuinely feel the difficulty in Midtown to the fullest without any chance of survival. We do not recommend taking Midtown if you are not familiar with it or want to try to pass the Legend difficulty for the first time.
Regarding the loadout for Midtown at Onslaught, once again, the complete opposite of the previous one. You need to take as many weapons for close and aggressive combat, where you don’t have to spare yourself and ammunition. SMGs, Fusion Rifles, Sidearms, Hand Cannons, and the like will suit you here. In the early stages of defense, be sure to buy turrets first. Don’t forget about decoys to attract the attention of combatants in later waves, as towards the end, there are too many of them.

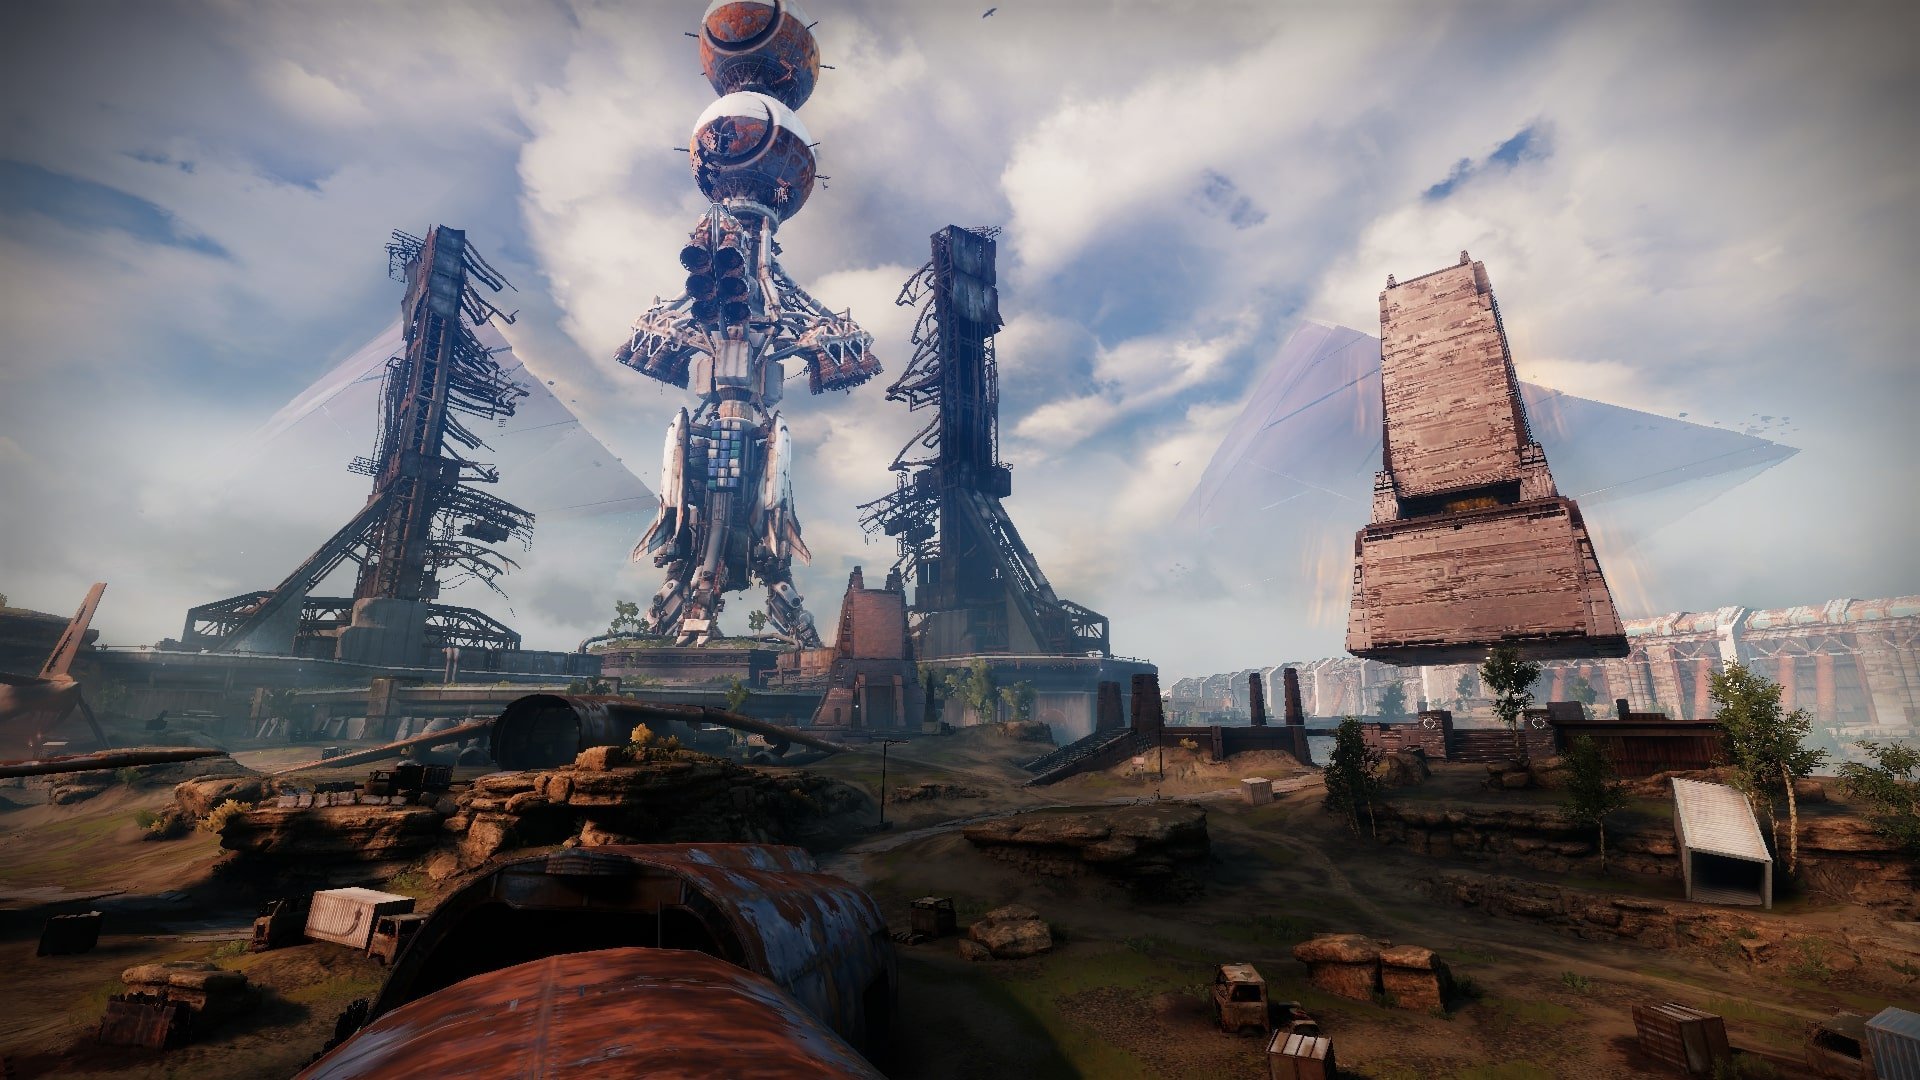
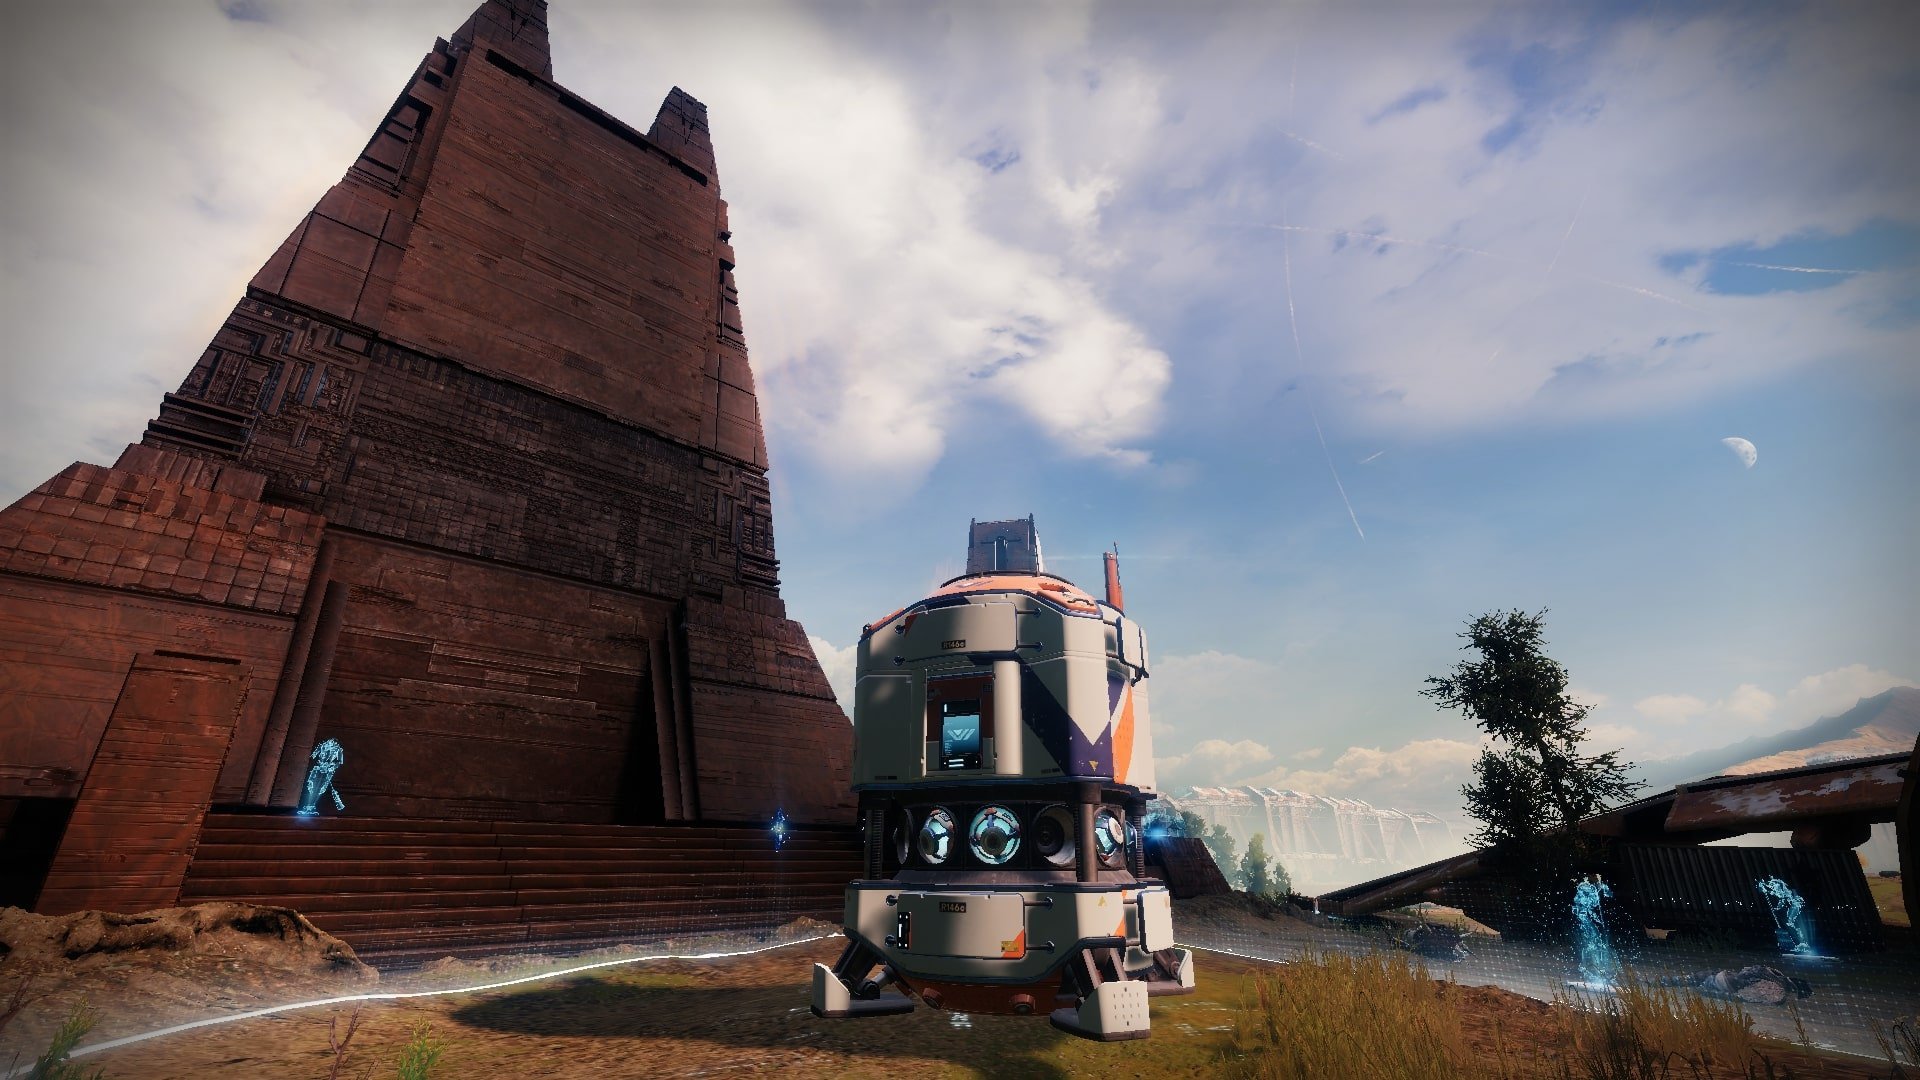
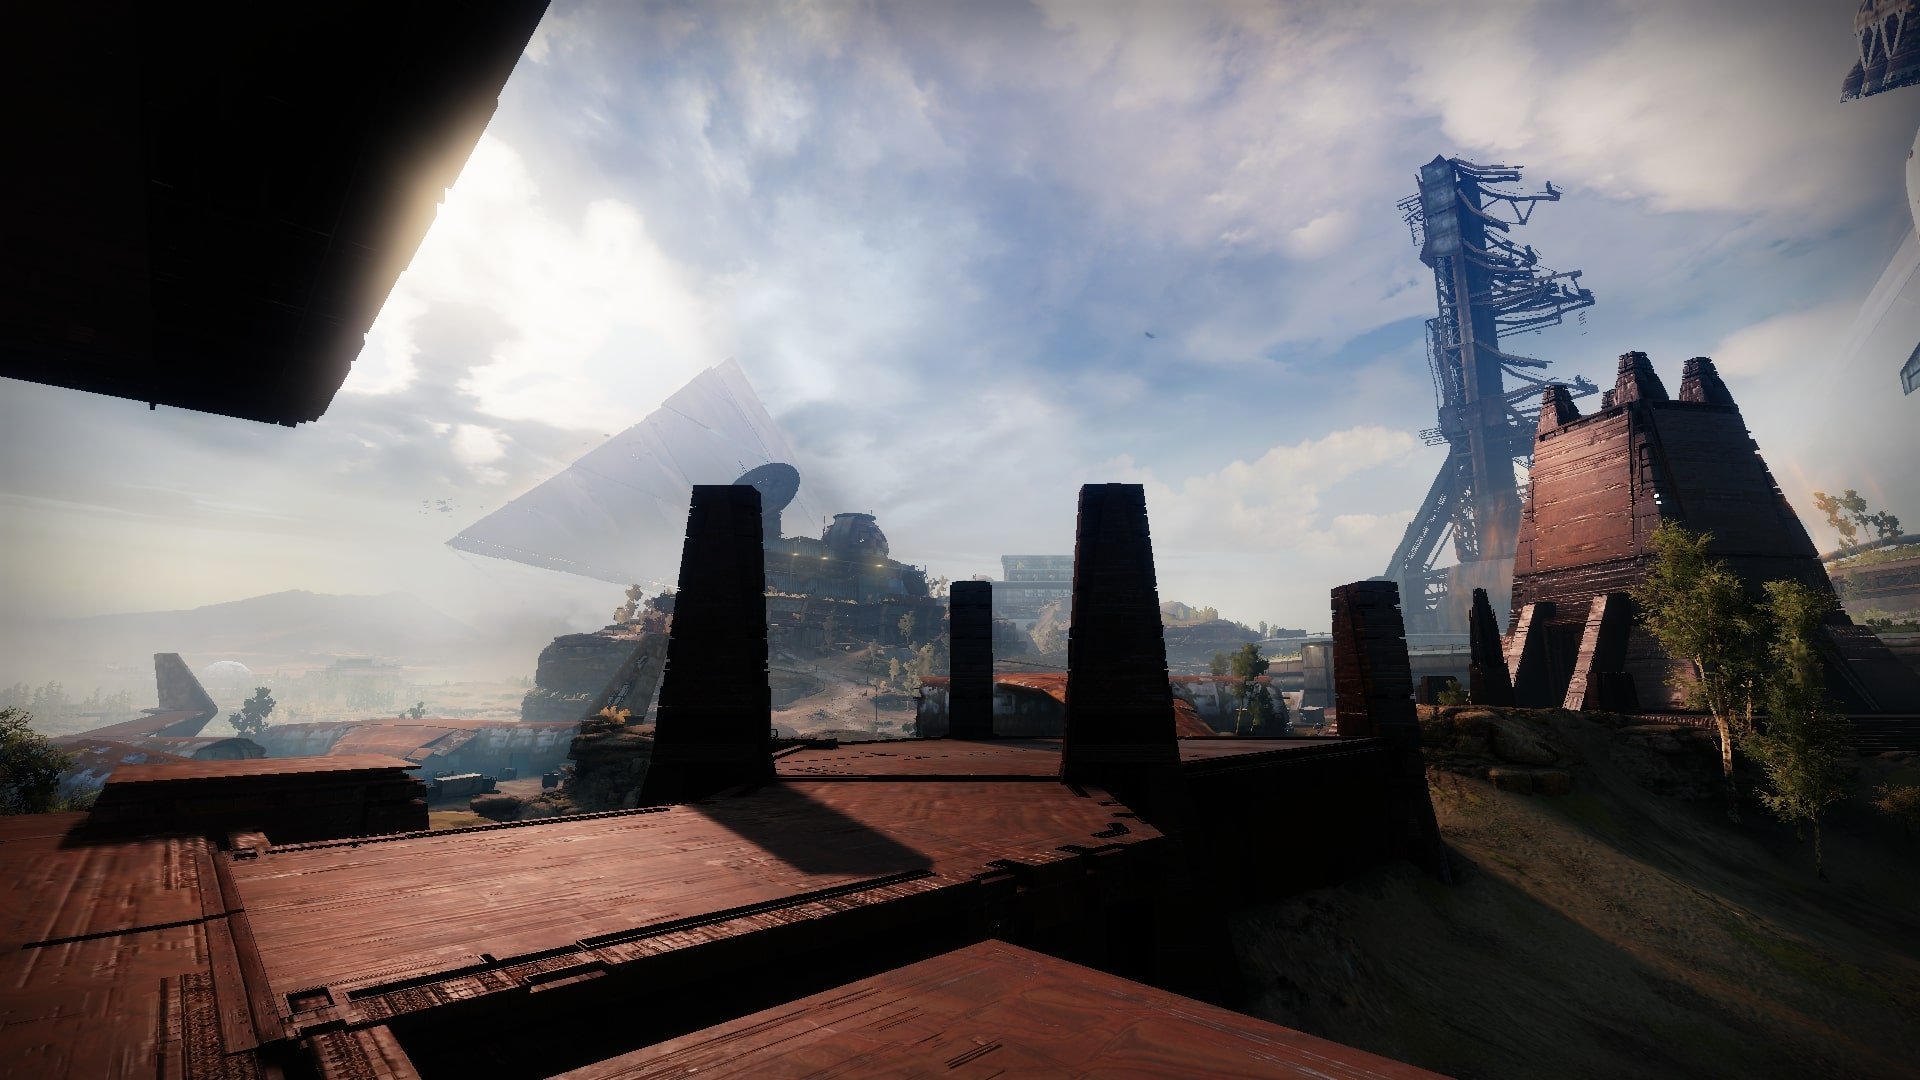
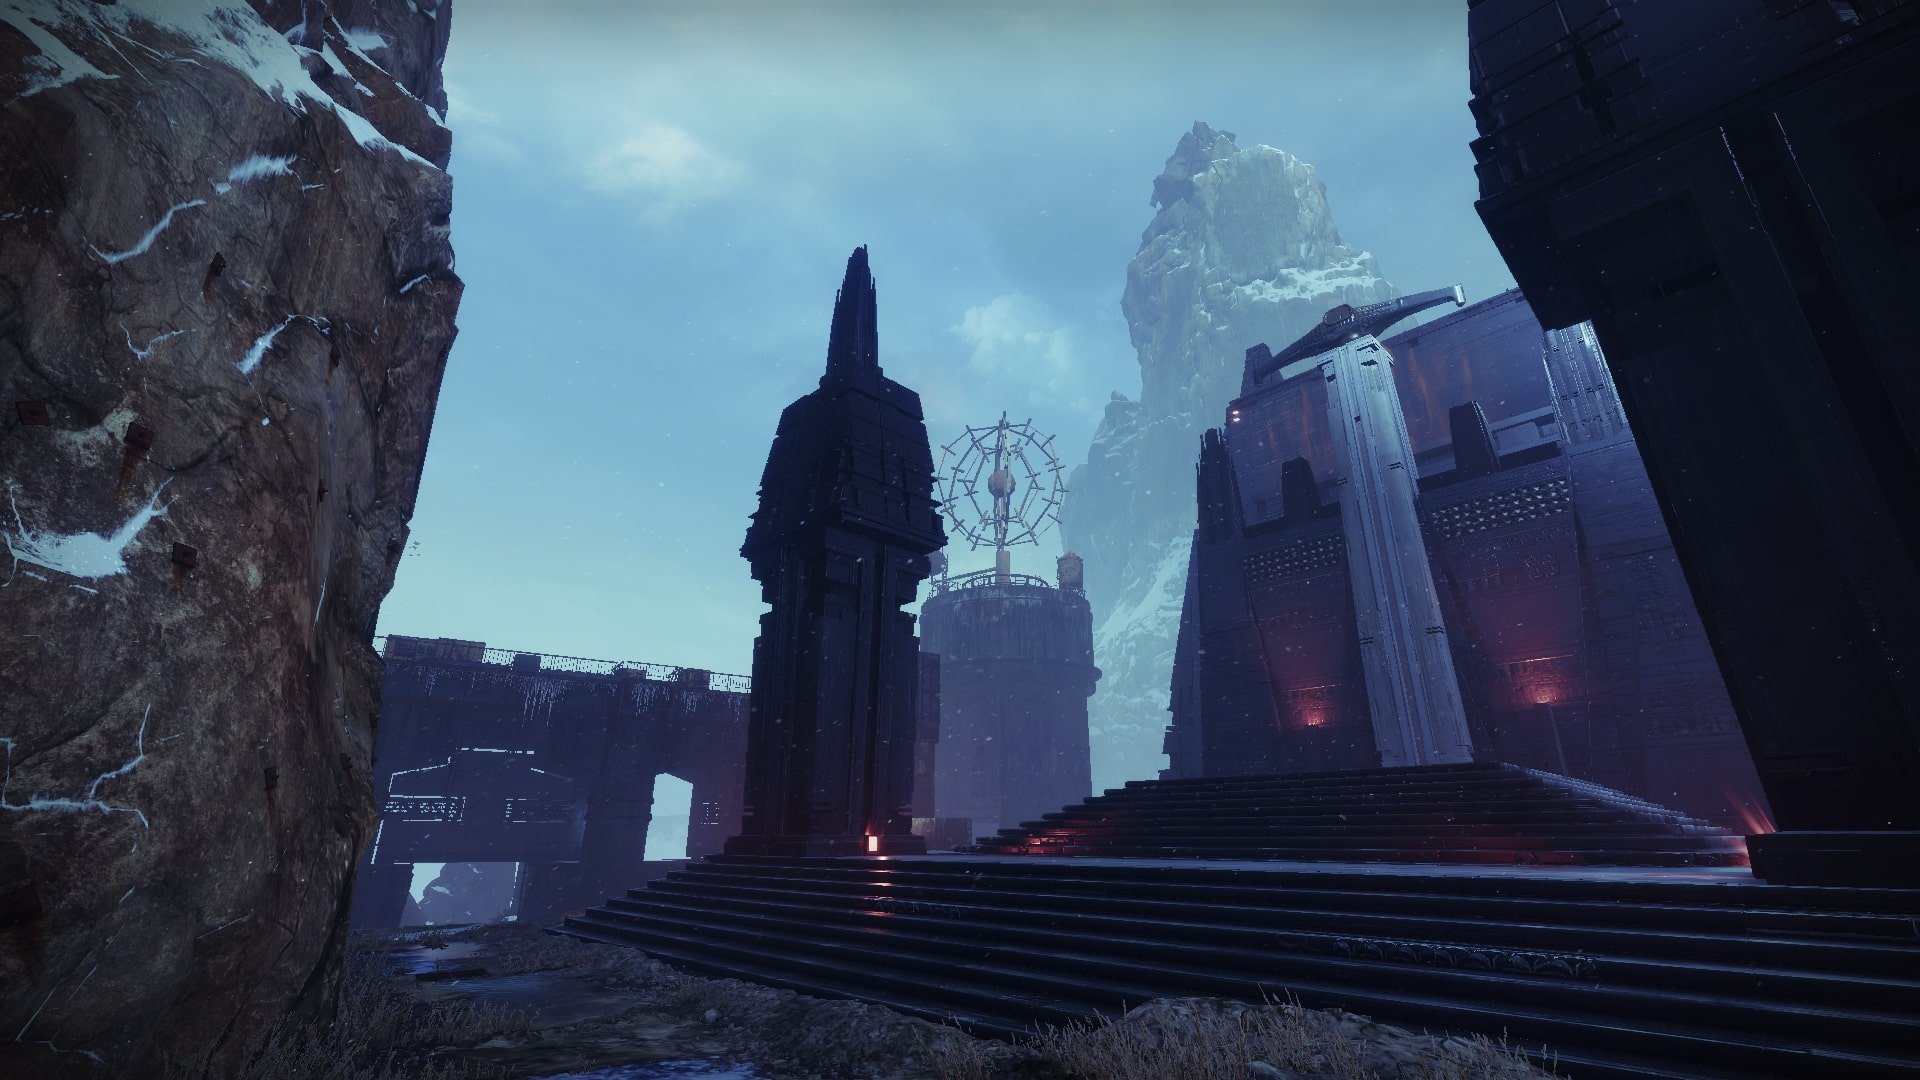
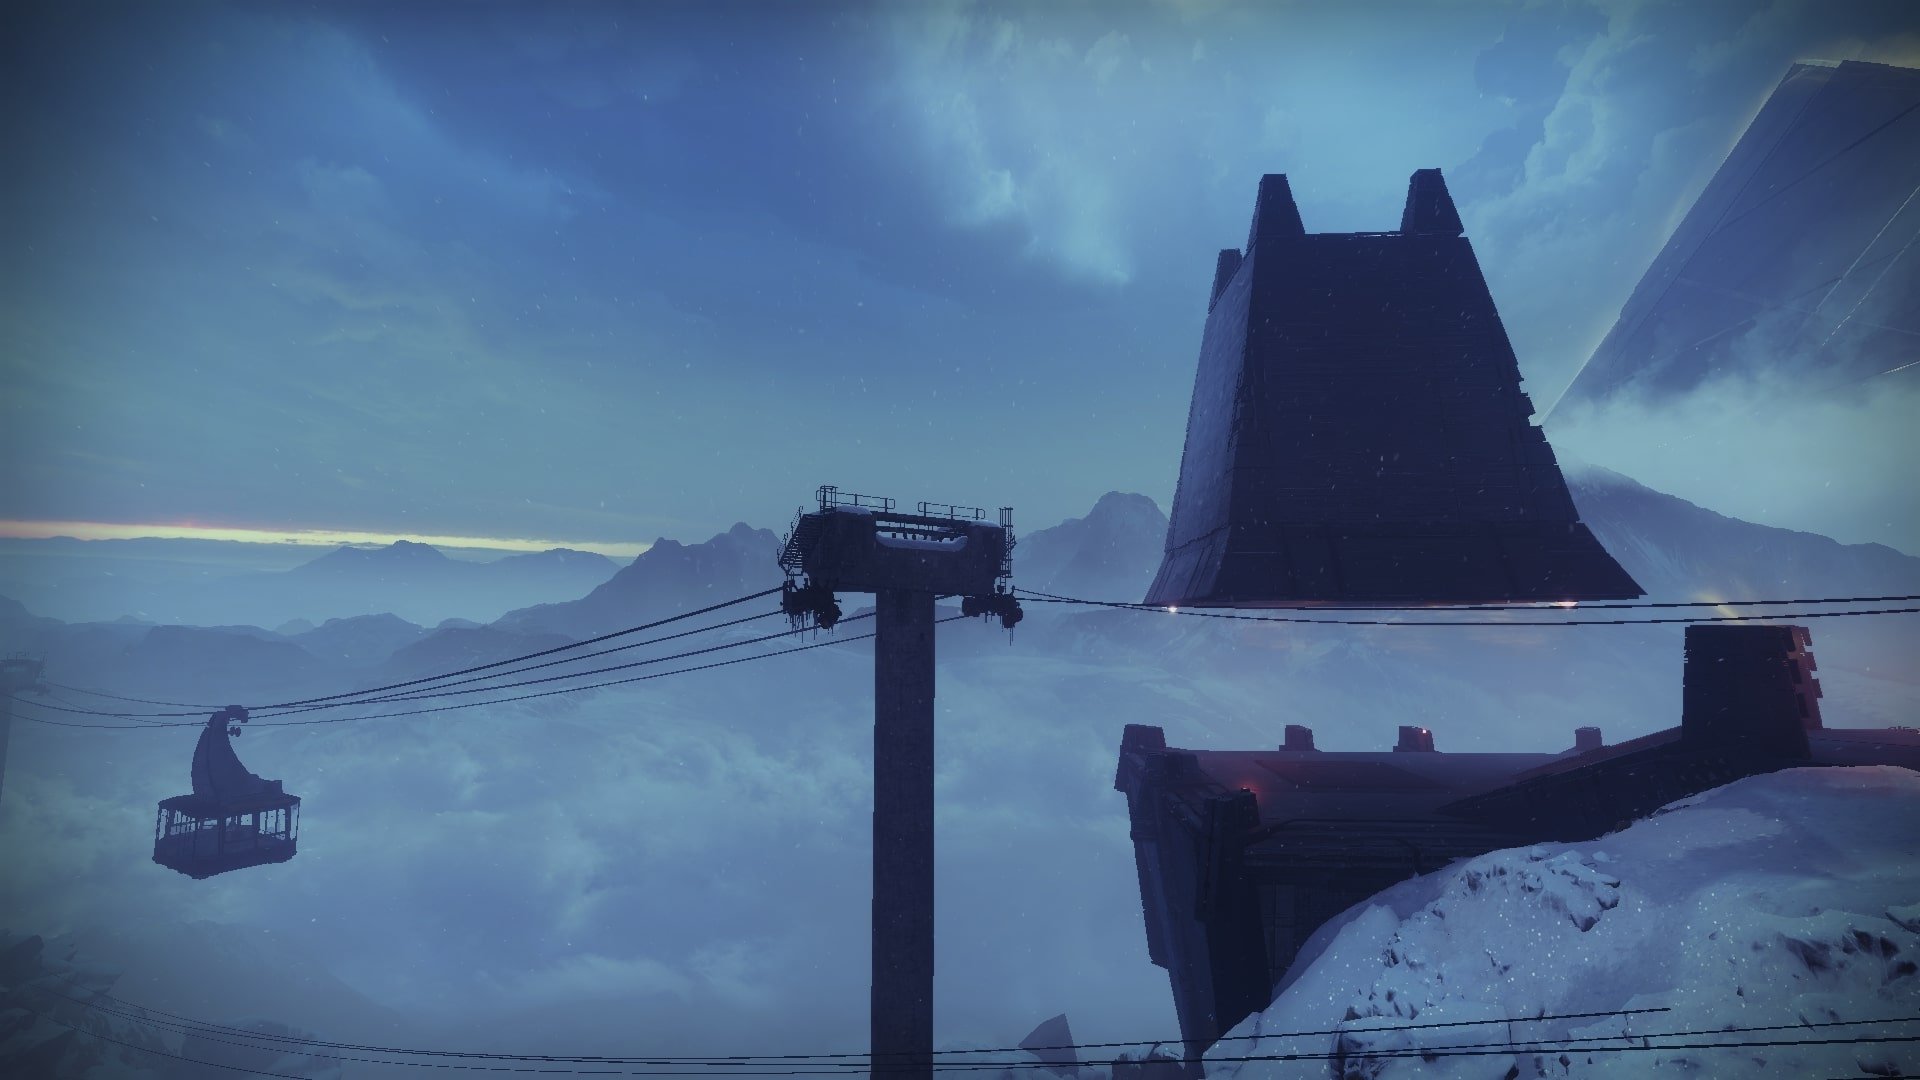
Vostok, Iron Temple
The most balanced map of all three is Onslaught Vostok. Here, there are also quite open territories, but you’ll always find where to hide if necessary. Due to the variety in the landscape of the map, it’s difficult to recommend a specific Loadout, as you may need long, mid, and short-range weapons. However, you are unlikely to go wrong if you play with a Hand Cannon or Submachine Gun.
Onslaught Tips and Tricks
The only thing left is to give you a couple of helpful Destiny 2 Onslaught tips! Be sure to pay attention to them and tell your friends about them.
Always Buy Onslaught Turrets
As you’ve noticed from the paragraphs about the maps, we force you to take turrets in the early stages. The entire point is that turrets stay with you all the way to the last rounds and often save your team. In addition to good DPS on the last upgrade, they also work as decoys, sometimes distracting opponents. As soon as you finish buying turrets, confidently proceed to buy decoys, while it’s better to forget about Tripmines.
Be Sure to Complete Onslaught Bonus Objectives
We encourage you always to complete Bonus Objectives to earn special and heavy ammo. It is especially important to do this on Legend difficulty, where you cannot spare heavy ammo, and it often has to be dumped into groups of enemies.
Do Not Spare Heavy Ammo before Boss Fights
Before you start the Boss Fight, you will be able to place a Banner and restore all your Ammo and Abilities. For this reason, we advise you not to save Heavy Ammo during regular Waves. This will not only help you pass them much faster and safer but also help save a lot of HP for the ADU.
Do Not Forget about the Wipe System
From wave 30 on Normal Difficulty, the Wipe System appears. If all members of the Fireteam die, the activity ends, and you will be sent to orbit. This Modifier will be enabled on Legend difficulty from the beginning, so be on the lookout and play extremely carefully.
Activate Ammo Crates Together with Teammates
If you decide to take ammo from an ammo crate, a timer is activated at the end of which the Ammo Crate disappears. That is why take ammo only when you need it and when your teammates are ready.
Final Words on Onslaught Destiny 2 Guide
That’s all you need to learn how to complete Onslaught in Destiny 2. If you carefully study our guide and use our tips in practice, you are ready to successfully complete the activity even on Legendary difficulty.
Do you want to ask a question or just say thanks? Well, write down your thoughts in the comments, because we are always happy to help young Guardians. Do you need help to beat Onslaught? You can skip this activity by choosing the Onslaught boost service, in which professionals beat it on any difficulty getting the rewards you wanted for so long.
Thanks for Reading! Owl is Flying Away.


Comments