Tazavesh, The Veiled Market Hard mode guide — The War Within Season 3
This Tazavesh, The Veiled Market Hard mode guide provides information about all the changes and details regarding the Hard version of Tazavesh.
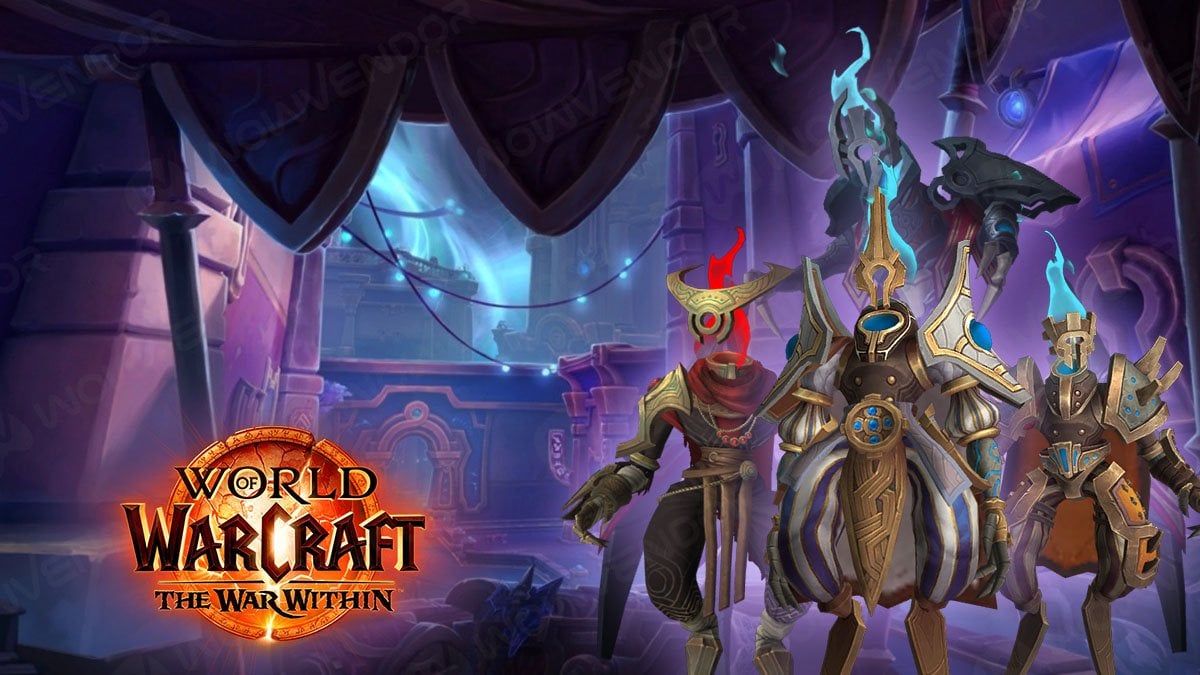
Table of Contents
Key takeaways:
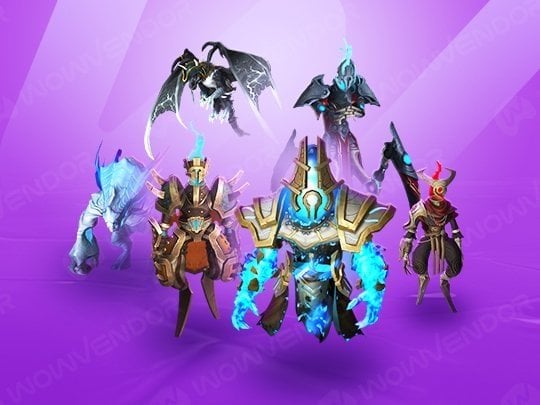
- Tazavesh, the Veiled Market, is a Shadowland’s megadungeon that returned as part of Season 3 of the War Within. The Hard mode version includes both parts of the dungeon.
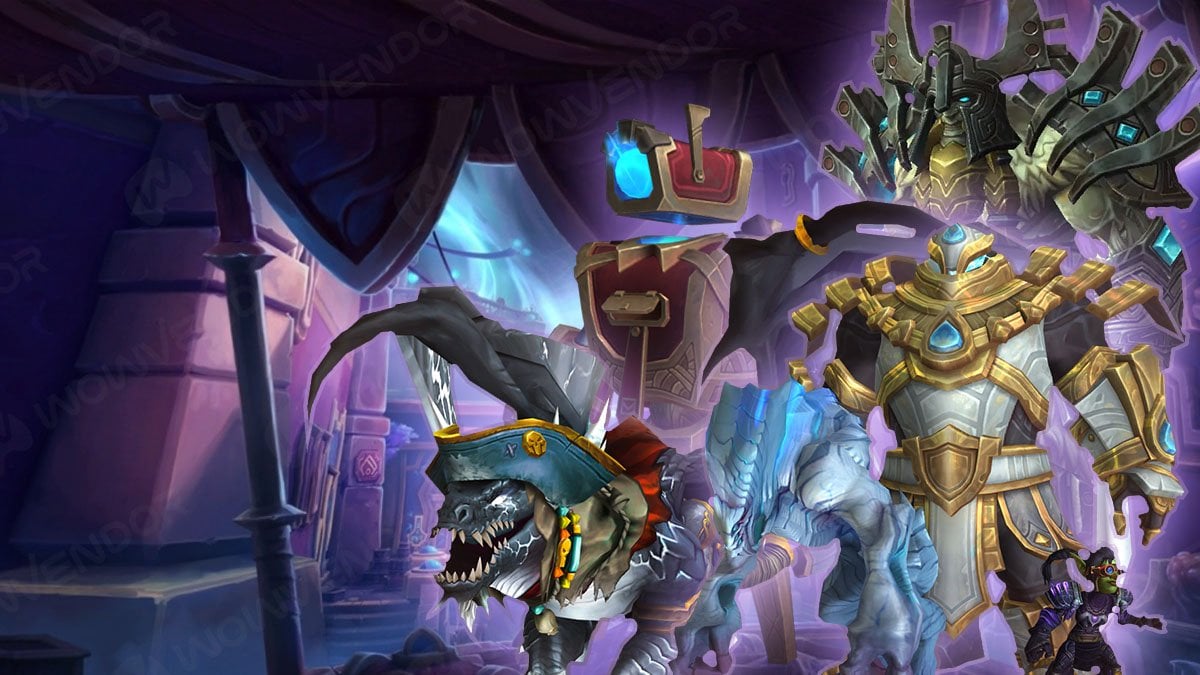
- The Hard mode includes all 8 boss encounters that otherwise are split between two parts. These encounters include: Zo’phex the Sentinel, The Grand Menagerie, Mailroom Mayhem, Myza’s Oasis, So’azmi, Hylbrande, Timecap’n Hooktail, and So’leah.
- Stat-wise, enemies here are equal to those in a +10 Mythic keystone. However, all the bosses have extra mechanics to match the increased difficulty.
- To successfully complete the Hard mode run, you must clear it without anyone in your group dying. You must complete the dungeon on your first run of the week to get Myth (iLv 707–723) gear track reward.
Tazavesh, the Veiled Market, returned not only as a reworked dungeon and its own zone, but also as Season 3’s Hard mode dungeon. In this guide, we will tell you all you need to know about what makes this Hard mode special and why you should do it.
Related posts:


Please note that this guide focuses on the Hard mode version of Tazavesh. For the M+ version, use the links provided above.
What is Tazavesh Hard mode?
Tazavesh Hard mode is a special challenge run that rewards you well for completing it. It includes all 8 boss encounters.
- Zo’phex the Sentinel
- The Grand Menagerie
- Mailroom Mayhem/ P.O.S.T. Master
- Myza’s Oasis/ Zo’gron
- So’azmi
- Hylbrande
- Timecap’n Hooktail
- So’leah
The entrance is the same as the Mythic+ version, in Tazavesh, K’aresh. Here are the coordinates for the entrance:
/way 36 12 To start the run, you need to enter the dungeon on Mythic difficulty and speak with Al’dalil to activate the Hard mode. This will start a 2-minute timer for preparation. You can skip it by having every group member confirm readiness with Al’dalil.
Tazavesh Hard mode walkthrough
Before we start our Tazavesh Hard mode walkthrough, here are the features of the Hard mode run.
- When it comes to enemies, the overall difficulty of the dungeon is around +10 Mythic keystone.
- All the boss encounters have changes to their abilities or to the way the fight happens to make the experience harder.
- At the start of the run, all members receive a Street Smart buff. The moment anyone in your group dies, all members lose that buff.
- Successful completion requires defeating the last boss, So’leah, with every team member having a Street Smart buff.
- Completing the dungeon on your first try during the week grants a random Myth (iLv 707–723) track gear from the dungeon loot table.
Helpful tip:
Unlike in M+, there is no timer. You can take things slowly, waiting out important cooldowns such as Bloodlust, before every pull.
Below you will find information about every change in boss encounters.
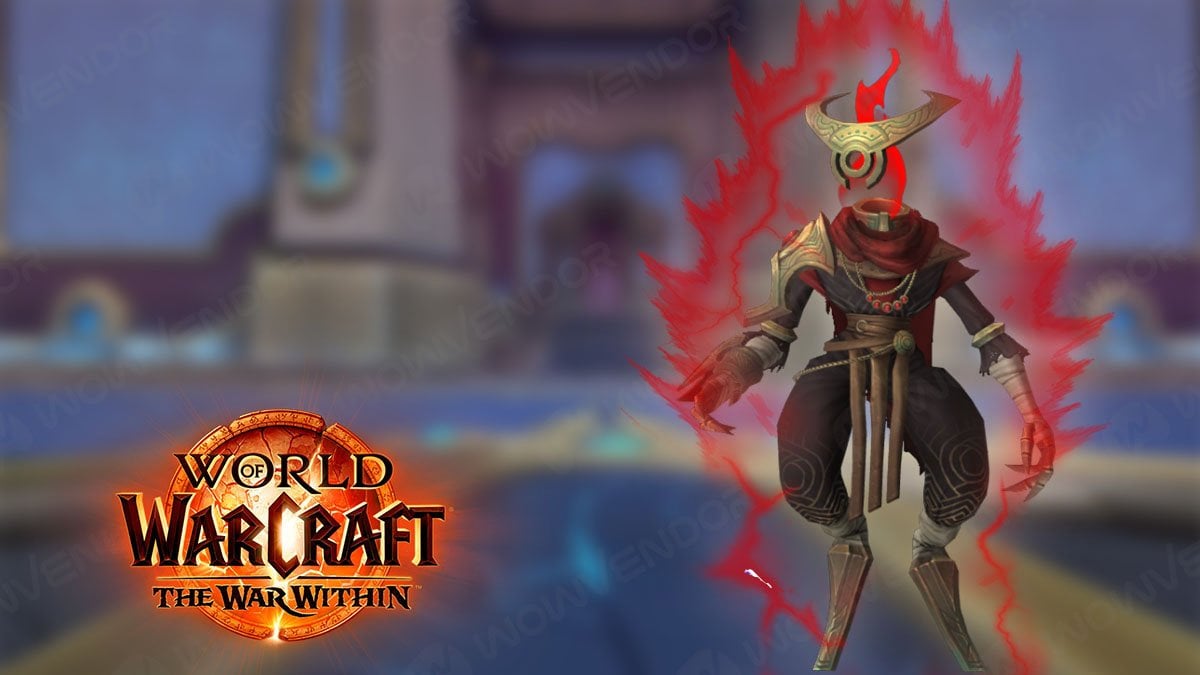
Zo’phex the Sentinel Hard mode guide
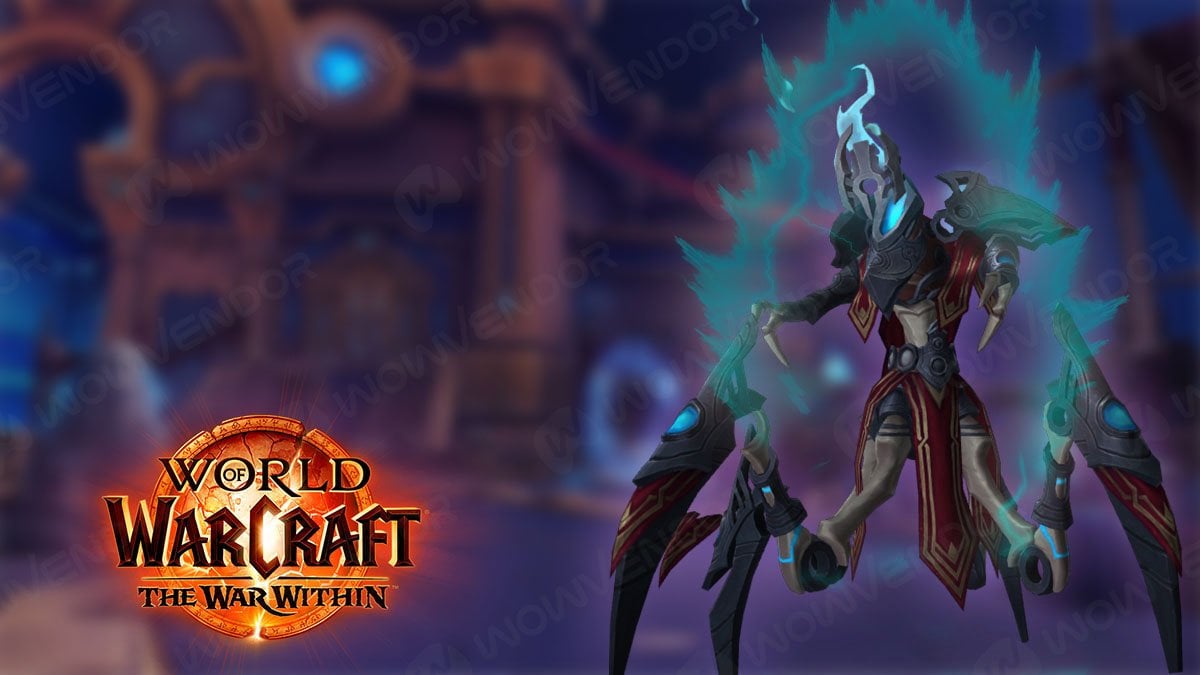
Below is the Zo’phex the Sentinel Hard mode guide.
Portalmancer Zo’honn, an elite enemy that spawns Zo’phex in M+, will be a part of the boss fight on Hard mode.
Here are Portalmancer Zo’honn’s abilities and how to counter them:
| Ability | Description | How to counter |
|---|---|---|
| Radiant Pulse | A group-wide AoE, that deals high damage and applies a 3 second DoT. | Heal through it. Consider using healing cooldowns if it overlaps with the Security Measure from Zo’Phex. |
| Rift Blasts | A set of linear AoEs. | Dodge those. AoEs can overlap with the Containment Cell. If a person locked has no Stun immunity cooldown to break free, focus your damage on the Cell to get them as quickly as possible. |
| Hyperlight Bolt | A tank-buster. Can be interrupted. | Interrupt this cast. Otherwise, the Tank should use defensive cooldown. The Healer should pay extra attention as well. |
| Empowered Glyph of Restraint | Applies a DoT and slows the target’s movement. Can be interrupted. | Another critical ability to interrupt. It can overlap with Interrogation, preventing the target from making enough distance. Use abilities that grant freedom of movement if the cast was not interrupted. |
The main goal in this fight is to focus on Portalmancer Zo’honn as quickly as possible. Although his kit is not dangerous, his abilities can overlap with Zo’phex attacks, creating nasty combinations.
Zo’phex doesn’t get any new mechanics; his skill list remains the same as in the Mythic+ version.
The Grand Menagerie Hard mode guide
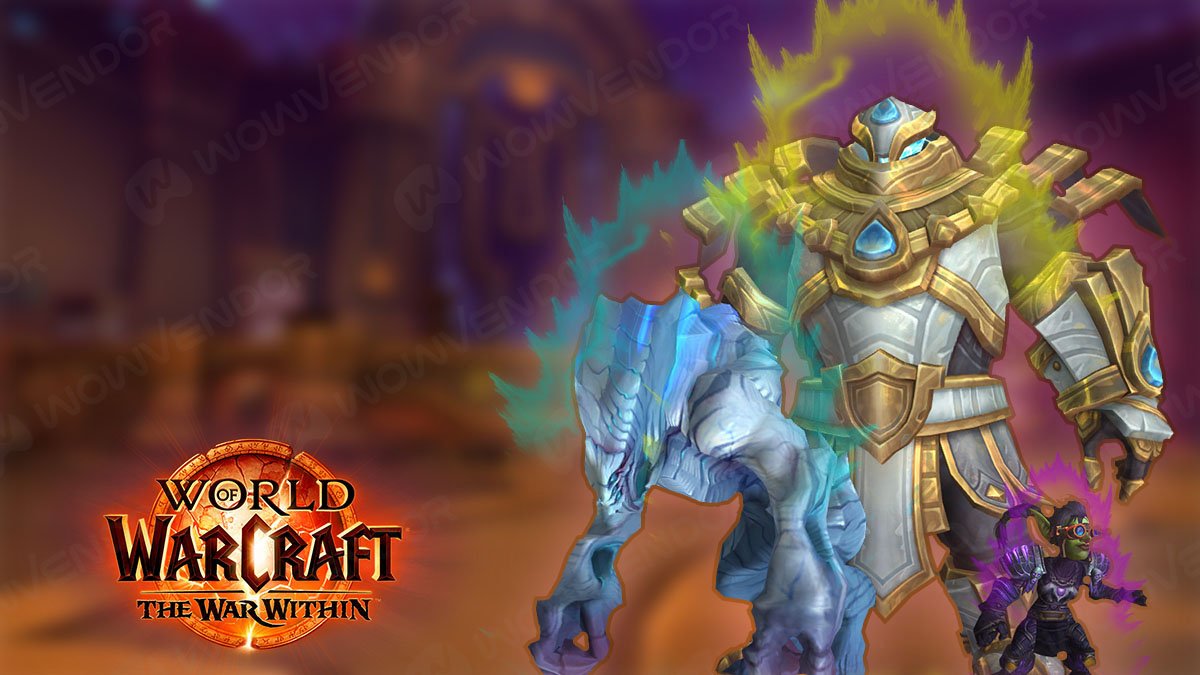
Below is the Grand Menagerie Hard mode guide.
The trio of bosses doesn’t get new attacks or changes to existing ones. Instead, the bosses don’t wait until the Health of the preceding enemy drops to 40%. They join automatically, after some time, meaning you have a DPS race.
- Achillite joins at 20–25 seconds after the encounter starts.
- Venza joins at 55–60 seconds after the encounter starts.
There is too little time to defeat the boss before the next one appears. Still, depending on your overall damage, you have two options for approaching this encounter.
- If your damage is high enough, you can use your bursts at the start to deal as much damage as possible to Alcruux. By the time Venza joins, he will be almost dead, leaving you with 2 bosses to deal with.
- Wait with bursts and Bloodlust until Venza joins. That way, you can maximize your total damage. The bosses will be present as a trio longer, but when one falls, the others will quickly follow.
As in Mythic+, when more than one of them is present, their abilities may overlap. The most dangerous combos are:
- Venting Protocol + Grand Consumption. Venting Protocol knocks back players and can easily knock you into lethal AoEs created by Grand Consumption.
- Purification Protocol + Chains of Damnation/ Whirling Annihilation. The first attack applies a DoT and AoE, and Chains also deal damage, while immobilizing the target. A combination of these attacks on one person is lethal; personal mitigation must be used for such a scenario. As for Whirling Annihilation, it may be hard to both run away and position yourself so you won’t hit allies with your AoE.
On their own, bosses behave the same as in the Mythic+ version.
The P.O.S.T. Master Hard mode guide
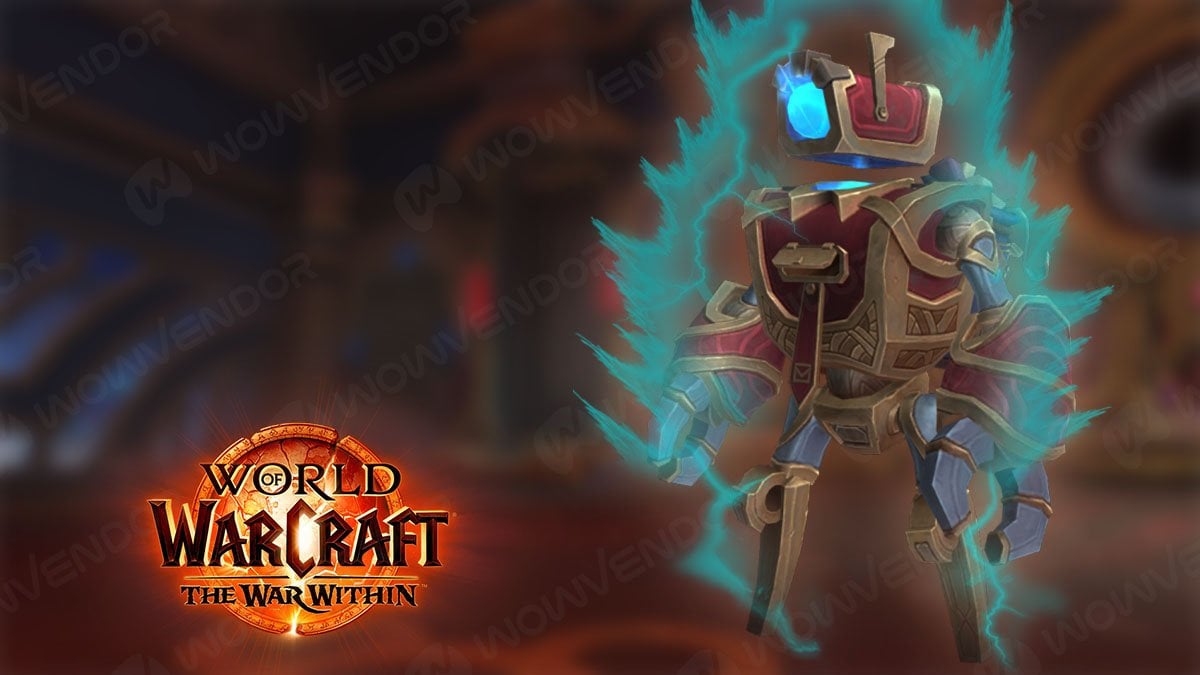
Below is the P.O.S.T. Master Hard mode guide.
The only change in this fight affects the boss’s 100 Energy mechanic, Unstable Goods. Now, picking an item roots the player. Players need to throw goods to each other, so the players closer to the delivery tunnel can throw items into it. Abilities that grant free movement allow you to move.
To do the mechanic property, assign players who will stay close to the tunnels, while others run and throw Unstable Goods to them.
With good damage, focusing down the boss quickly enough to experience only one cast of Unstable Goods is possible. So if you have classes with free movement, you can use those to cheese through and defeat the boss before you have to do it properly.
The same goes for Hazardous Liquids. If your damage is high enough, you can ignore the second set and focus on the boss.
The rest of the mechanics behave the same way as in M+.
Myza’s Oasis Hard mode guide
Below is the Myza’s Oasis Hard mode guide.
The only difference here is the 2nd wave of adds that spawn before the boss, Zo’gron, joins the fight. The wave in question is replaced by musicians whose instruments players use.
These adds are fixated on their instruments, attacking players who have them. Below are attacks of these adds and how to counter them:
| Ability | Description | How to counter |
|---|---|---|
| Drumroll | Used by Hips, who targets the Drum player. Deals group-wide damage. | Heal through it. |
| Infectious Solo | Used by Verethian, who targets the Sax player. Jumps at the Sax player and casts an AoE that makes everyone dance. | Dodge the AoE. |
| Rip Cord | Used by Vilt, who targets the Guitar player. A cone cleave aimed at a random player. | Stay close to Vilt to have an easier time dodging the cone. |
| Discordant Song | Used by Evalie, who targets the Horn player. A group-wide attack that deals heavy damage and stuns for 3 seconds. Can be interrupted. | Interrupt this cast, as it means wipe otherwise. One person can dedicate all their kicks to this cast specifically. |
| Screeching Note | Used by Evalie, who targets the Horn player. A heavy-hitting single-target attack. Can be interrupted. | Kick this cast to avoid extra damage. Group can kick this cast while one other player focuses on Discordant Song. |
| Sound Blast | Used by Dirtwhistle, who targets the Trumpet player. A channeled attack that deals damage to the target over 6 seconds. | It cannot be avoided, meaning one player will receive extra damage. Assign Trumpet to a player with strong defensive tools or good self-sustainability, like a Paladin, DH, etc. |
The priority of the adds is based on your group composition and how comfortable players are with dealing with these attacks. Focusing on Evalie first allows you to get rid of the abilities that you need to interrupt. Focusing Dirtwhistle and Hips first stops the unavoidable group damage.
The rest of the fight is the same as in the Mythic+ version.
So’azmi Hard mode guide
Below is the So’azmi Hard mode guide.
So’azmi doesn’t have many mechanics, but there are ways to make it harder. There are 2 notable changes:
- Divide is used at the start and splits the area into 4 quadrants.
- Double Technique is now Triple Technique, requiring 3 interrupts. After every interrupt, So’azmi teleports to a new quadrant.
Aside from Divide from the start, what makes it more complicated is that Triple Technique is treated as one singular cast with a 10-second cast time. That means if you give the first kick 4 seconds in, you have only 6 seconds left to give the second and third kicks.
It is advised to cover all the quadrants for Triple Technique. That way, when the enemy teleports after the interrupt, another person is ready to give another one quickly.
The rest of the fight happens the same as in M+ mode.
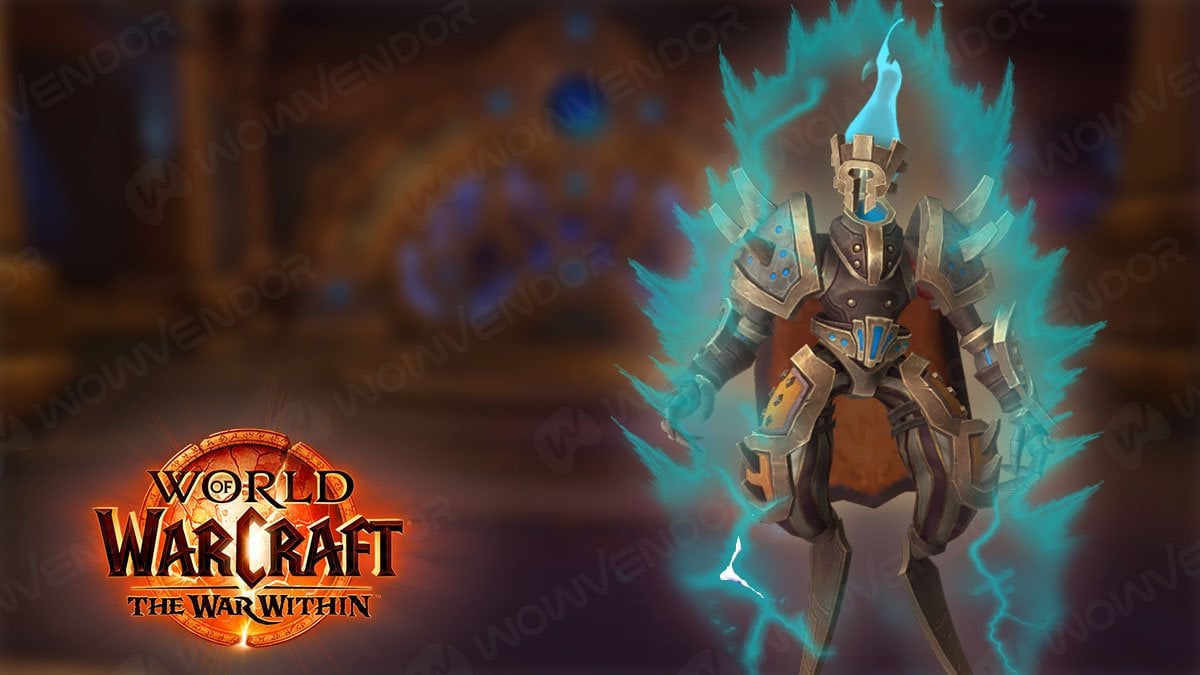
Hylbrande Hard mode guide
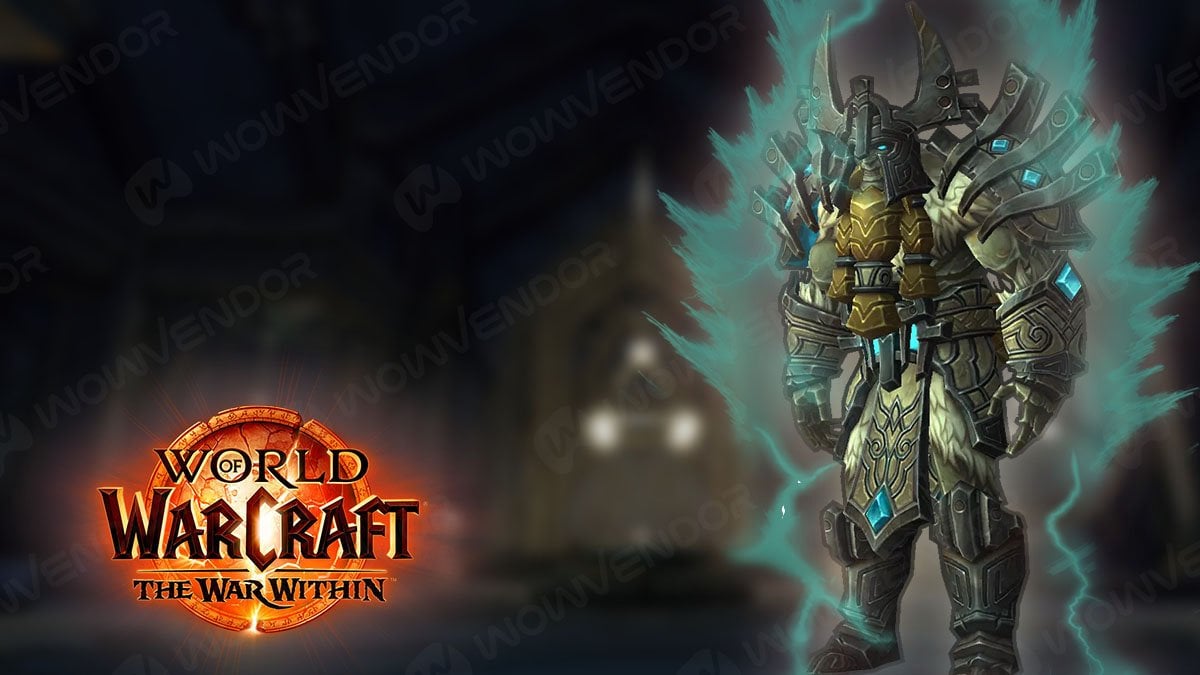
Below is the Hylbrande Hard mode guide.
On the Hard mode, Hylbrande is accompanied by an additional add, Stormbound Breaker. These adds cast Lightning Nova, dealing heavy group-wide damage and applying 50% slow for 14 seconds. What makes it worse is that if you are hit with another Lightning Nova while you are slowed, the slow turns into a 5-second stun. Thankfully, the cast can and must be interrupted.
The Vault Purifiers still accompany the boss. It is advised to not interrupt their Empowered Defense cast, as it locks them in a 10-second channel. That prevents them from casting Valorous Bolt, a strong single-target attack, allowing you to save all the interrupts for Lightning Nova.
You should focus on Stormbound Breakers first and save all interrupts for the Lightning Nova. Then you can deal with Purifires.
Another fight change affects 100 Energy ability, Sanitizing Cycle. Now, only the person interacting with the central Titan console sees the correct code. This person should communicate the code to the rest of the group, using either text or voice chat. Another option is to use pings of the corresponding color on the right console.
The rest of the fight happens the same as in the Mythic+ version.
Timecap’n Hooktail Hard mode guide
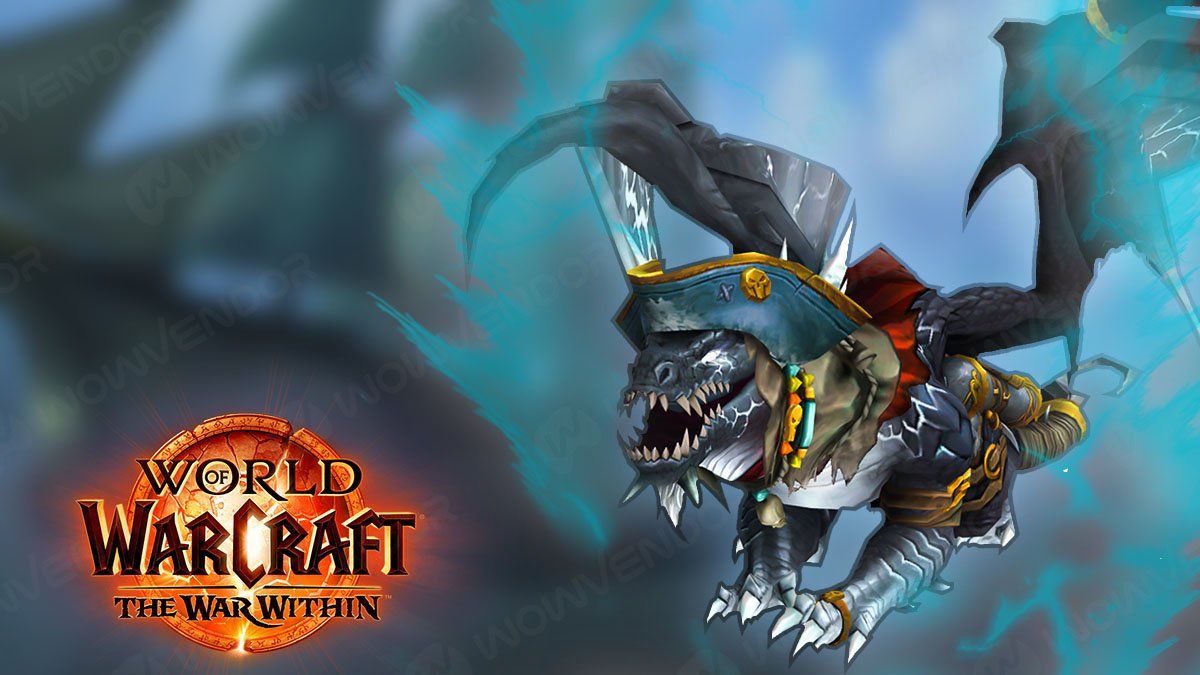
Below is the Timecap’n Hooktail Hard mode guide.
Since this fight is already challenging and requires good coordination and positioning, only one change was made.
All the Corsair Brute adds have a buff that protects them from the first Infinite Breath hit. That means you need to hit them twice to kill them instantly. This requires better coordination and crowd-control usage.
If there are occasional strugglers, like 1–2 adds not getting hit, switching to them and finishing them yourself is safer.
As for the Cannon Barrage AoEs placement, try to leave them as close together as possible to avoid cluttering the area.
The rest of the mechanics work as they do in Mythic+.
So’leah Hard mode guide
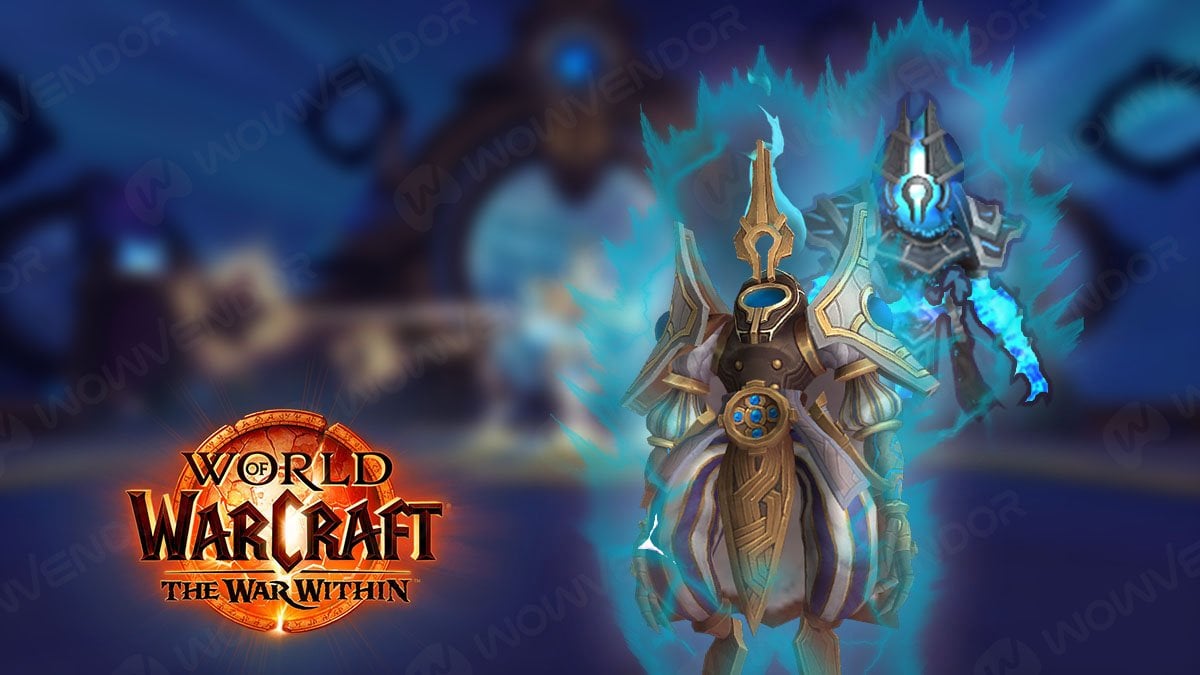
Below is the So’leah Hard mode guide.
The last obstacle of the Hard mode run, So’leah, gets two changes.
- Collapsing Star now applies a debuff that increases the damage from DoT to the player who consume the charge.
- During the Power Overwhelming intermission, you must hit all 5 Relics simultaneously with Hyperlight Jolt. Relics also shift around before Hyperlight Jolt is cast.
Collapsing Star mechanics persist through both phases of the fight, so you must be aware of this. If in M+ run, assigning Healer is one of the options to solve the mechanic; in Hard mode, it is advised against.
Your most durable players should take the charges instead. There are different ways to do that, but here are the most popular ones.
- 2/ 1. Allow your Tank to take the first two charges; the third charge is taken by the most durable DPS. The last charge resolves naturally.
- 1/ 1/ 1. The Tank and 2 DPS are taking one charge each. The last charge resolves naturally.
- 2/ 1/ 1. The Tank takes 2 charges, and 2 DPS take one charge each.
All the patterns have their merits; the choice depends primarily on your Healer and party composition. Leaving Healer out of this mechanic allows them to focus on healing increased damage.
Someone taking all the charges with damage immunity is also an option.
The next updated mechanic is the phase transition, Power Overwhelming. Now you must hit all 5 relics with a single cast of Hyperlight Jolt. Leaving any out will restore all of the Relics. Hitting them all in a single cast is a preferred way to complete this mechanic, so you probably have enough experience from M+ runs.
However, it is harder because Relics also change their position before Hyperlight Jolt resolves. Spreading 4 players to different quadrants around the boss allows the group to react quickly and adjust their positions according to the new Relics’ placement.
The rest of the fight happens in the same way as the Mythic+ version of the battle.
Tazavesh Hard mode loot and rewards
When it comes to Tazavesh Hard mode loot and rewards it is unique, so players want to complete it. Unlike in M+, every boss drops an item from their loot pull on the Hero (iLv 694–710) gear track.
What makes it truly stand out is that completing a one-shot run rewards every player in the group with a Myth (iLv 707–723) gear track item for their spec. This makes Tazavesh Hard mode the only source of Myth (iLvl 707–723) gear besides the Manaforge Omega raid and the weekly Great Vault.
Some of the most sought-after items in both Tazavesh dungeons are two trinkets, Ticking Sack of Terror and So’leah’s Secret Technique. These are high-rated trinket options in many BiS lists.
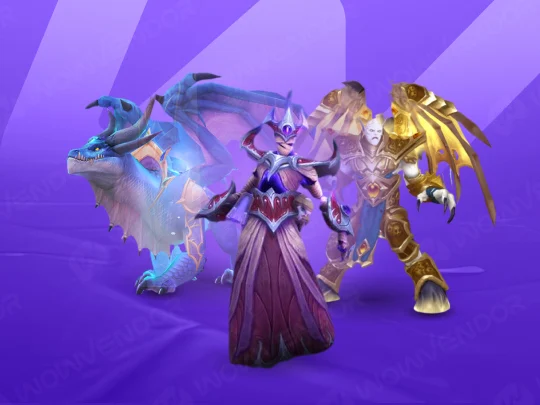
Let’s also not forget the rare drop from So’leah herself, Cartel Master’s Gearglider mount. If you wanted to get one of the broker’s gliders, now is your chance.
Completing this dungeon deathless rewards players with the Flawless Transaction achievement.
This is it for our Tazavesh Hard mode guide. We hope we helped you learn about all the changes in Hard mode and how to deal with them. So get your team together and get your rewards. And if you need some extra help, our Tazavesh Deathless boost is always there!


Comments