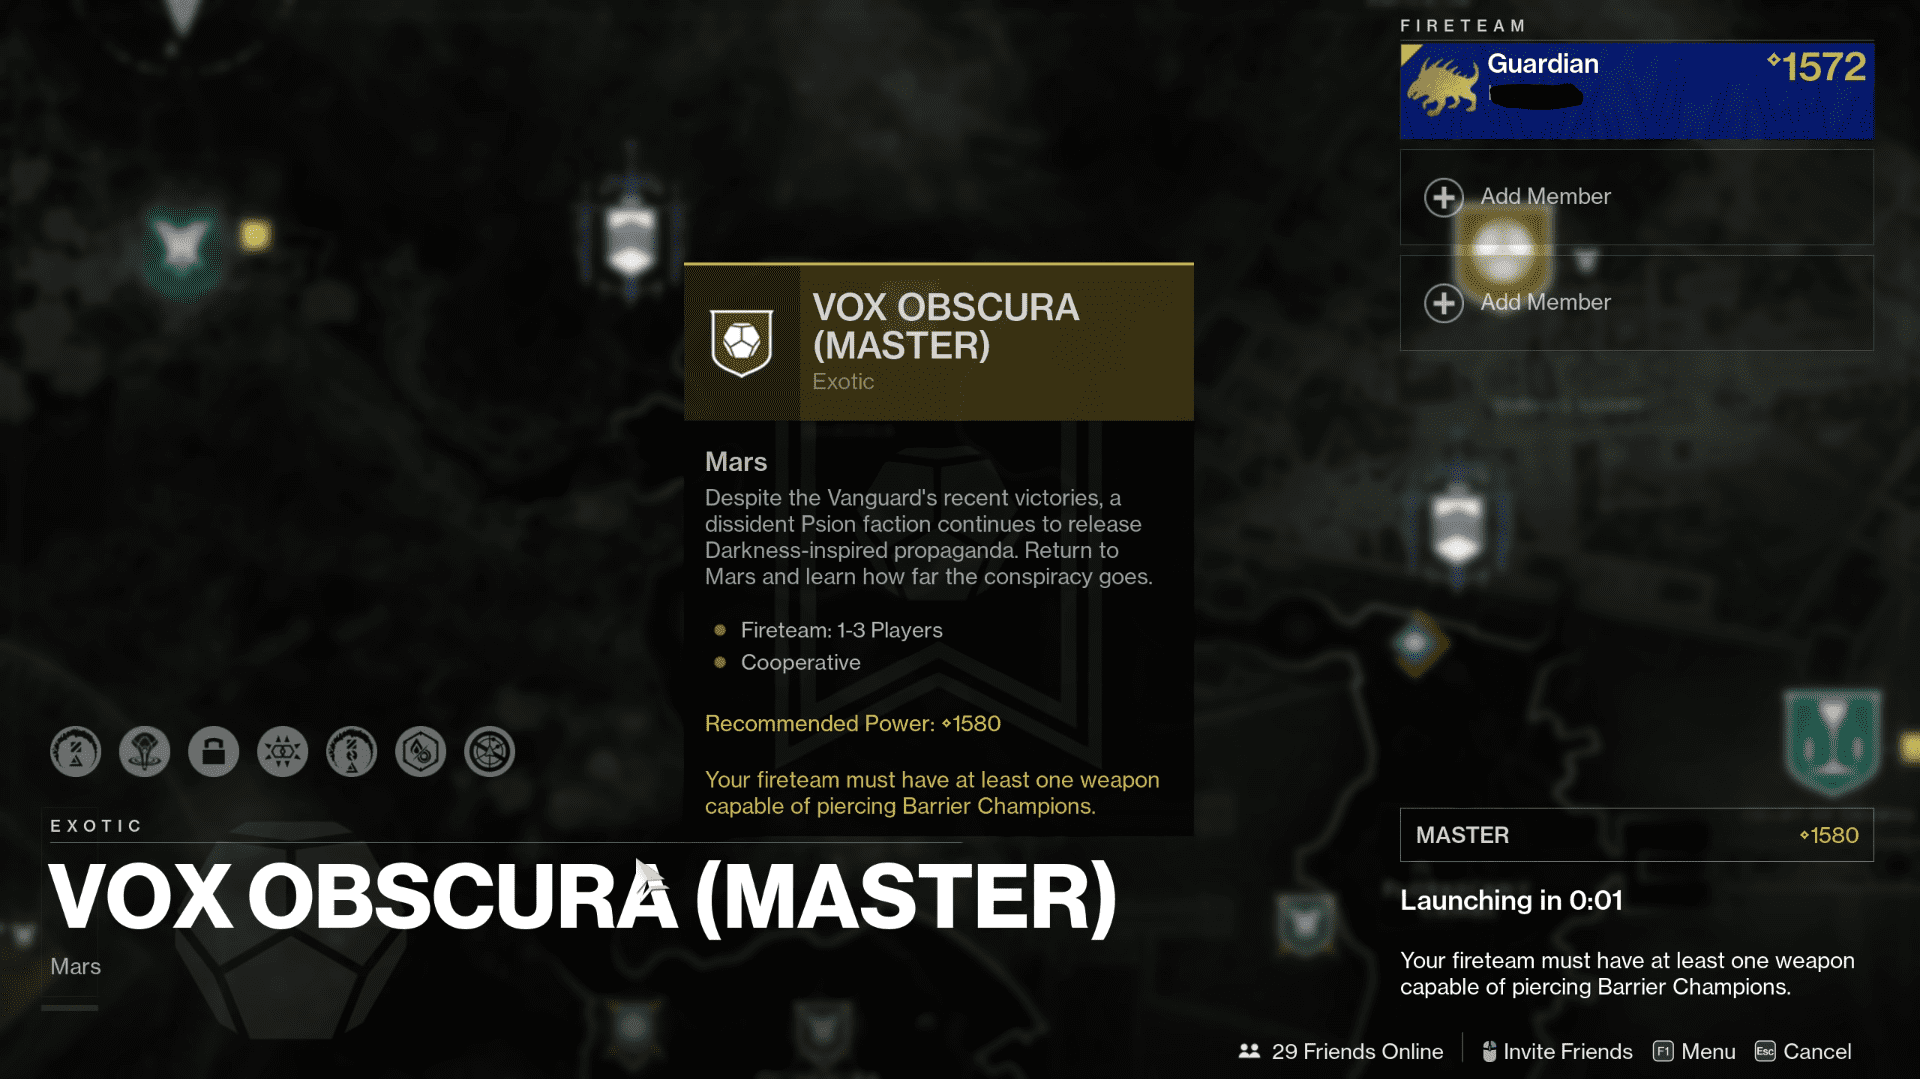
Vox Obscura Guide: Completing the Dead Messenger Mission
Vox Obscura is part of the new Destiny 2 expansion, named The Witch Queen, and added alongside Season 16. In it, Hive essentially becomes such a threat that Guardians have to forge an alliance with Cabal of all people to save the world from angry gods. This Vox Obscura Exotic Mission guide will help you complete the challenge without losing too much hair.
To unlock Vox Obscura, you need to partially complete the Elbrus quest, another big side activity. This will uncover news that, apparently, not all of Cabal are pleased with the new coalition. Some dissidents keep sending propaganda to other Cabal members in an attempt to destabilize the union.
How to Complete Vox Obscura
This strike is a new Mars mission in Destiny 2. The name means «Secret Voice» in Latin, so it’s actually a bust of deluded Cabal preachers and not an attack against Hive. You can expect plenty of Goliaths, Psions, turrets, adds and bulky enemies. Furthermore, the mission is timed in many sections.
But how do you use Vox Obscura, and how do you beat it? Players spend the first half of the mission outside, normally in a tank. The other half is spent inside a bunker. In it, you’ll meet the overall boss of the mission. Defeating him grants each member of the fireteam a Dead Messenger Exotic grenade launcher.
It’s a difficult mission with many obstacles to deal with, but this guide will try to help with the roughest bits. Team members need to have at least 1550 power to have a shot at beating the mission. If you attempt it at a lower level, some enemies will just be too much to handle.
Recommended Loadouts
While completing the mission, you’ll need to look out for three main problems: large areas, lots of adds & high-HP enemies. So, let’s address each individual issue and see what you can do about it before jumping into the full Vox Obscura mission walkthrough.
- Large areas
The problem is not even the size of these locations. Most objectives here are timed, forcing you to dart from objective to objective, until the entire facility is bombarded from orbit, and you have to redo the run. Include mobility mods into your build for the mission. You can’t dawdle with the targets.
It’s not as urgent for the exterior stages. You can use tanks there, but another viable strategy includes using Sparrows to save time. Guardians are advised to go out of their way to maintain speed, as you’ll see in the coming Vox Obscura mission tips. In some cases, you’ll want to ignore the enemies, if you’re in a hurry.
- Huge packs of adds
The local adds population is numerous and diverse. In the earlier stages, you can ignore or dispatch most of them with ease. But as you go further, they grow in quantity and strength. It culminates in the boss fight, whose room is crowded with constantly spawning hostiles, both dangerous and meddling.
Grenades, killstreak damage buffs and some AOE skillshelp create the breathing room for a moment. There must be a team member always on the add clearing duty. So, Vox Obscura solo is rather harder than as a team strike. If it’s hard for you to find a reliable team, you can actually purchase a Sherpa Vox Obscura boost.
- Durable enemies
Unstoppable champions, tanks and high-HP enemies are all over the place in Vox Obscura. They should be a priority. Time is essential, meaning the team needs to focus these guys down as soon as possible, while simultaneously dispatching low-priority enemies.
Try equipping grenade launchers and sniper rifles to deal a lot of damage from far away. Because some of these enemies are unstoppable, staggering debuffs must be equipped by at least one Guardian. Not to mention that the boss has a deep health pool, as well.
Hangar
At the beginning of the mission, you’re dropped off near a hangar with a Cabal Interceptor inside. It actually looks like a hanger from Destiny, from the game’s main story. The logical path would be to approach it, go inside through a side entrance, clear adds and bust out using the vehicle. At least, that’s the objective.
This Vox Obscura overview advises you to make the fight easier first, because you don’t have a time limit at this stage. Down the path from the alley, you can find the Airfield. Some enemies – like an Unstoppable Incendior – are already there. Snipe them from the high place to avoid dealing with them later.
Outdoors
Required completion time: 4:30
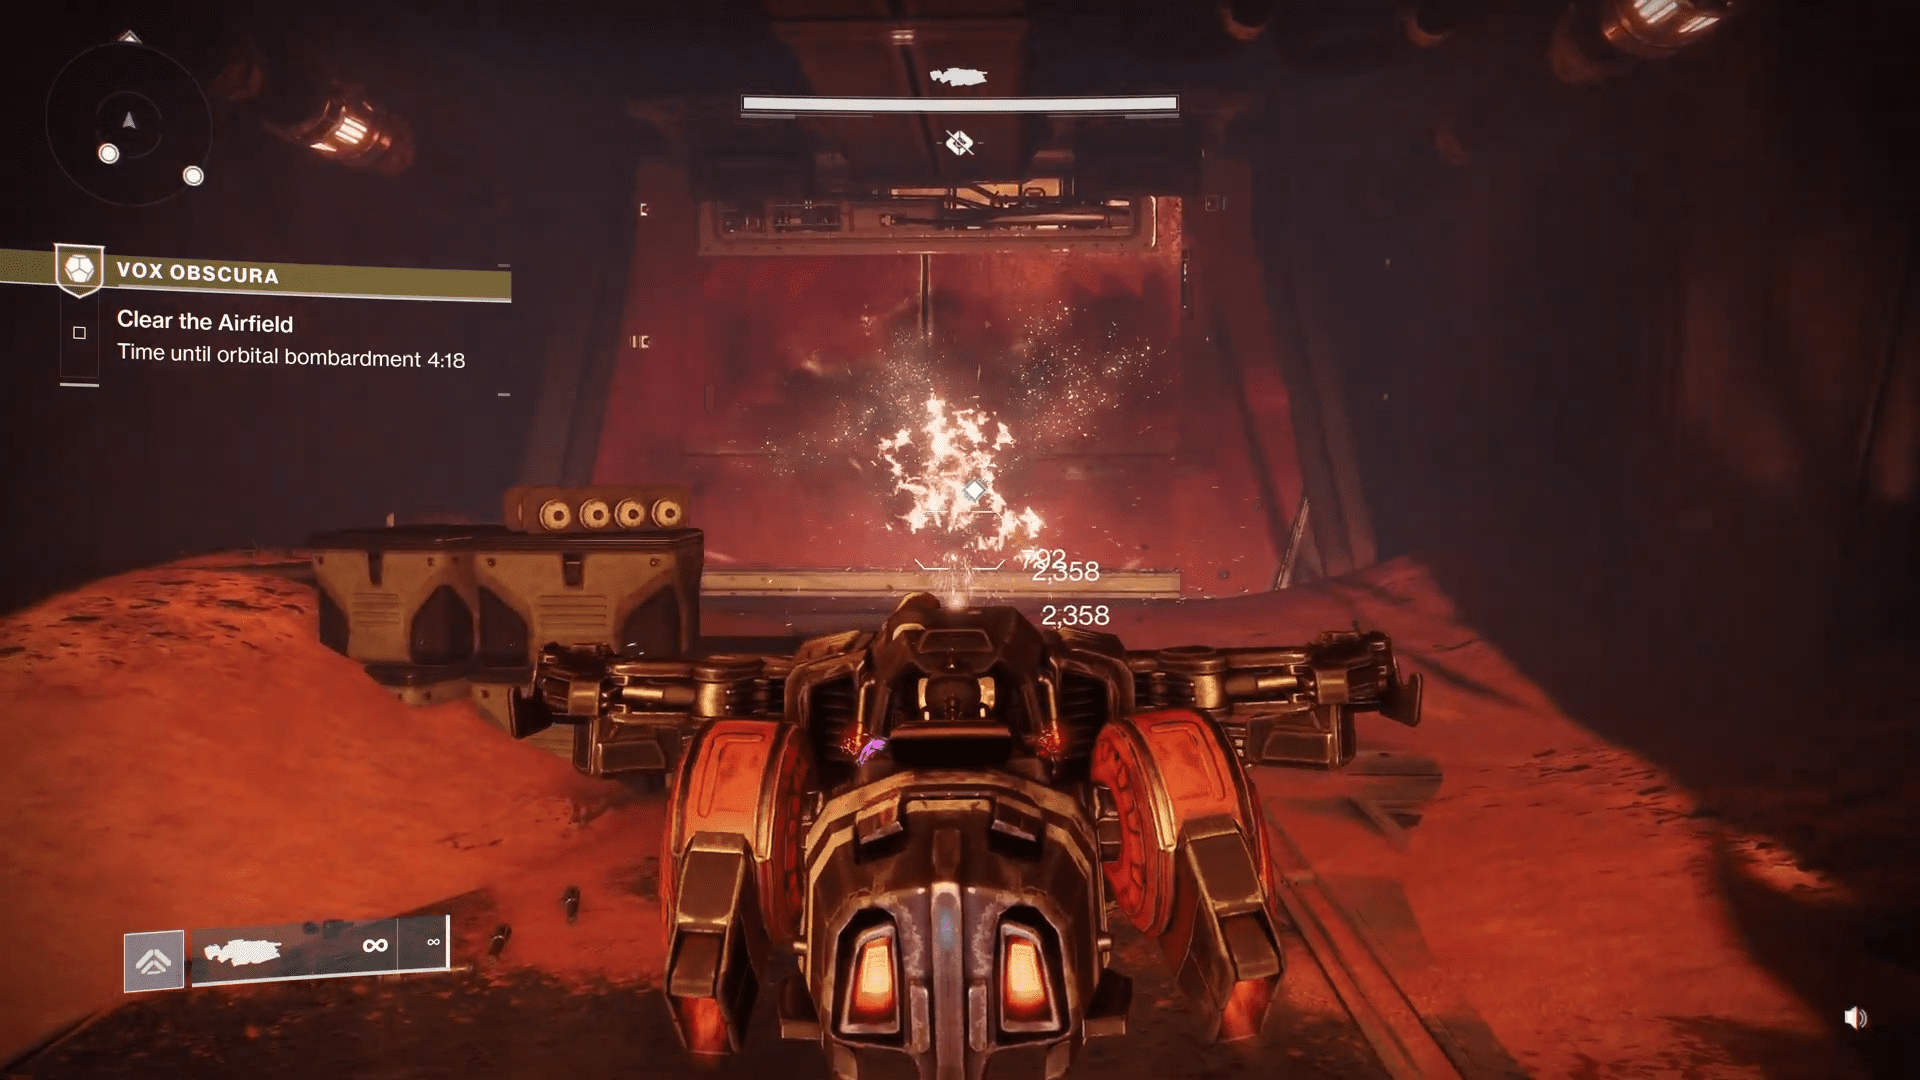
Airfield
After stealing the Interceptor from the Hangar, the timer for your next objective starts. You need to blast open the Hangar doors in front of you, drive the vehicle out and use it to clear the Airfield you recently visited. Some ads will spawn outside the Hanger, and some more around the Airfield. You can ignore the former.
The latter include, most notably, turrets and a Goliath tank in the middle of the Airfield. It’s possible to destroy these using the Interceptor, but it’s not the only way. You can abandon the vehicle, use your Sparrow to reach the Airfield and destroy the Goliath from the vantage point.
Tanks & Towers
After destroying the Goliath, a Drake tank will be dropped for you at the Airfield. The timer doesn’t stop there, so don’t waste time. Continue down the pathway into a wider area with three Signal Towers. You’ll need a tank here, but it’s possible to just get Sparrow to the area and summon another Drake once there.
The first goal here will be to destroy 2 more Goliaths. If you don’t know how to defeat Goliath tanks in D2 fast, search for a guide, because you may need one. Fortunately, there are hills throughout the area, which create some cover. Thrashers, War Beasts and Psions will continue harassing you in the process.

After dispatching the tanks, you’ll need to destroy the 3 Signal Towers:
- First, blow a generator for each of them. That will disable the shield that surrounds the Tower.
- Second, shoot inside it through an opening at the bottom. Tank missiles will do a fine job.
The timer stops, when the last Tower is down. After the fight, you need to use the tank to blast the hole in the Bunker doors. They won’t tell you outright that your heavy ordnance won’t work, so don’t waste ammunition trying to blow it up this way. Inside, you’ll find a Rally Banner, which includes replenishment and a checkpoint.
Indoors
Required completion time: 10:00
Three Terminals
The timer starts after you press the Rally Banner. After that, you’re given the first real challenge of the Vox Obscura quest. Guardians need to navigate a massive, sprawling bunker, filled to the brim with various Cabal enemies.
The goal is to hack into 3 terminals, located in 3 different rooms. They are guarded by a Psion Commander and a Psion Codewarden. The latter is immune and shielded until you defeat the former. The former is also shielded, but you can walk inside the shield and defeat him. Until then, the Codewarden stays shielded and immune to anything.
A TIP: Since Commanders literally won’t do anything to you even if you’re inside their shield, you can stay there to catch a breather. It’s impenetrable to outer attacks, even by other Cabal enemies. Don’t stay too long, though. After all, this guide preaches about speed.
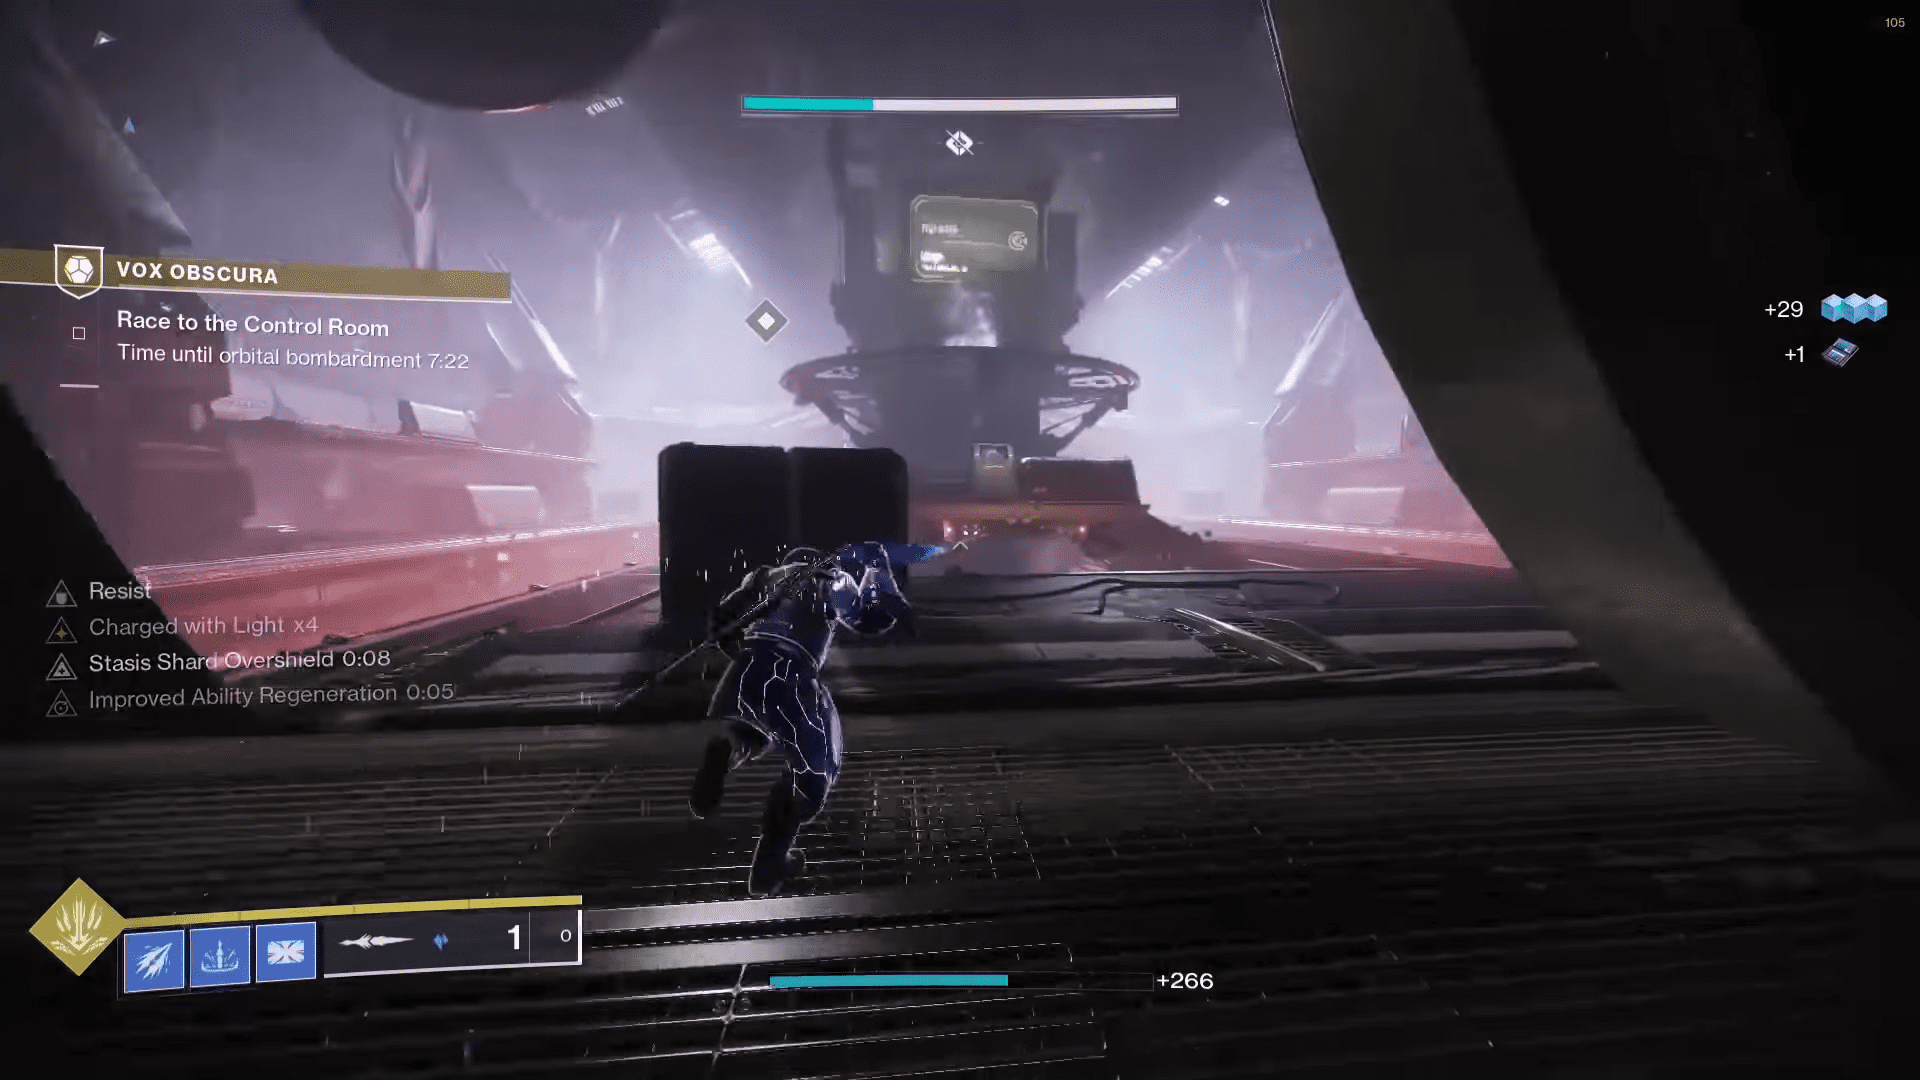
Hacking into the terminals will unlock the door to the Control Room. That’s your actual goal. It’s located just down the big central tunnel that leads towards a massive round gateway. If the terminals are hacked, they’ll open upon approaching.
A TIP: Ignore some enemies. Phalanxes and Incendiors aren’t very mobile enemies. You can just leave them behind if you want to save time. It’s more crucial than you might think because it’s likely you’ll be on your last minute when the boss is defeated. This tip is especially important if you want a flawless completion.
Dead Messenger Exotic Qabix the Insurgent Boss Fight
The timer doesn’t stop after you activate the terminals, so go right towards the main boss of the Vox Obscura mission. The boss, called Qabix, isn’t much of a threat. His strength is in the big, open area and in large packs of hostiles, which keep spawning all the time and especially at the beginning of each phase.
His health is split into three thirds. Dropping each third will make him marginally more dangerous, give him some new skills, and spawn many new enemies. Moreover, at the end of phases #1 and #2, he’ll summon three Psions that will make him immune until you defeatl all three, just like with the Codewardens.
The boss is a pushover, but the boss area is still the easiest to die in, because of the sheer amount of enemies he spawns. The usual flawless tips for Destiny advise Guardians to constantly move in such scenarios, use their skills reasonably, and use the environment to their advantage.
How to get Dead Messenger
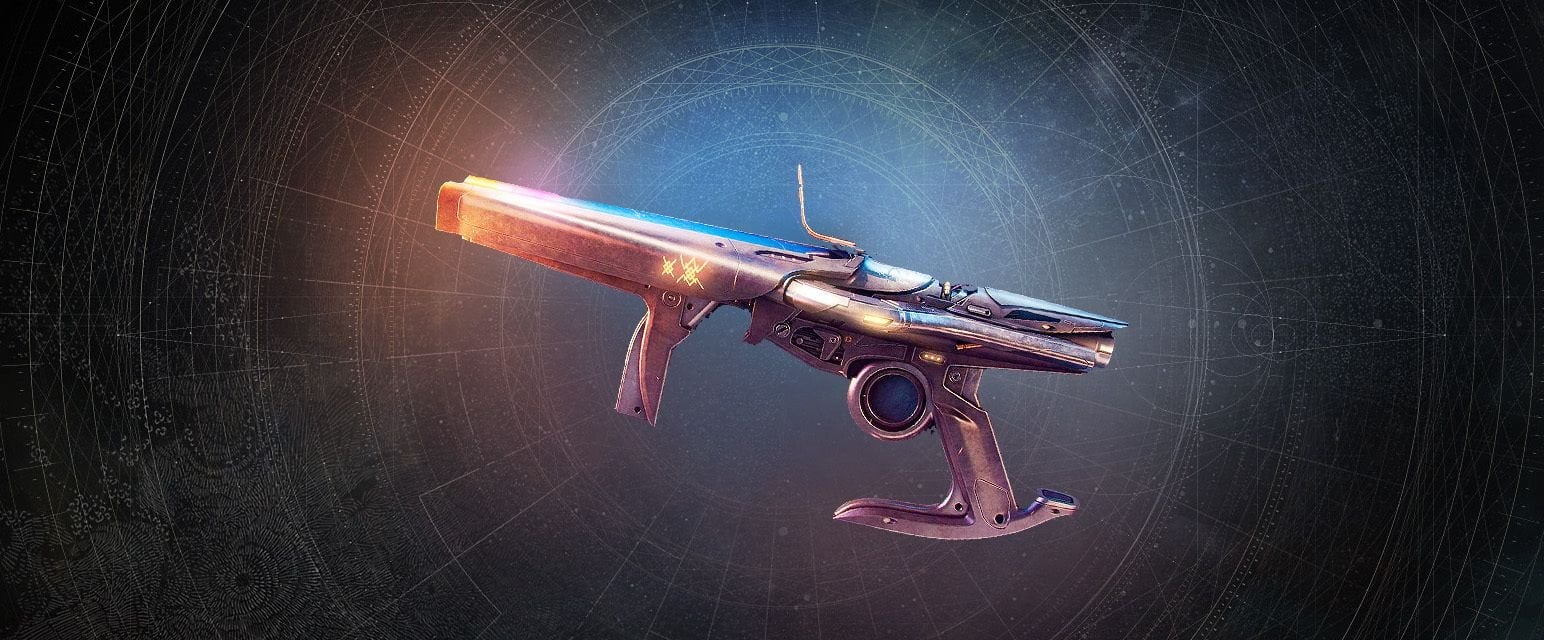
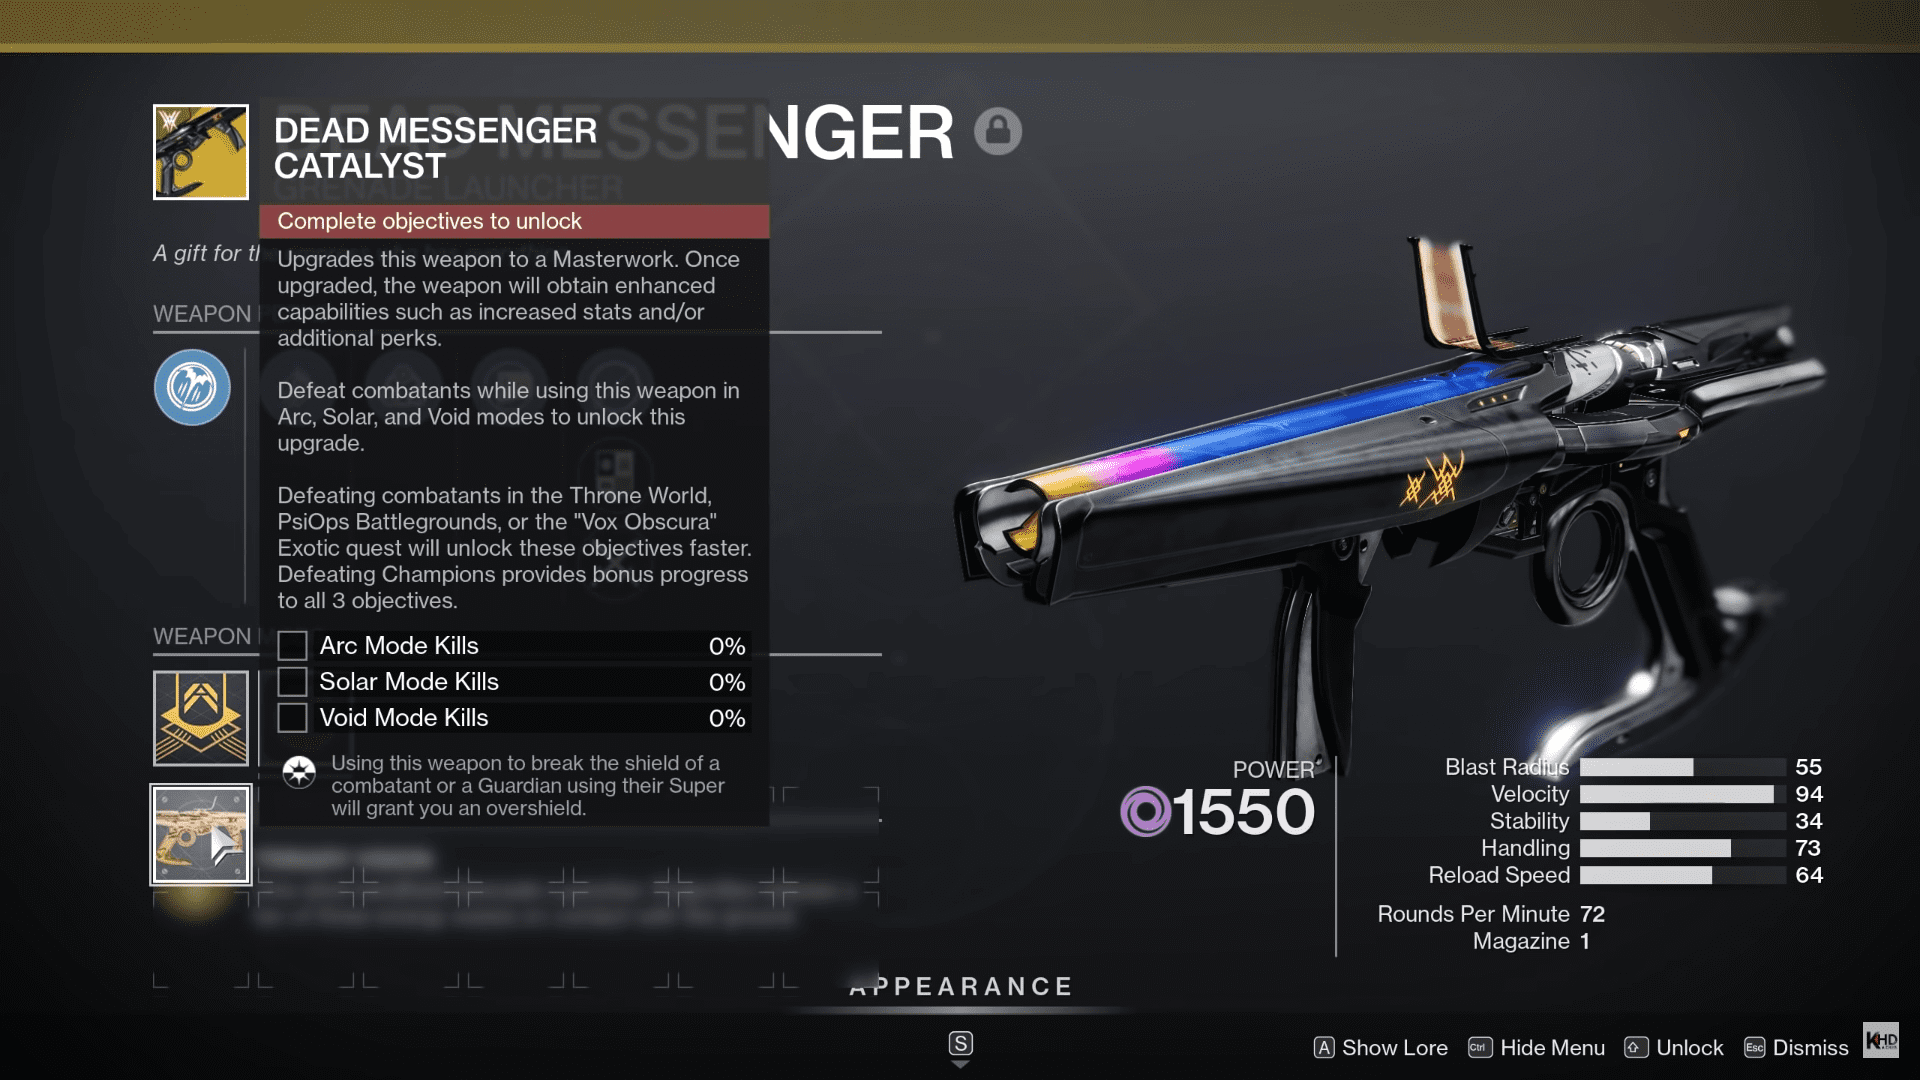
The loot is located in a small storeroom off the big observation area on the opposite end of the entrance. It includes a golden chest that holds the Exotic Dead Messenger grenade launcher and, on higher difficulties, a possible Dead Messenger catalyst. This launcher is an excellent reward for such a challenge.
What is the Dead Messenger? It’s a grenade launcher that shoots a fast energy projectile that transforms into a fan of three more energy projectiles upon contact with something. The main shtick is its ability to switch between the three main elements (solar, arc & void). It means you have a counter against any shield type in just one weapon.
You can get a random legendary drop at the end in addition to the launcher. Furthermore, there is an emblem for solo flawless run, if you want to try it. Not to mention, over the course of this strike, you’ll collect many other rewards.
Written by Boo.


Comments