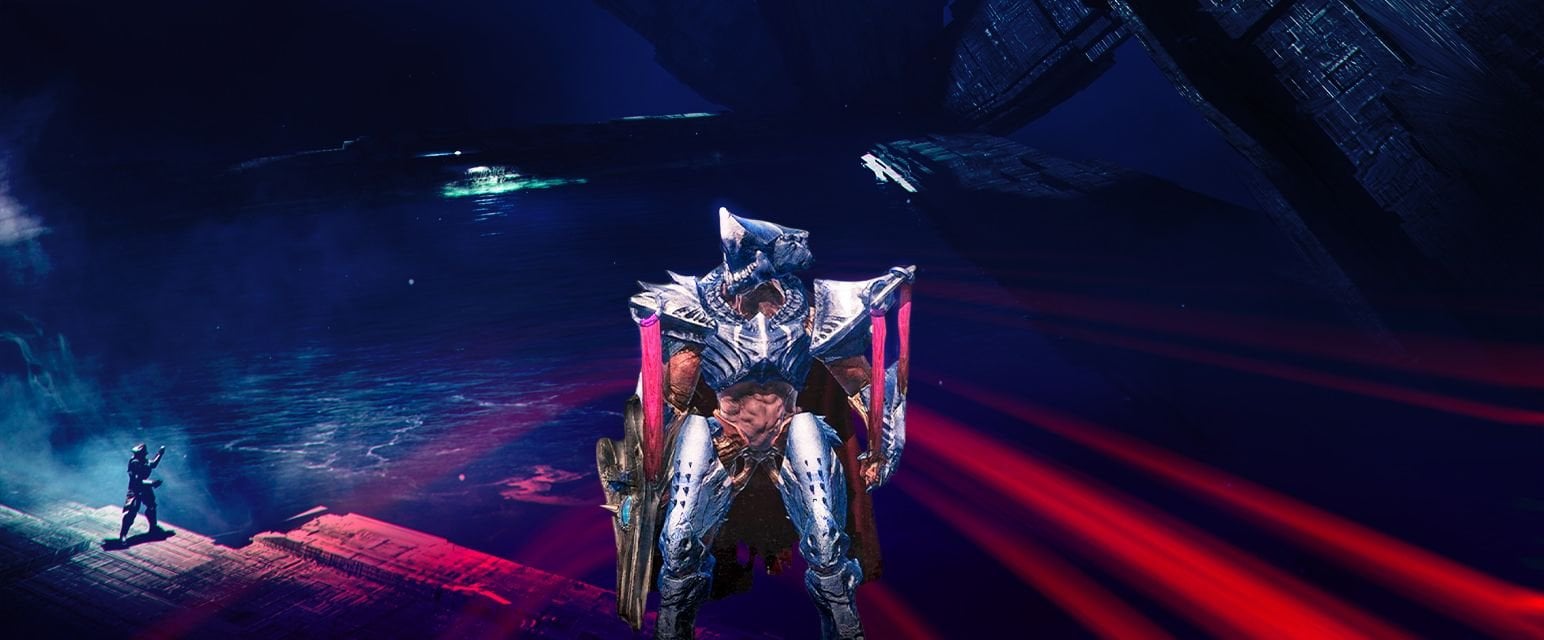
How To Beat Destiny 2’s King’s Fall Raid: Warpriest Encounter
Here’s the second part of our extensive King’s Fall guide. It’s time to beat Warpriest!
Welcome back to our series of articles covering main boss fights and mechanics of the recently-reprised Destiny 2 King’s Fall raid. In case you missed the first part, we highly recommend you read it to learn how to get access to the raid and deal with its first encounter. For all those up-to-date with the guide, it’s time to dive into the Warpriest fight!
For the second encounter in King’s Fall, you’ll probably want some decent healing on your team, because the boss will dish out tons of DPS in the damage phase, so you’ll need every HP you can save to survive. Divinity will help a lot here, and we’d also recommend something with a huge damage output. And you should handle your ammo reserves properly, as the damage phase is extremely long and, if not prepared well enough, you might end up with an empty mag.
With that said, let’s get into the Warpriest fight walkthrough.
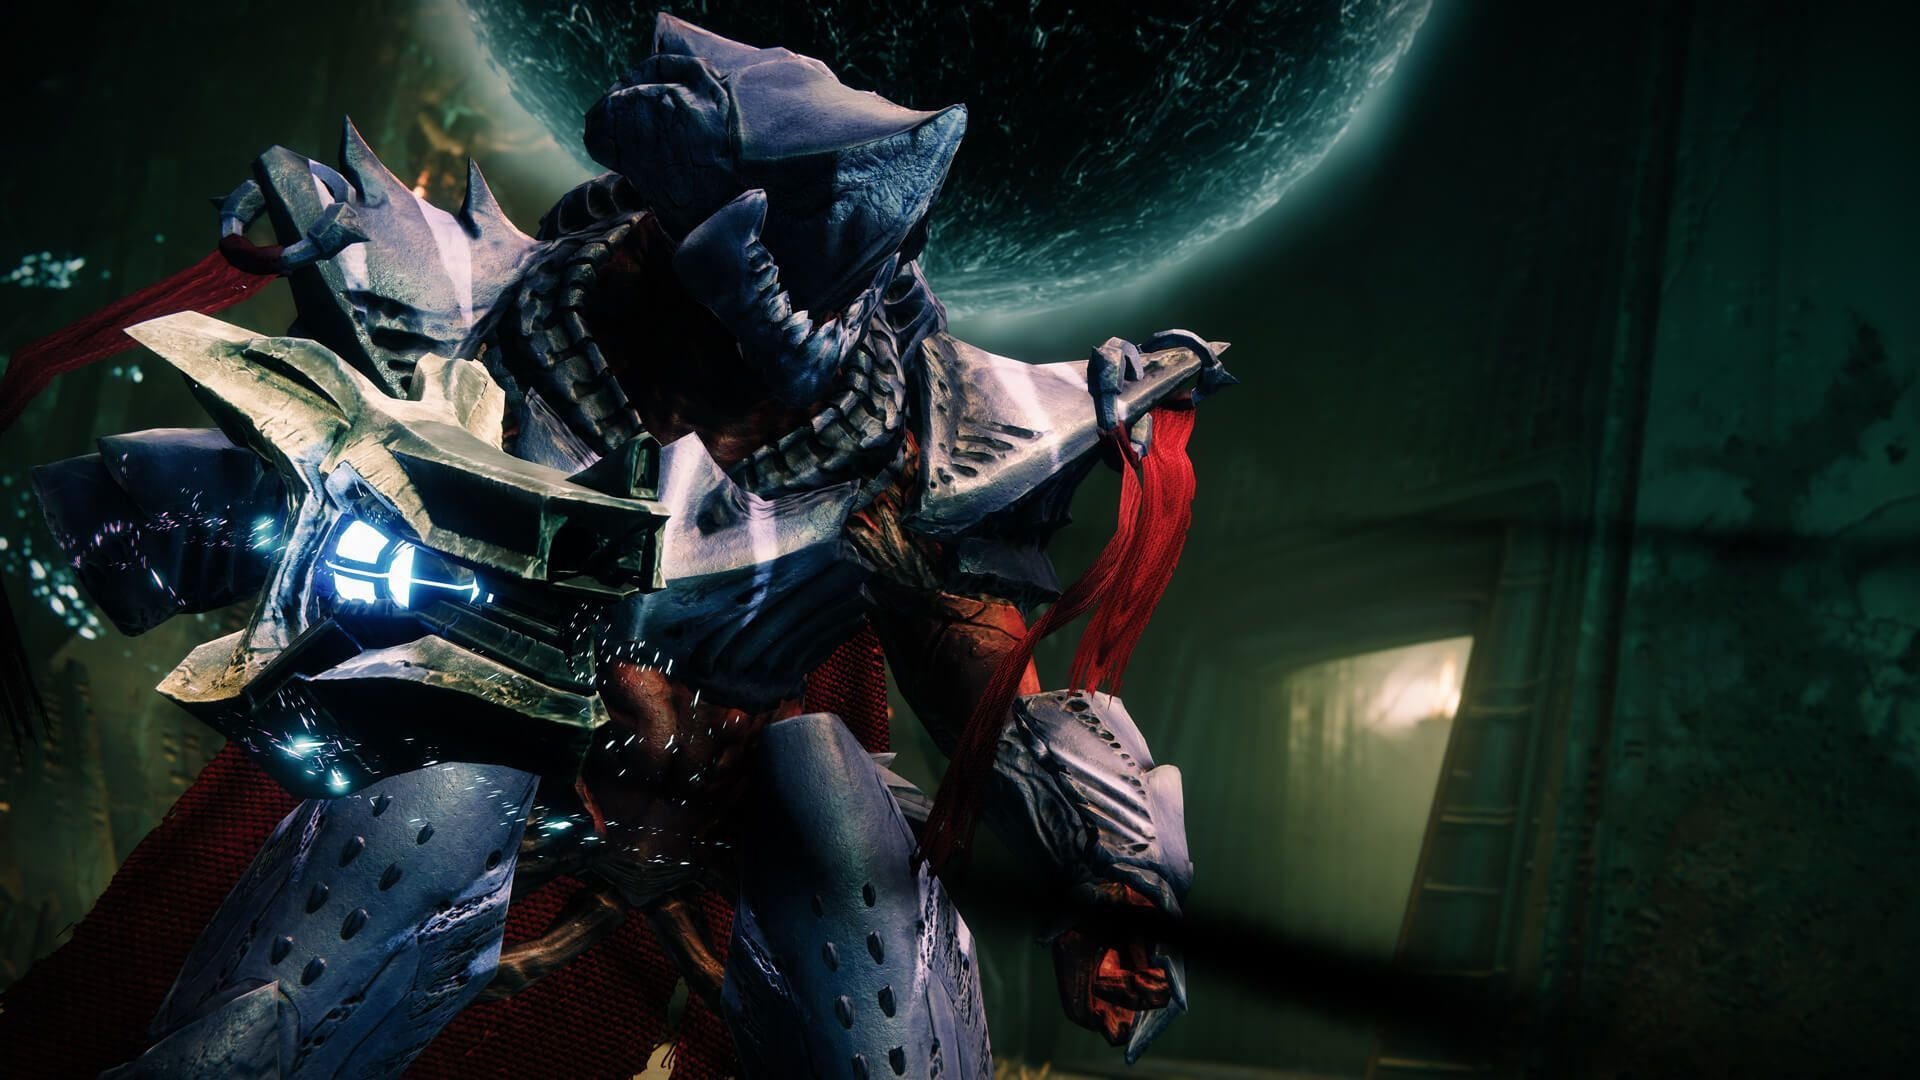
Here we have three plates and three totems in the location. You need to activate the plates by stepping on them in a specific order to get the aura buff and be able to DPS the boss.
Divide your squad into three groups of two, each assigned to one of the totems. First off, you have to step on each platform to trigger an add wave. There’ll be regular mobs, wizards, and knights, and as soon as you defeat orange-bar knights, the most important part will begin.
Once you see the “Glyph reading sequence started“ message, get ready for the show.
The central plate lights up, and one player needs to step on it. This is the player who makes the first callout. Their job is to look at the totems to find out which one is glowing on the back and tell the team where the glyph entering sequence is going to start. The glow is visible only to the person on the plate; the rest of the party won’t see anything on the totems.
When the glowing totem is determined, the player steps off the platform – it’s important! – and calls out the totem in question to the team. Then, another player steps onto the platform near the just-mentioned totem to figure out the next move. Another glowing totem will be revealed, and just like that, you’ll have to step on all three platforms in the correct order. The person who exits the last plate will get the Brand of the Initiate buff.
Wanna earn raid rewards but don’t have time to farm all the encounters? Order a King’s Fall boost at WowVendor and get all the best loot fast and easy!
The Initiate buff lasts for 20 seconds, has three charges, and allows you to damage the boss. The rotation mechanic is similar to the way things were done in the previous encounter: you need to steal the Initiate from one another to extend its duration by using the Claimer buff.
Blightguards will spawn all the same, so one player will need to kill them, get the Claimer buff and rush to the Initiate holder to replace them before the timer runs out. Please note, that a 20-second-duration window is relevant only for the very first round; every other time someone takes the Initiate buff, it’ll last for only 15 seconds.
Basically, we have two teams here: the Buff team juggles Initiate and Claimer buffs between each other, while the rest of the squad just unloads on Warpriest, trying to stay within the bubble that surrounds the Initiate buff holder, because otherwise, their attacks will do no damage to the boss.
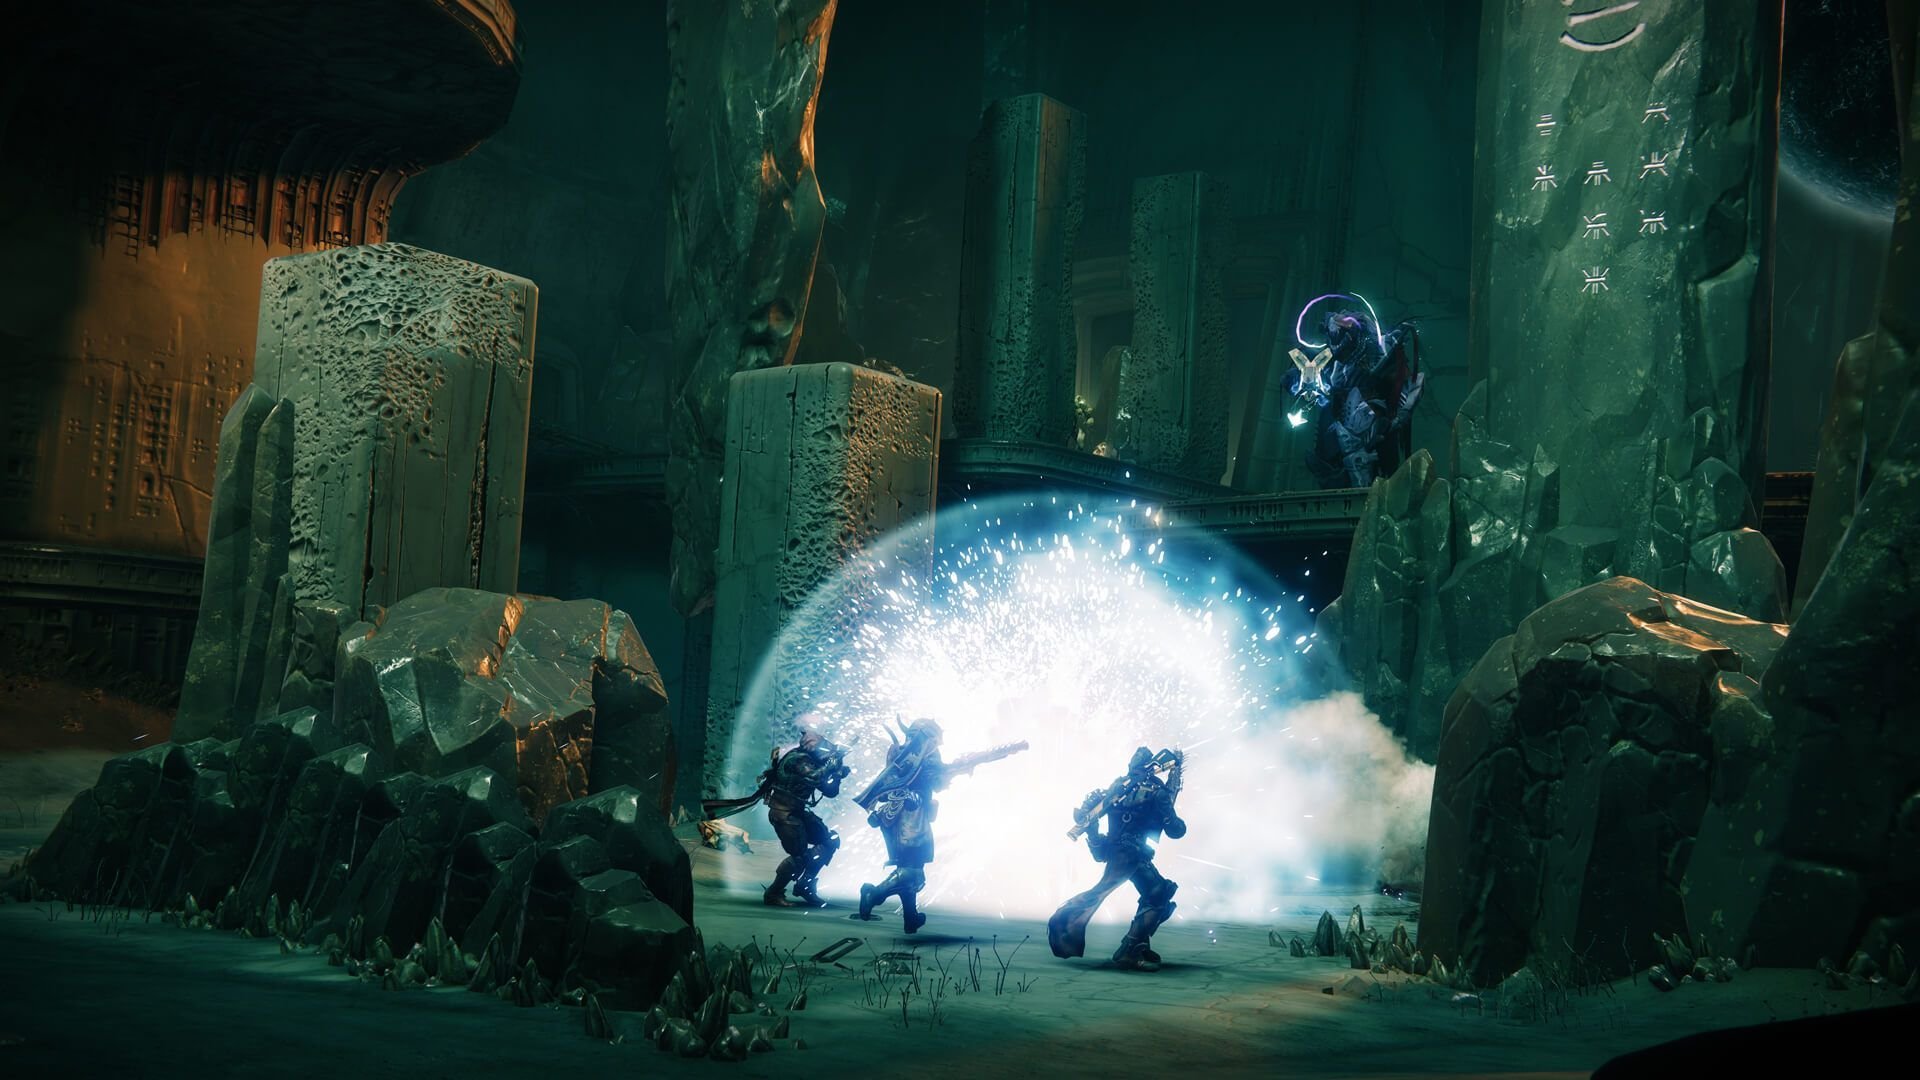
When the damage phase is over, Warpriest will blast out a massive AoE attack that will insta-kill you if you’re on the way, so you must hide behind the nearest totem, depending on what side you’re DPSing from. Then the whole thing starts all over again, but you better finish the boss off in three phases, because if it takes longer, there’ll just be no more pillars to shield you from the AoE blast. And by the way, the sites of the destroyed Totems will glow just as well, so the glyph sequence mechanic won’t change at all.
And that’ll be all for the Warpriest encounter. Once the boss is defeated, you can grab your rewards from the chest and celebrate a well-deserved victory. The next part of our guide will be out soon, so stay tuned guys, and don’t forget to shop for Destiny 2 boosts at WowVendor!


Comments